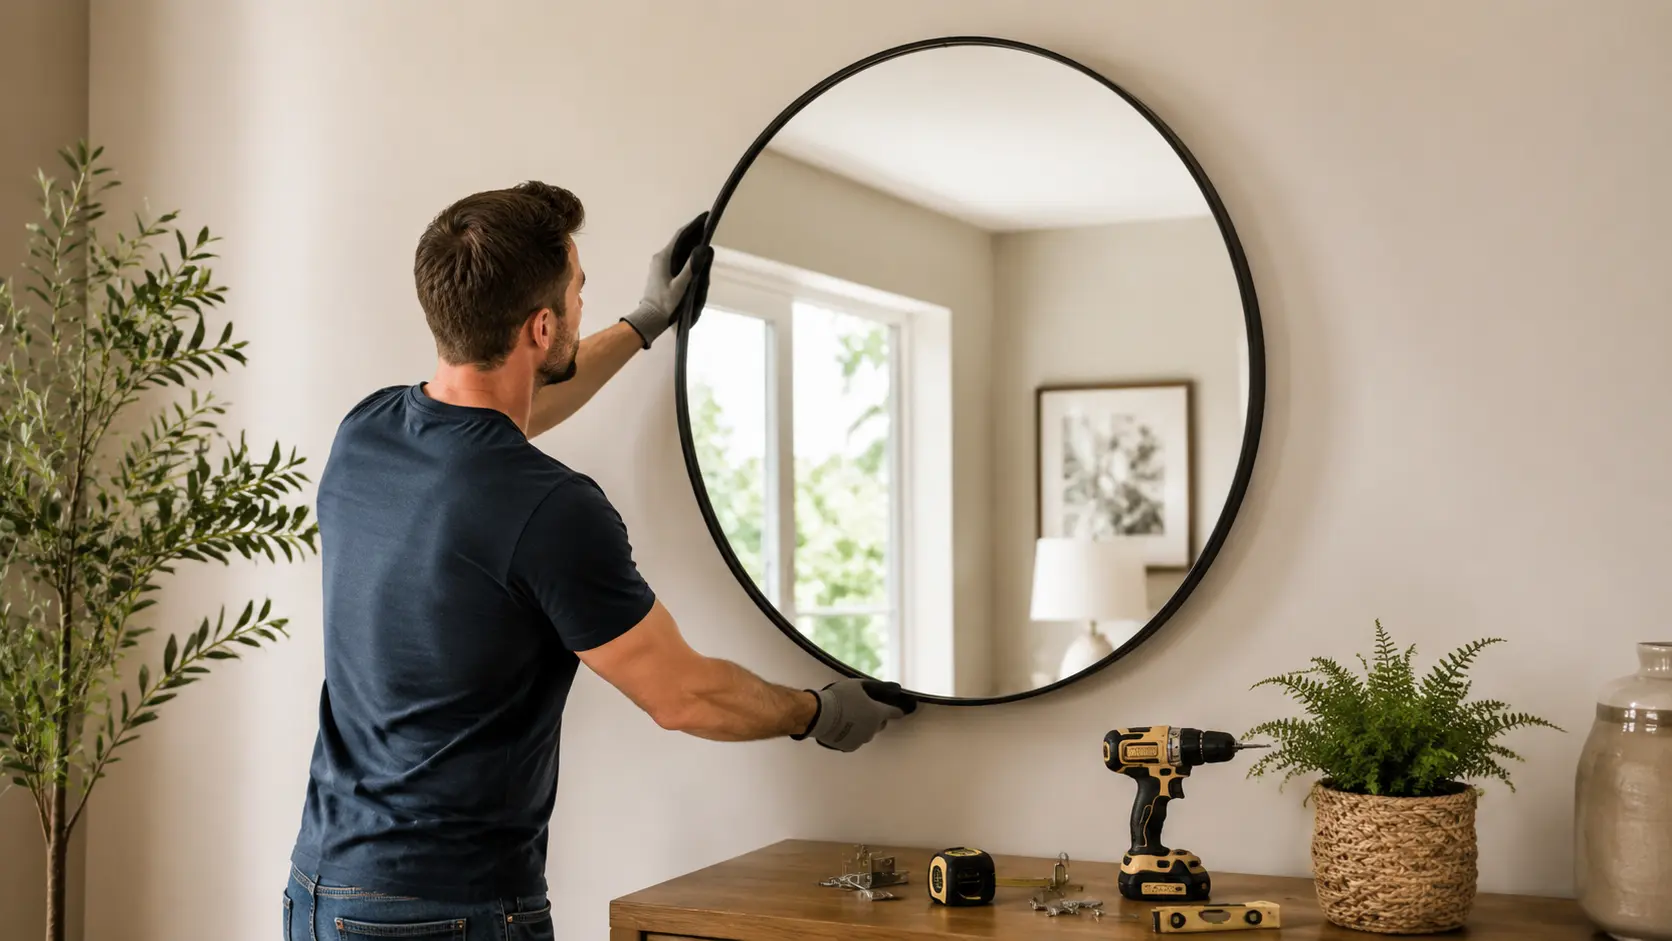
Hanging a mirror sounds simple until it isn’t. A poorly installed mirror can fall without warning, and when it is heavy, the results can be dangerous.
No matter if you need to know how to hang a mirror in a hallway or a heavy mirror above a fireplace, this guide walks you through every step.
According to the National Safety Council, falls are the second leading cause of accidental home deaths, with 32,500 fatalities recorded in 2024. Improper wall installations are a contributing factor that is entirely preventable.
You will find the right hardware, technique, and step-by-step process here.
Tools and Materials You Need
Before you drill a single hole, gather everything listed below. Having the right tools on hand prevents mid-project trips to the hardware store and keeps the installation clean and controlled.
| Tool / Material | Purpose |
|---|---|
| Stud finder | Locates wall studs behind drywall |
| Level | Ensures the mirror hangs perfectly straight |
| Measuring tape | Mark’s exact placement height |
| Pencil | Mark’s drill points cleanly on the wall |
| Drill and drill bits | Creates pilot holes for anchors or screws |
| Wall anchors (toggle bolts or snap toggles) | Secures hardware without a stud |
| Wood or drywall screws | Drives into studs or anchors |
| D-rings | Attach to the back of framed mirrors |
| French cleat | Best system for heavy mirrors over 50 lbs |
| Safety gloves and goggles | Protects during drilling and glass handling |
| Mirror mounting tape (optional) | Lightweight option for mirrors under 15 lbs |
Pro Tip: For any mirror over 25 lbs, skip basic plastic expansion anchors. They are rated for only 10 to 15 lbs in drywall and pull out under sustained load. Use toggle bolts or a French cleat system instead.
Choosing the Right Location
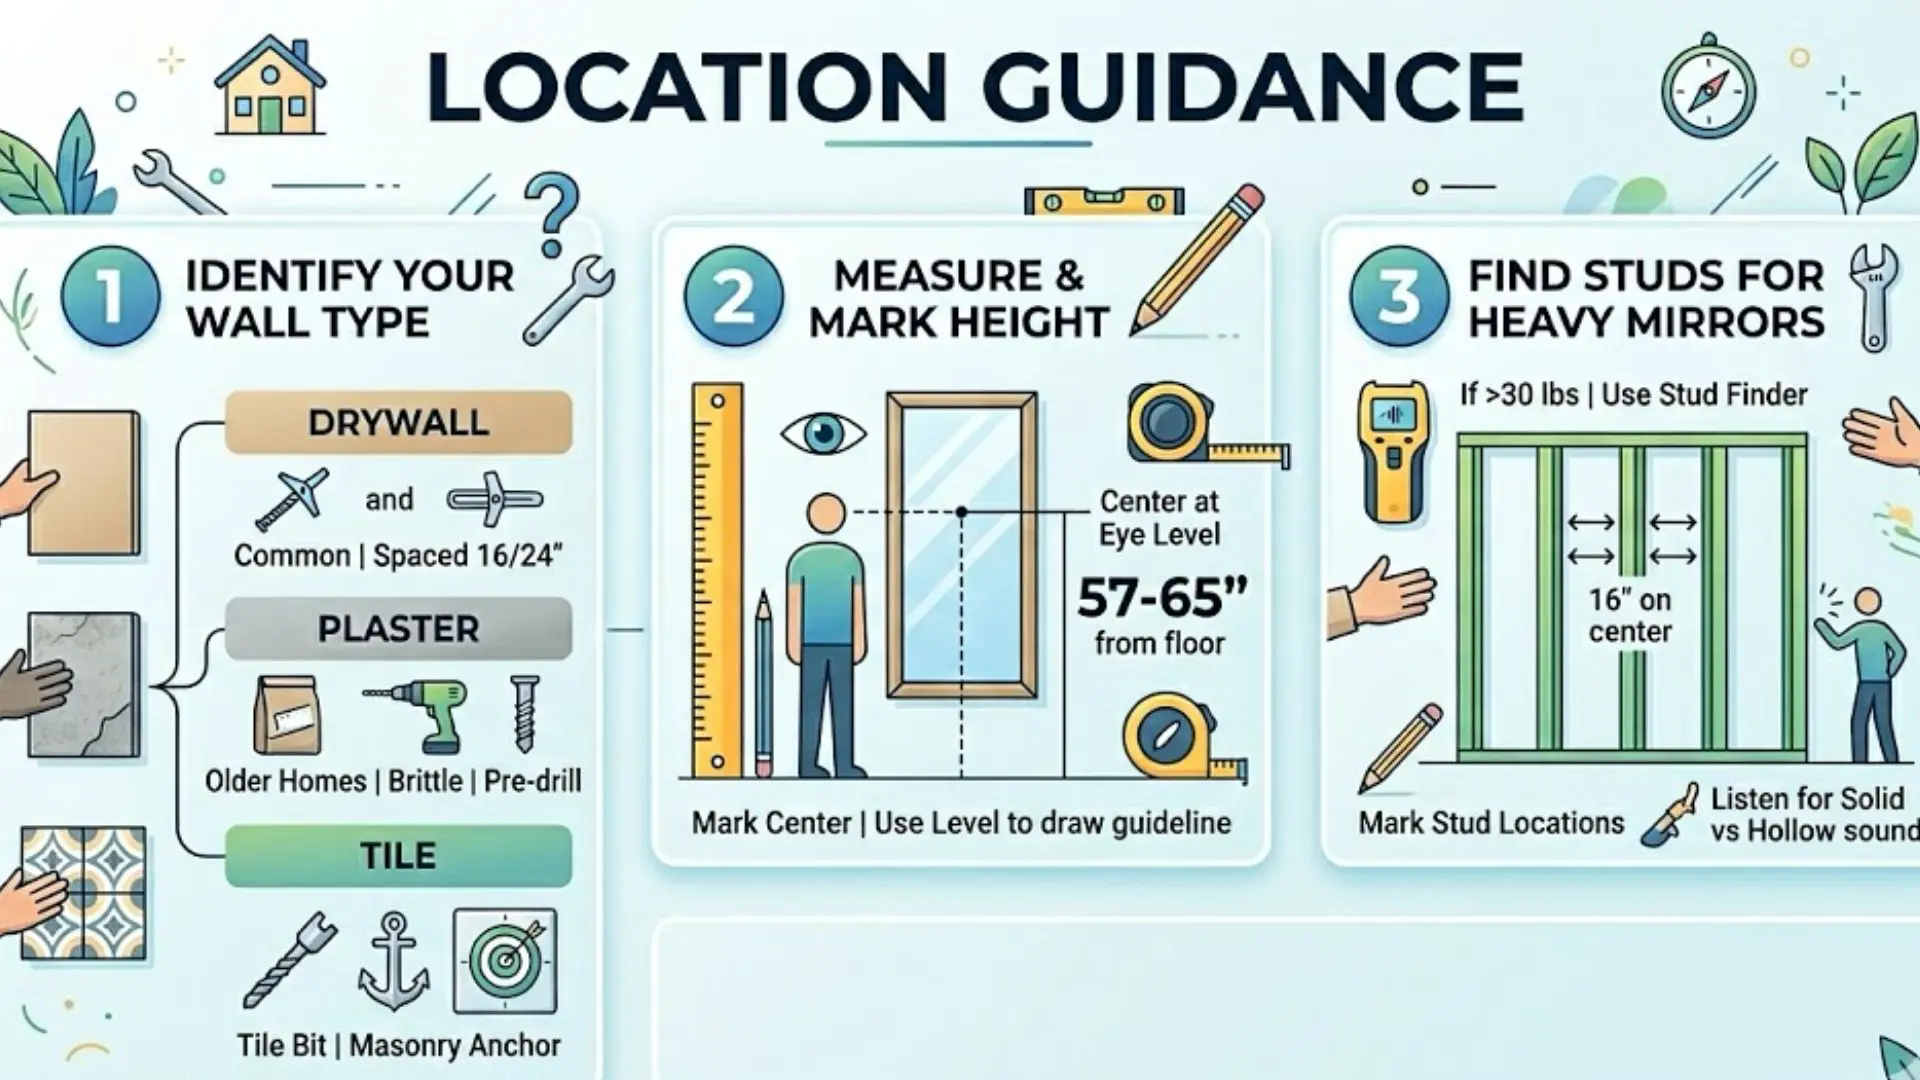
Getting the location right before you drill saves time, wall damage, and frustration. Follow these three steps in order.
Identify Your Wall Type
The wall material determines which anchors and tools you need.
- Drywall (gypsum board): The most common wall type in US homes. Studs sit behind it, spaced 16 or 24 inches on center. Use toggle bolts or snap toggles when hanging between studs.
- Plaster walls: Found in older homes built before 1950. Denser than drywall and more brittle. Drill pilot holes slowly to avoid cracking, and use masonry-rated anchors.
- Tile: Requires a tile drill bit and masonry anchors. Target the tile itself rather than grout lines, where the surface is more likely to crack.
Measure and Mark the Desired Height
The standard recommendation for hanging mirrors is to position the center of the mirror at eye level, which for most adults falls between 57 and 65 inches from the floor.
Use a measuring tape to mark the desired center point, then use your level to draw a light pencil guideline across the wall.
Find Studs for Heavy Mirrors
For any mirror over 30 lbs, anchor it into wall studs whenever possible. Run a stud finder across the wall slowly and mark each stud location with a pencil.
Standard US homes have studs spaced 16 inches on center. Confirm the stud by tapping the wall: a solid, lower-pitched sound indicates a stud, while a hollow sound points to an open wall cavity.
|
Pro Tips for Symmetry and Visual Alignment
|
Step-by-Step Mirror Installation
This is where everything from the previous steps comes together. Work through each step in order and do not skip ahead.
Step 1: Prepare the Wall and Tools
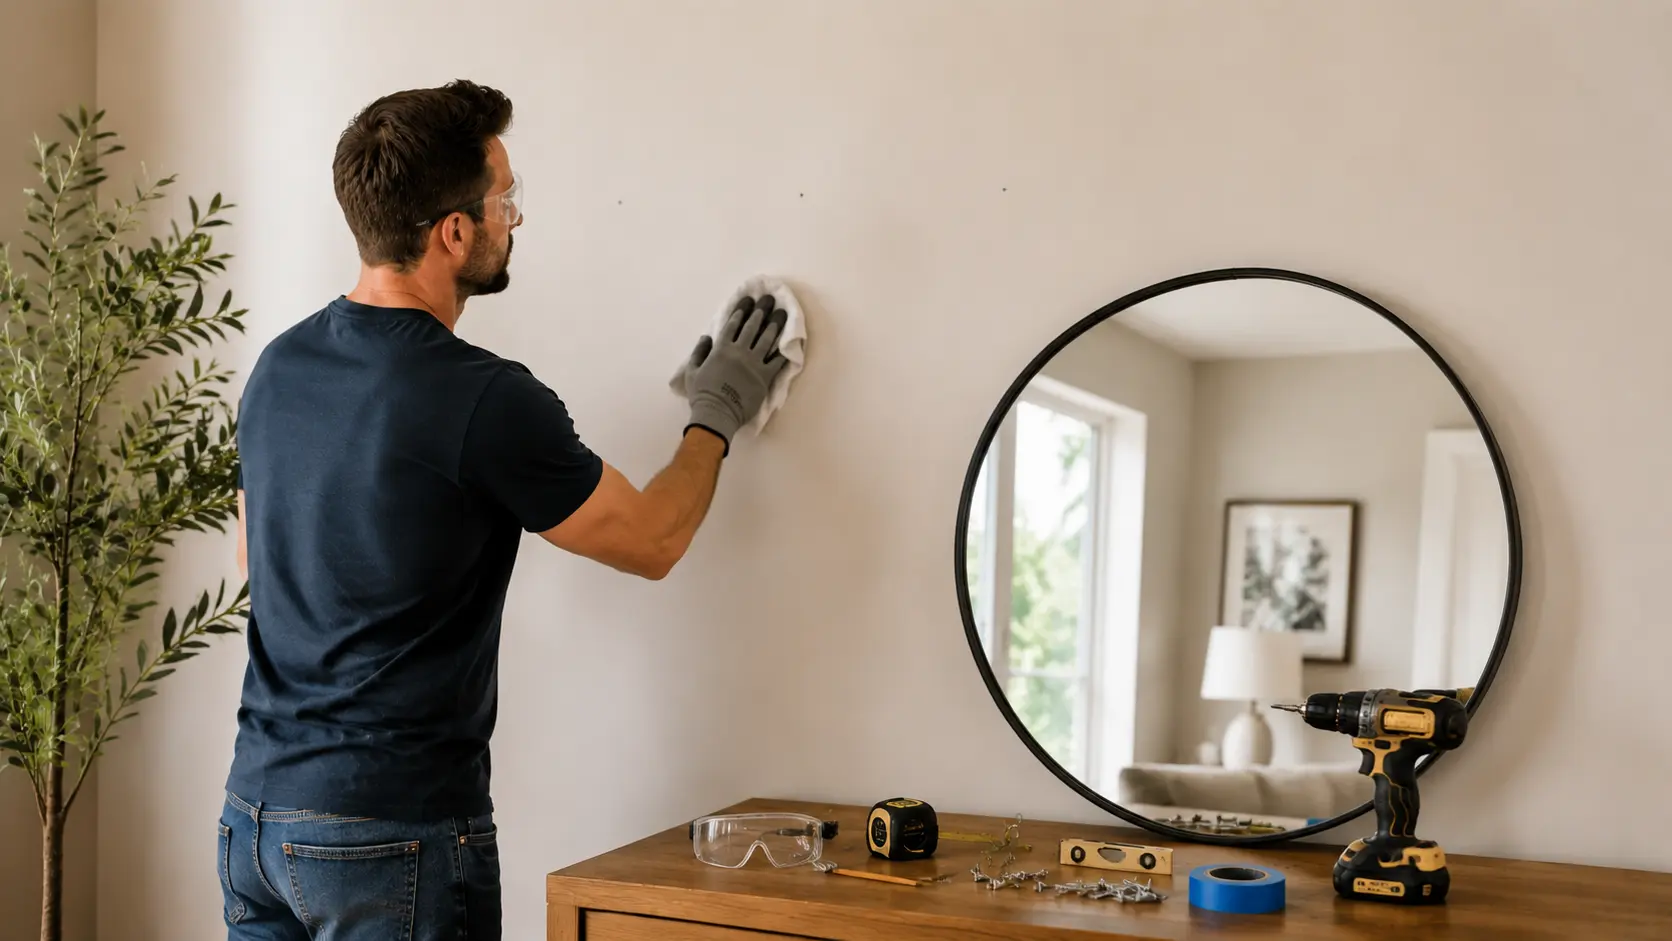
Put on your safety gloves and goggles before you begin. Clear the area directly beneath the installation zone in case anything slips during the process. Check that all tools are within reach before you start drilling.
If you are hanging a heavy mirror, have a second person available to hold the mirror steady while you position it on the wall.
Safety Warning: Before drilling, switch your stud finder to its AC wire-detection mode and scan the entire installation area. Drilling into electrical wiring is a serious hazard. If the finder detects live current, shift your drilling point at least two inches to the side and scan again.
Step 2: Mark Anchor Points and Cleat Position
For D-Ring and Wire Hanging: Measure the distance between the two D-rings on the back of the mirror. Transfer that measurement to the wall, centered on your desired location.
Mark both screw points with a pencil, then place your level across them to confirm they are perfectly aligned.
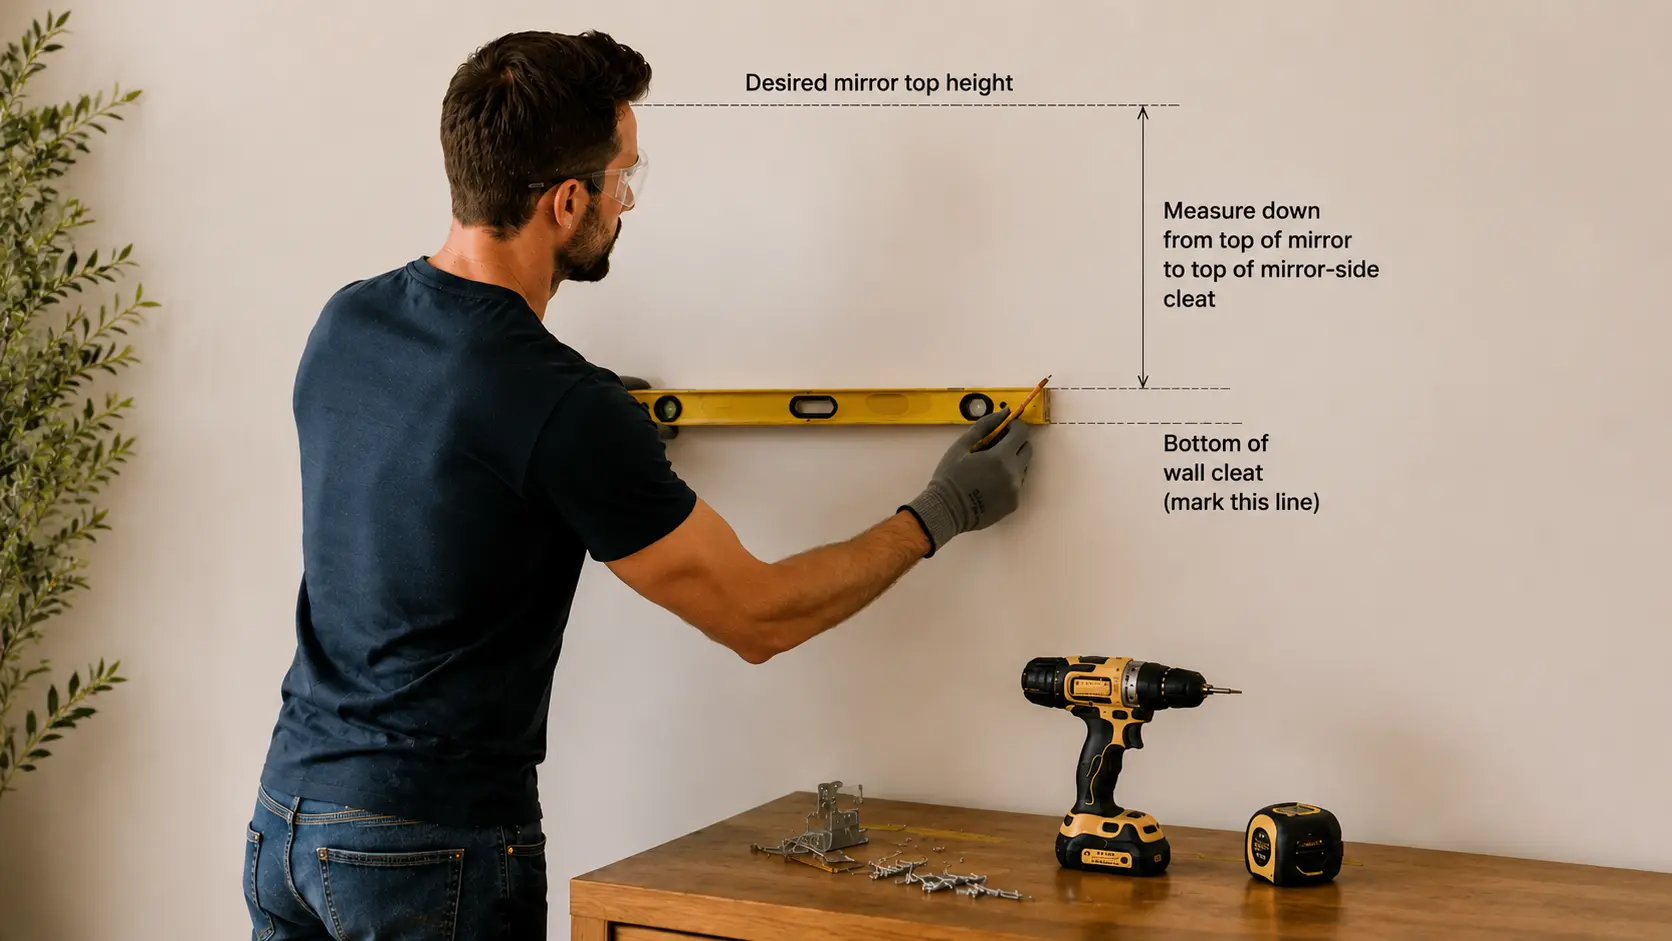
For French Cleat Installation: Mark the horizontal line where the wall-side cleat will sit. To find this line, measure the distance from the top of the mirror down to the top edge of the mirror-side cleat.
Subtract this number from your desired mirror top height. That result is where the bottom edge of your wall cleat needs to sit.
Step 3: Drill Holes and Attach Hardware
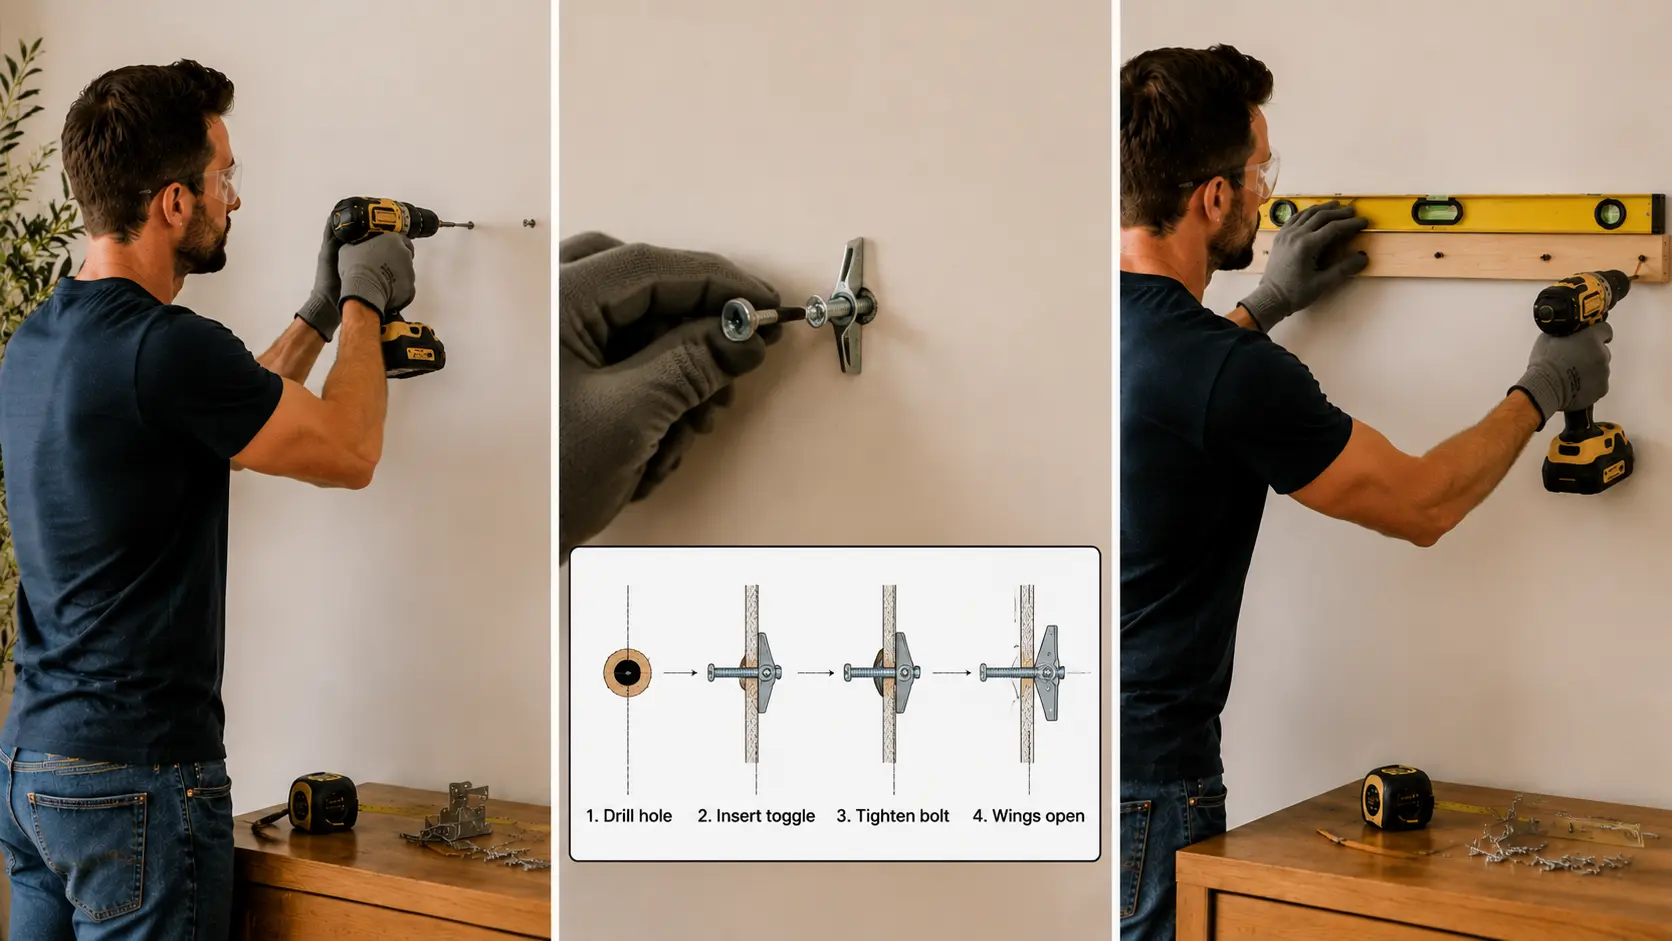
Into Studs: Use a drill bit slightly smaller than your screw diameter and drill a pilot hole at each marked point.
Drive wood screws (#10 or #12) into the stud, leaving about 1/4 inch of the screw head protruding to catch the D-ring or picture wire.
Into Drywall without Studs (toggle Bolts): Drill a hole sized to match your toggle bolt diameter. Collapse the toggle wings, push them through the hole, and tighten the bolt until the wings expand and pull snug against the back of the drywall.
For a French Cleat: Position the wall-side cleat on the marked line with the beveled edge facing upward. Place a long spirit level on top and confirm it is perfectly straight before driving any screws.
Fasten into the studs with structural wood screws. For a cleat spanning 32 inches across two studs, use at least three screws per stud.
Step 4: Hang the Mirror
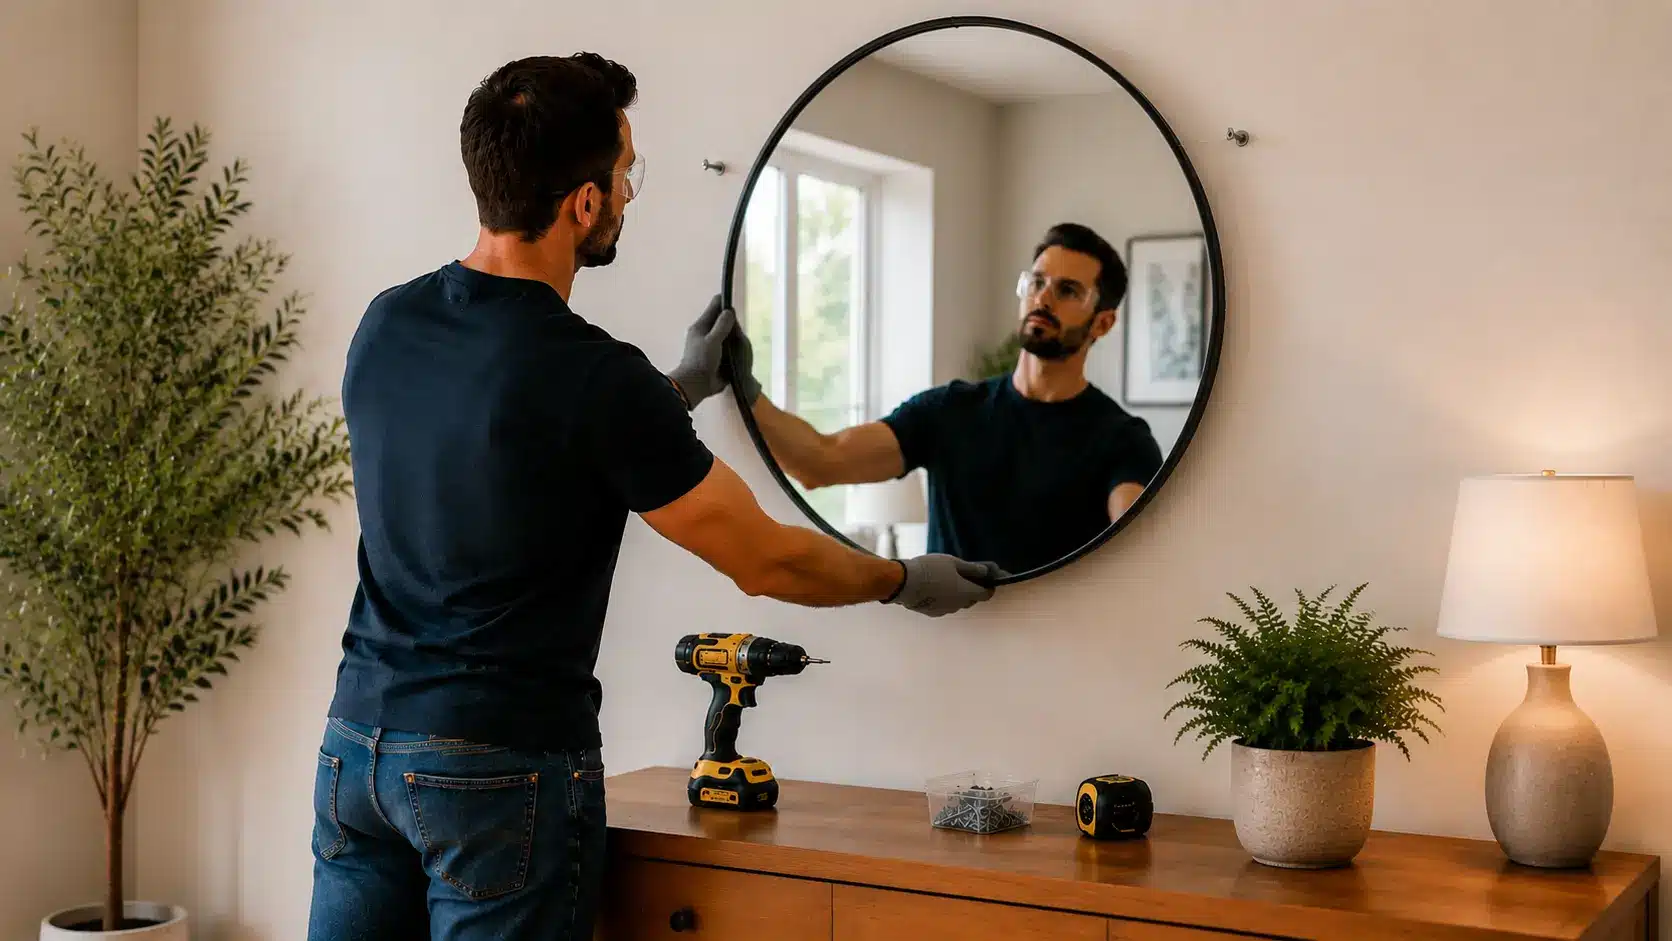
D-Ring and Wire Mirrors: Hook the wire over both screws or picture hooks at the same time. Let the wire settle and slide the mirror left or right to reach your final position.
French Cleat Mirrors: Attach the mirror-side cleat to the back of the mirror frame with the beveled edge facing downward and inward.
Lift the mirror, hook its cleat over the wall cleat, and slide it horizontally into your final position. The two interlocking bevels will lock together automatically under the mirror’s weight.
Frameless Mirrors with Clips: Install the bottom clips first and rest the mirror’s base on them. Then secure the side and top clips. Tighten screws gradually and evenly to avoid putting stress on the glass edges.
Safety Warning for Heavy Mirrors: Do not hang any mirror weighing over 30 lbs alone. The sudden shift in weight during placement can cause drops. Use a second person and consider placing rubber furniture pads under the mirror’s base while positioning it to reduce the risk of slipping.
Step 5: Check Level and Stability
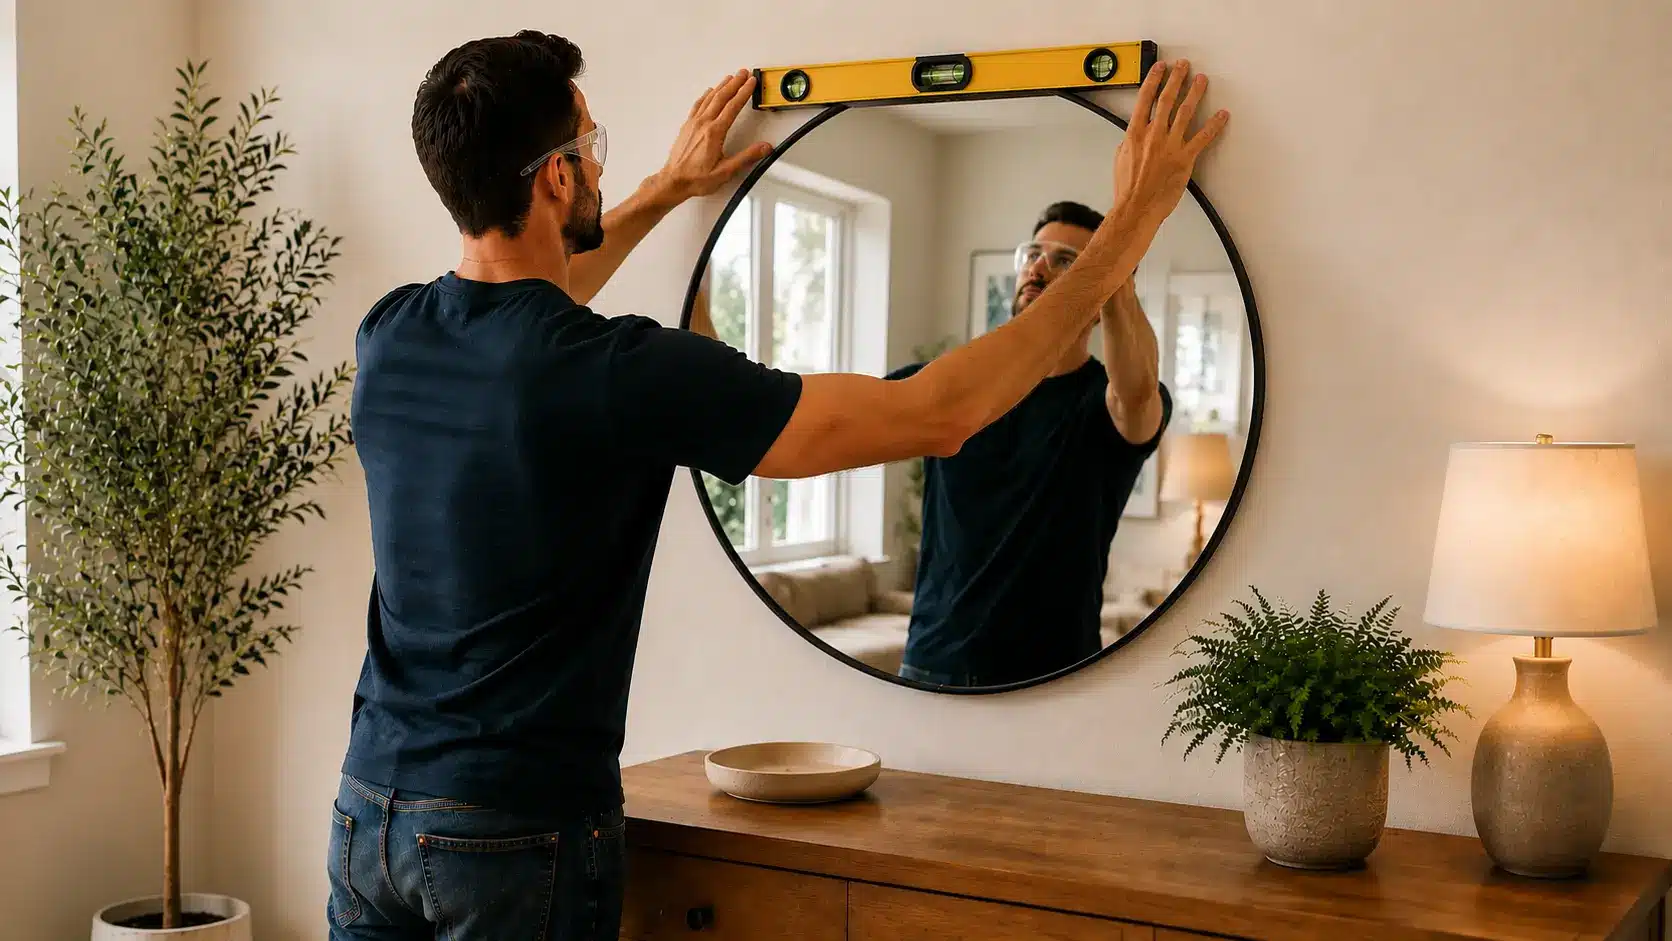
Place your level across the top of the mirror and confirm it reads perfectly straight. Gently press the mirror from both sides and push it slightly forward at the top.
It should not rock, tip, or shift. If it moves, check that all anchor points are fully tightened and seated correctly.
For wire-hung mirrors, press small rubber bumper pads onto the bottom back corners of the frame. These grip the wall slightly and prevent the mirror from tilting forward over time.
You can even make your room more attractive by creating a stunning mirror wall.
How to Hang a Mirror The Right Way
The right method depends on your mirror type and weight. Here is a breakdown of each option with weight limits and honest trade-offs.
1. Framed Mirrors: D-rings, Wire, and French Cleat
D-rings attached to the back of a framed mirror are the most common setup for mirrors under 50 lbs.
Two D-rings sit on either side of the frame, connected by picture wire that hangs from screws or hooks in the wall.
For framed mirrors over 50 lbs, a French cleat is the safer option. According to Engineer Fix, a French cleat distributes the mirror’s weight evenly across its full length rather than concentrating it at two small points.
Aluminum French cleat kits, such as the OOK 30-inch system, available at Home Depot, are rated up to 300 lbs.
2. Frameless Mirrors: Clips and Adhesive Options
Frameless mirrors require either mirror clips (J-channels) screwed into the wall or mirror adhesive. Mirror clips hold the glass in place from the edges and work well for mirrors up to 30 lbs.
Mirror mounting tape suits lightweight frameless mirrors under 15 lbs on smooth, clean surfaces, but note that it is a permanent solution that is difficult to reverse.
3. Heavy Mirrors: French Cleat for Maximum Safety
For any mirror weighing more than 50 lbs, a French cleat is the recommended approach. The system consists of two interlocking aluminum or wood strips, each cut at a 45-degree bevel.
One strip mounts to the wall, and the other attaches to the back of the mirror. Gravity locks the two pieces together, distributing weight horizontally across multiple studs.
| Hanging Method | Best For | Weight Limit | Pros | Cons |
|---|---|---|---|---|
| D-rings and wire | Framed mirrors | Up to 50 lbs | Easy to level, widely available | Wire can stretch over time |
| Mirror clips (J-channel) | Frameless mirrors | Up to 30 lbs | Clean look, minimal hardware | Less secure for heavier glass |
| Mirror adhesive tape | Frameless, lightweight | Up to 15 lbs | No holes in the wall | Permanent, difficult to remove |
| French cleat (aluminum) | Heavy mirrors | Up to 300 lbs | Extremely secure, even weight distribution | Requires more installation steps |
| Toggle bolts and screws | Any wall type | Up to 200 lbs per anchor | Works without studs | Larger wall holes, harder to reverse |
According to Engineer Fix, the cleat should span at least 75% of the mirror’s width and be anchored to at least two wall studs. For standard 16-inch stud spacing, a cleat 32 inches or longer hits at least three studs.
Troubleshooting and Common Mistakes
|
Conclusion
A well-hung mirror should feel as solid as the wall itself. If it wobbles, shifts, or tilts after installation, something in the process needs to be revisited before it becomes a hazard.
Go back to the hardware choice first, then check the anchor points, then the level. Most problems trace back to one of those three.
Take the extra ten minutes to do it right, and you will not think about that mirror again for years. That is the goal every time.
Frequently Asked Questions
How Do I Hang a Mirror Without Studs?
Use toggle bolts or snap toggles rated for more than your mirror’s weight. Install at least two anchor points spaced 12 to 24 inches apart for stability.
What Weight Can Drywall Anchors Support?
Toggle bolts hold 90 to 200 lbs, depending on their size. Plastic expansion anchors hold only 10 to 15 lbs and are not suitable for mirrors.
Can I Hang a Large Mirror Alone?
Not safe if it weighs more than 30 lbs. Use a second person to hold the mirror steady while you position and lock it.
How Do I Safely Remove a Mirror?
Lift the mirror straight up and off the hooks or cleat with a second person supporting the base. Remove anchors carefully to avoid cracking the surrounding wall surface.