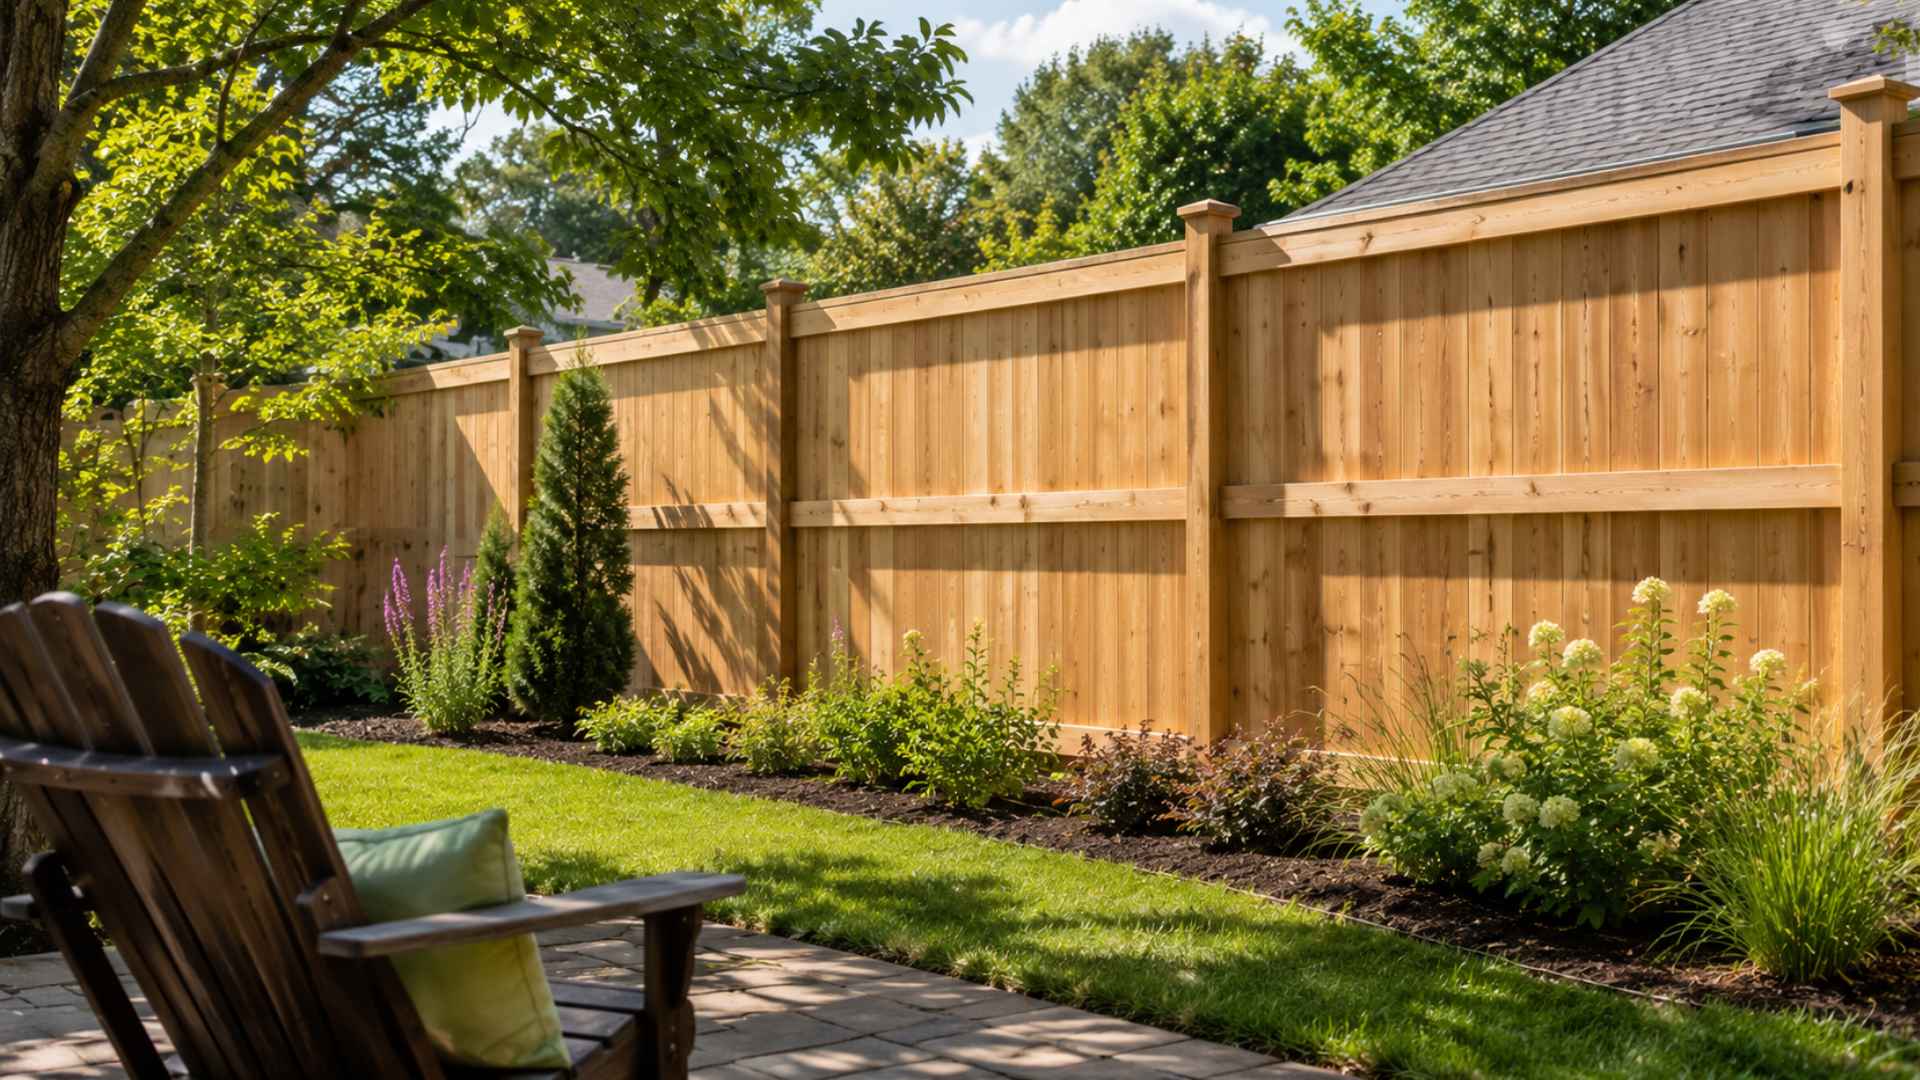
The neighbors can see everything. The kids next door won’t stop staring. And that relaxing backyard moment? Gone.
Privacy matters. But hiring someone to build a fence can cost thousands of dollars. That feels out of reach for most homeowners.
The cheapest way to build a privacy fence is simpler than most people think. No fancy tools. No contractor needed. Just smart material choices and a free weekend.
Wood pallets can cost almost nothing. Bamboo rolls go up in an afternoon. Pressure-treated pine lasts for years without breaking the bank.
Even if the yard is big or small, there is a budget-friendly fence solution that actually works, without draining a savings account.
Cheapest Privacy Fence Materials Compared
The material you choose has the biggest impact on your overall fence cost. Picking the right option can help you keep expenses low while still getting a fence that meets your privacy needs.
| Material | Avg. Cost/Linear Ft | DIY Friendly? | Durability |
|---|---|---|---|
| Wood pallets | Free–$5 | Yes | Medium |
| Bamboo/Reed rolls | $1.50–$3 | Yes | Medium |
| Pressure-treated pine | $3–$6 | Yes | High |
| Lattice panels | $2–$4 | Yes | Medium |
| Cedar boards | $5–$8 | Yes | High |
If your goal is the lowest possible cost, wood pallets are often the clear winner and can sometimes be found for free. For the best balance of price, strength, and lifespan, pressure-treated pine pickets offer the strongest value.
How to Build a Budget-Friendly Privacy Fence

A simple pine or cedar board fence is one of the most practical DIY options. It gives privacy, keeps costs manageable, and works for most yards.
Step 1: Measure Your Space
Start by measuring the full fence line in linear feet. Mark where the fence will begin, end, and turn corners. This helps you estimate how many posts, rails, and boards you need before buying materials.
Add a little extra for cuts, mistakes, or uneven areas.
Step 2: Buy Budget-Friendly Materials
Choose pressure-treated posts for strength and pine boards for a lower-cost fence. Cedar boards cost more, but they can last longer with proper care.
Compare prices at local lumberyards and home improvement stores, since small price differences can add up quickly on a long fence line.
Step 3: Stain Boards Before Installing
Staining the boards before installation is usually easier than working around posts and tight gaps later. Lay the boards flat, apply stain evenly, and let them dry fully.
This also helps cover edges and cut ends, which are often missed when staining after the fence is built.
Step 4: Set Your Posts
Place your posts where you marked them, keeping spacing even. Post base brackets can help you avoid concrete in some situations, which may save around $30 to $50.
Make sure each post is straight and secure before moving ahead, since uneven posts can throw off the whole fence.
Step 5: Install Horizontal Rails
Attach horizontal rails between the posts to support the fence boards. For fences under 5 feet tall, two rails are usually enough.
Taller fences often need three rails for better strength. Use a level as you work so the rails stay straight from one post to the next.
Step 6: Attach the Fence Boards
Start attaching boards from the bottom and work across the fence line. Use a level often, especially with the first few boards, because they set the pattern for the rest.
Leave about a 1/2-inch gap between boards to allow for wood movement and drainage.
Step 7: Finish with Sealant
Once the boards are installed, apply a clear sealant or outdoor wood protector. This helps guard the fence against moisture, sunlight, and everyday weather exposure.
Pay close attention to cut ends and lower boards, since those areas tend to absorb more moisture over time.
Safety Note: Before digging or setting posts, contact your local utility marking service to avoid damaging buried cables, pipes, or gas lines.
4 Cheapest DIY Privacy Fence Ideas That Actually Work

If you’re trying to create backyard privacy without spending thousands, these DIY fence ideas offer practical solutions for different budgets, spaces, and skill levels.
1. Wood Pallet Fence: Practically Free
A pallet fence is one of the lowest-cost privacy options available for homeowners.
- Find free pallets on Facebook Marketplace, Craigslist, at warehouses, or from local grocery stores.
- Stand pallets upright and secure them between sturdy fence posts.
- Requires only basic tools and minimal woodworking skills.
- Total project cost is often between $0 and $50.
- Works well around gardens, backyard seating areas, and property boundaries.
A pallet fence provides quick privacy with little upfront investment and can be customized with paint or stain.
2. Bamboo/Reed Roll Fence: Easiest to Install
Bamboo and reed rolls offer a simple privacy screen with minimal setup.
- Roll the material along an existing fence or frame.
- Secure it using zip ties, wire, or outdoor fasteners.
- Costs about $1.50 to $3 per square foot.
- Lightweight and easy to remove when needed.
- Ideal for patios, balconies, and rental properties.
This option provides instant privacy without requiring permanent structural changes to your outdoor space.
3. Pressure-Treated Pine Picket Fence: Best Long-Term Value
Pressure-treated pine remains one of the most popular choices for budget-conscious homeowners.
- Set pressure-treated posts at even intervals.
- Install horizontal rails between the posts.
- Attach pine pickets to create a solid privacy barrier.
- Costs roughly $3-$6 per linear foot.
- Can last 15–20 years with occasional staining and maintenance.
For homeowners balancing cost and durability, pine pickets often provide the strongest long-term value.
4. Lattice Panel Fence: Great for Small Spaces
Lattice panels provide privacy while maintaining a lighter, more open appearance.
- Lightweight panels are easy to cut and install.
- Can be attached to wood or metal frames.
- Costs less than $30 for an 8-foot section in many areas.
- Works well in small yards and patio spaces.
- Supports climbing plants such as ivy, jasmine, or clematis.
As plants grow through the lattice, the fence becomes denser, providing additional natural privacy.
For inspiration on how different designs can still look finished even on a budget, consider a wider range of wood fence styles that balance privacy with design flexibility.
How Much Does a DIY Privacy Fence Cost?
The total cost of a DIY privacy fence depends on the size of your project and the materials you choose. Even larger fences are often far less expensive than hiring a contractor.
| Project Size | Estimated DIY Cost |
|---|---|
| Small patio screen (10 linear ft) | $30–$80 |
| Standard backyard fence (50 linear ft) | $150–$400 |
| Full yard fence (150+ linear ft) | $500–$1,200 |
| Professional contractor installation | $1,500–$4,000+ |
Building the fence yourself can save hundreds or even thousands of dollars in labor costs. The biggest factors affecting price are fence length, material choice, and whether you already own basic tools.
Money-Saving Tips When Building a Privacy Fence
A few smart choices can lower your fence costs without compromising the final result or making it feel weak or temporary. Focus your budget on structure first, then extras.
- Buy lumber in bulk: Larger orders may qualify for store discounts, especially when buying posts, rails, and boards together.
- Shop end-of-season sales: Fall and winter sales can lower material costs, since fewer homeowners start outdoor projects then.
- Use post base brackets: In some cases, brackets can reduce concrete use and speed up post installation.
- Source free pallets locally: Ask local businesses or check online listings for clean, safe pallets before buying new boards.
- Skip decorative post caps: Plain posts work fine, and caps can always be added later when the budget allows.
- Use galvanized screws: They cost a little more upfront but resist rust and help prevent dark stains on wood.
Small savings add up quickly across a full fence line. Spend money on strong posts, proper fasteners, and weather protection before adding decorative details.
Your final pick depends on your budget, space, and how long you want the fence to last.
If you’d like more inspiration, these fence projects you can build yourself cover everything from simple privacy fences to decorative backyard designs.
Conclusion
Building a privacy fence does not have to drain your budget. From free wood pallet fences to durable pressure-treated pine pickets, affordable options can work for nearly every yard and skill level.
Choosing the right materials, planning carefully, and using a few cost-saving strategies can help you create privacy without paying high installation costs.
Have you tried a low-cost fencing idea that worked well for your yard? Share your experience in the comments below.
Frequently Asked Questions
How Tall Should a Privacy Fence Be?
Most homeowners choose fences between 6 and 8 feet tall, depending on local regulations and privacy requirements.
Can a Privacy Fence Help Reduce Noise?
A solid fence can reduce some outdoor noise, though it will not completely block traffic or neighborhood sounds.
What Is the Lowest-Maintenance Fencing Material?
Vinyl typically requires less maintenance than wood, needing only occasional cleaning to maintain its appearance.
How Often Should a Wooden Fence Be Inspected?
Check your fence at least once yearly for loose boards, insect damage, rot, or weather-related wear.