
I often find myself drawn to clay whenever I want to slow down and make something simple yet satisfying.
Something is calming about shaping it by hand and watching it turn into small, cute pieces with their own personality.
It requires just a bit of time, patience, and imagination, and that makes it easy to enjoy even on busy days.
Over time, I’ve realized how many cute things I can make out of clay using basic shapes and simple techniques.
From tiny figures to soft decorative pieces, each creation feels unique and personal, almost like it carries its own little story once it is finished and left to dry.
Cute Things to Make Out of Clay
Cute things to make out of clay are small, creative objects that turn simple clay into charming and personal crafts.
These can include tiny animals, mini food shapes, jewelry pieces, trinket dishes, and decorative home accents that feel playful and aesthetic.
What makes clay so popular in craft spaces is its ability to transform basic hand-shaped forms into detailed, expressive items without needing expensive tools or equipment.
These projects are often loved for their beginner-friendly nature and visual appeal, especially when shared as gifts or room decor.
Each piece carries a handmade feel, making even the simplest design look special and unique.
Tools You NeedThese seven tools cover most clay projects:
|
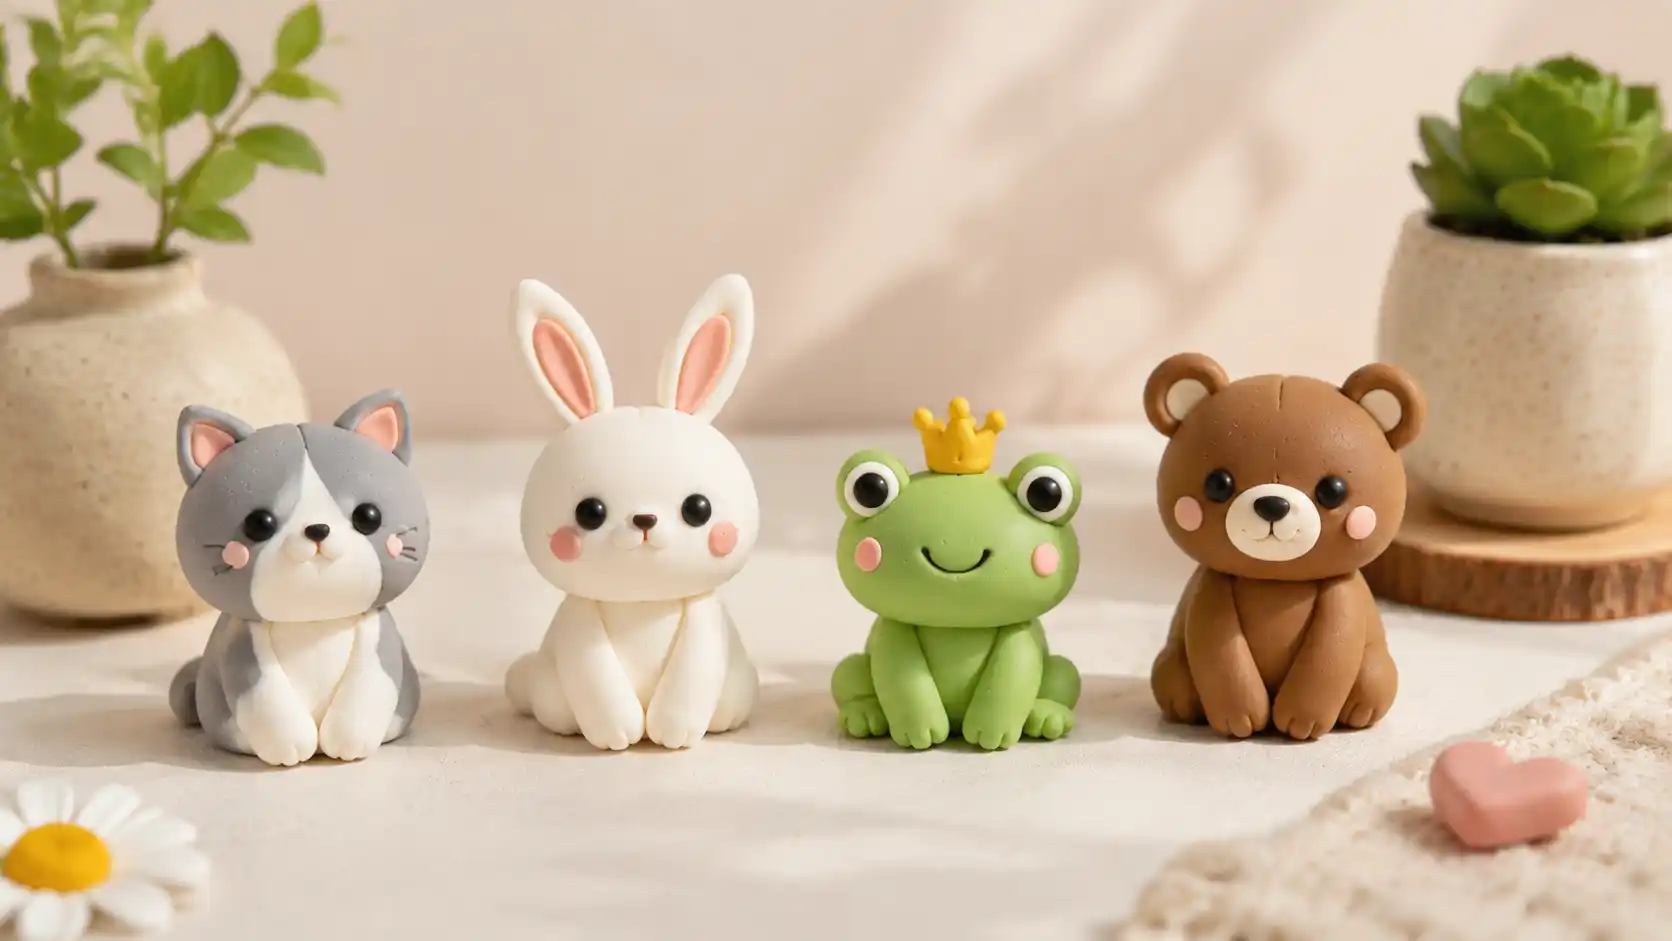
Cute Clay Animals and Mini Figurines
Animal figurines are the most popular clay projects because they are simple, cute, and highly customizable.
These beginner-friendly ideas use basic shapes and minimal tools for easy crafting.
1. Mini Clay Cat Figurine
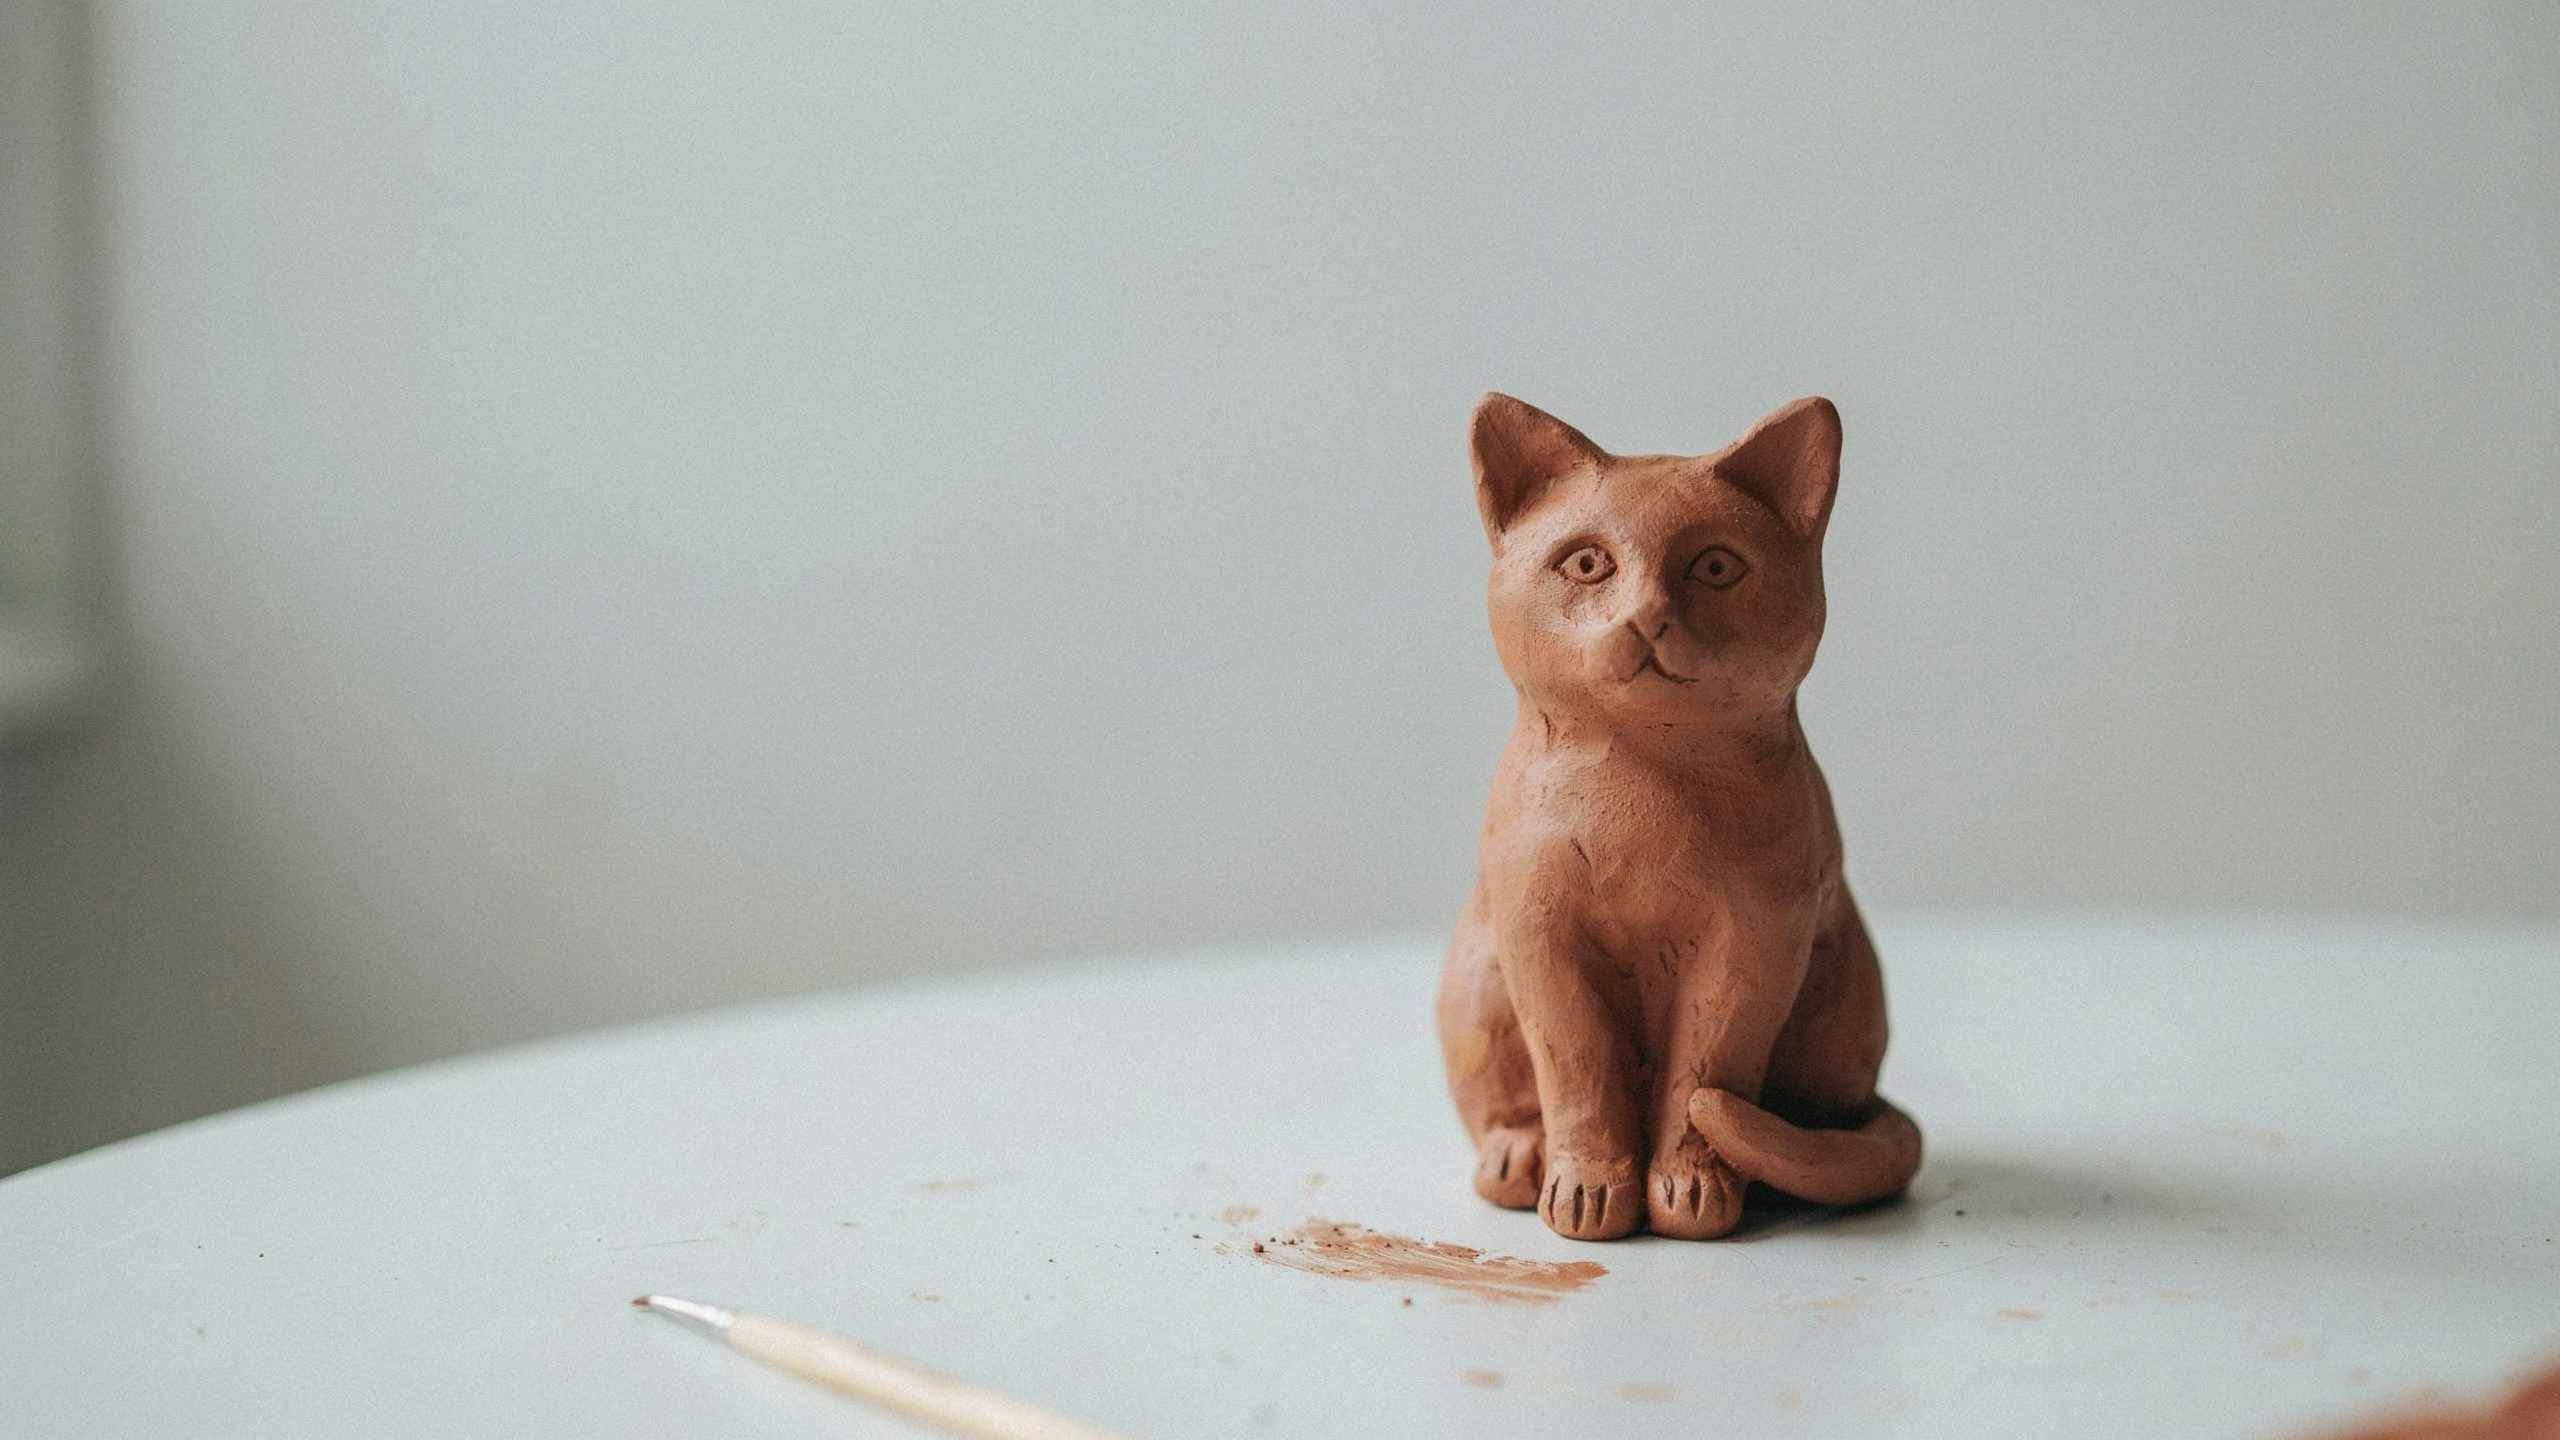
A small sitting cat made using simple ball and pear-shaped clay forms. It is an easy beginner project with smooth, rounded edges and a stable structure.
Step 1: Roll pear-shaped body and flatten base slightly for balance.
Step 2: Shape the round head and carefully attach it to the top of the body.
Step 3: Pinch the small triangular ears and place them evenly on the head.
Step 4: Add a thin tail and gently smooth all joints with your fingers.
Pro tip: Score all joining areas lightly so pieces bond strongly and avoid cracking during the drying process.
2. Tiny Bunny Sculpture
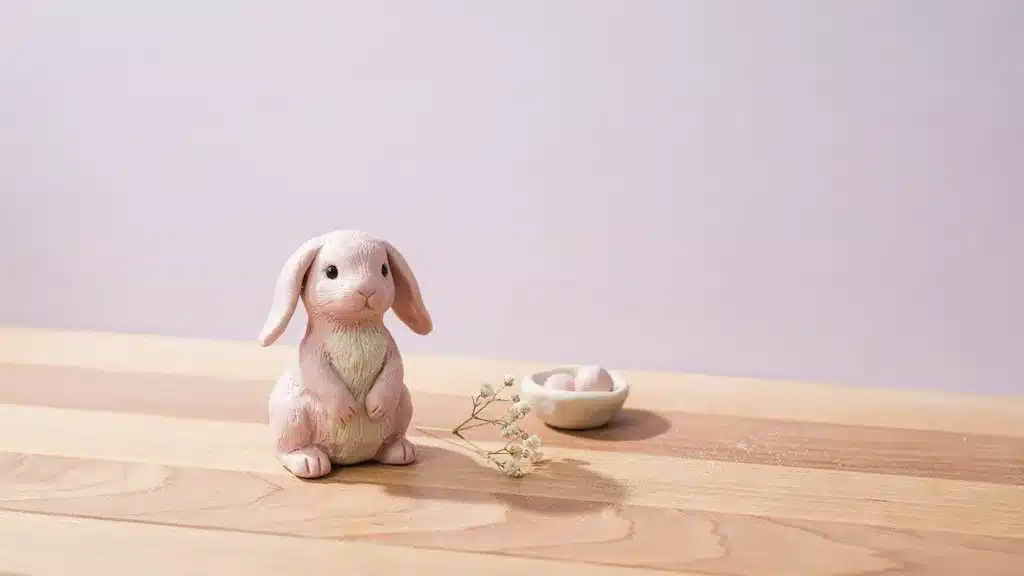
A soft bunny figure created using teardrop body and long ear shapes. This simple design works well for decor or handmade gifting projects.
Step 1: Form teardrop body and press flat base for standing support.
Step 2: Carefully attach the rounded head to the top of the body.
Step 3: Shape thin ear strips and fix them onto the head surface.
Step 4: Add a small tail ball and leave the entire piece to dry.
Pro tip: Slightly bending the ears inward gives the bunny a softer, more natural, handmade appearance overall.
3. Cute Frog with a Crown
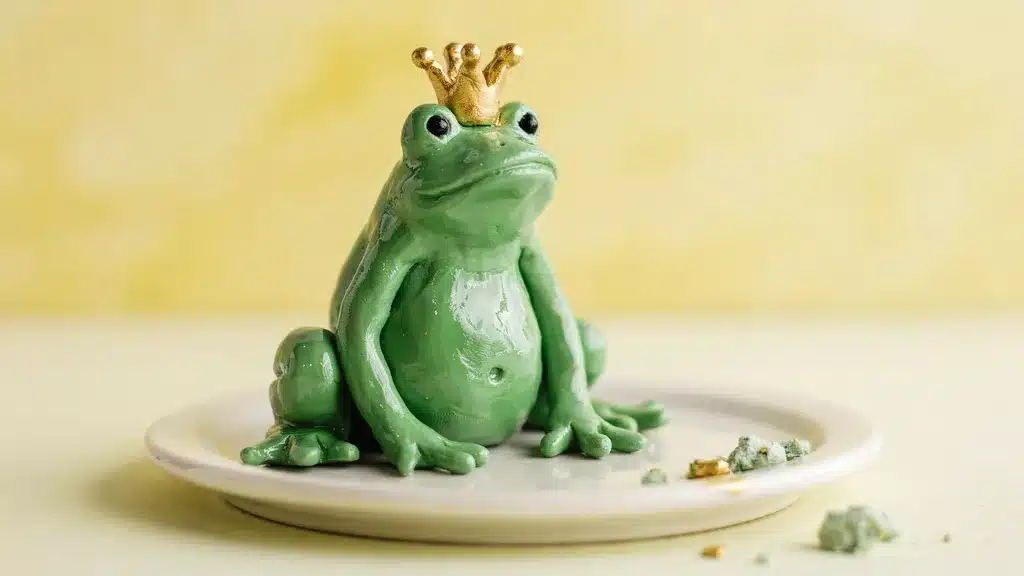
A playful frog design featuring large eyes and a tiny decorative crown. It is one of the most shared Pinterest clay ideas.
Step 1: Shape the round clay body and slightly flatten the bottom for stability.
Step 2: Attach large eyeballs on top and smooth connection points.
Step 3: Form small foot pieces and attach them carefully to the front side.
Step 4: Create a crown strip and place it gently on the frog’s head.
Pro tip: Use rounded tools for eye impressions to easily achieve smooth, even circular detailing.
4. Mini Bear Figurine
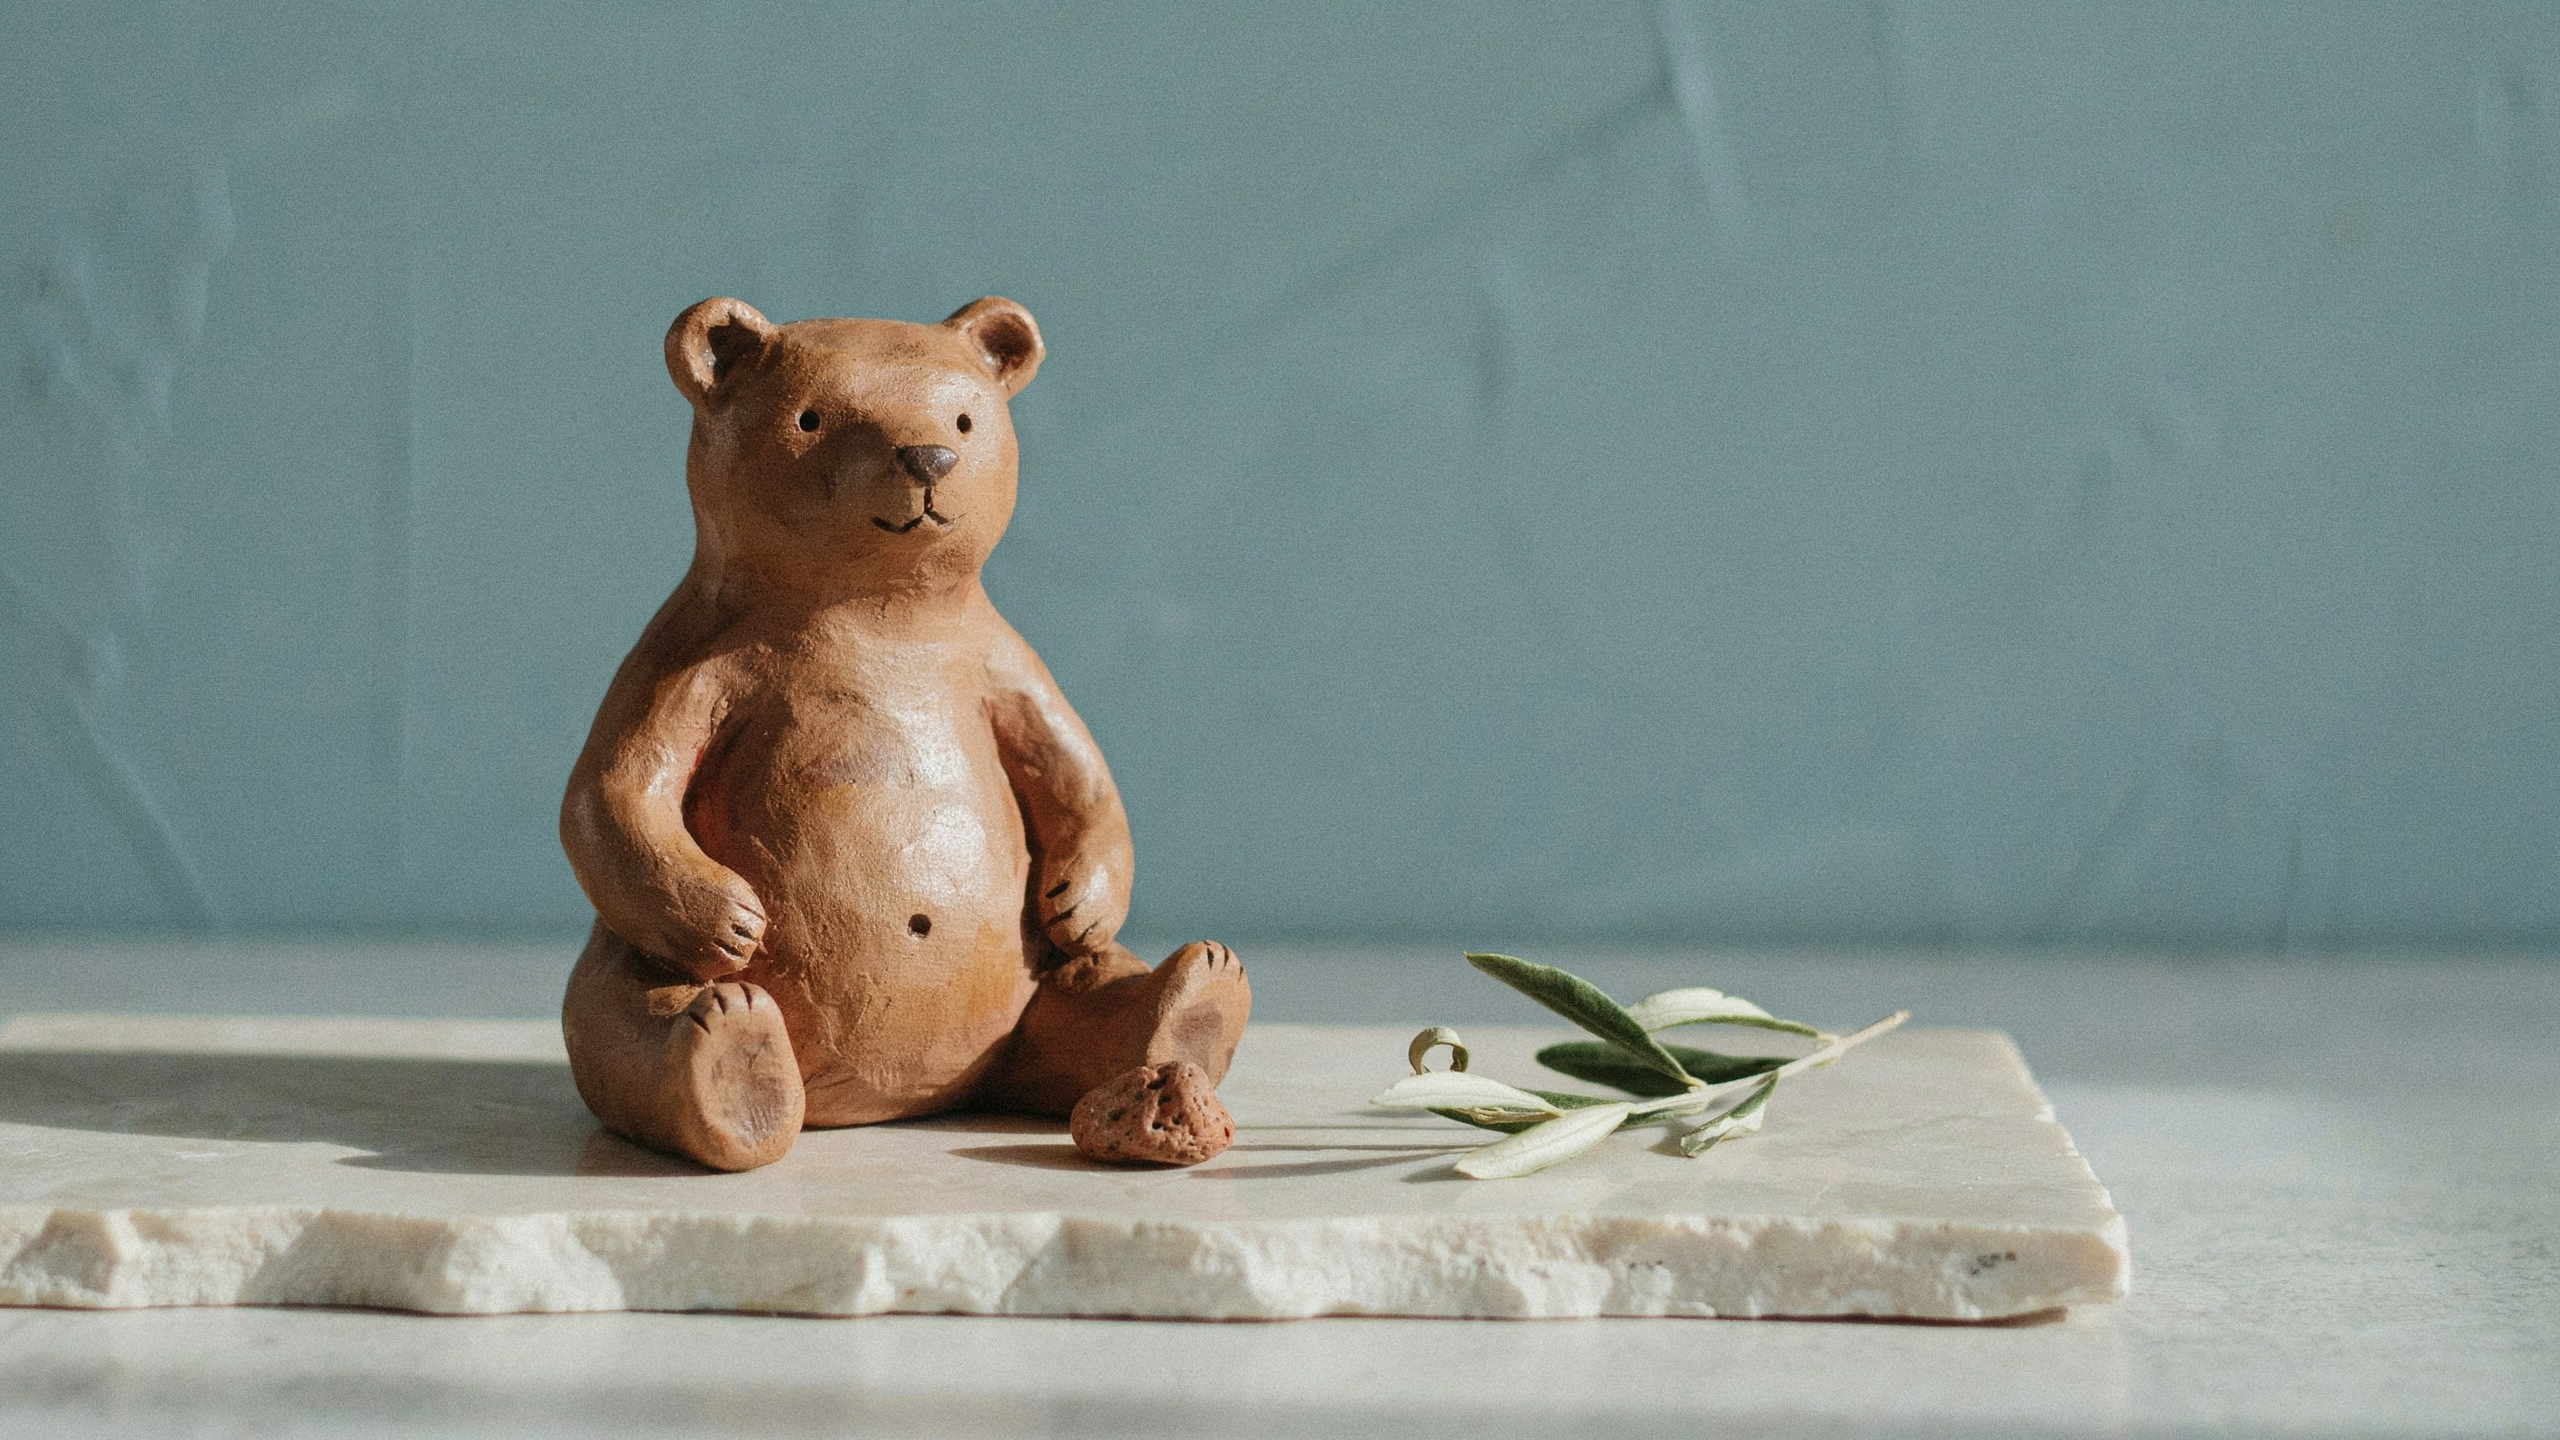
A rounded bear made using simple spheres and short cylindrical limbs. It is beginner-friendly and ideal for decorative shelf pieces or gifts.
Step 1: Shape the body and head spheres, then gently press them together.
Step 2: Attach small circular ears on top of the head.
Step 3: Form short limb pieces and attach evenly on both sides.
Step 4: Allow the surface to dry before fully painting or decorating.
Pro tip: Light scoring at joints keeps limbs attached securely while clay dries and shrinks naturally.
5. Mushroom House Set
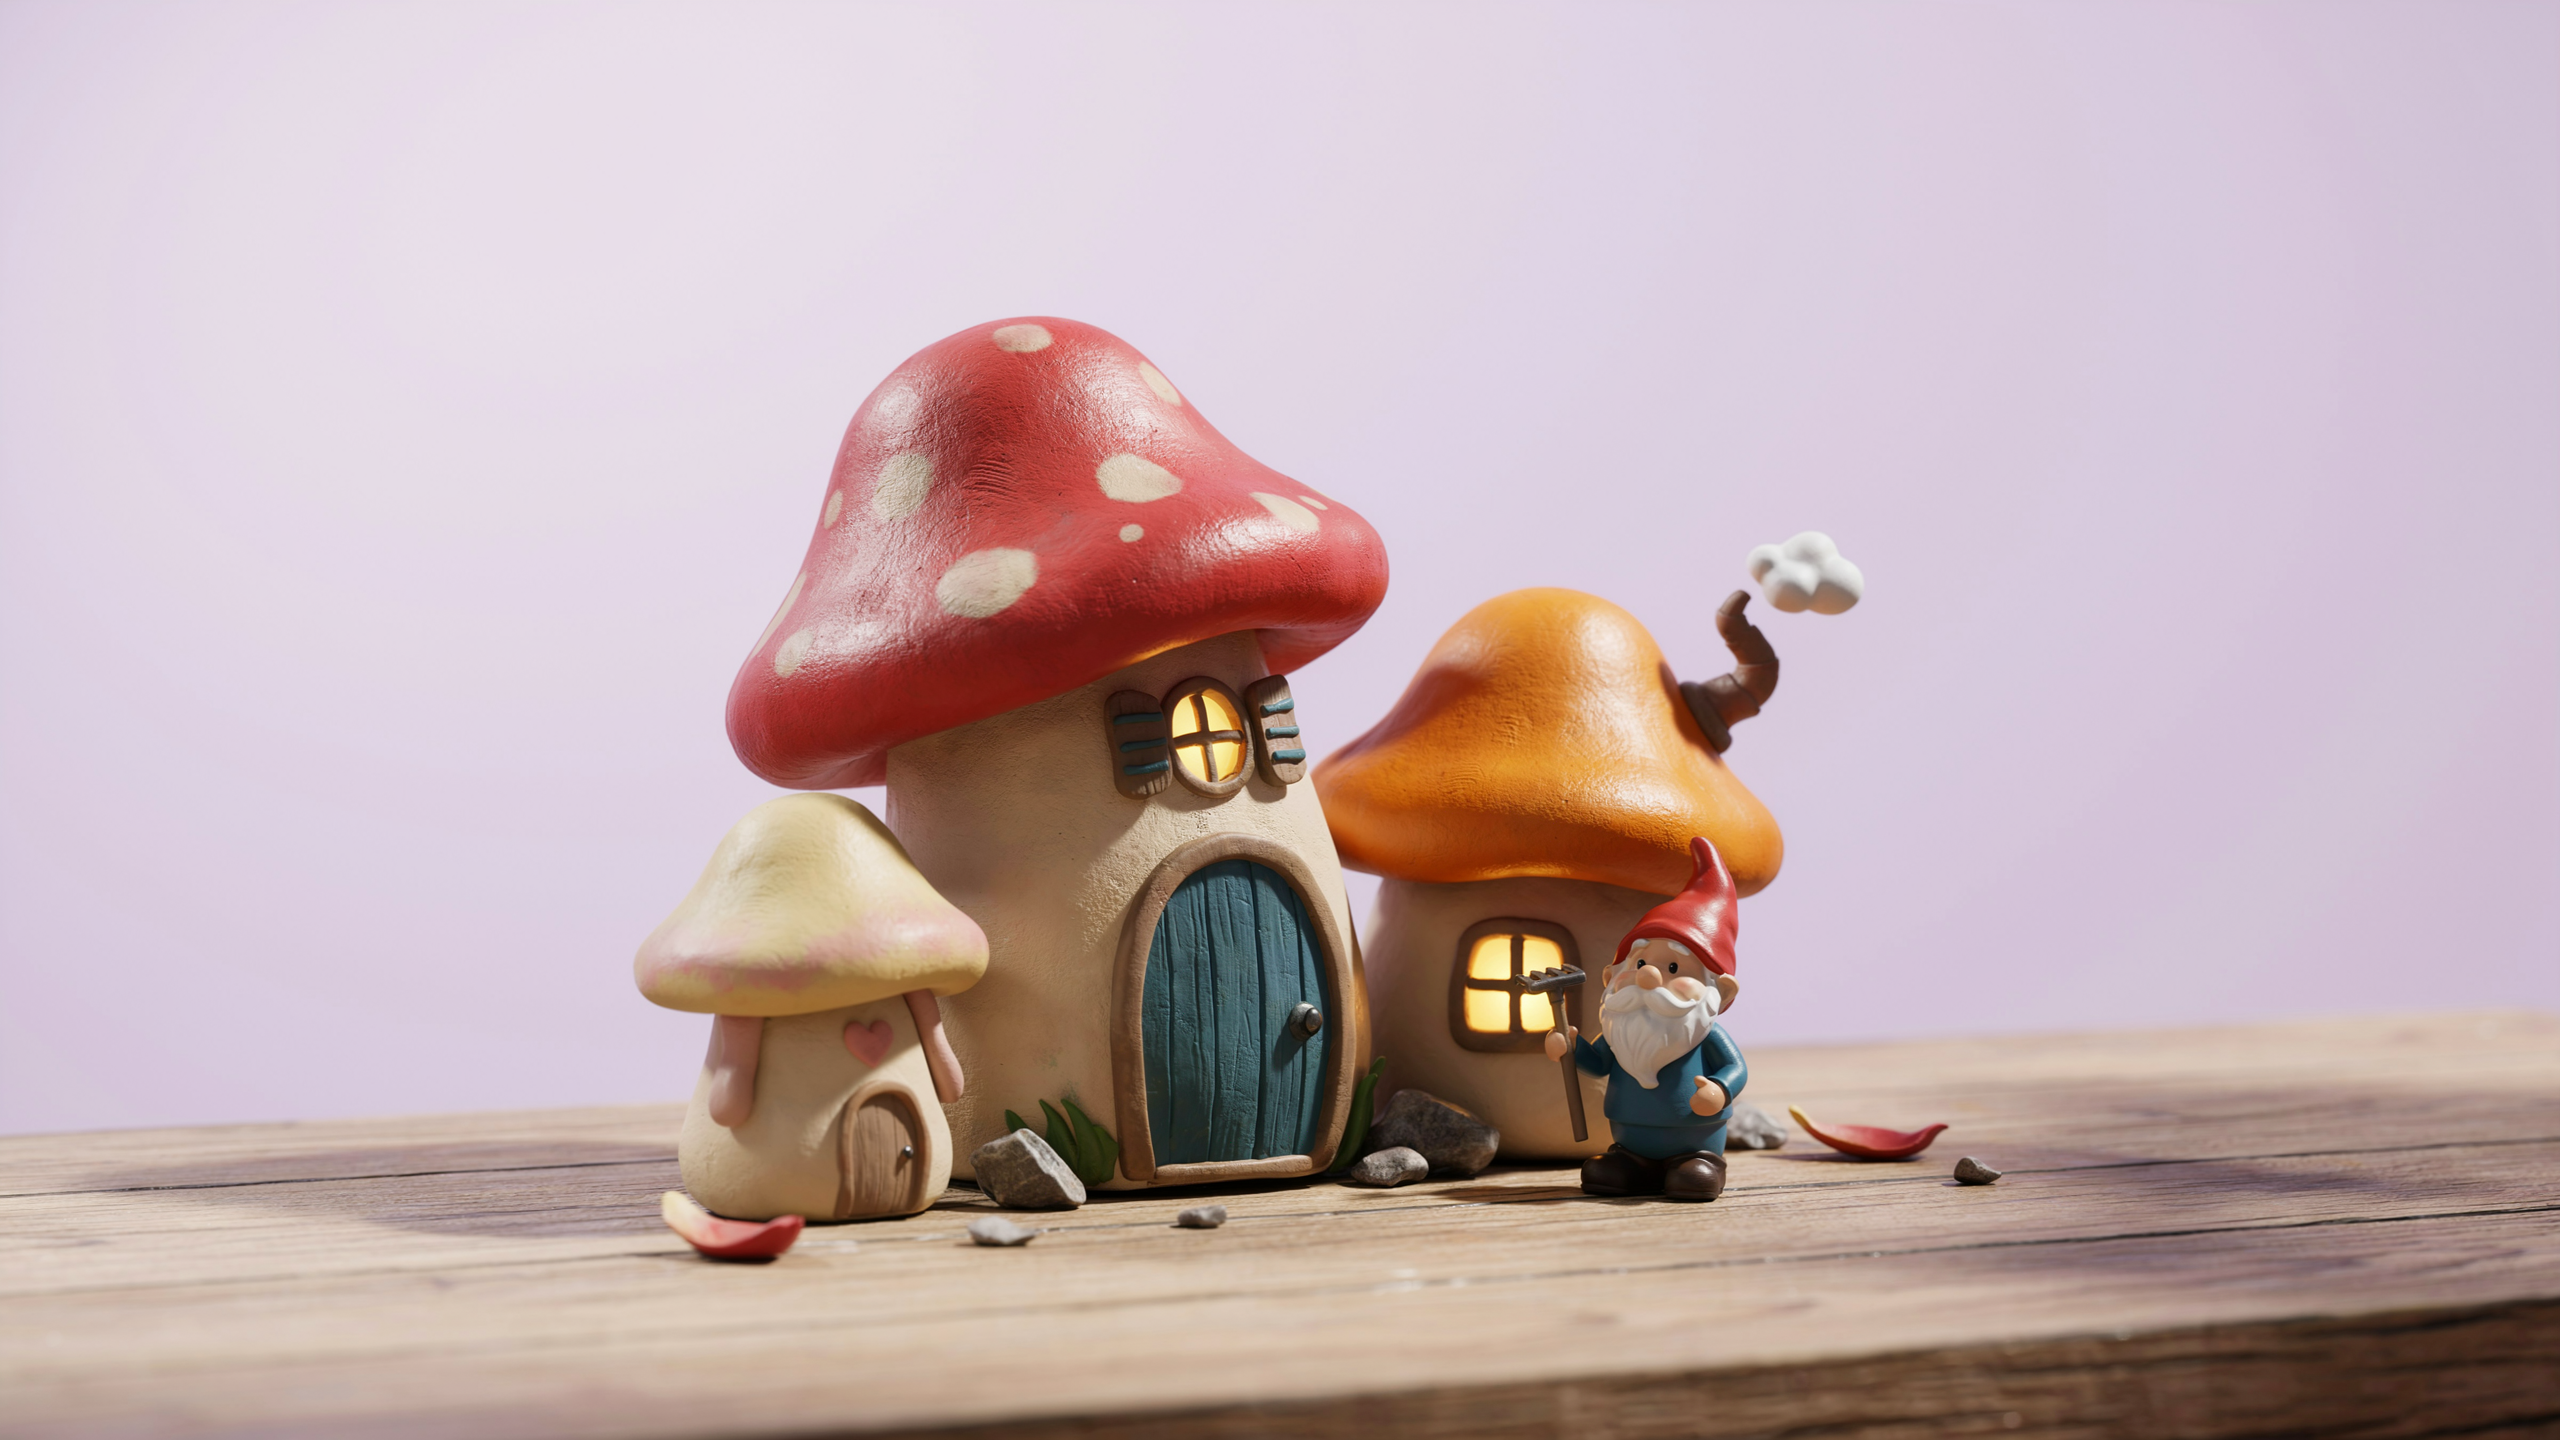
A whimsical clay mushroom house with decorative caps, doors, and tiny windows. It is often made as a set for display purposes.
Step 1: Shape the cylinder base and ensure it stands upright and is stable.
Step 2: Add a dome mushroom cap and secure it on top.
Step 3: Carve door and window details using a small, pointed tool.
Step 4: Add dot textures evenly across the AP surface before drying.
Pro tip: Support the base while drying to prevent leaning or uneven shape distortion over time.
6. Clay Duck or Chick Figure
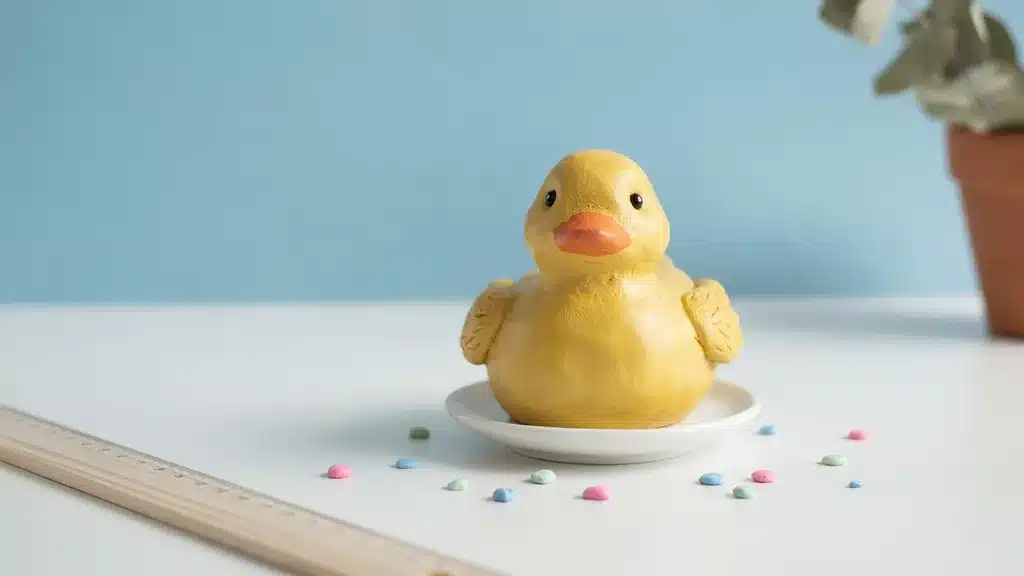
A simple bird figure made using teardrop shapes and minimal detailing. It is perfect for spring-themed or beginner clay projects.
Step 1: Shape the teardrop body, with the wide end as the base.
Step 2: Carefully attach the rounded head to the narrow top section.
Step 3: Add a small beak shape and press gently into the face.
Step 4: Create eye dots and allow them to dry before painting fully.
Pro tip: Add a tiny tuft of hair before drying to enhance character and a playful, handmade appearance.
7. Sea Turtle or Ocean Charm
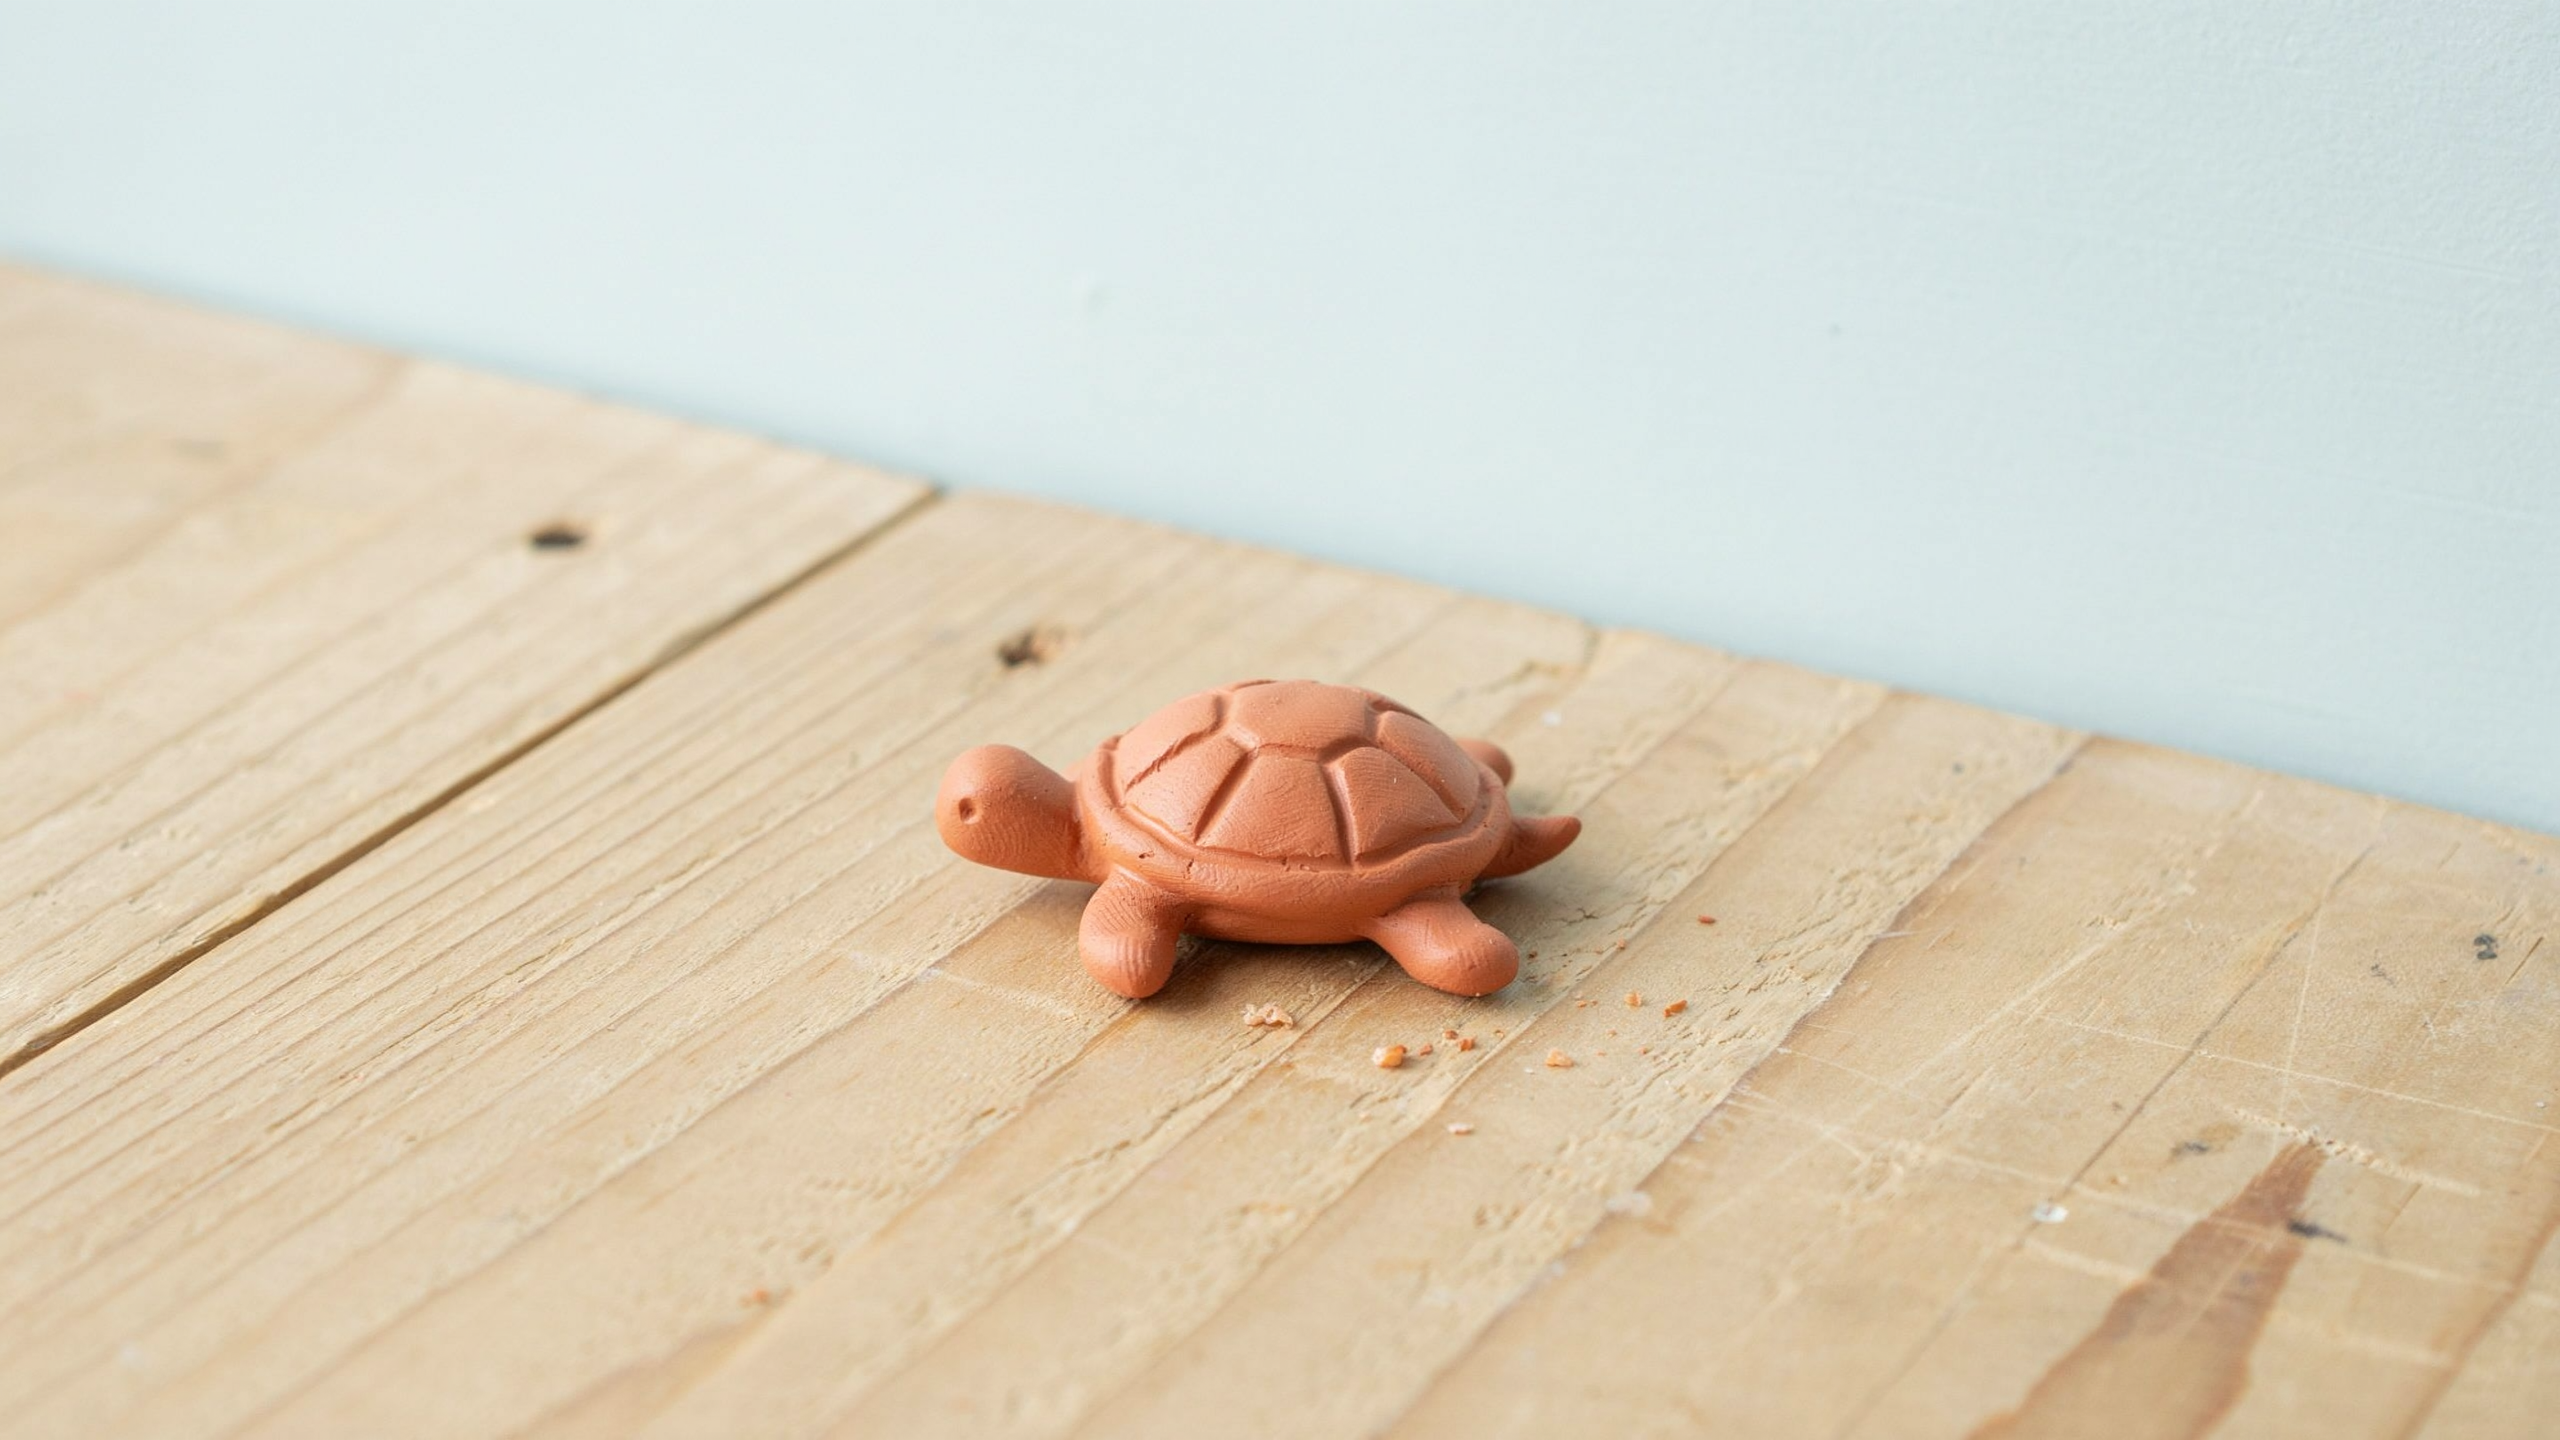
A flat decorative charm featuring a textured shell and small flippers. It is commonly used for keychains or small handmade gifts.
Step 1: Form a flat, oval shell and carefully smooth all outer edges.
Step 2: Attach flippers evenly around the shell edges to ensure a balanced structure.
Step 3: Add a small headpiece at the front and secure gently.
Step 4: Press shell texture lines evenly across the entire surface.
Pro tip: Light pressure creates clean shell patterns without cutting too deeply into the clay surface.
Cute Clay Trinkets and Home Decor
Clay trinkets are both decorative and functional pieces used for storage, gifting, and home styling.
These beginner projects are simple yet visually appealing.
8. Jewelry Trinket Dish
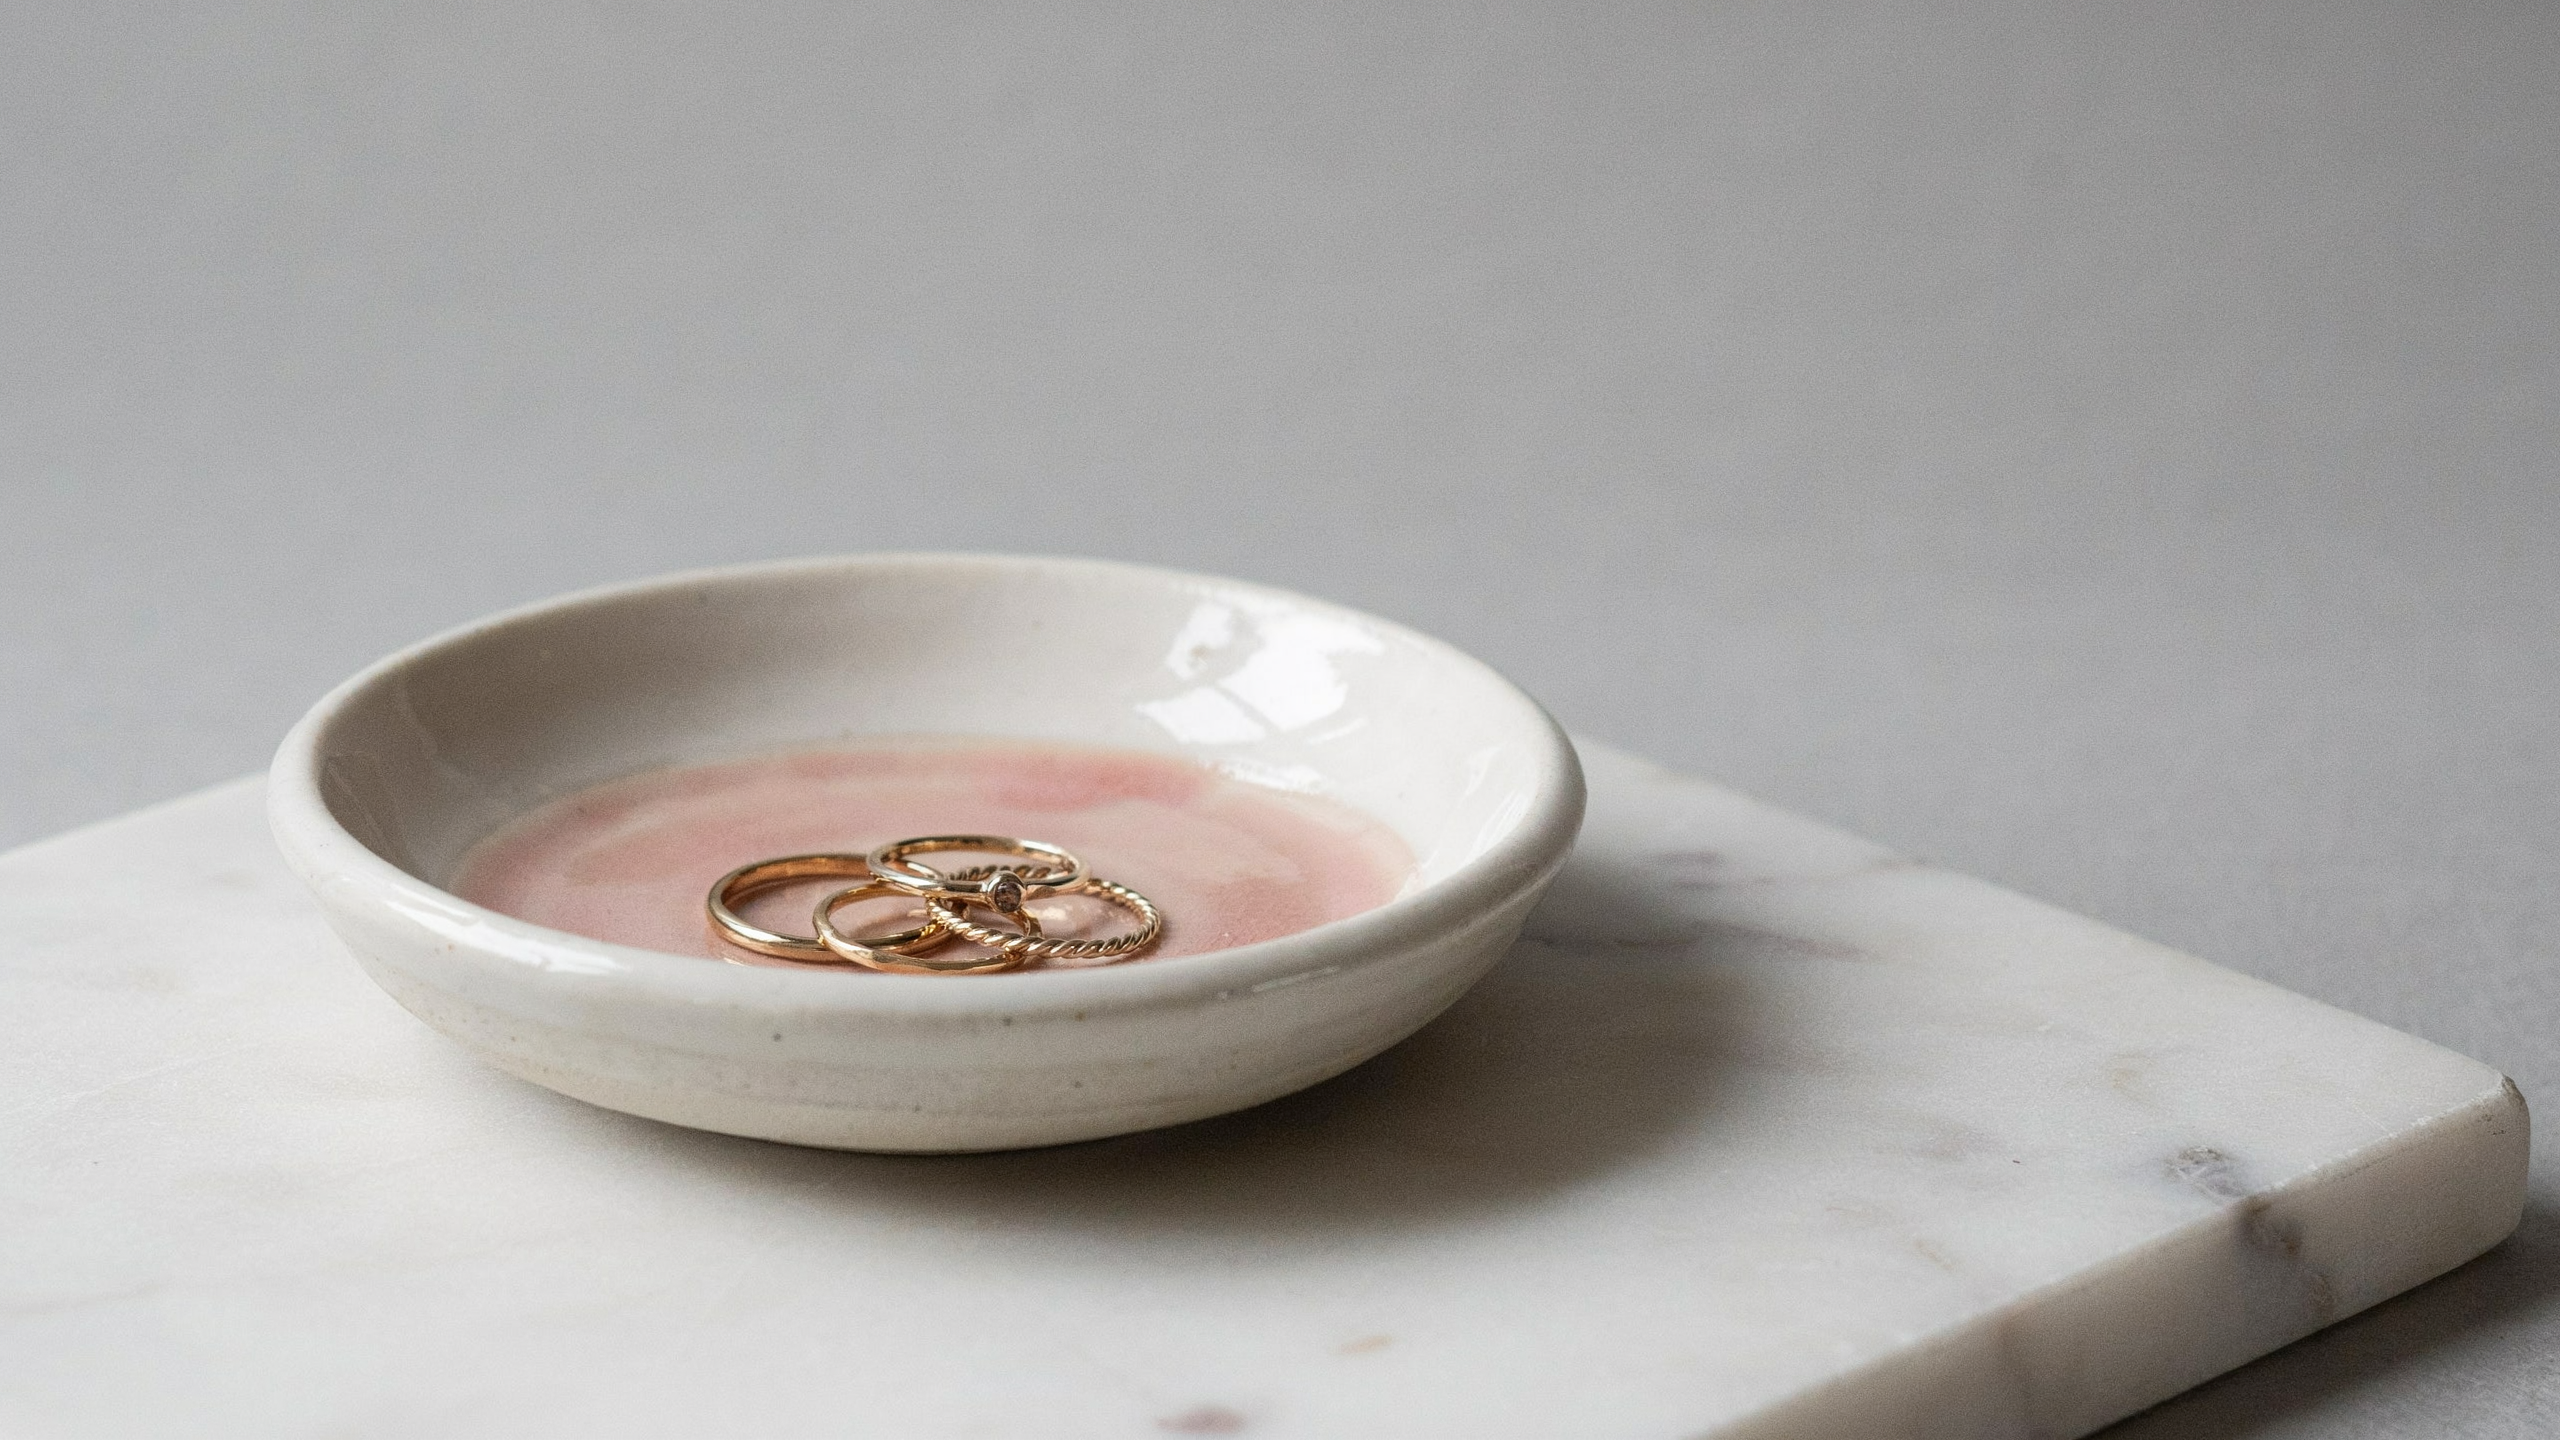
A small dish for holding rings, earrings, or other small accessories. It is one of the easiest functional clay crafts for beginners.
Step 1: Roll clay into a flat sheet with even thickness across the surface.
Step 2: Cut a circular or oval shape using a simple round object.
Step 3: Press into the bowl mold to form curved dish edges.
Step 4: Allow the surface to dry before fully painting and sealing.
Pro tip: Ceramic bowl molds help maintain smooth, consistent curvature during shaping process.
9. Pinch Pot Bowl
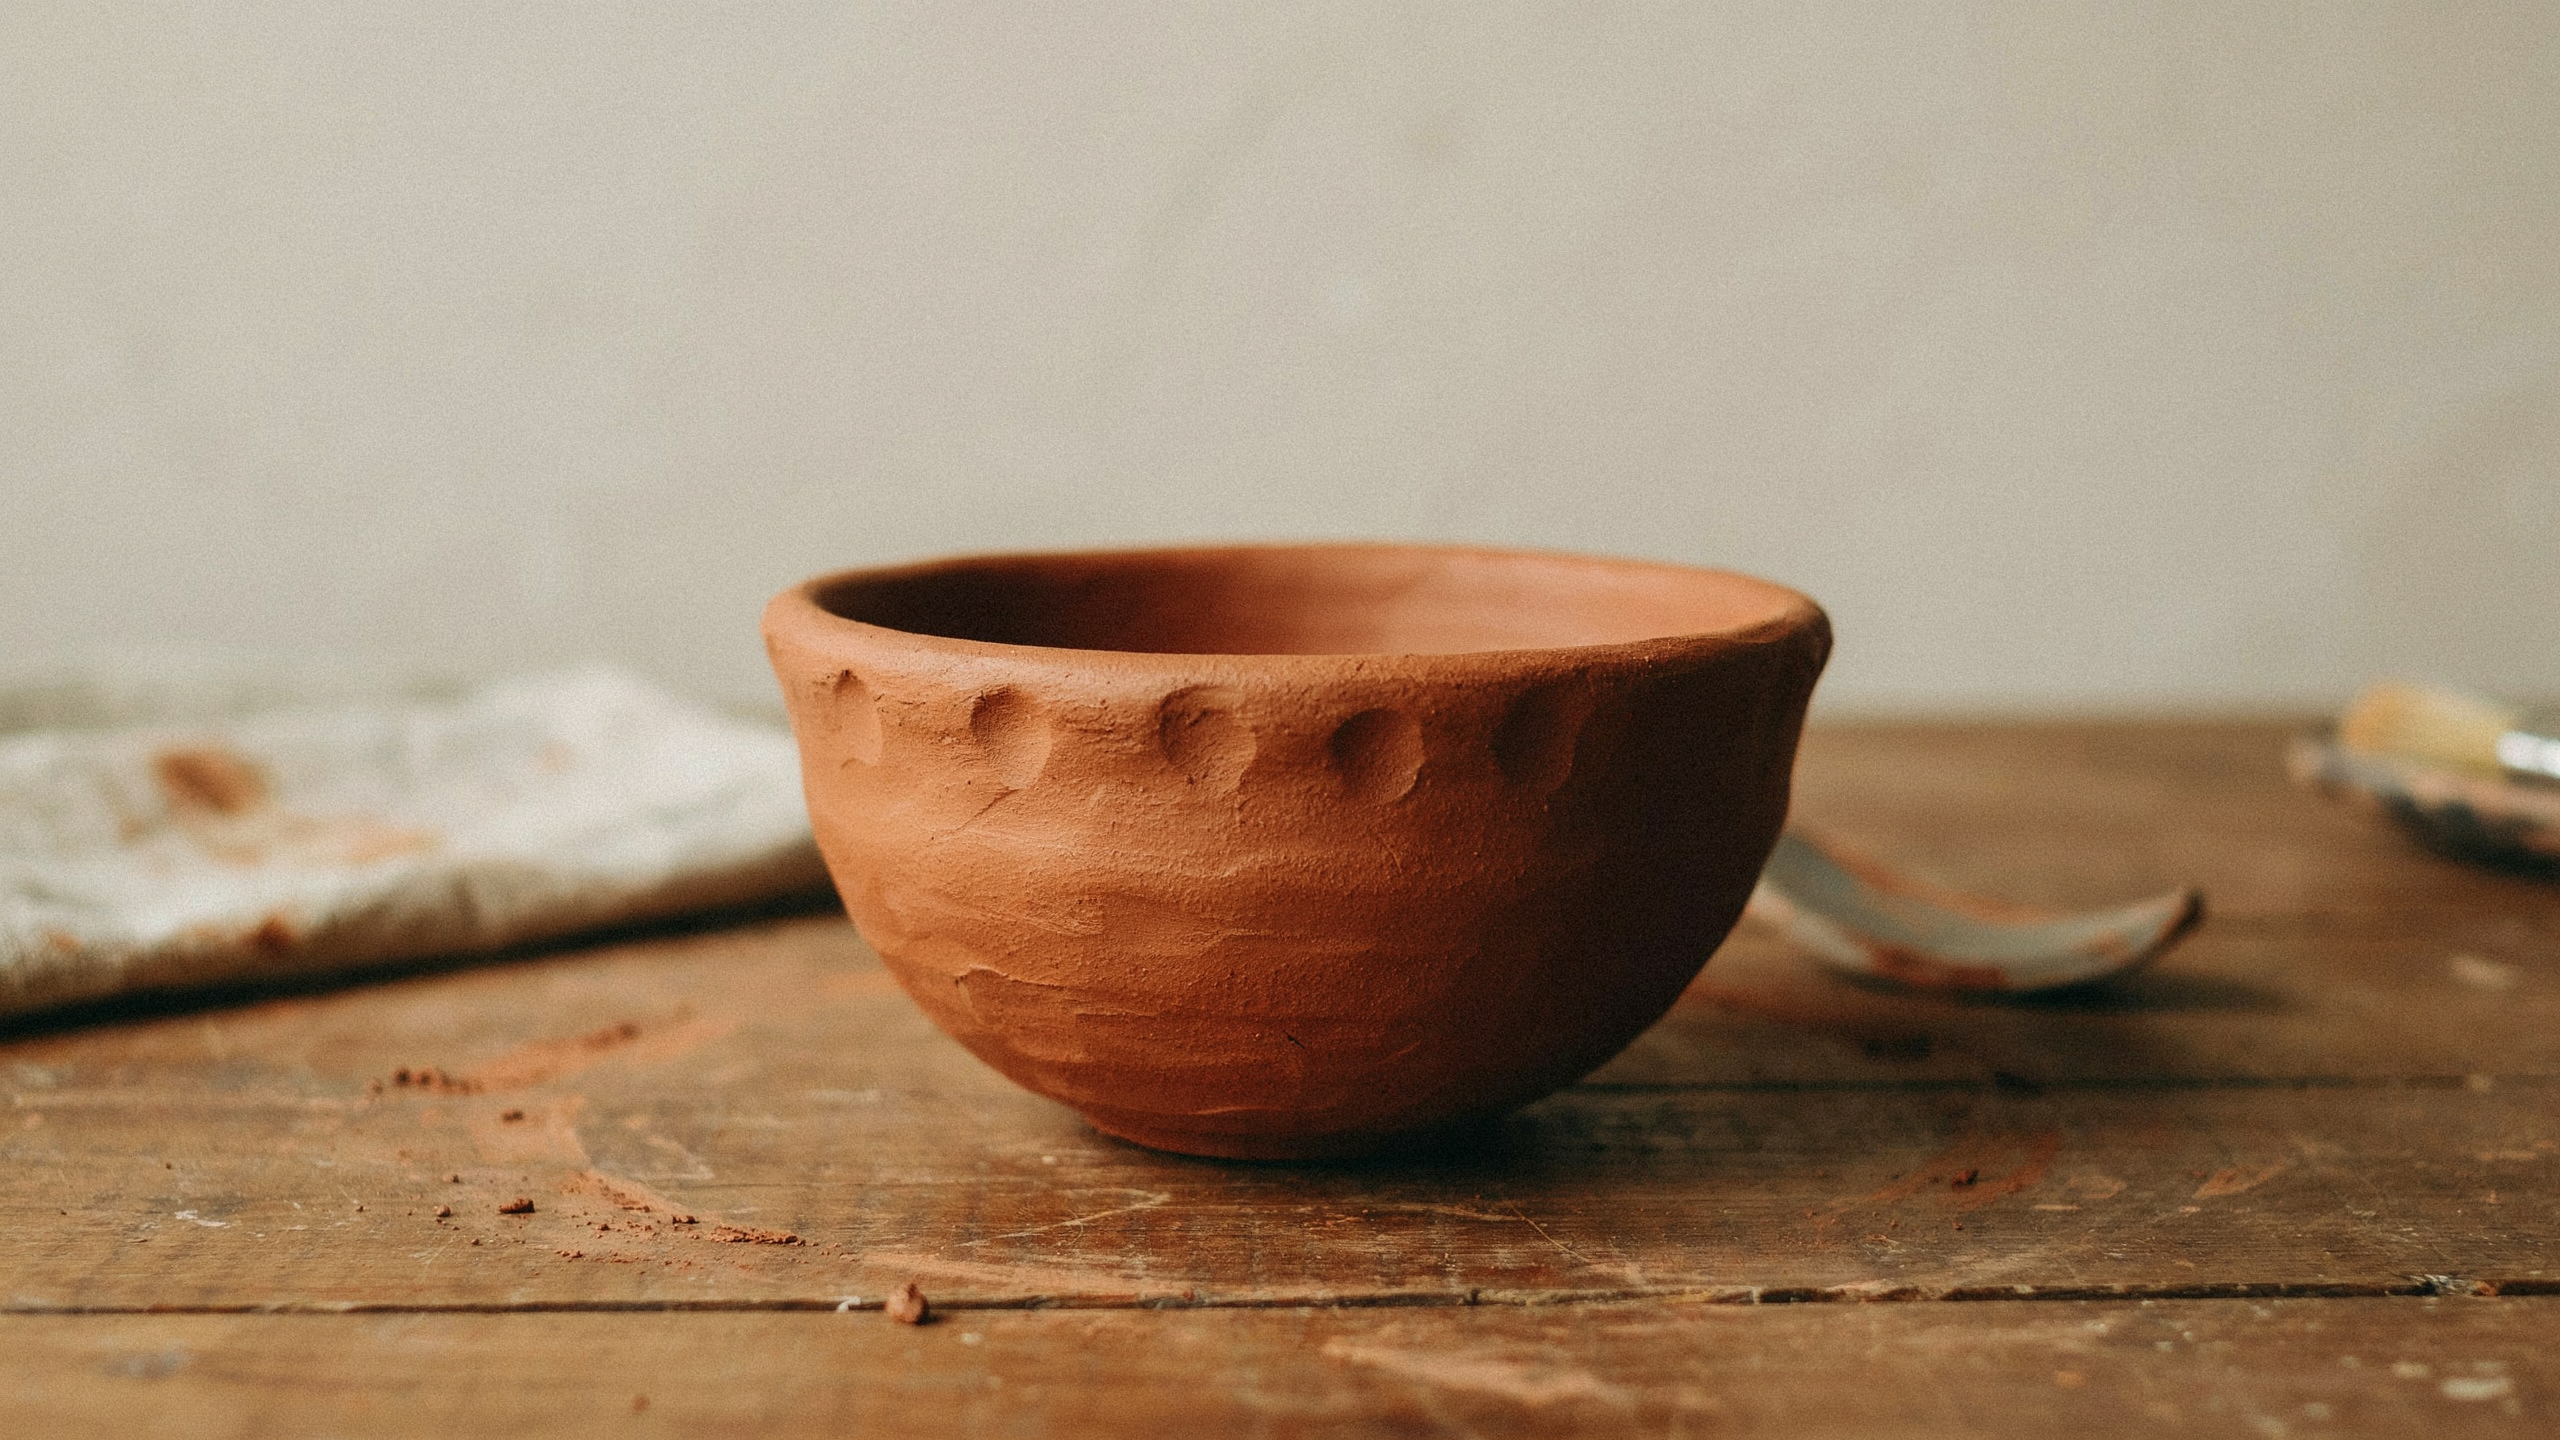
A simple hand-shaped bowl formed using the thumb pressing technique. It is often the first clay project that beginners successfully try.
Step 1: Roll clay into a smooth, round ball with an even surface texture.
Step 2: Press the thumb into the center slowly without breaking the base thickness.
Step 3: Pinch walls outward gently to create a bowl structure.
Step 4: Smooth rim edges carefully using slightly damp fingers.
Pro tip: Maintain equal wall thickness to prevent cracking during the drying stage completely.
10. Mini Succulent Planter
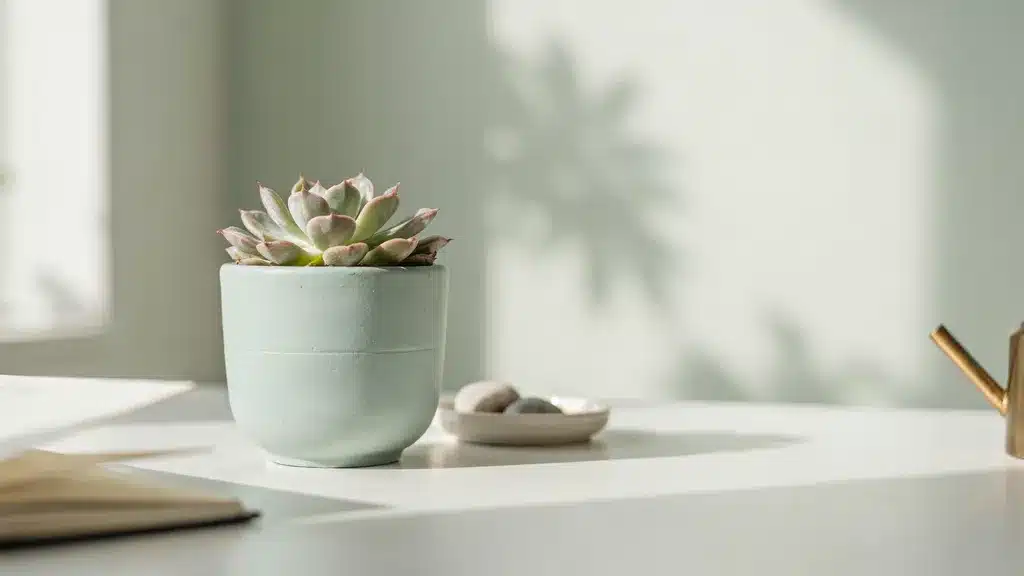
A small decorative planter designed for tiny indoor plants or succulents. It is both functional and aesthetic for desk decor.
Step 1: Shape the cylindrical pot, ensuring a stable, uniform wall thickness throughout.
Step 2: Add surface textures using simple tools like forks or stamps.
Step 3: Smooth interior walls carefully to prepare for planting soil.
Step 4: Allow complete drying before sealing interior and exterior surfaces.
Pro tip: Double sealing inside prevents moisture damage and extends planter durability significantly over time.
11. Decorative Candle Holder
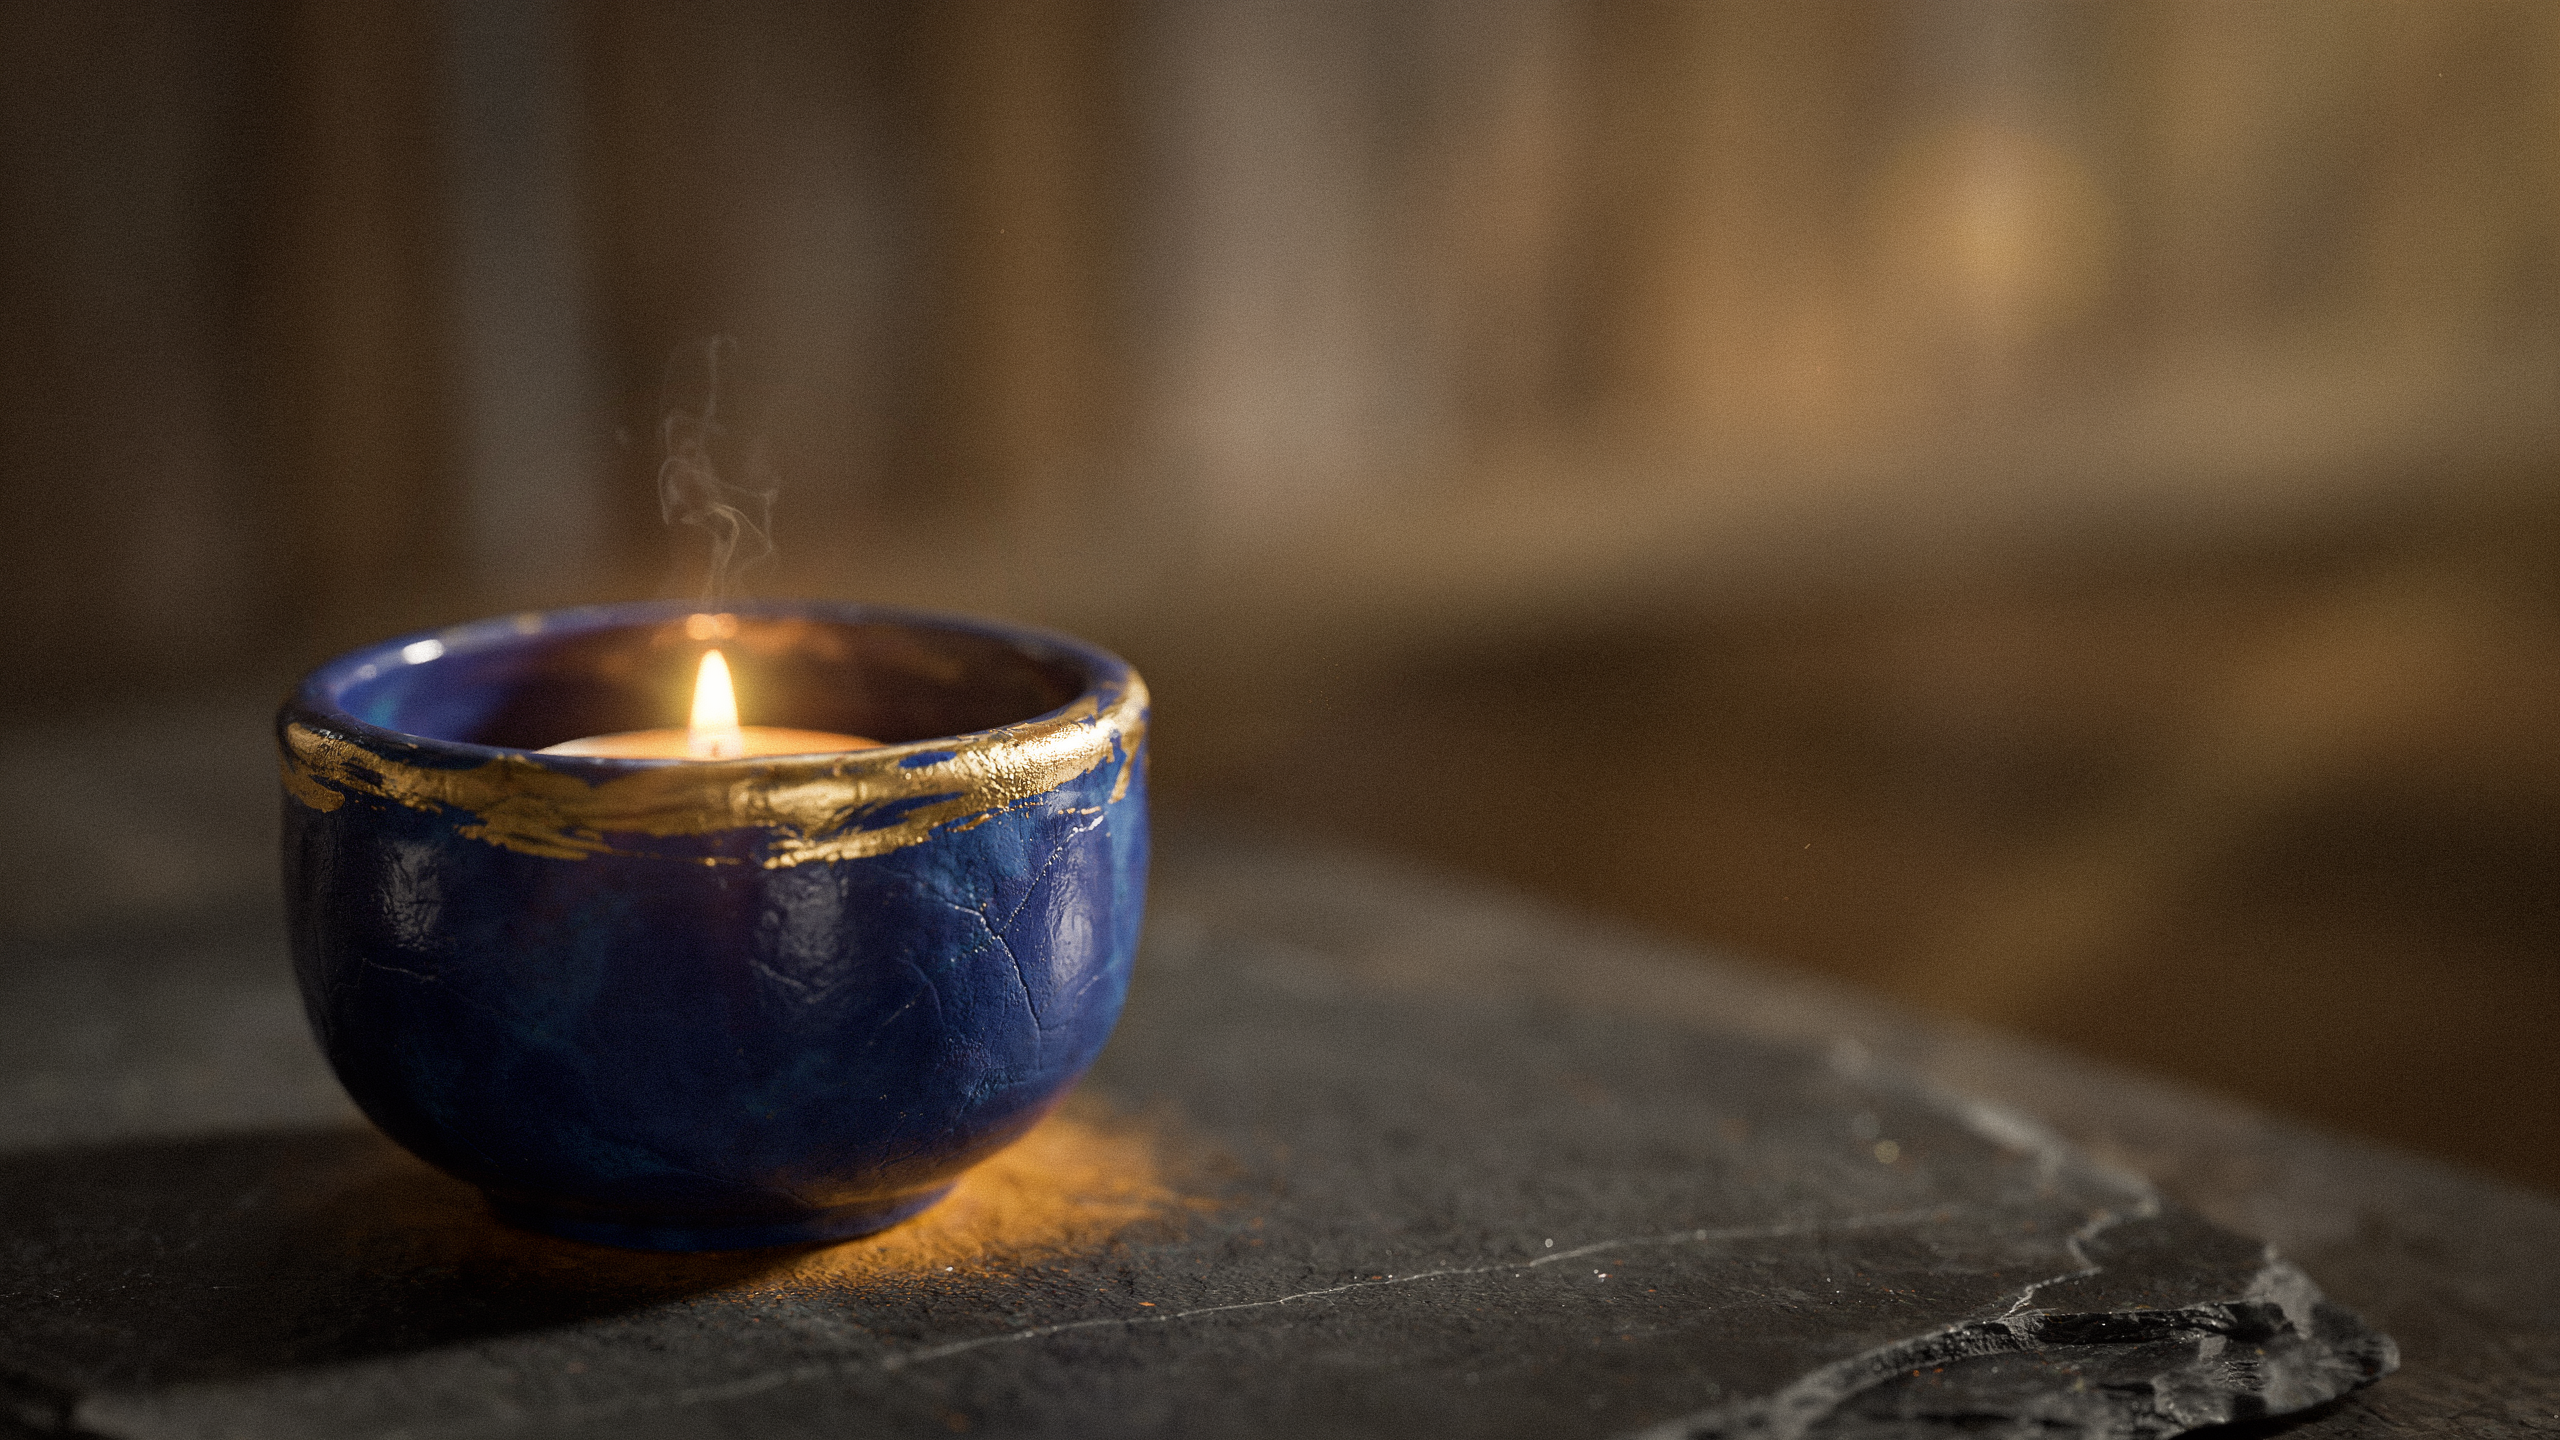
A small tea light holder designed with a simple cylindrical clay form. It works well as handmade home decor or as a gift.
Step 1: Form a thick cylinder base sized for a standard tea light candle.
Step 2: Press the candle into the top to create a proper seating mold.
Step 3: Add decorative textures evenly across the outer surface design.
Step 4: Let the piece dry completely before painting the exterior only.
Pro tip: Avoid painting the inside surface to ensure safe heat resistance during candle use.
12. Textured Clay Vase
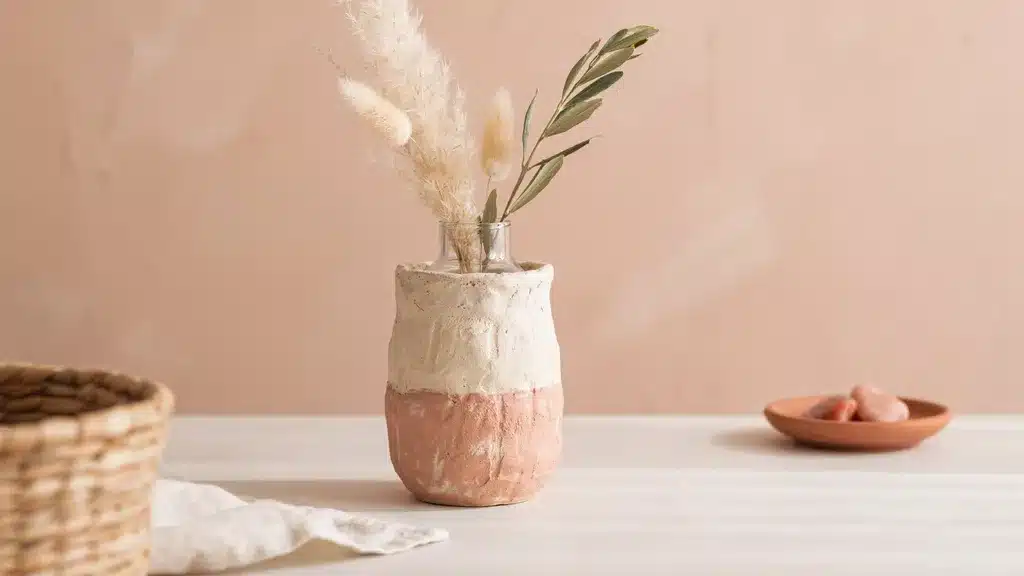
A decorative vase made by wrapping clay around a glass jar. It combines structural strength with artistic handmade texture design.
Step 1: Wrap the plastic-covered jar evenly with a flat clay sheet.
Step 2: Smooth seams carefully to create a clean surface finish.
Step 3: Press texture patterns using stamps or natural materials.
Step 4: Remove the shell once it has dried, then finalize the decoration.
Pro tip: A layer of plastic wrap ensures the clay releases smoothly without sticking or cracking when removed.
13. Clay Coasters with Stamped Designs
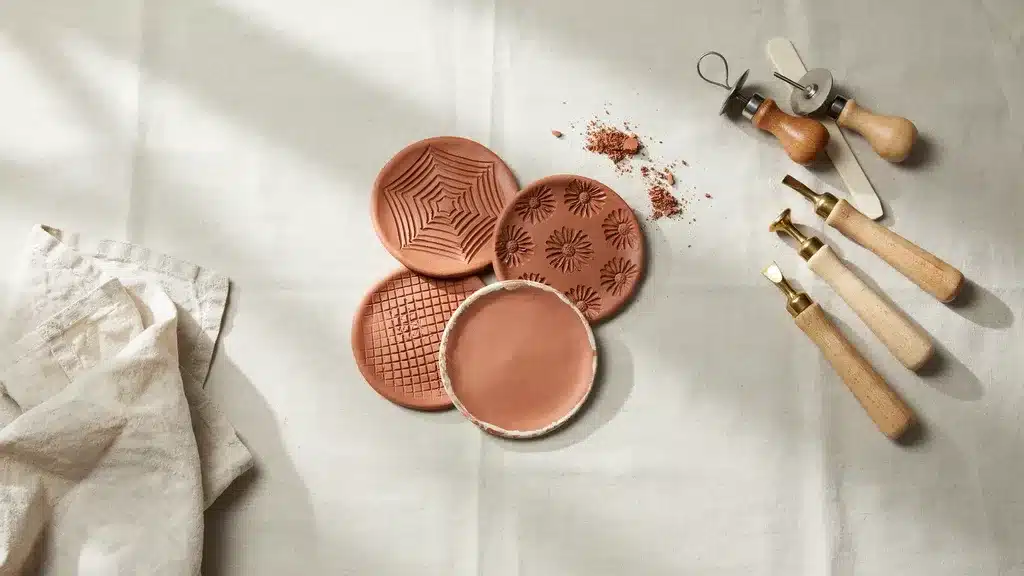
Flat clay pieces designed with patterns for table protection and decor use. They are often made in matching sets.
Step 1: Roll clay evenly to a consistent thickness across the entire sheet.
Step 2: Cut circular shapes using a glass or a cookie cutter.
Step 3: Press the stamps or textures evenly onto the surface.
Step 4: Dry completely, then apply a waterproof seal coating.
Pro tip: Flip coasters midway during drying to maintain a flat and balanced structure.
14. Wall Hanging Clay Charms
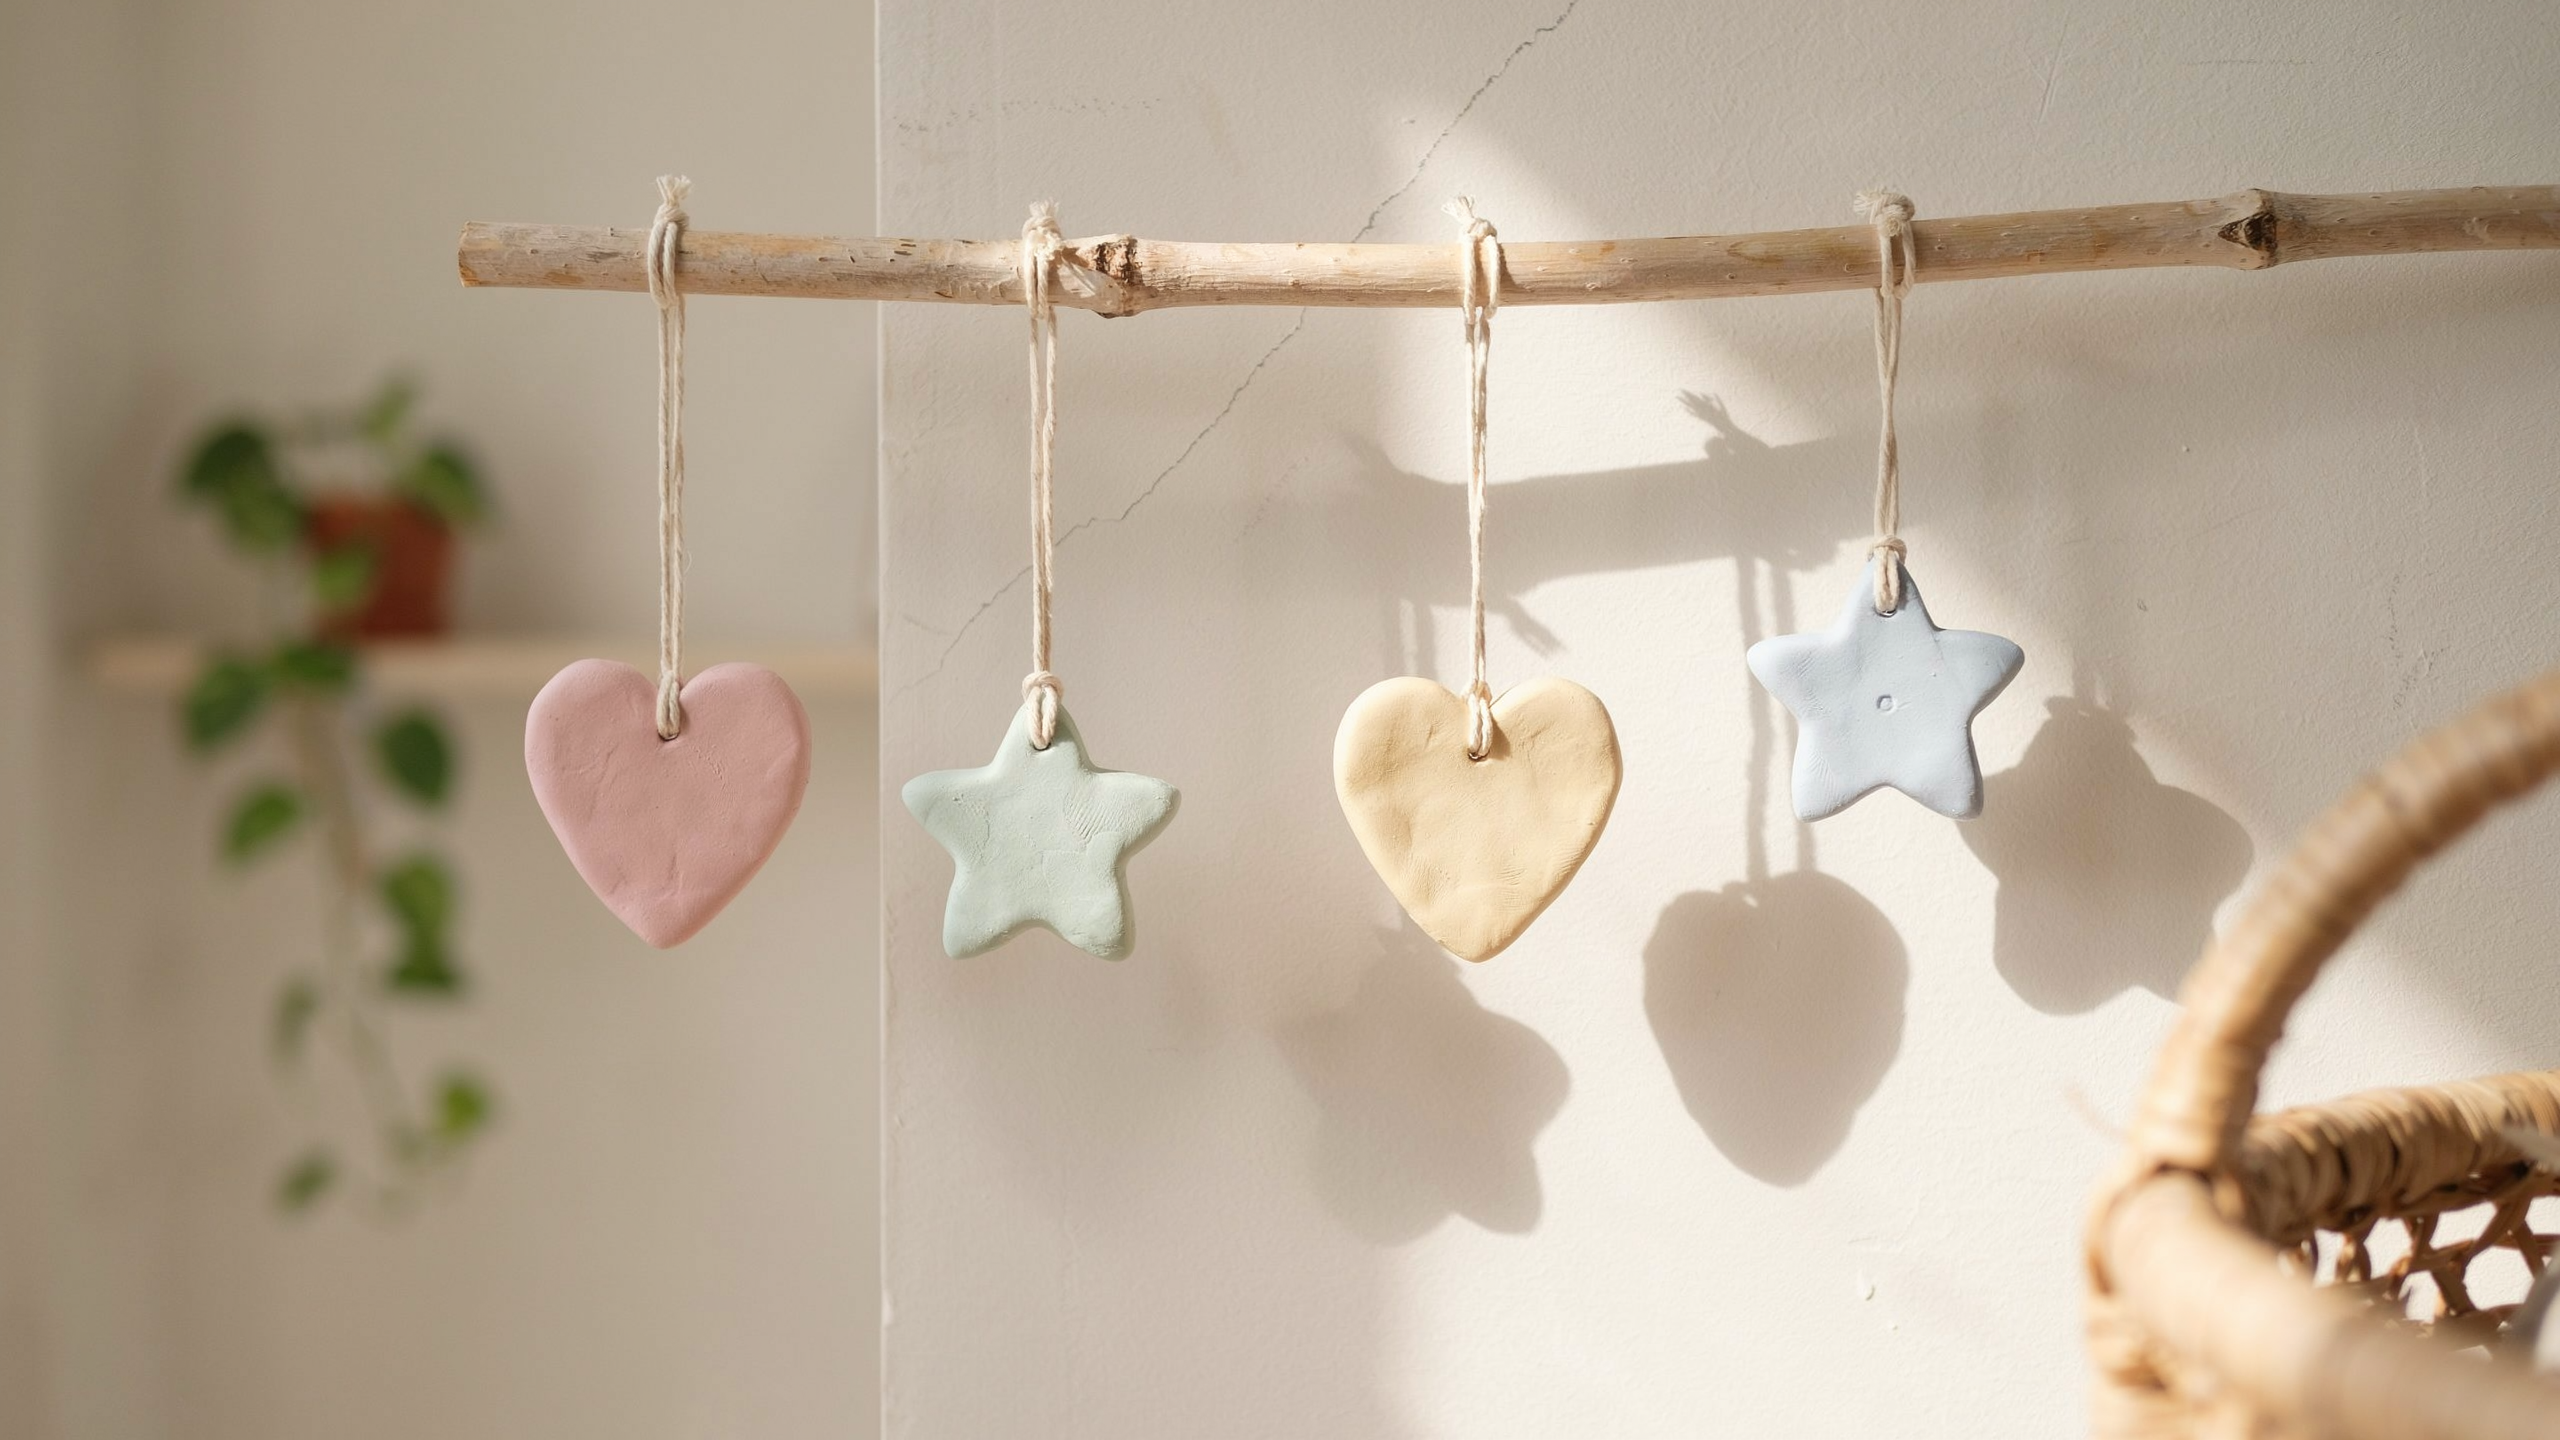
Decorative clay shapes hung using strings for wall or room decoration. They are often made in themed sets.
Step 1: Cut small decorative shapes using cookie cutters or tools.
Step 2: Create hanging holes using straw before the drying process.
Step 3: Dry the pieces fully and paint them in the desired colors.
Step 4: String shapes together for final wall display setup.
Pro tip: Always create holes before drying to avoid cracks or breakage later.
15. Fridge Magnets with Pressed Patterns
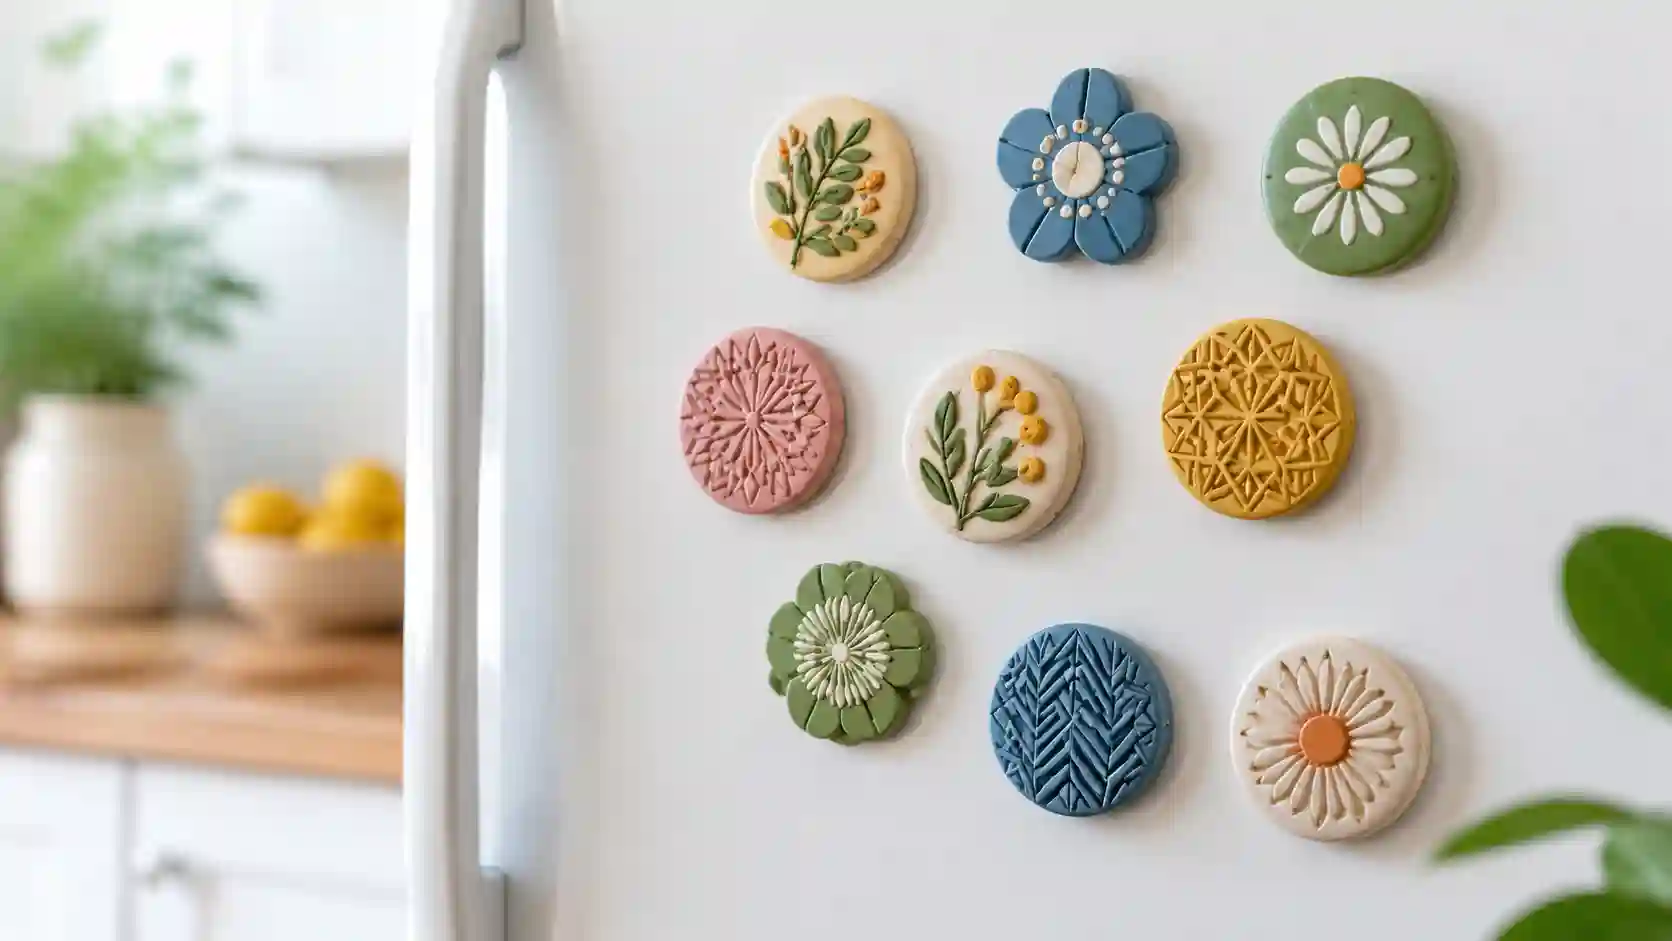
Small decorative clay pieces attached with magnets for fridge display. They are quick, fun, and beginner-friendly craft projects.
Step 1: Cut small shapes evenly from a rolled clay sheet.
Step 2: Press patterns using stamps or natural textured objects.
Step 3: Dry completely before applying paint or finishing coat.
Step 4: Attach magnets securely using strong adhesive glue.
Pro tip: Use strong neodymium magnets for better grip and a long-lasting hold.
Clay Keychains and Accessories
Clay accessories are lightweight, durable, and perfect for daily-use items like keychains, jewelry, and personalized handmade gifts.
Polymer clay is the best material for these projects since it bakes hard and holds up well to regular handling and wear.
16. Initial Letter Keychain
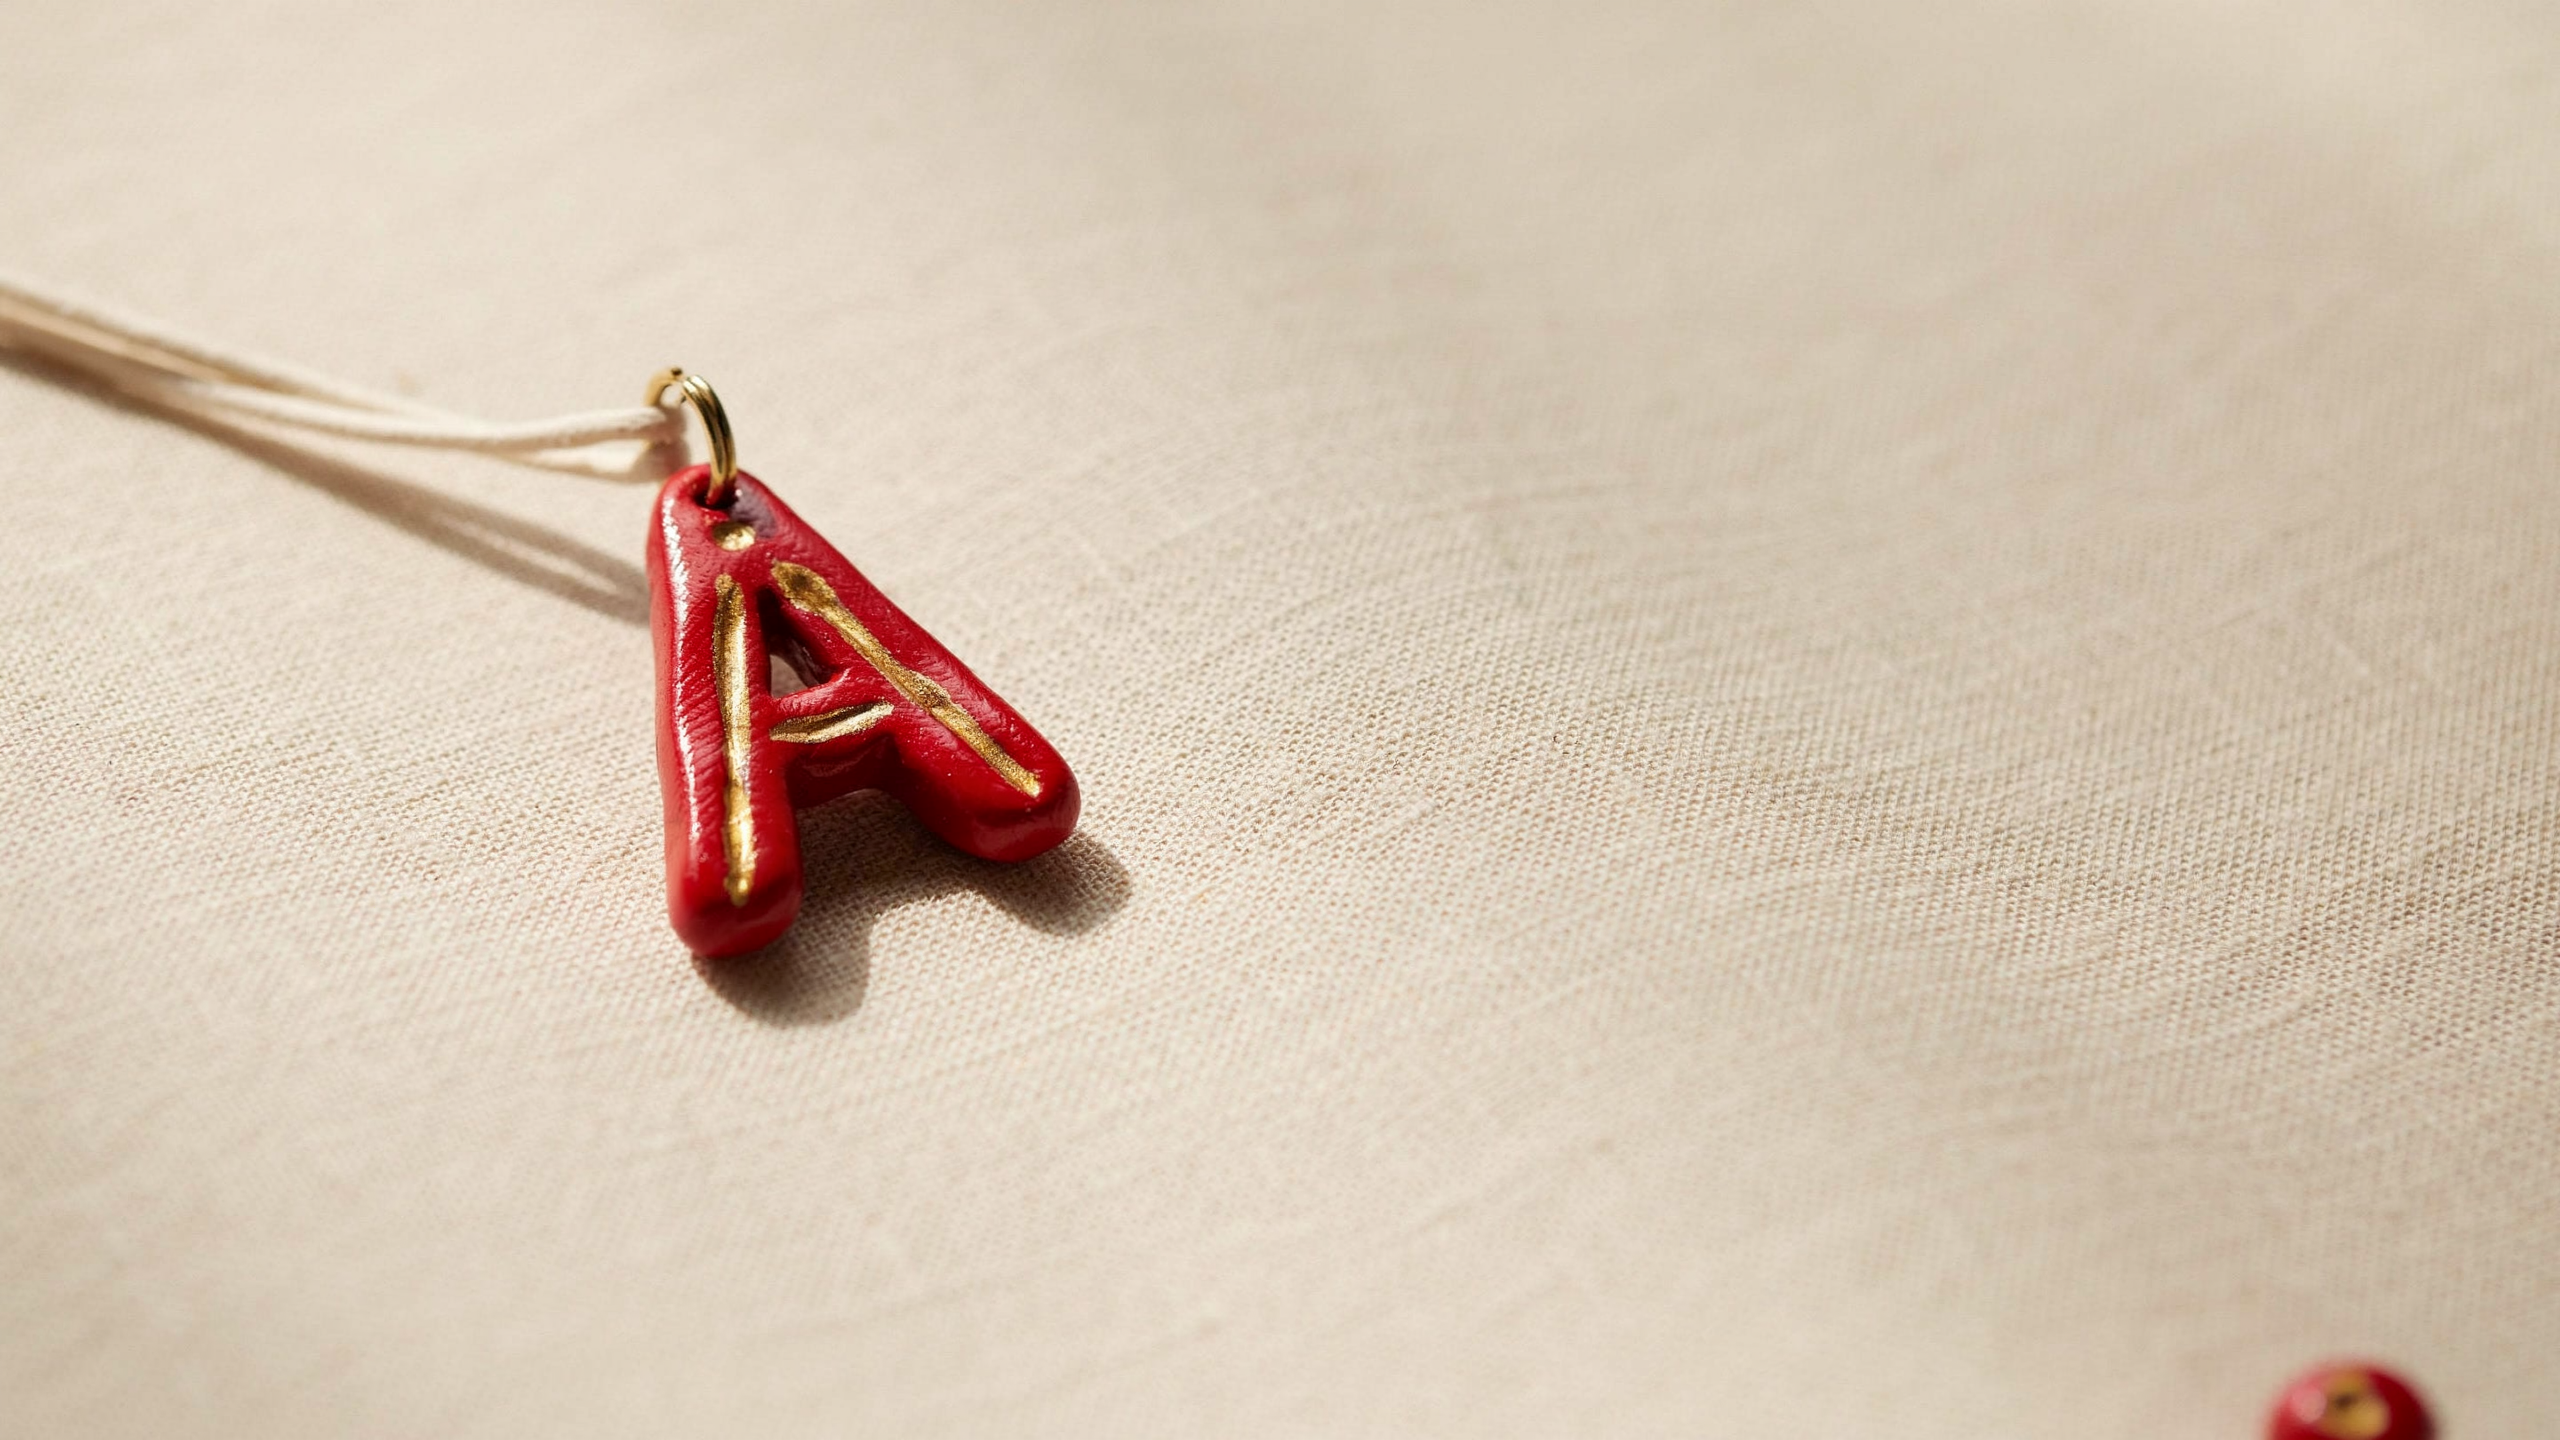
A personalized alphabet charm used as a keychain or bag accessory. It is simple, customizable, and highly popular as a gift.
Step 1: Cut a letter shape from an evenly rolled clay sheet.
Step 2: Create a hanging hole at the top using a straw tool.
Step 3: Smooth all edges for a clean final appearance.
Step 4: Bake or dry fully before attaching the keyring.
Pro tip: Smooth edges carefully to give a professional and polished handmade finish.
17. Smiley Face Charm
A round charm featuring simple eyes and a curved smile. It is one of the easiest beginner-friendly clay designs.
Step 1: Shape the clay into a smooth, round disc evenly.
Step 2: Add eye indentations using a small rounded tool.
Step 3: Gently carve a curved smile line into the surface.
Step 4: Add a hanging hole before drying or baking.
Pro tip: Deep carving helps facial expression stay visible even after painting or sealing.
18. Heart-Shaped Keychain
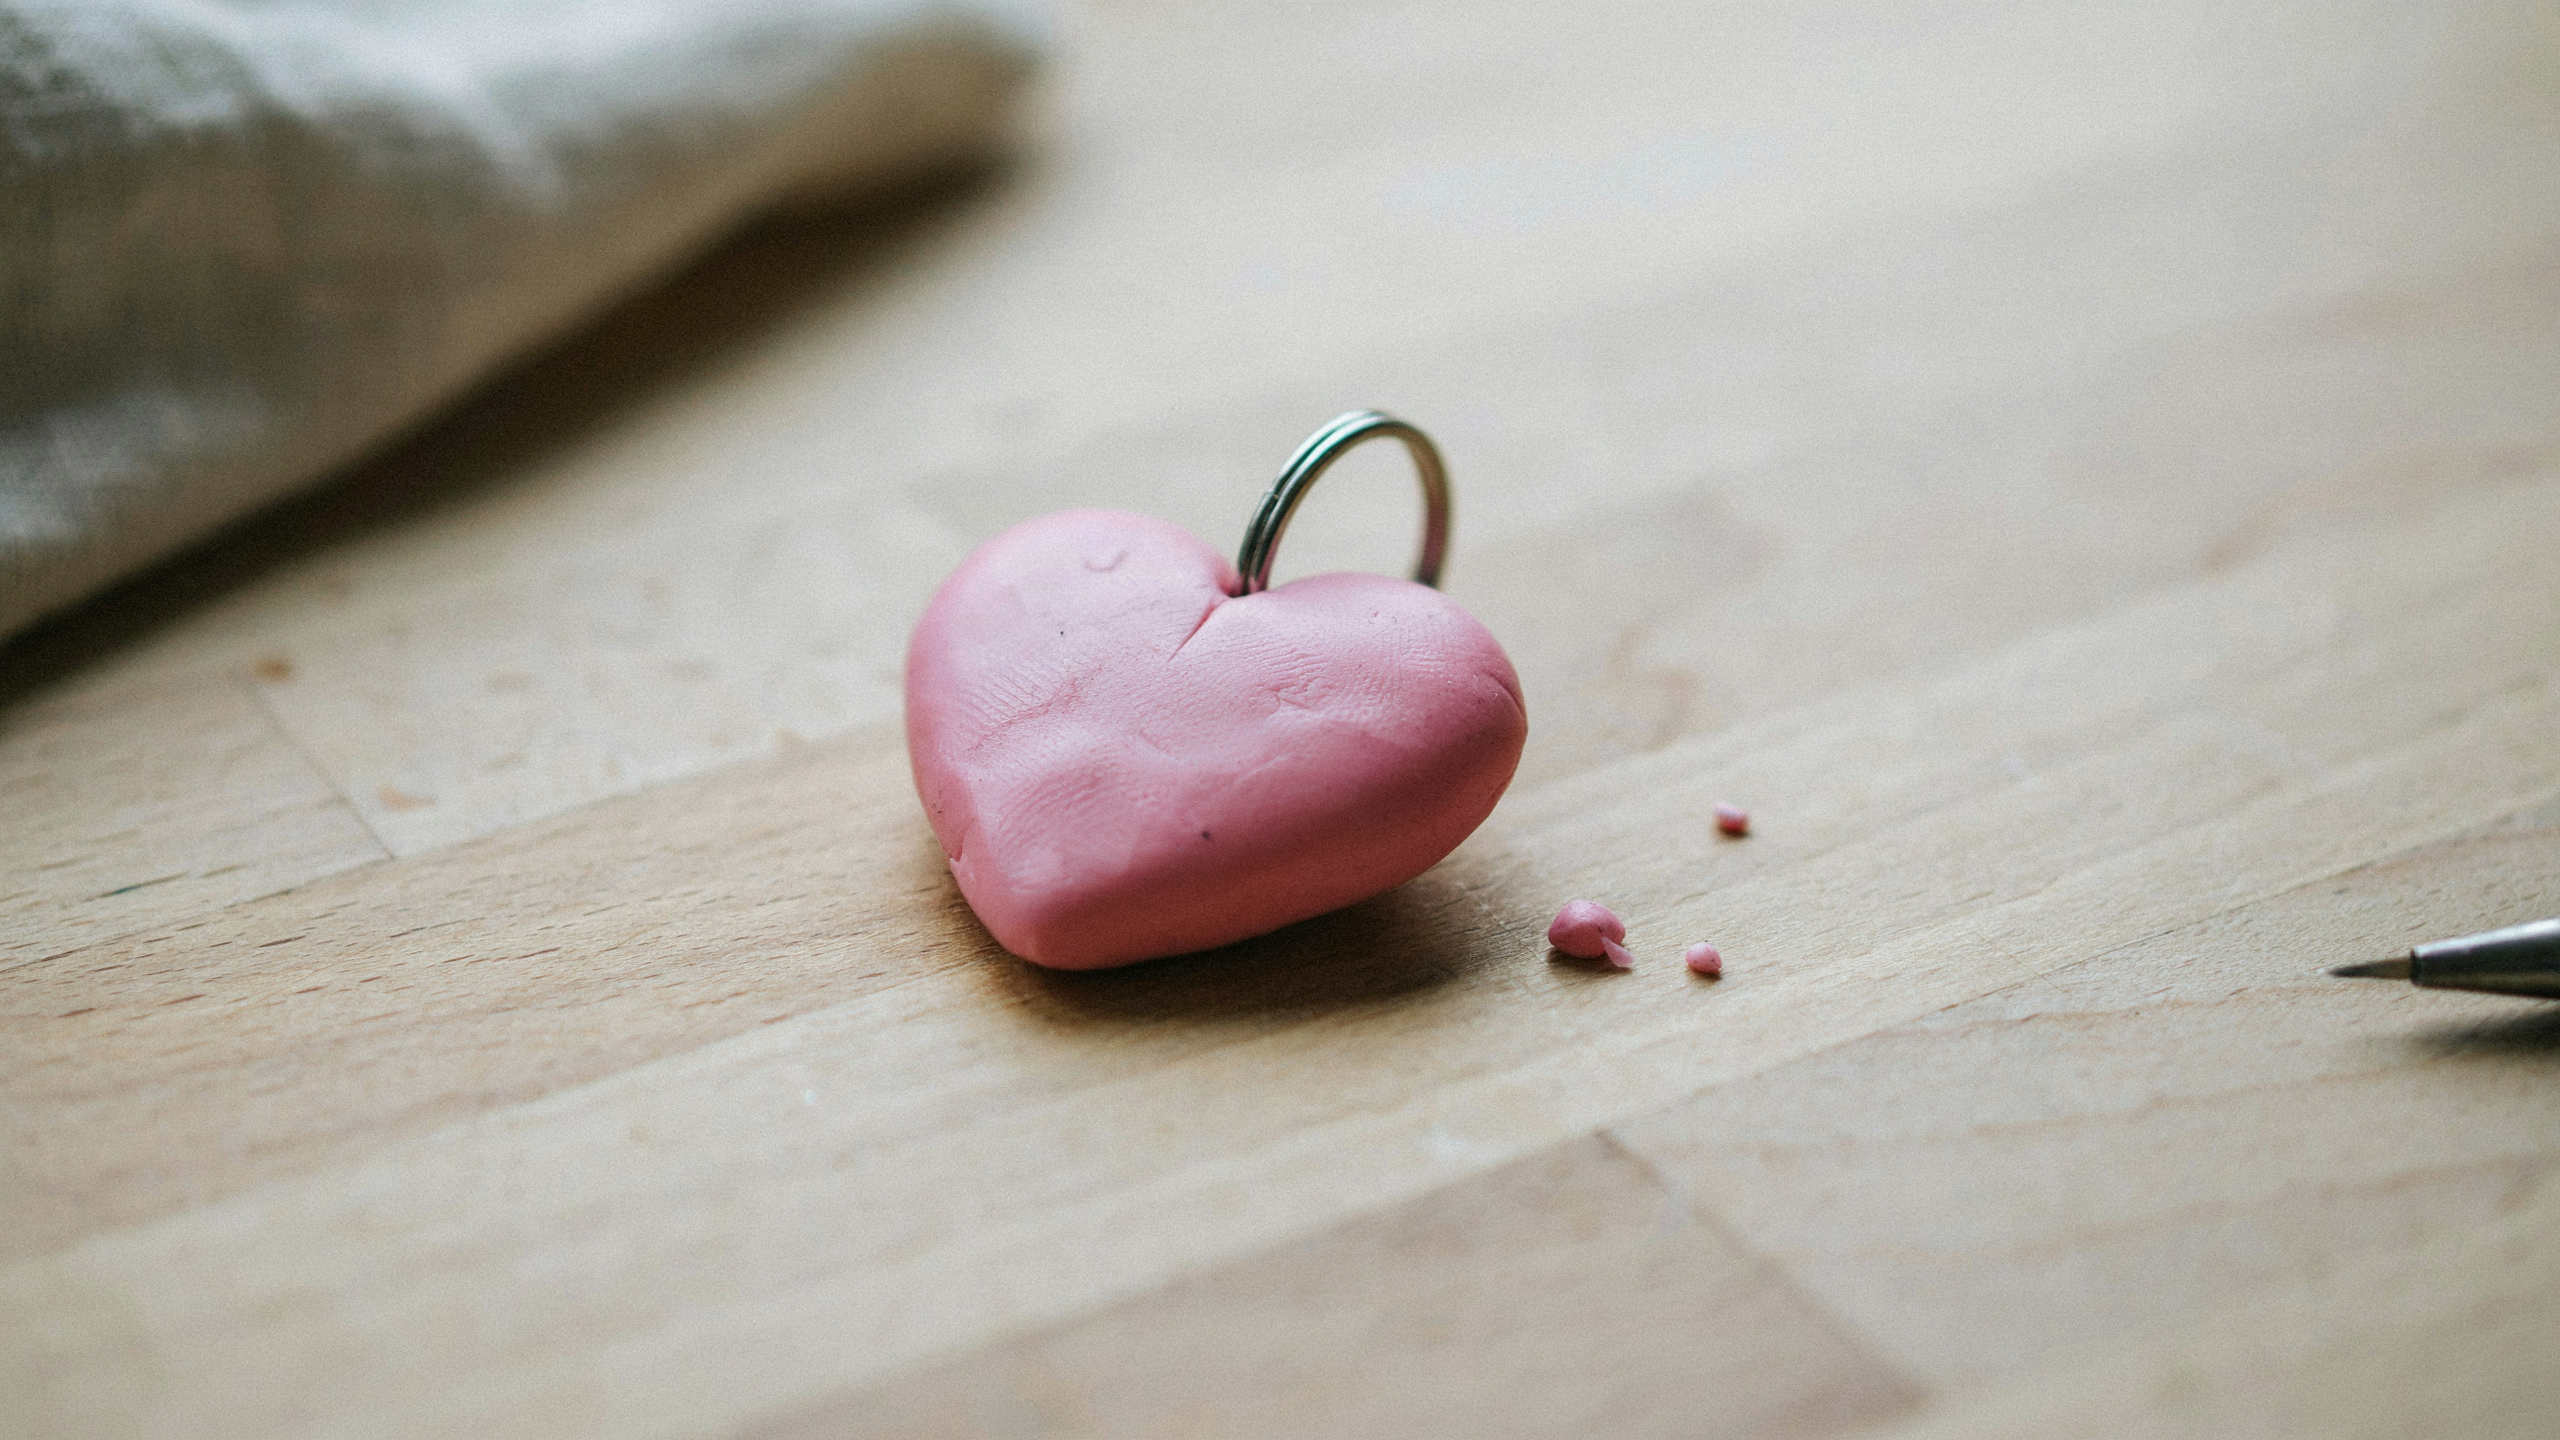
A classic heart charm made using two simple joined shapes. It is widely used for gifts and romantic-themed crafts.
Step 1: Form two teardrop shapes for the heart structure.
Step 2: Join shapes and smooth the center connection line.
Step 3: Shape the bottom point carefully for symmetry.
Step 4: Add a hole at the top before final drying.
Pro tip: Chill the clay briefly before baking to maintain sharper, cleaner heart edges.
19. Clay Bead Bracelet
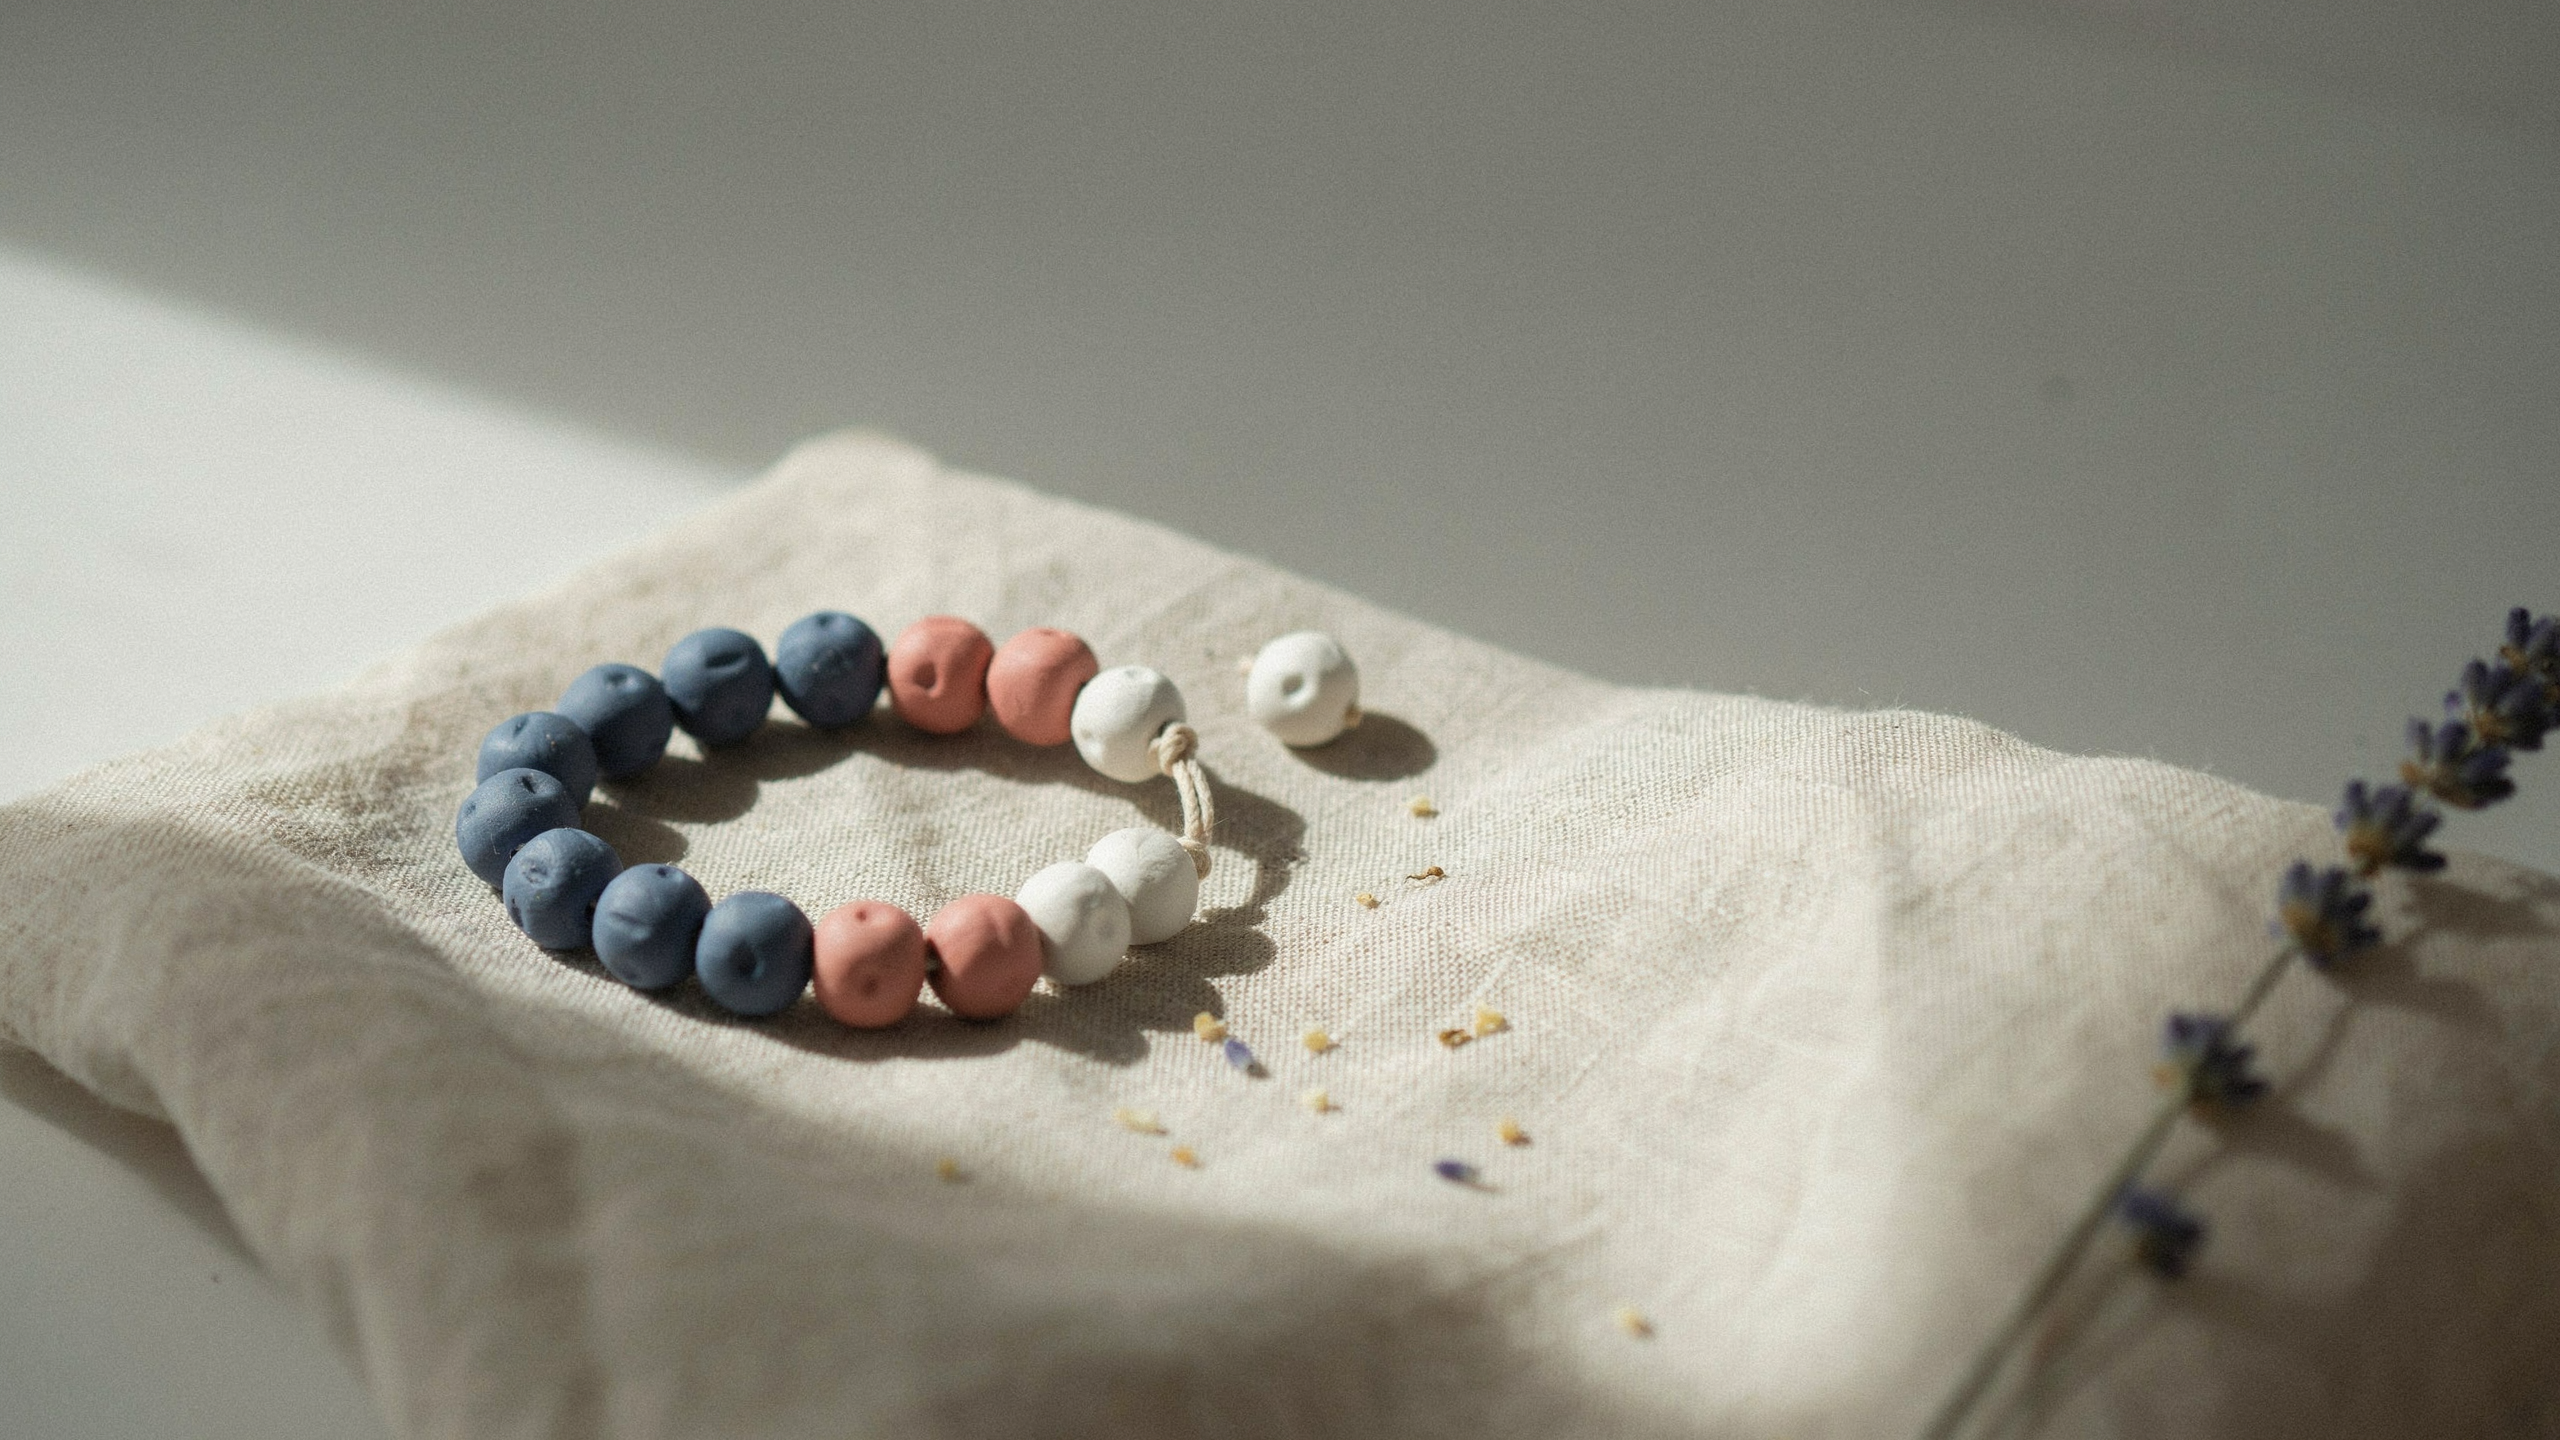
A handmade bracelet made from evenly rolled clay beads. It allows color mixing and creative pattern combinations.
Step 1: Roll uniform small beads from conditioned clay.
Step 2: Pierce the the center holes carefully using a toothpick.
Step 3: Bake beads on a flat surface, evenly spaced.
Step 4: Thread beads securely onto the elastic cord.
Pro tip: Maintain equal bead size for balanced bracelet design and a professional appearance.
20. Mini Pendant Necklace Charm
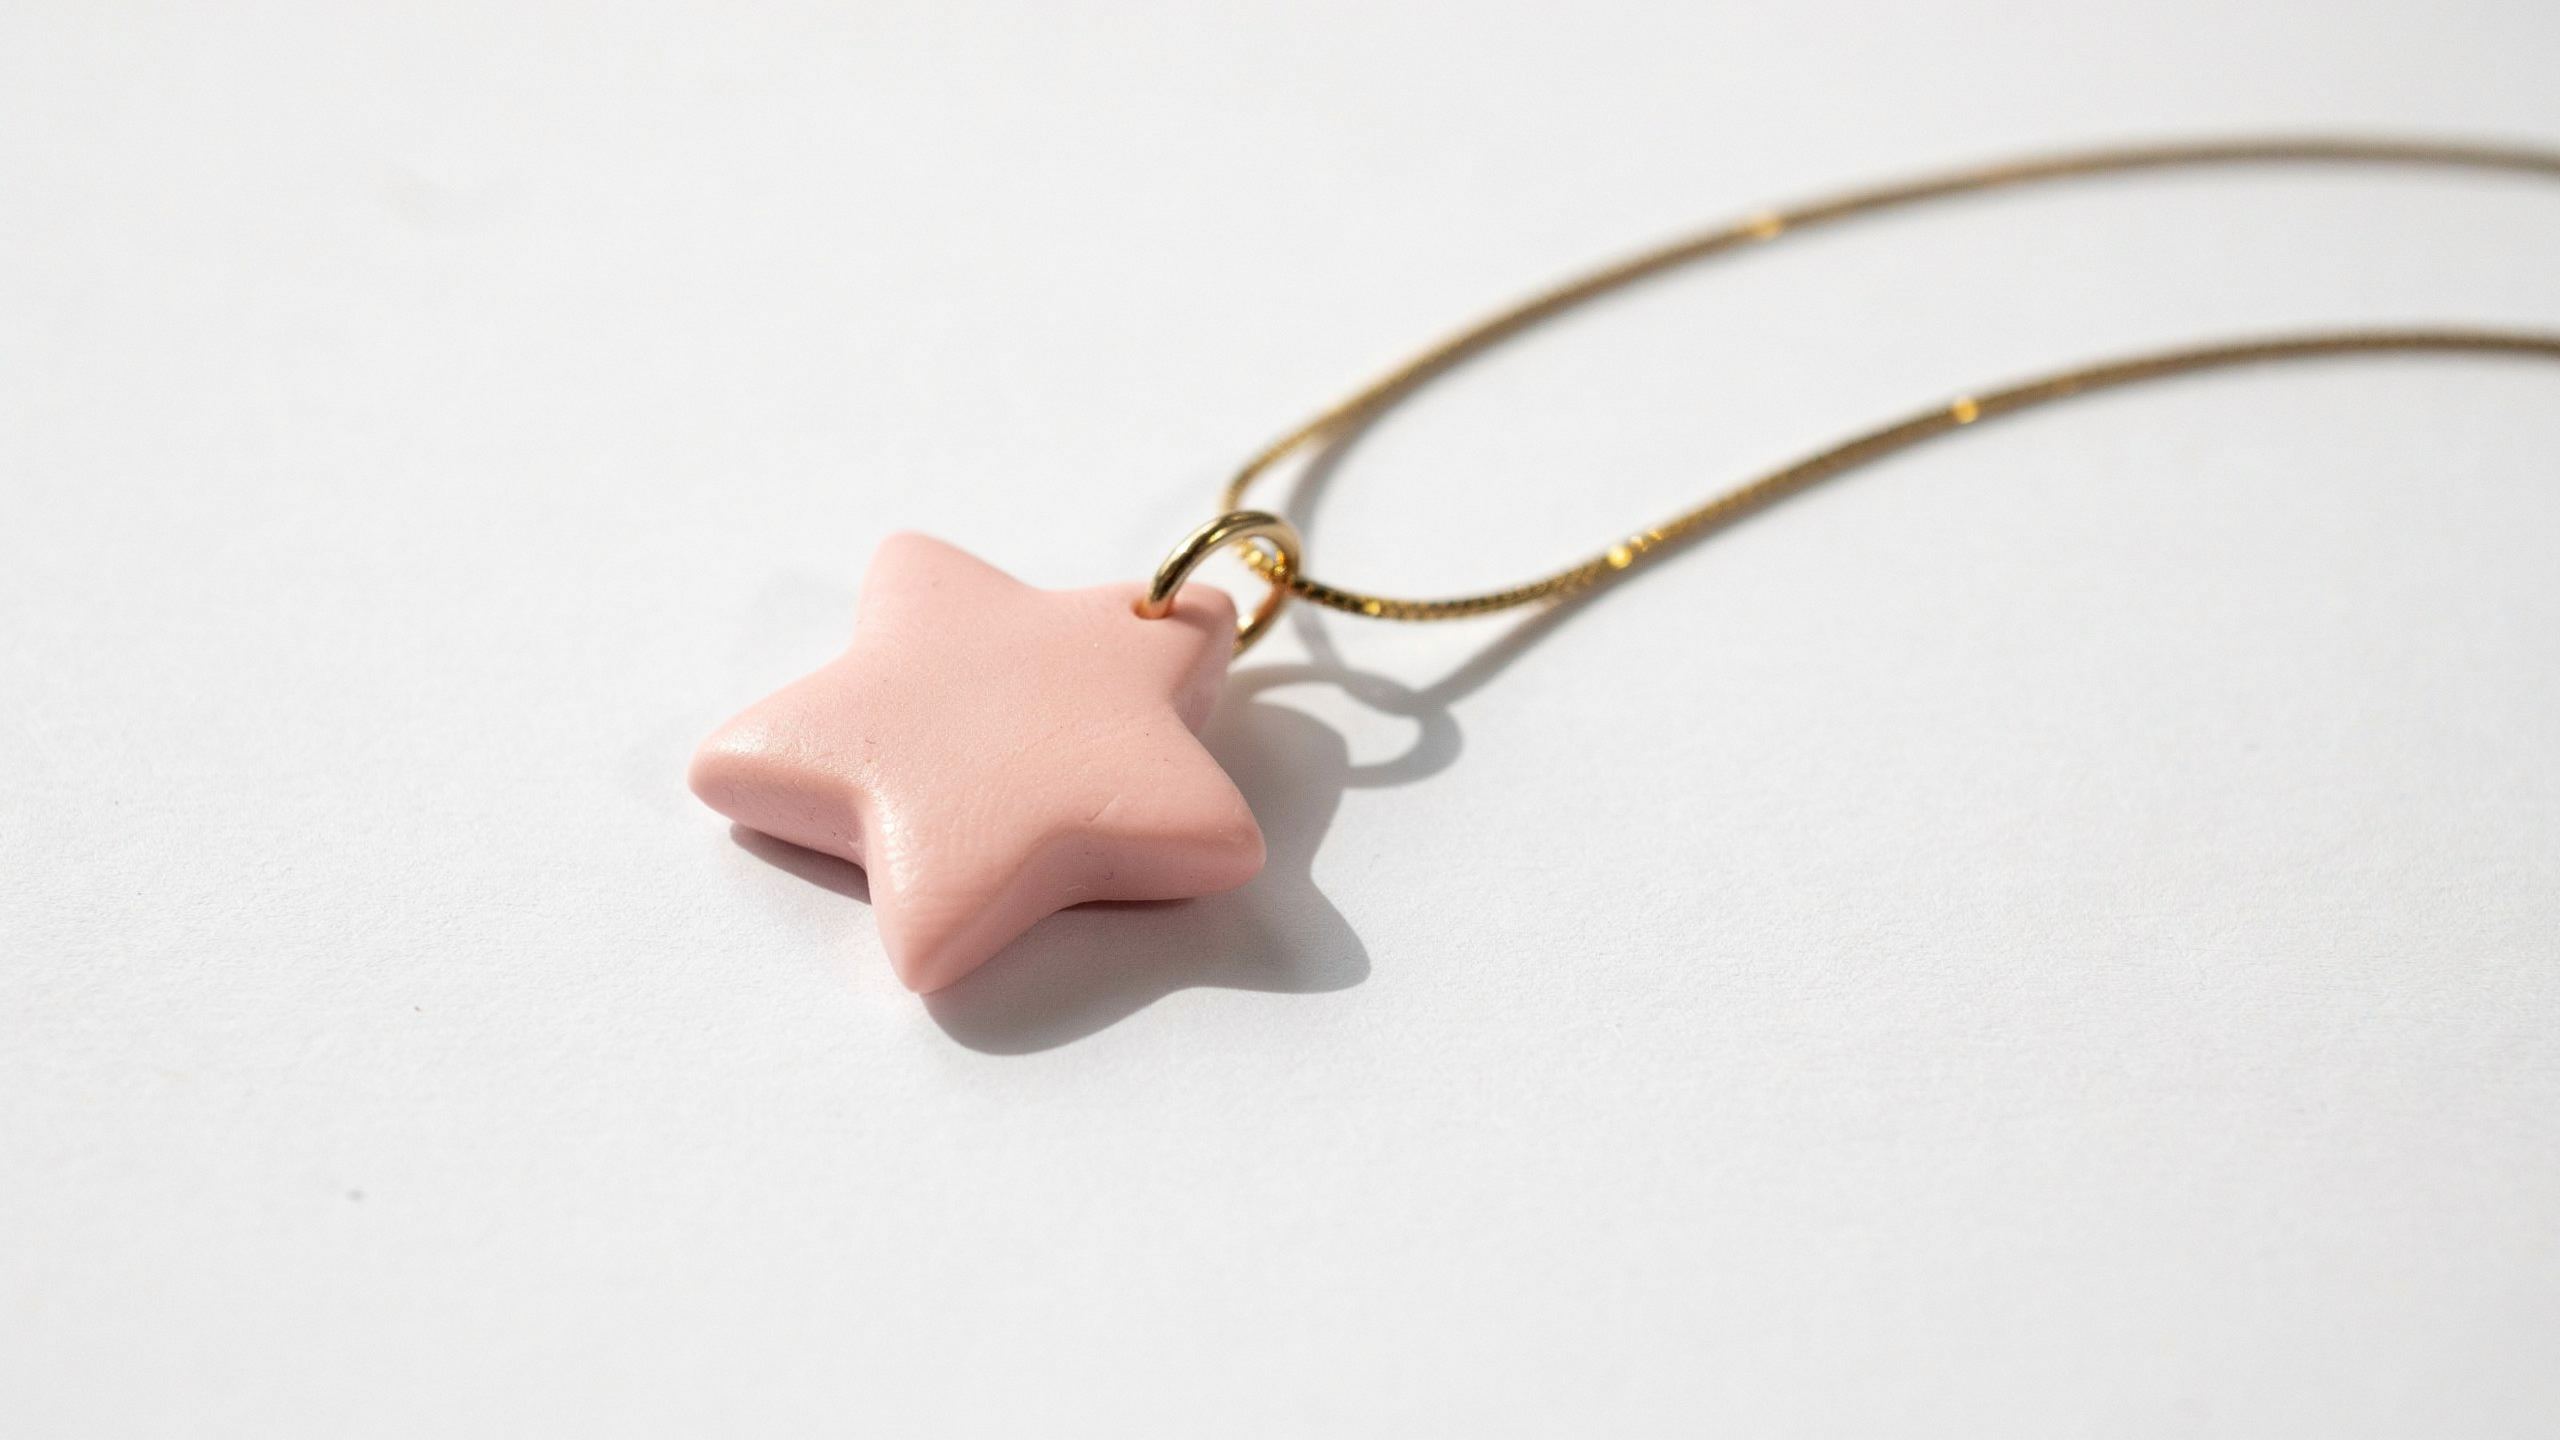
A small clay charm worn as a necklace pendant. It can be shaped into stars, moons, or abstract designs.
Step 1: Cut a small decorative shape from rolled clay.
Step 2: Create a top hole for the chain attachment point.
Step 3: Bake or dry completely, depending on the clay type.
Step 4: Attach the jump ring and necklace chain.
Pro tip: Slightly enlarge hanging hole to ensure smooth chain movement after finishing.
21. Floral Clay Earrings
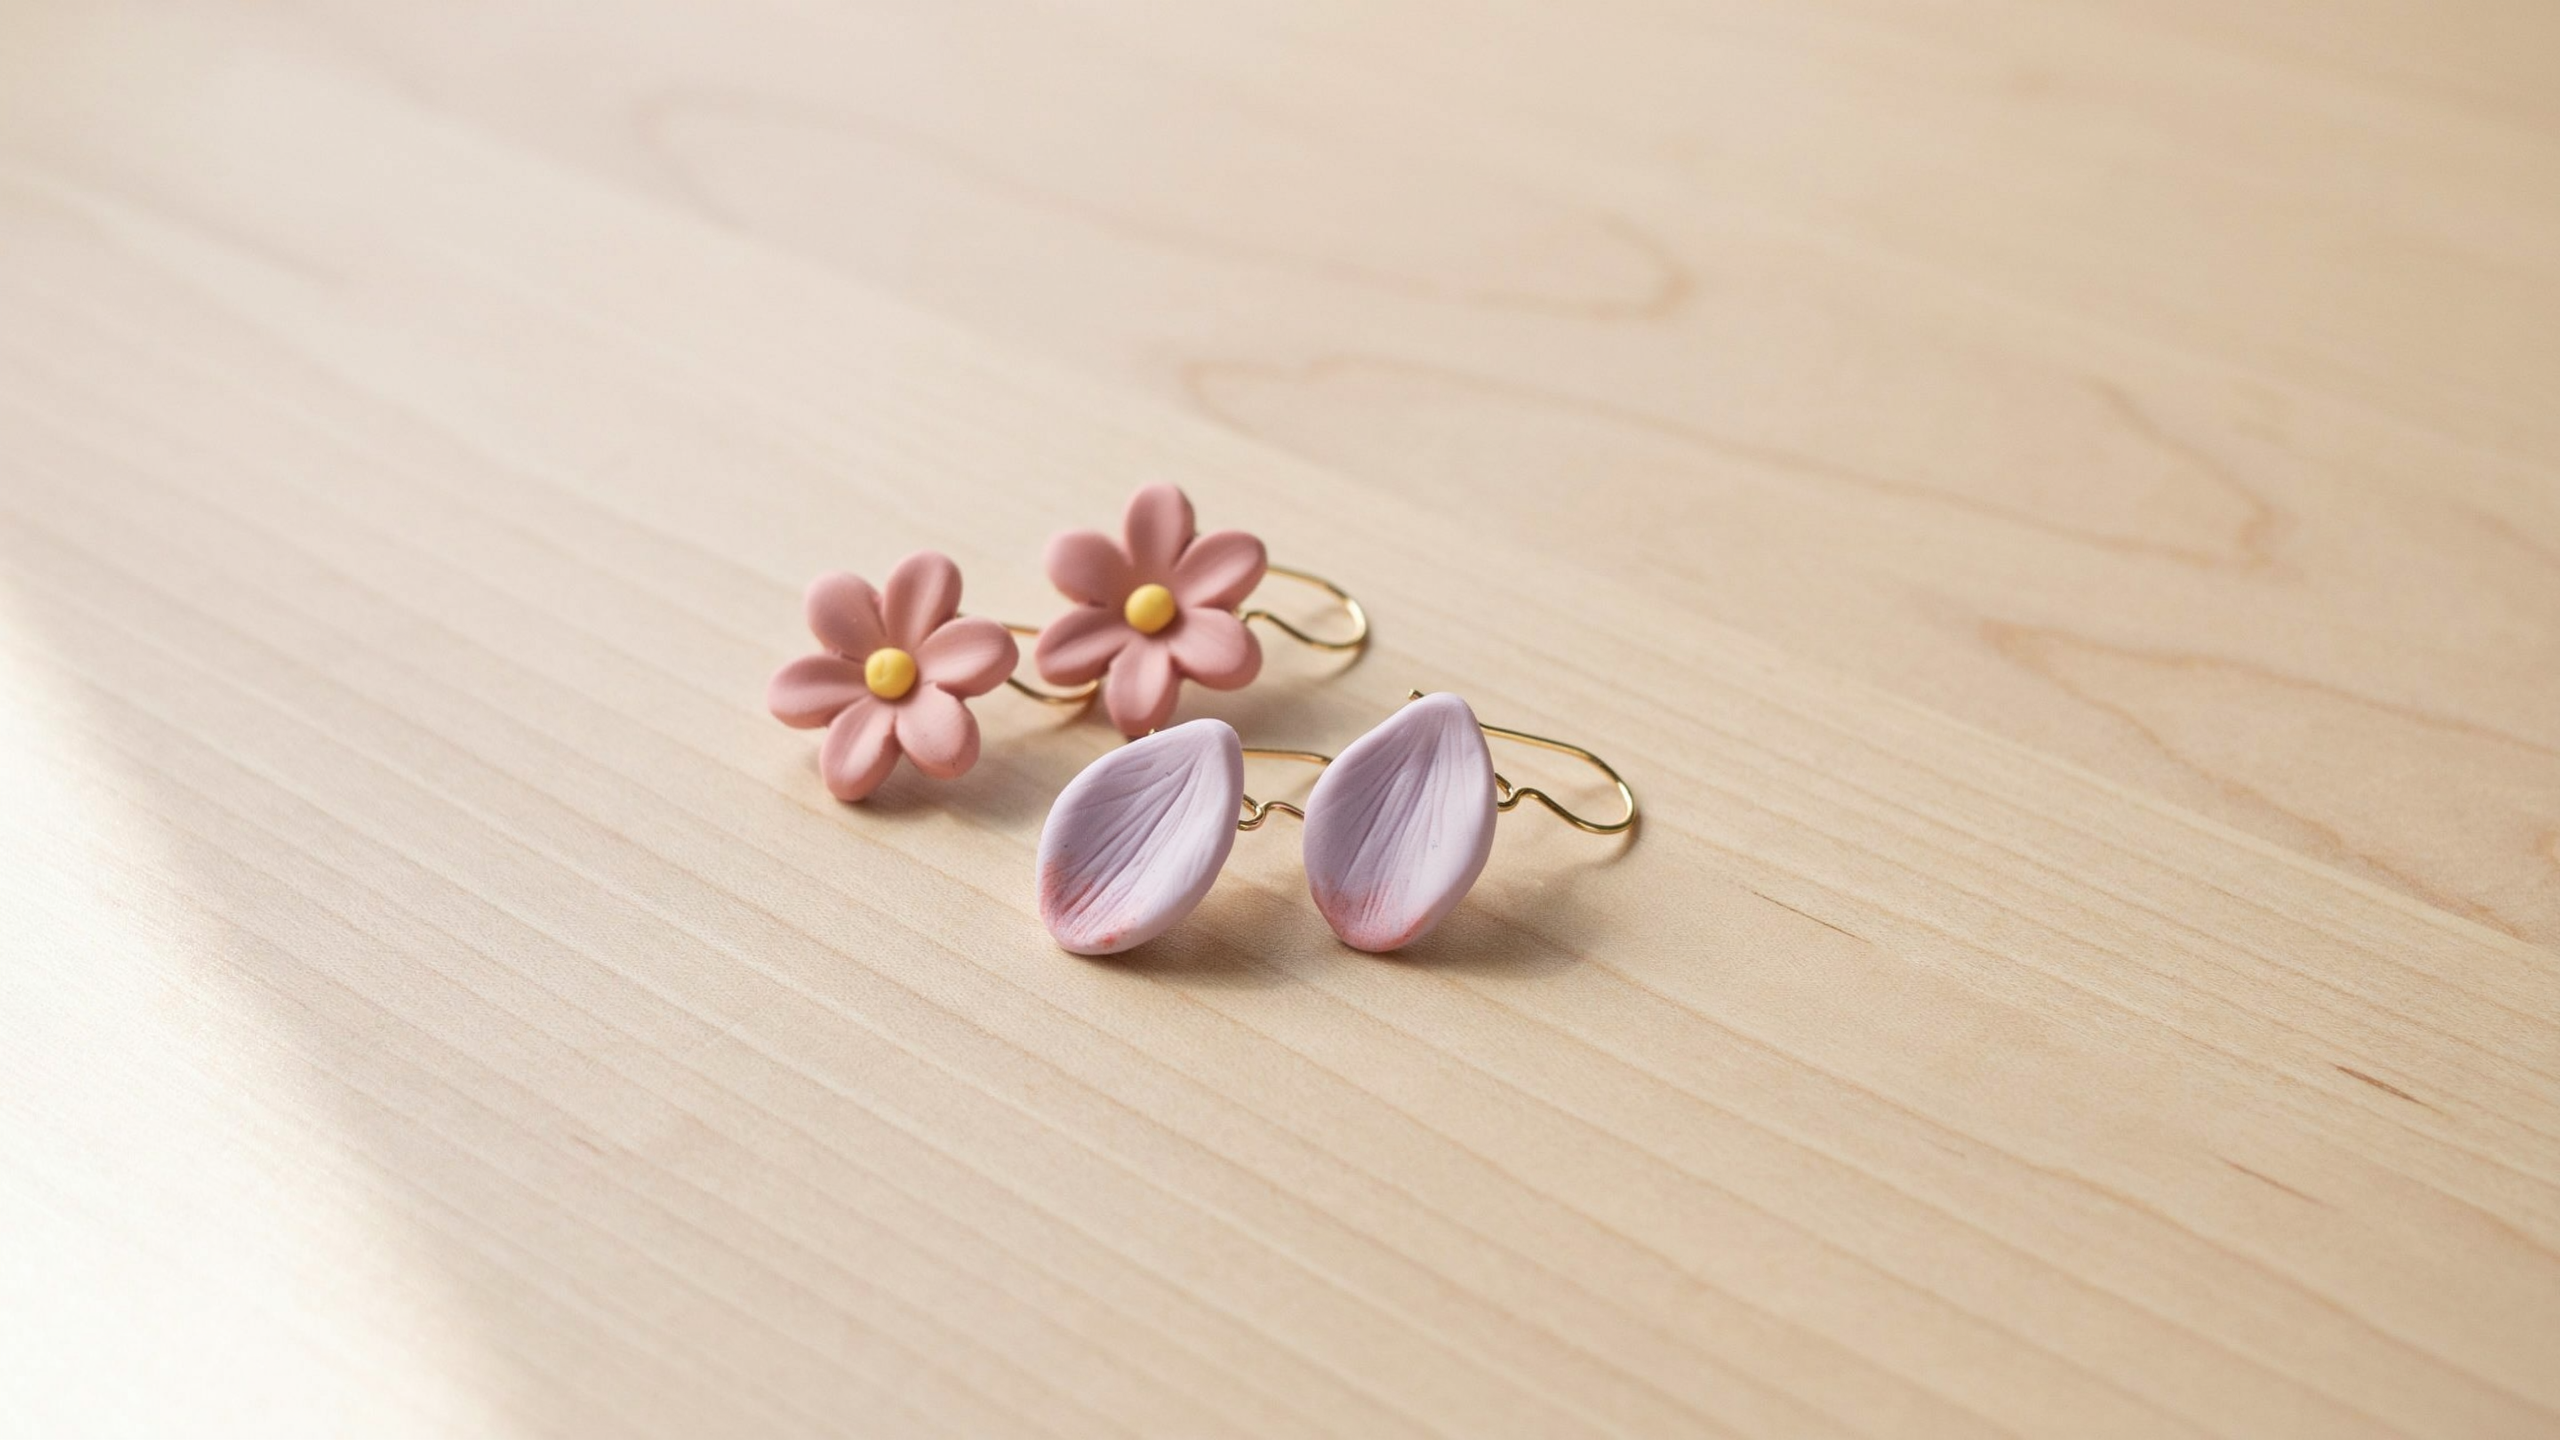
Lightweight handmade earrings shaped like flowers. These are highly popular in craft markets and handmade stores.
Step 1: Mold flower shapes using a silicone mold or hand shaping.
Step 2: Smooth the backside for a flat earring base.
Step 3: Bake evenly on a flat surface until hardened.
Step 4: Attach metal studs or hooks securely.
Pro tip: Silicone molds help create perfectly matching symmetrical earring pairs every time.
Cute Clay Food-Inspired Crafts
Food-themed clay crafts are highly popular for their realistic and playful look. They are widely shared across Pinterest and Etsy.
Polymer clay works best for these projects since it bakes to a hard finish that holds painted details and gloss sealer without chipping.
22. Mini Ice Cream Charm

A detailed cone charm topped with scoops and decorative elements. It is one of the most aesthetic food clay projects.
Step 1: Shape the cone base using a tapered clay cylinder.
Step 2: Carefully add stacked scoop balls on top.
Step 3: Create a drip effect using soft clay strips.
Step 4: Bake and paint with pastel tones.
Pro tip: Add drip before baking for a natural melting illusion and a realistic texture effect.
23. Clay Donut with Sprinkles
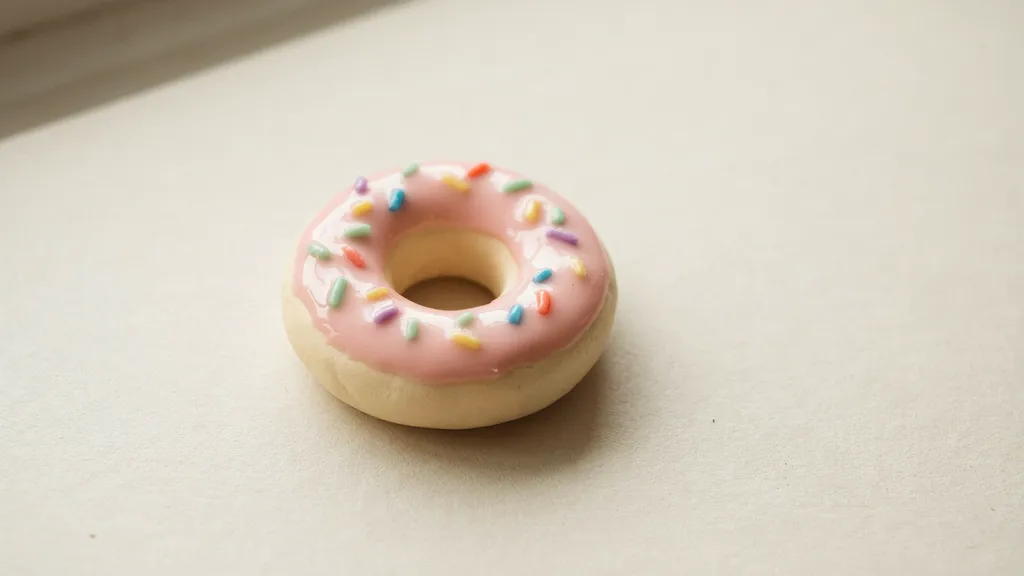
A round donut charm decorated with frosting and colorful sprinkles. It is simple, fun, and very beginner-friendly.
Step 1: Form a ring shape using a smooth clay ball.
Step 2: Add a layer of frosting evenly to the top surface.
Step 3: Decorate with tiny sprinkle dots carefully.
Step 4: Bake and apply a glossy seal finish.
Pro tip: Gloss finish creates a realistic sugary glaze effect that enhances visual appeal instantly.
24. Strawberry or Fruit Charms
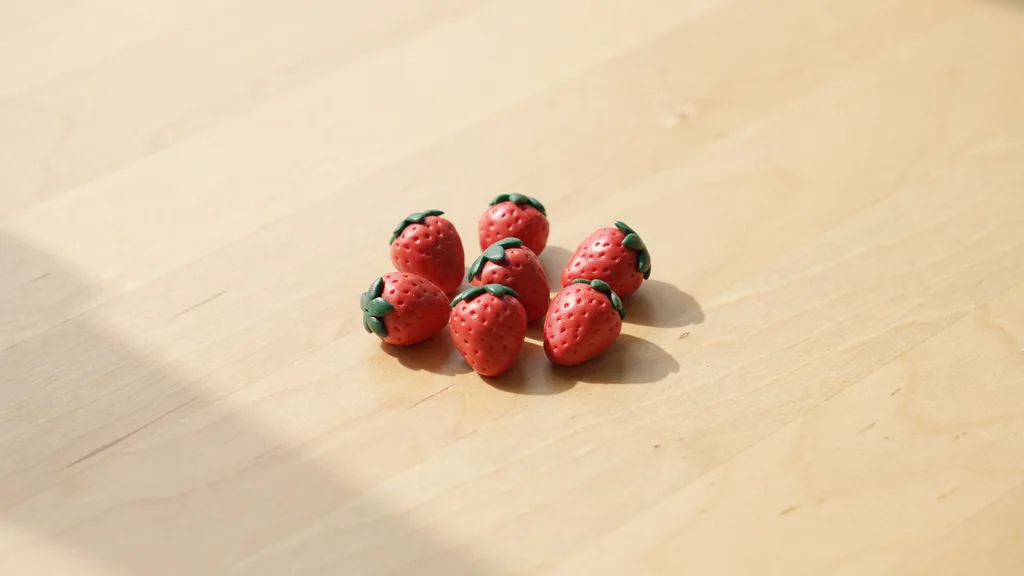
Tiny fruit-shaped charms with seed detailing and leaf caps. These are popular for keychains and jewelry pieces.
Step 1: Shape the fruit base into a teardrop.
Step 2: Add seed dots using a pointed tool tip.
Step 3: Attach the green leaf crown on top.
Step 4: Bake and paint in vibrant colors.
Pro tip: Mix slight orange into red paint for more natural fruit-like color tone.
25. Croissant or Pastry Miniatures

Mini pastry-shaped charm with layered texture detailing. It is widely used in food-themed clay collections.
Step 1: Form a crescent-shaped clay roll evenly.
Step 2: Add layered lines using the pointed tool.
Step 3: Curve edges slightly for a realistic shape.
Step 4: Bake and dry-brush golden tones.
Pro tip: Dry brushing a lighter color enhances the baked pastry illusion and adds realistic depth.
Cute Seasonal & Gift Clay Ideas
Seasonal clay crafts are perfect for holidays, gifting, and personalized handmade decoration projects throughout the year.
They are also a great way to use up leftover clay scraps from other projects.
26. Holiday Ornament Set
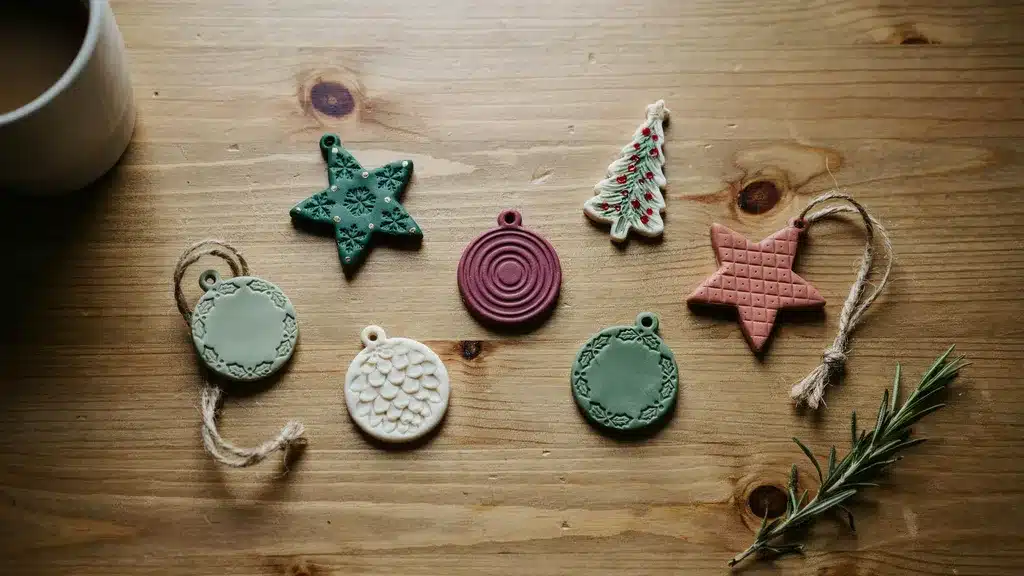
Flat clay ornaments designed for festive decoration and gifting. They are often made in sets for visual impact.
Step 1: Cut festive shapes using cookie cutters.
Step 2: Add texture or stamped patterns to the surface.
Step 3: Create hanging holes before drying completely.
Step 4: Paint, dry, and string for display.
Pro tip: Bundle multiple ornaments together for a complete handmade gift set presentation.
27. Personalized Name Tag or Gift Charm
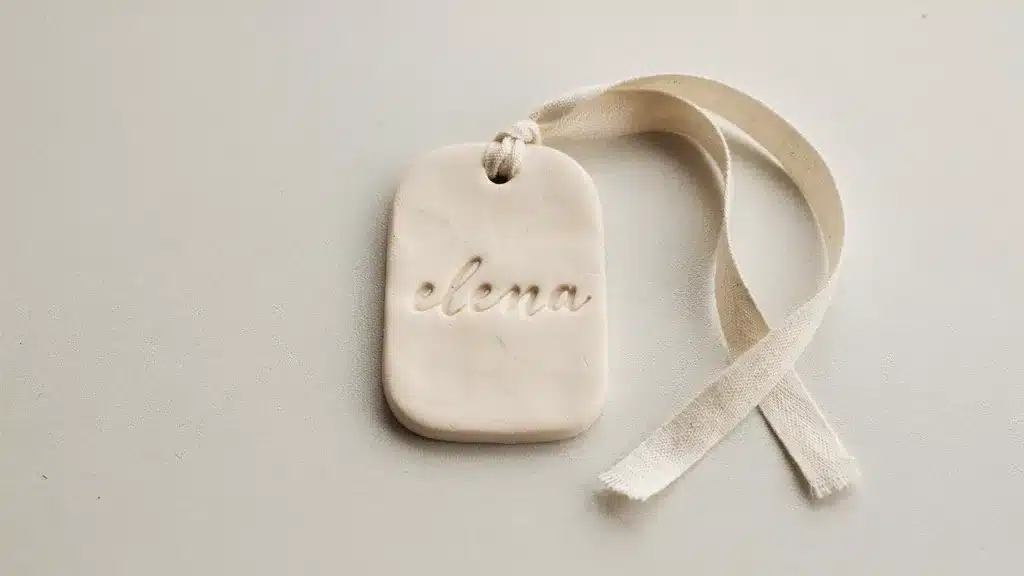
Custom clay tags are used for gift wrapping or personal labeling. They add a handmade touch to packaging and presents.
Step 1: Cut the tag shape from a flat clay sheet.
Step 2: Stamp name or message clearly on the surface.
Step 3: Create a top hole for ribbon or string.
Step 4: Paint and seal after it has dried fully.
Pro tip: Use bold lettering for clear visibility and more polished handmade presentation effect.
Mistakes to Avoid While Working with Clay
Working with clay gets easier once you know what to avoid. These four common mistakes trip up most beginners but are simple to fix with the right habits.
- Overworking the clay occurs when you handle it too much, which dries it out and makes clean shaping much harder.
- Uneven thickness in flat pieces, such as coasters, causes warping and cracking. Use equal stacks of coins on both sides as rolling guides.
- Improper drying near heat causes the outside to dry faster than the inside. Always air-dry clay at room temperature in a flat position.
- Painting too early over damp clay causes paint to bubble or lift. Skipping the sealing step leaves finished pieces fragile and prone to chipping.
Avoiding these mistakes from the start saves time and produces cleaner, longer-lasting results across every clay project you make.
For comprehensive guidance on safe handling practices for all arts and crafts materials, the U.S. Consumer Product Safety Commission is a reliable federal resource.
Conclusion
Clay does not need to be complicated to be satisfying. Some of the most charming pieces I have ever seen came from a single ball of clay and a free afternoon.
These cute things to make out of clay are proof that small handmade pieces carry real value, whether you keep them, display them, or gift them.
Start with whatever feels manageable, a tiny pinch pot, a smiley keychain, or a strawberry charm, and build from there.
I recommend grabbing a pack of air-dry or polymer clay, clearing a spot on your table, and making something today. Your first piece does not have to be perfect. It just has to be yours.
Frequently Asked Questions
What is the Easiest Cute Thing to Make Out of Clay for Beginners?
A pinch pot bowl or a simple heart-shaped trinket dish is the easiest starting point, needing no tools or prior experience.
How Long Does Air-Dry Clay Take to Dry for Small Projects?
Thin pieces like ornaments and charms dry in 24 hours. Thicker pieces like planters or candle holders need 48 to 72 hours.
Can You Sell Cute Clay Projects Made at Home?
Yes. Polymer clay keychains, earrings, and food charms are among the top-selling handmade items on Etsy and at local markets.
What Paint Works Best on Air-Dry Clay Projects?
Acrylic paint is the best choice for air-dry clay. It bonds well to the surface and covers cleanly in two thin coats.
How Do You Make Air-Dry Clay Projects Last Longer?
Seal every finished piece with Mod Podge or a clear acrylic varnish. Two coats protect against chipping, moisture, and everyday wear.