There’s something exciting about starting each day with a little surprise. A DIY advent calendar makes ordinary mornings playful and keeps everyone eagerly looking forward to what’s next.
Building your own calendar lets you pick the containers, the fillers, and the whole experience. It’s a hands-on way to create daily joy for kids or adults.
With some simple materials, planning, and creativity, you can craft a countdown that keeps everyone engaged, guessing, and enjoying small daily treats, notes, or activities.
What Is a DIY Advent Calendar and Why Is It Worth Building?
A DIY advent calendar is any container system with 24 or 25 numbered compartments, one opened each day from December 1st through Christmas. Two decisions drive the whole project: what you build and what you put inside.
Store-bought calendars fix both decisions for you. That’s also their limitation. A DIY version lets you match the structure, the fillers, and the whole experience to your child specifically.
The one thing worth understanding before you choose a structure: the container determines what fits. A flat envelope holds a slip of paper. A deep roll holds a small toy. Get that relationship right first, and every other decision follows from it.
Selecting a Container Structure that Works
Before you pick a structure, know what you’re putting inside it. A container that can’t hold your fillers isn’t a starting point; it’s a rebuild waiting to happen.
Paper and Envelope Structures
Simple, fast, and versatile for flat items, envelopes, origami boxes, and kraft bags can be folded and numbered quickly for daily surprises.
1. Envelopes
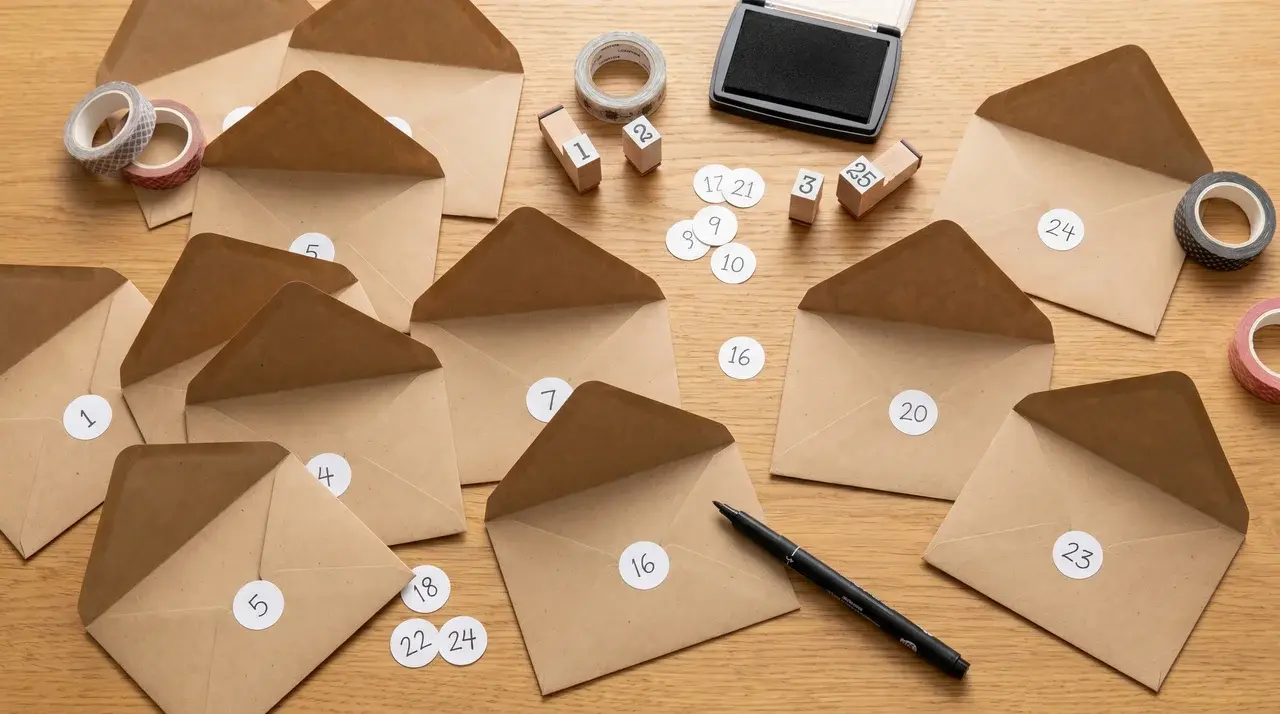
Envelopes are quick to assemble and perfect for flat items that slide in easily.
Materials Needed:
- Standard envelopes
- Tape or glue
- Markers or pens for numbering
- Optional stickers for decoration
How to assemble:
Step 1: Fold the envelope flap over the opening and seal with tape or glue, keeping edges neat.
Step 2: Number each envelope clearly on the front with a marker or pen for daily use.
Step 3: Arrange envelopes on a board, line, or box in order for easy access each day.
2. Origami Boxes
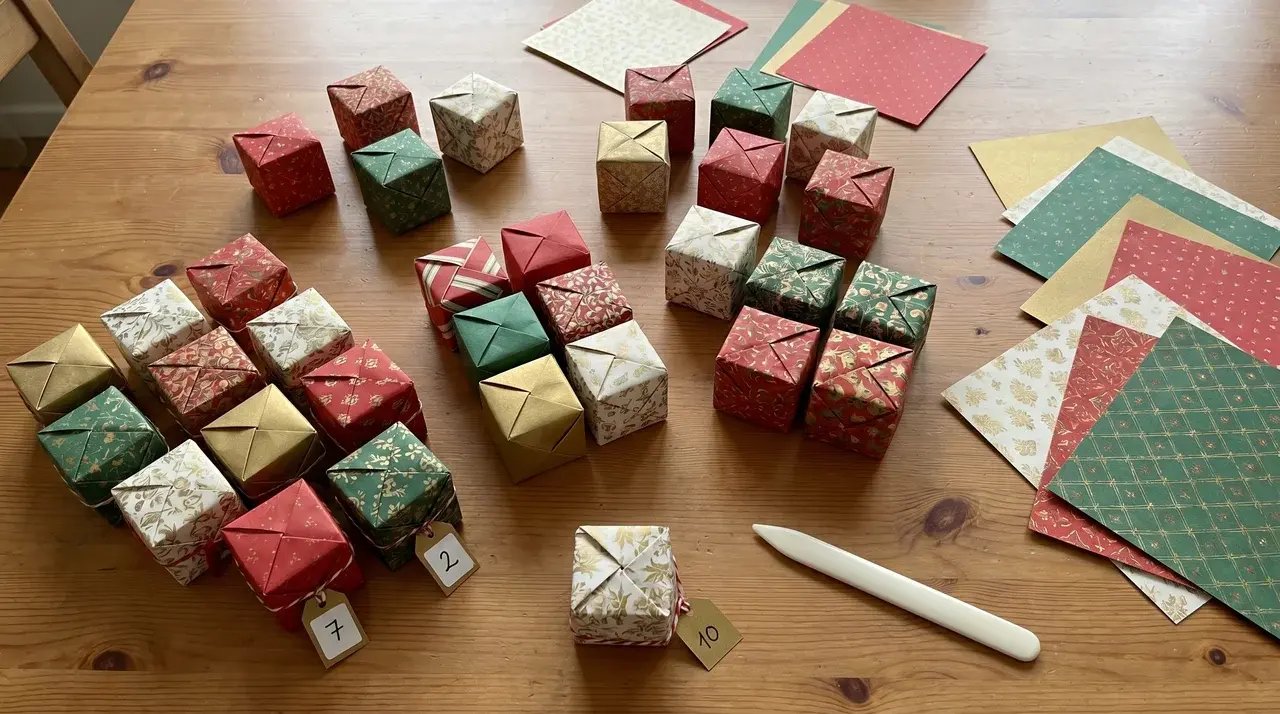
Origami boxes hold small flat surprises while adding a handmade touch to your calendar.
Materials Needed:
- Square origami or craft paper
- Tape or glue to secure edges
- Markers or pens for numbering
- Optional decorative accents
How to assemble:
Step 1: Fold a square of paper into a box by folding the ends and gluing them together, ensuring the corners are tight.
Step 2: Secure edges lightly with tape if needed to hold shape during handling.
Step 3: Number the top of each box and place them in sequence for your calendar display.
3. Kraft Bags
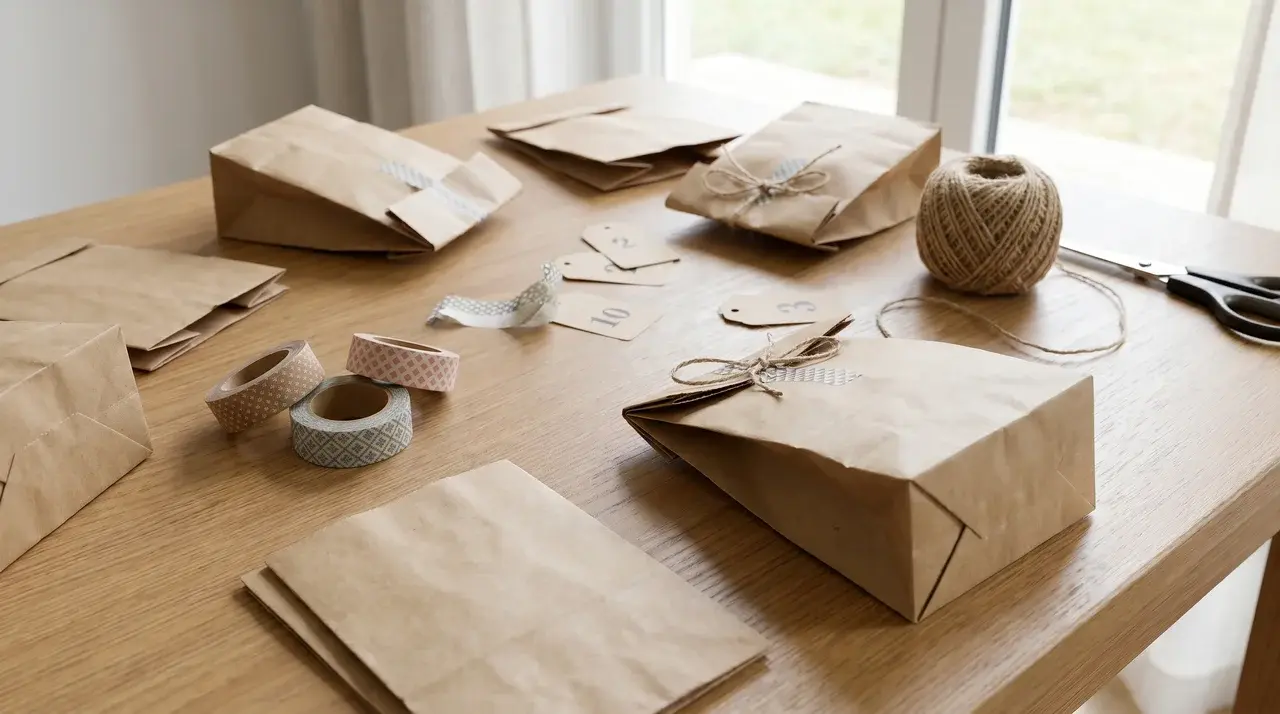
Kraft bags provide a rustic option that works well for lightweight fillers and easy daily access.
Materials Needed:
- Small kraft paper bags
- Tape or glue to seal tops
- Markers or pens for numbering
- Optional twine or ribbon for closure
How to assemble:
Step 1: Fold the top of each kraft bag twice and secure it with tape to keep the contents safe and easy to access.
Step 2: Number each bag on the front using a marker or sticker for each day.
Step 3: Arrange bags on a tray, line, or board in the order you want them opened.
Upcycled Rigid Containers
Most-recommended budget option across Reddit and craft sites; sturdy rolls, matchboxes, and tins hold small toys or craft items.
4. Toilet Paper Rolls
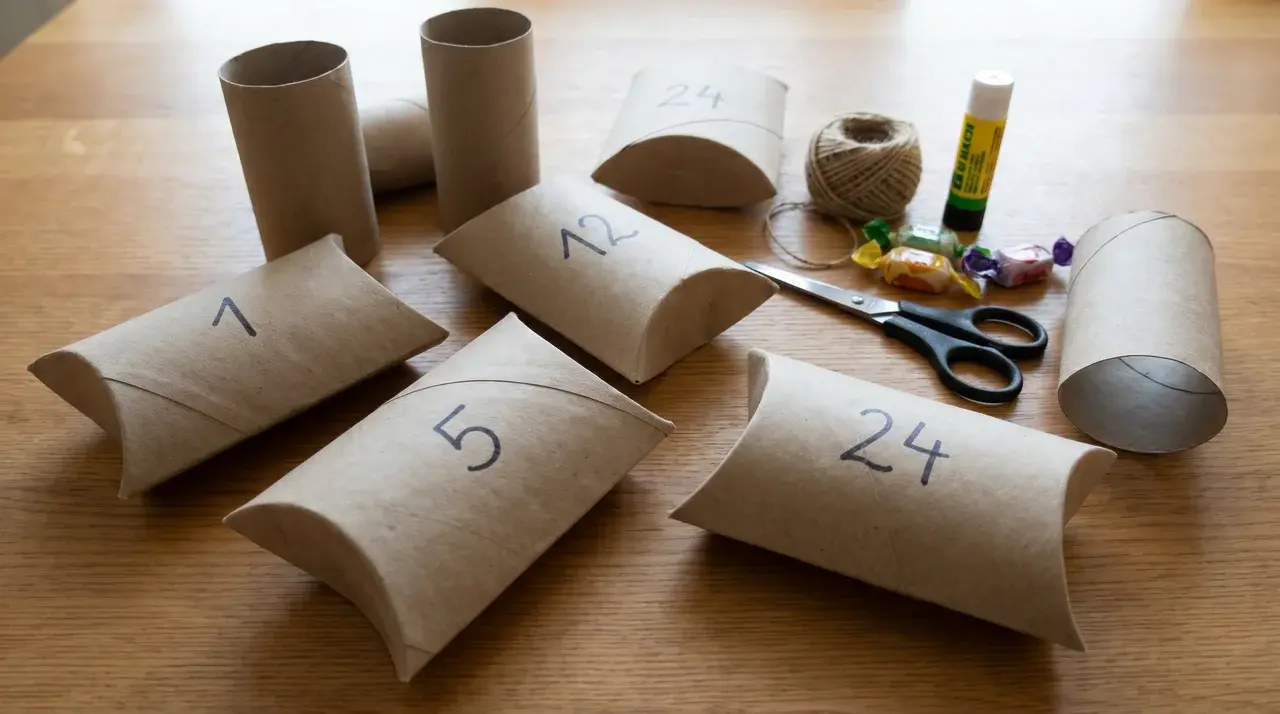
Rolls are budget-friendly, sturdy, and perfect for slightly bulky items like toys or folded notes.
Materials Needed:
- Empty toilet paper rolls
- Tape for sealing ends
- Pen or marker for numbering
- Optional wrapping paper for decoration
How to assemble:
Step 1: Fold ends inward and secure with tape to prevent items from falling out.
Step 2: Number each roll before stacking or gluing into a pyramid or line.
Step 3: Arrange the rolls in the desired shape to ensure stability for display or daily use.
5. Matchboxes
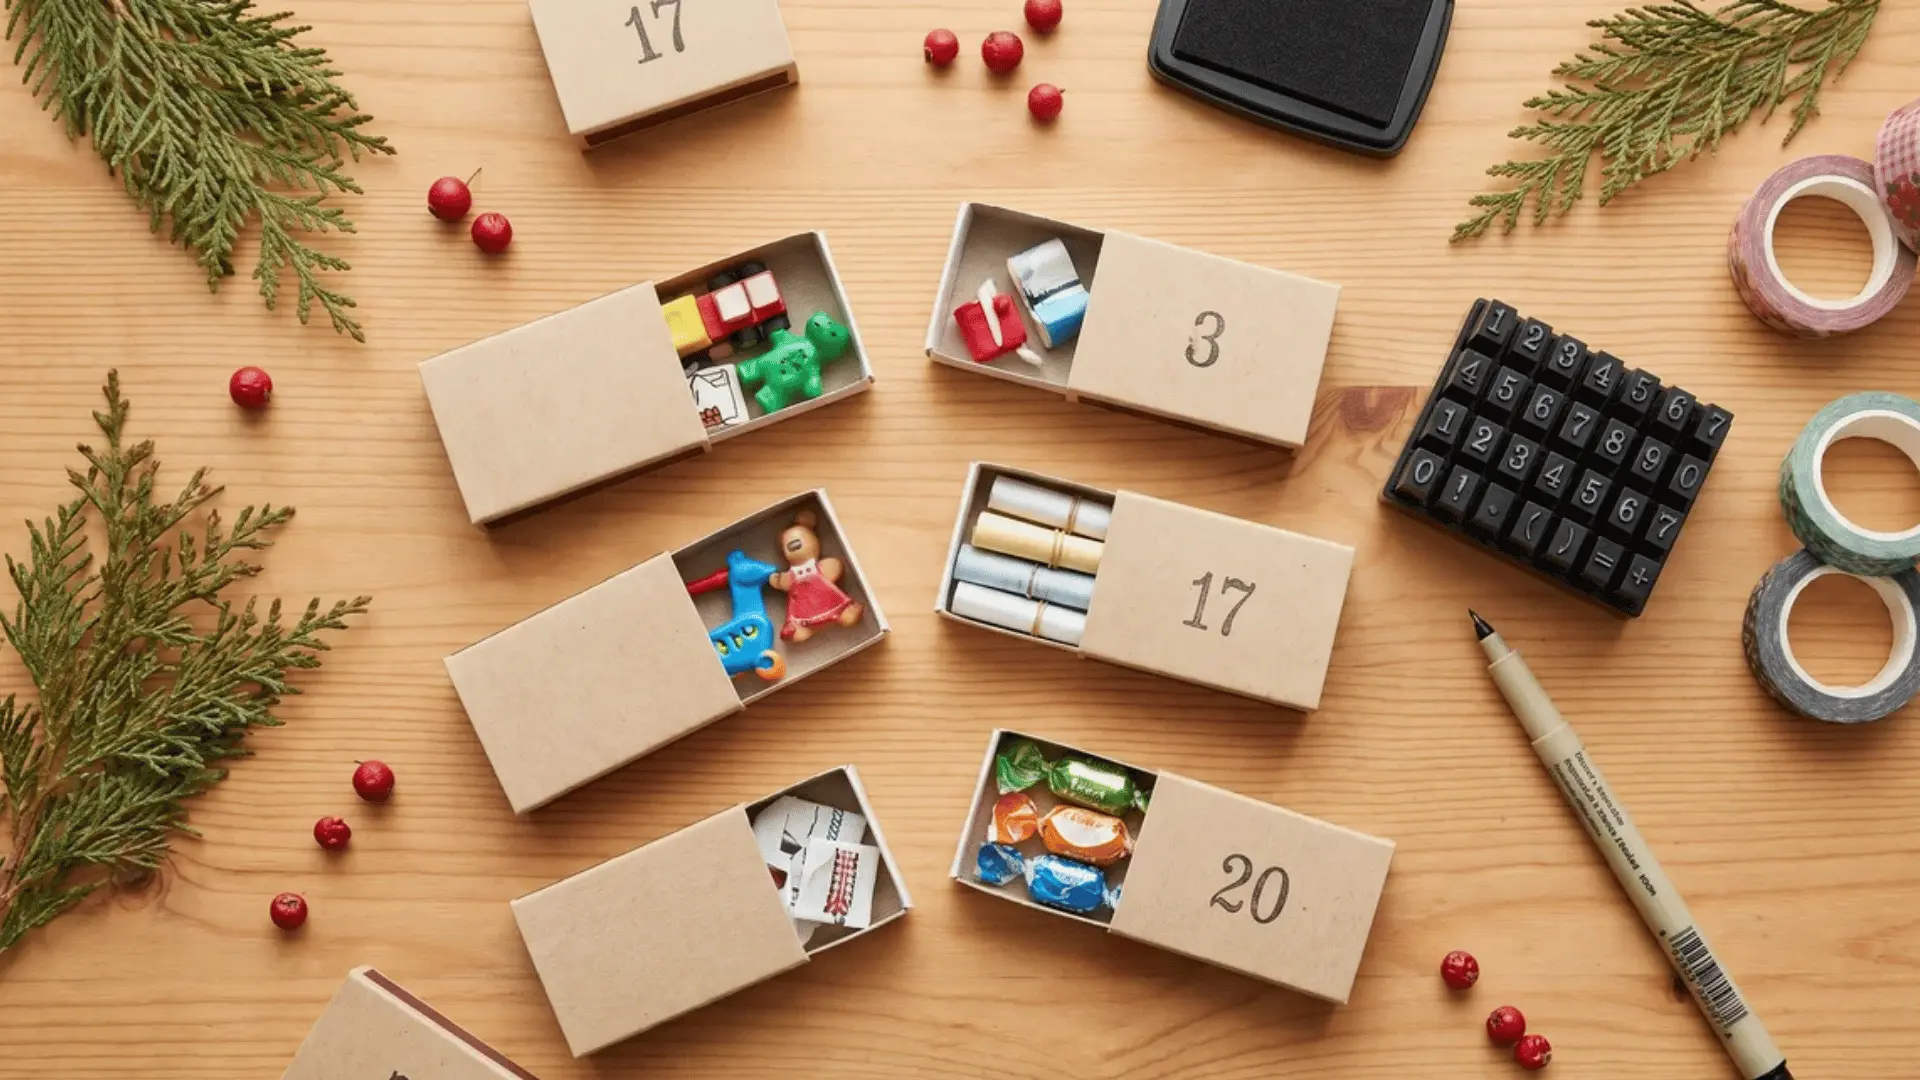
Matchboxes are compact and ideal for tiny treats or activity slips, easy to organize in a display.
Materials Needed:
- Small matchboxes
- Pen or marker for numbering
- Tape or glue if needed
- Optional small decorative stickers
How to assemble:
Step 1: Keep slides intact; number each outer box with a marker or sticker for the daily countdown.
Step 2: Fill matchboxes with treats or activity slips as desired, checking capacity first.
Step 3: Stack, glue, or place in a tray for organized daily access.
6. Small Tins
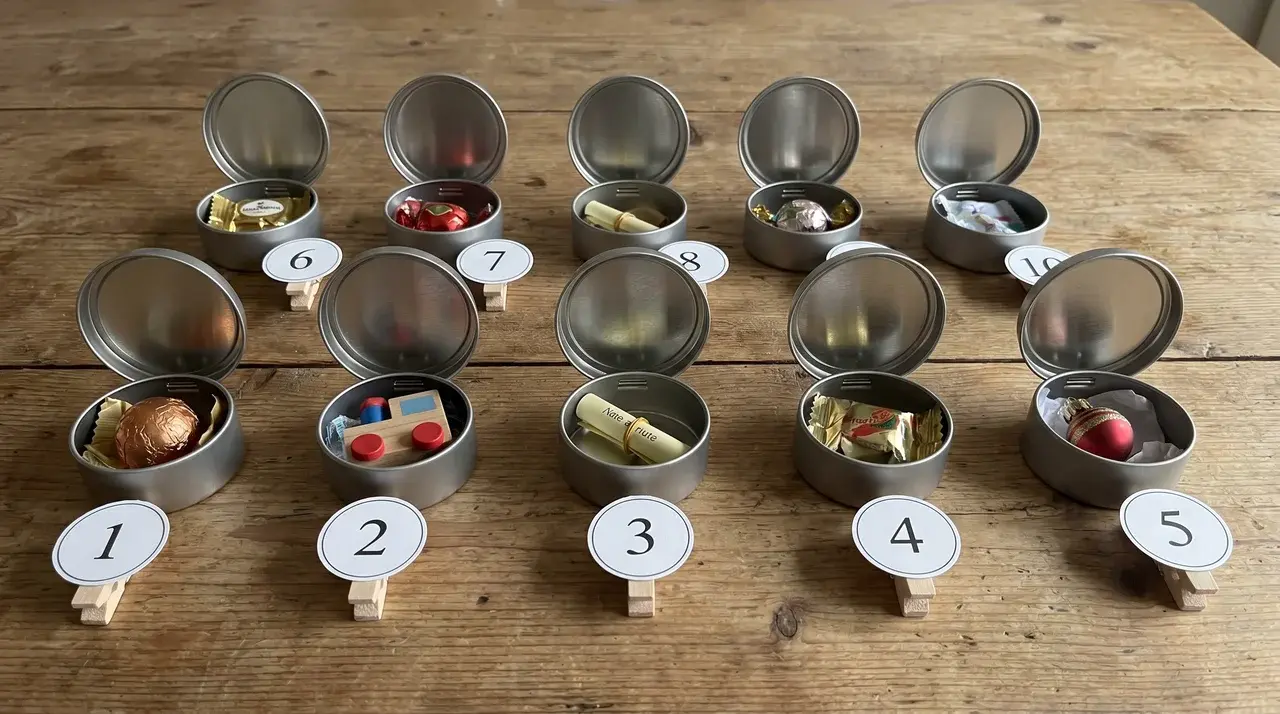
Tins hold miniature toys or trinkets securely and are reusable for yearly calendars.
Materials Needed:
- Small metal tins or containers
- Pen or marker for numbering
- Tape or glue if necessary
- Optional filler separators or padding
How to assemble:
Step 1: Open each tin and clean it. Fill it with miniature toys, trinkets, or folded notes.
Step 2: Clearly number the lid or side before closing to maintain daily order.
Step 3: Arrange tins on a tray, board, or inside a larger container for stability and visibility.
Board-Mounted Displays
Transform a calendar into a display piece using foam board, magnetic sheets, or twine lines for a visually organized presentation.
7. Foam Board Tree
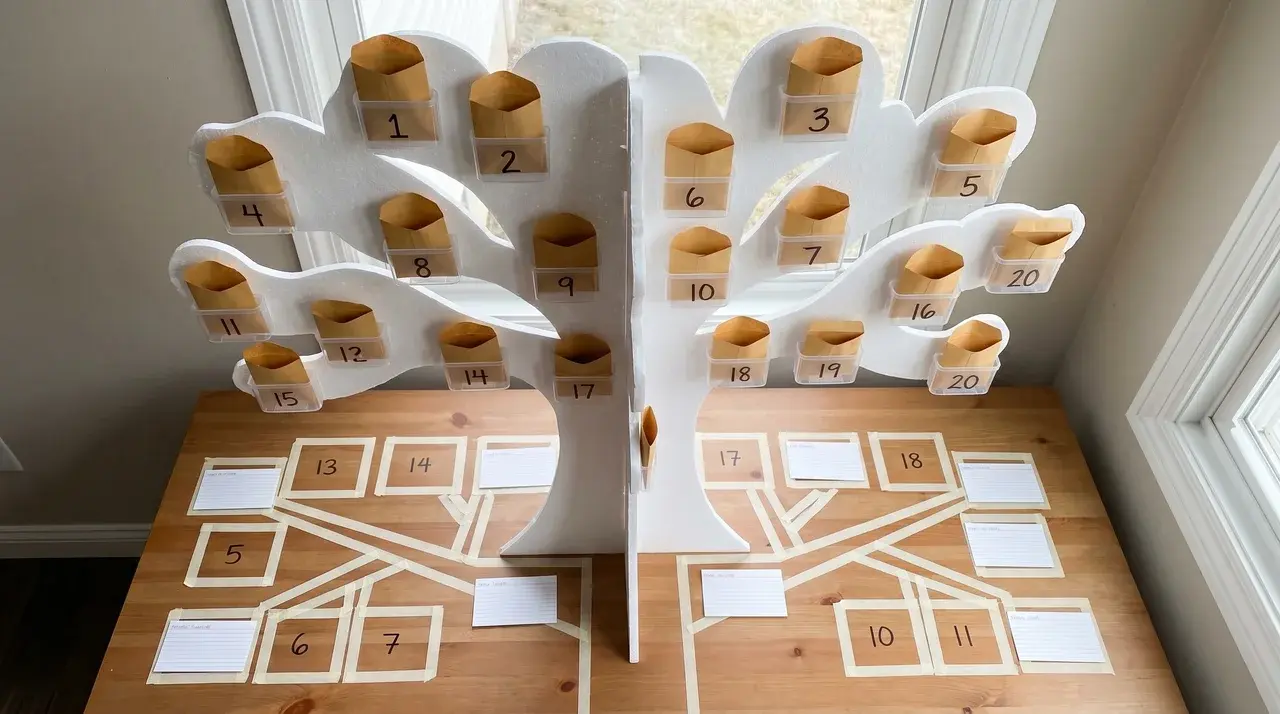
Foam board trees turn your calendar into a visual centerpiece while holding lightweight fillers neatly.
Materials Needed:
- Foam board or cardboard
- Glue, tape, or velcro
- Small containers, envelopes, or numbered tags
- Marker for numbering
How to assemble:
Step 1: Cut a piece of foam board or cardboard into the desired tree shape. Plan where each of the 24 compartments or envelopes will go.
Step 2: Select small containers, envelopes, or tags for each day. Make sure they are lightweight and uniform in size for easy attachment.
Step 3: Secure the containers to the foam board using glue, tape, or Velcro. Space them evenly without crowding to maintain a clean, visual layout.
Step 4: Write numbers clearly on each container, envelope, or tag from 1 to 24. Check alignment visually before finalizing to ensure readability.
Step 5: Set the tree on your chosen surface. Adjust spacing or alignment as needed. Ensure all compartments are stable and easily accessible for daily use.
8. Cookie Sheet Magnetic Wall
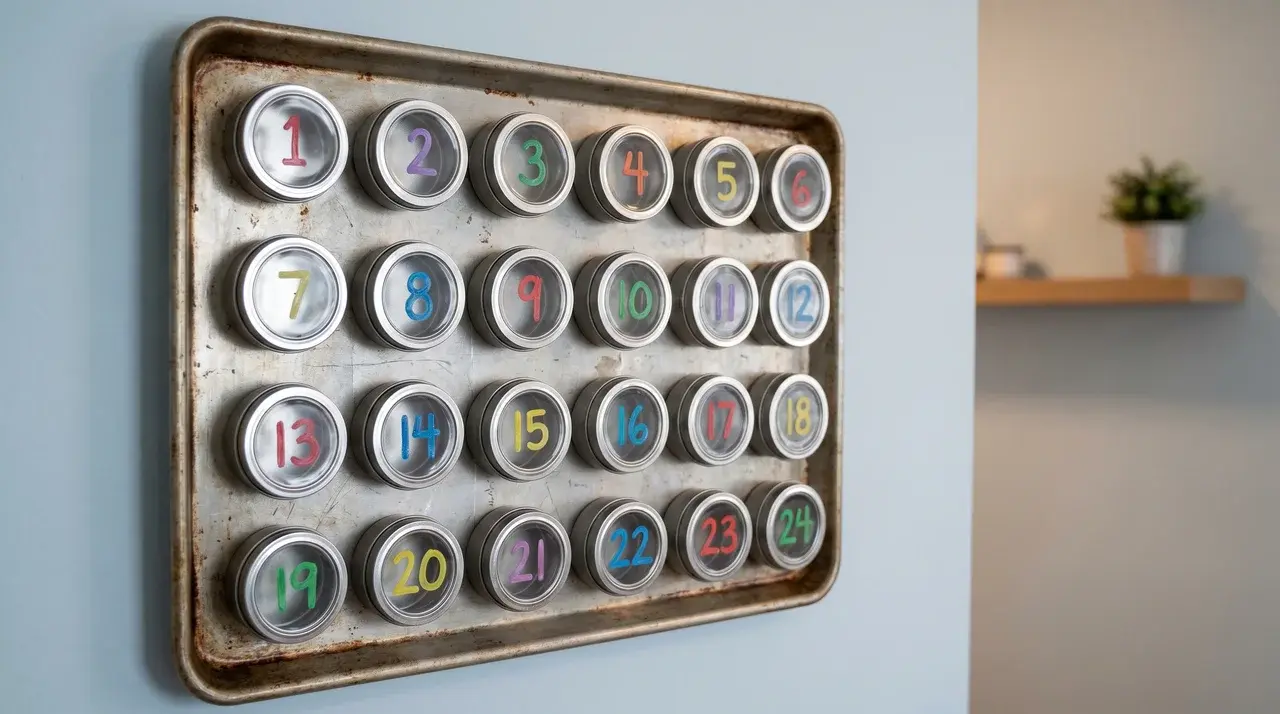
Magnetic walls let you easily arrange and adjust containers while keeping them accessible for daily use.
Materials Needed:
- Metal cookie sheet or magnetic board
- Small magnetic containers or matchboxes
- Marker or stickers for numbering
- Magnets for attachment
How to assemble:
Step 1: Attach small magnetic containers or matchboxes to the sheet in a grid or pattern.
Step 2: Number each container with a sticker or marker for the countdown sequence.
Step 3: Mount the cookie sheet on a wall or stand for accessible daily use.
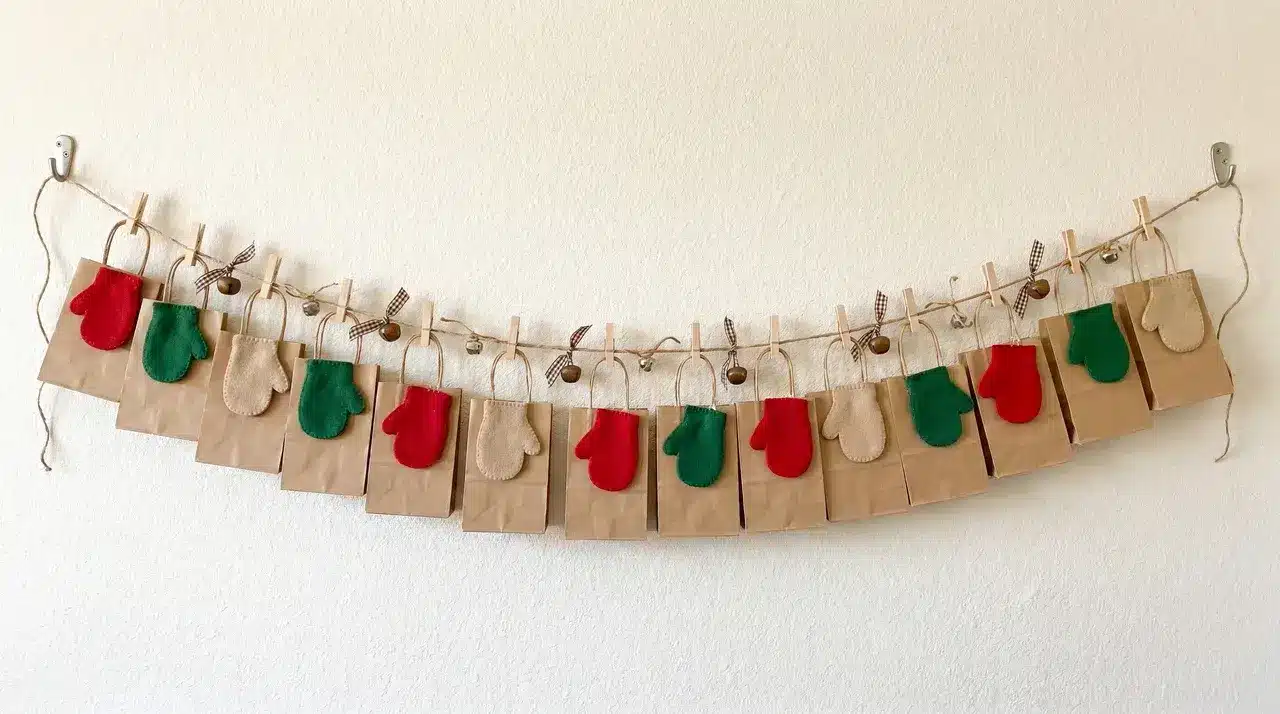
9. Twine Lines
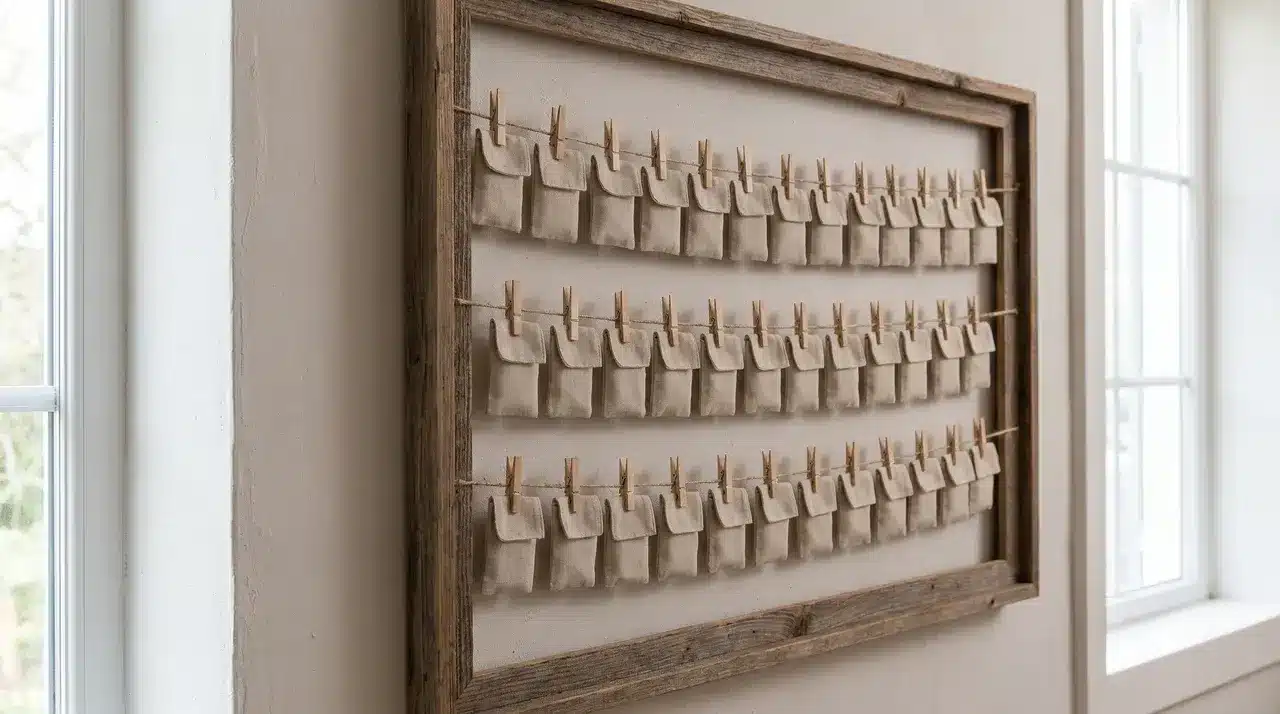
Twine lines create a simple, linear display perfect for lightweight slips, cards, or small treats.
Materials Needed:
- Twine, string, or ribbon
- Clothespins or clips
- Envelopes, bags, or small containers
- Markers or stickers for numbering
How to assemble:
Step 1: Stretch twine across a wall or frame and secure ends firmly.
Step 2: Clip numbered envelopes, bags, or small containers evenly along the line.
Step 3: Ensure numbers are visible and spacing allows easy removal of each item daily.
Freestanding and Reusable Structures
Wooden boxes, fabric pockets, and crates last for years and allow repeated seasonal use without rebuilding.
10. Wooden Boxes
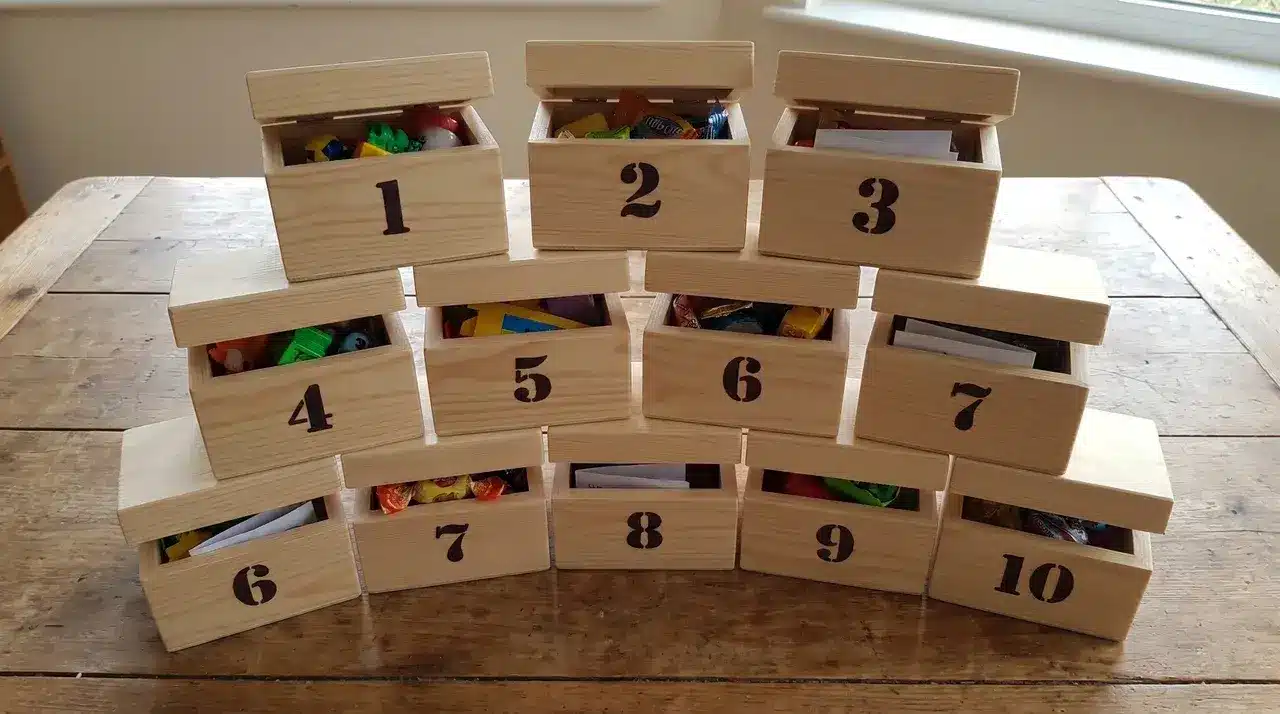
Wooden boxes are durable, reusable, and work well for a mix of toys, notes, and craft items.
Materials Needed:
- Wooden boxes or small crates
- Numbered tags or markers
- Optional dividers
- Tape or Velcro for securing items
How to assemble:
Step 1: Arrange boxes in a stacked or side-by-side layout to ensure stability.
Step 2: Number each compartment with stickers or tags clearly visible from the front.
Step 3: Fill with treats, toys, or notes to make access easy without disturbing others.
11. Fabric Pockets
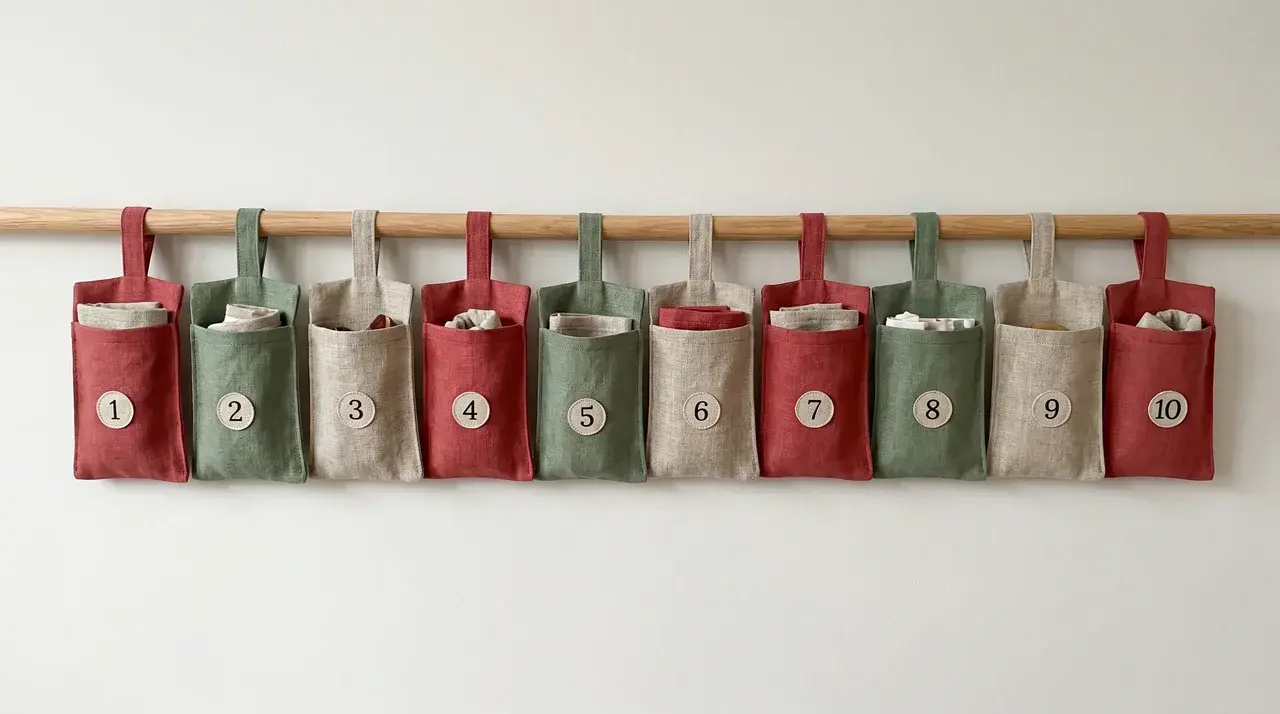
Fabric pockets allow versatile filler storage while keeping the structure lightweight and portable.
Materials Needed:
- Fabric pocket organizer or hanging pockets
- Numbered tags or markers
- Rod or frame for hanging
- Optional filler dividers
How to assemble:
Step 1: Hang pockets on a rod, board, or frame, spacing evenly for visibility and reach.
Step 2: Number each pocket with sewn-on or adhesive tags for daily selection.
Step 3: Fill pockets with slips, small toys, or flat treats appropriate for size.
12. Crates
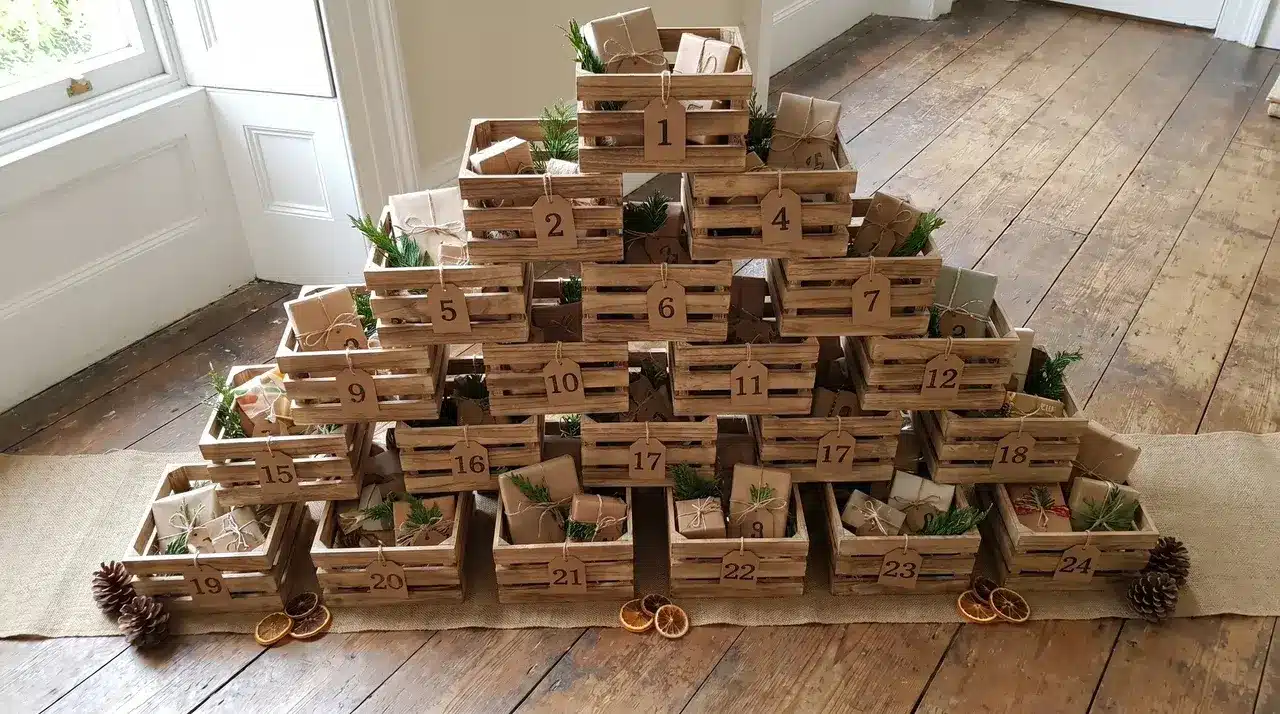
Crates provide large, freestanding compartments ideal for bulkier fillers and reusable seasonal setups.
Materials Needed:
- Small stacked crates or bins
- Numbered tags or stickers
- Optional dividers for organization
- Pen or marker for numbering
How to assemble:
Step 1: Stack or align crates in a stable formation on the floor or table.
Step 2: Number each crate section for the daily countdown using markers or tags.
Step 3: Fill with bulkier items, combining toys, crafts, or treats for variety.
Filler Ideas by Recipient and Format
Every advent calendar filler falls into one of three categories: physical treats, small gifts, or activity vouchers. Which category you lean on depends on who the calendar is for and how much space each compartment actually has.
Advent Ideas for Kids (ages 2–10)
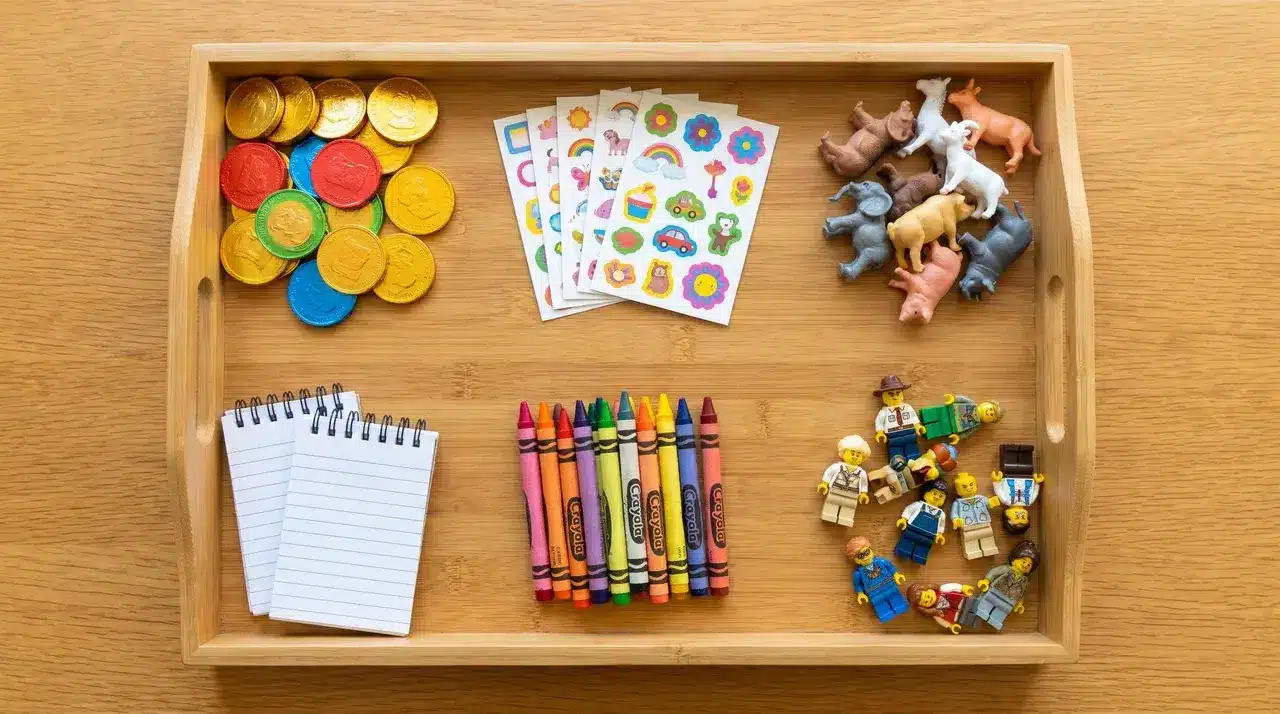
Small, tactile, and immediately exciting, that’s what works for this age group. A few options that land consistently:
- Chocolate coins or small wrapped sweets
- Sticker sheets or holiday-themed stamps
- Single LEGO minifigures or Calico Critters characters
- Crayons, mini notepads, or glitter glue sticks
- Small plastic animals or dinosaurs
For toddlers under three, skip anything small enough to swallow. Stick to sticker sheets, chunky crayons, and wrapped food items with no small parts.
For Teens
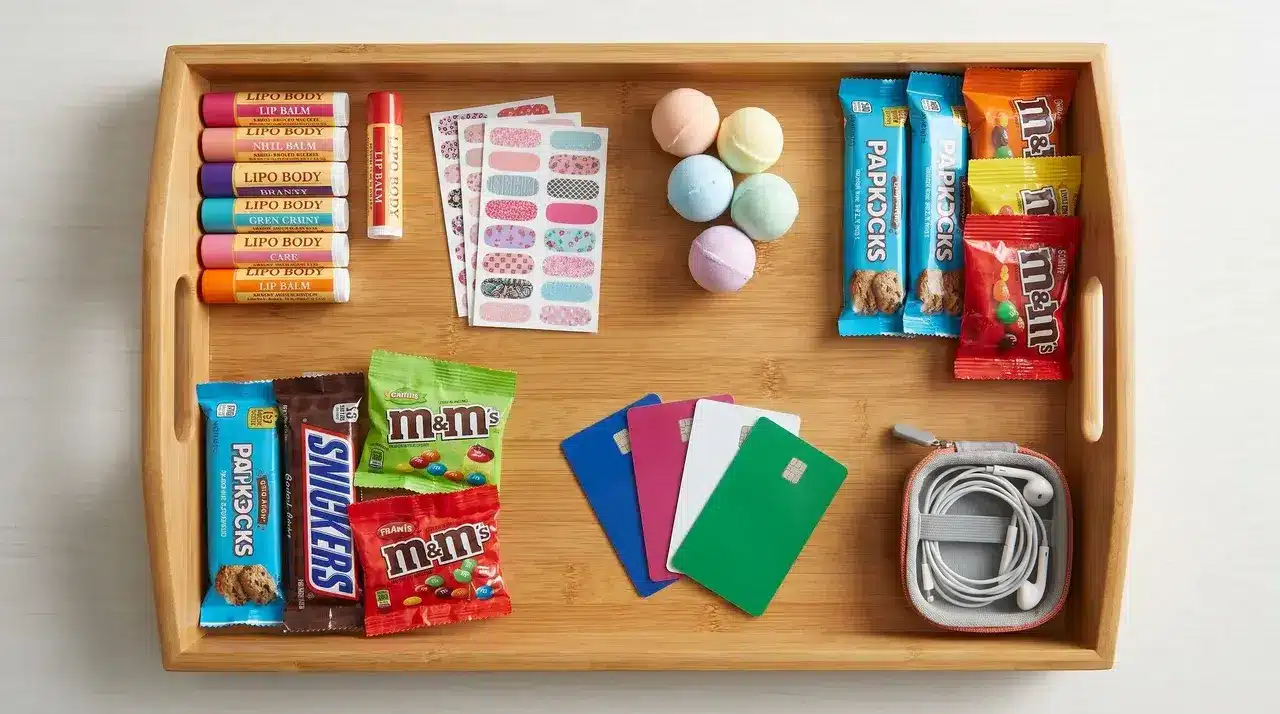
Teens are harder to surprise, and a calendar full of chocolate loses its appeal fast. Variety is what keeps it working.
- Lip balm, nail stickers, or mini hand cream
- Bath bombs or shower steamers
- Temporary tattoos or fun socks
- Snacks: jerky, popcorn seasoning, international crisps
- Small gift cards in $5 denominations
- Earbuds or phone accessories in the budget range
Humor items work well for this age, too. A tin of something unexpected, fancy tinned fish, novelty sweets, or an odd condiment lands better than a generic treat.
For Adults
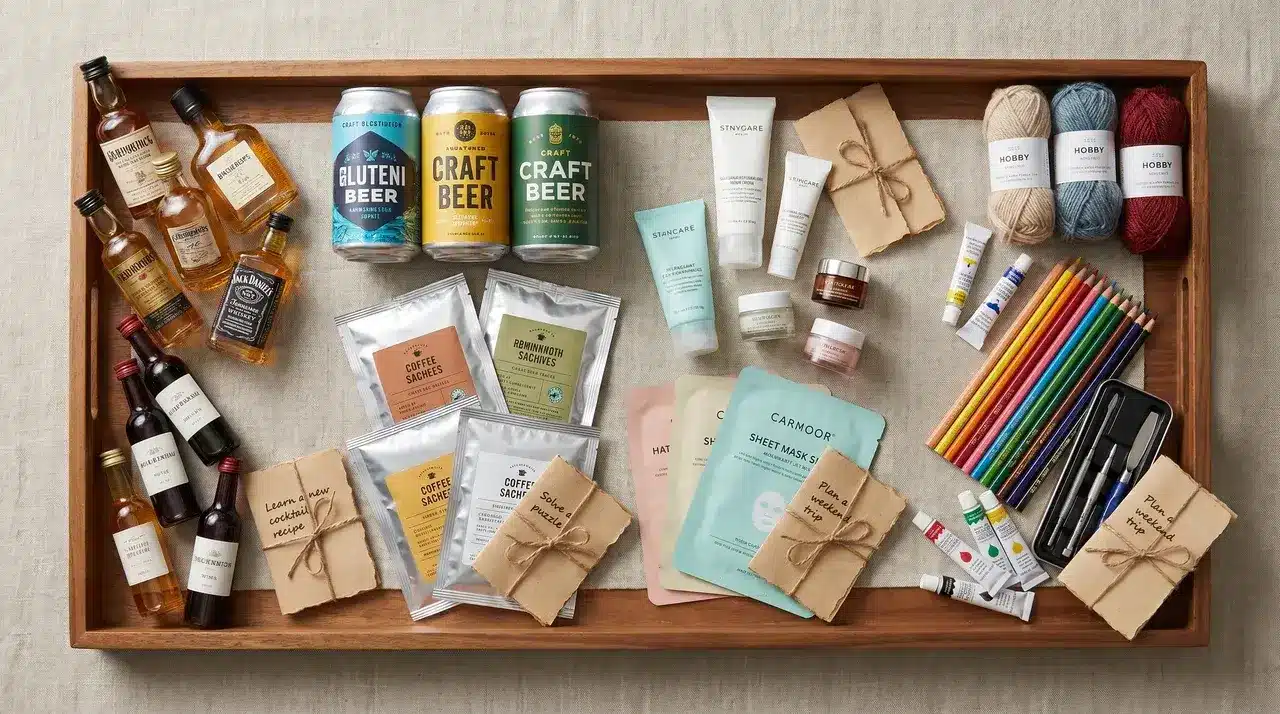
Adult advent calendars work best when they have a theme. A random mix of small items feels like leftover gift shop stock. A calendar built around one interest: all coffee, all skincare, all hot sauce feels intentional.
Some filler categories that hold up well:
- Mini spirits, wine samples, or craft beer cans
- Specialty coffee sachets or loose-leaf tea samples
- Skincare samples, face masks, or nail polish
- Hobby consumables: embroidery thread, watercolor pans, guitar picks
- Folded notes with specific plans (“dinner out, your pick of restaurant”)
Pick a theme first. Then source fillers within it. The calendar feels cohesive, and sourcing becomes easier because you’re shopping in one category.
Activity and Experience Vouchers (Any Age)
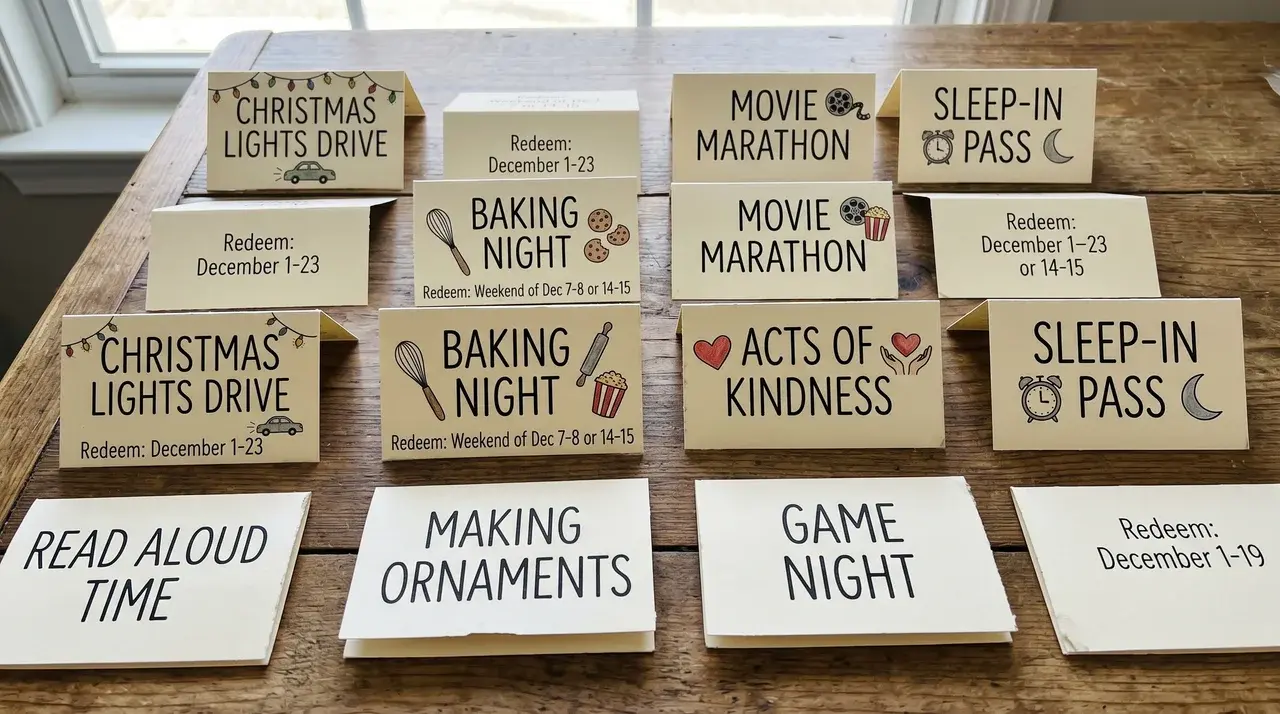
“Do something fun tonight” achieves nothing. A voucher that works looks like this: the activity is named, any materials needed are listed, and a time commitment is stated. That’s all it needs.
Some concrete examples that work across ages:
- Christmas lights drive
- Cookie baking night
- Movie marathon
- Random act of kindness
- Sleep-in pass
Print or handwrite the vouchers on a small card. Fold once so they fit any compartment. Write the redemption window on the back, “use any evening this week,” to stop the voucher from getting forgotten.
How to Assemble, Number, and Display Your Calendar
Fill first, number second, display last. Getting that sequence wrong means pulling sealed compartments apart. which is exactly as frustrating as it sounds.
Filling comes first because the filler determines everything else.
Lay all 24 items out together before sealing anything. It’s the only way to catch mismatches: a filler that’s too bulky, a compartment that’s shallower than it looked empty.
Numbering is where a small decision makes a real difference.
Sequential order left-to-right feels logical, but on a tree or grid, it lets kids work out which compartments are largest by position. Randomize the numbers instead. Every door stays genuinely unknown until it’s opened.
Final Take
Creating your own advent calendar turns ordinary days into memorable moments. It’s about small surprises, shared experiences, and the joy of discovering something special each morning.
Mixing toys, treats, crafts, and activity notes keeps the countdown fresh. Every compartment can spark curiosity, laughter, and even a little friendly competition among family members.
Now it’s your turn. Gather your materials, choose a structure, and fill each day with fun. Share your creations and inspire others to try them too.
Frequently Asked Questions
What Are Some Easy DIY Advent Calendar Ideas for Kids?
Use simple materials like toilet paper rolls, fabric pouches, or cardboard trees. Fill with small toys, treats, or activity slips.
How Can I Make a Non-Candy Advent Calendar for Children?
Include small toys, craft supplies, activity tickets, or kindness challenges. This keeps the countdown exciting without relying on sweets.
What Age Is Suitable for DIY Advent Calendars?
Calendars can work for toddlers through teens. Adjust complexity and filler types: pouches and rolls for toddlers, creative activities for older kids.
How Do I Organize a 24-Day Advent Calendar Without Burning Out?
Plan fillers: 8 toy/treat days, 8 activity days, 4 craft days, 4 kindness days. Prepare everything before December to save time.