
Crafting doesn’t require a stocked supply closet, a free weekend, or a long shopping list.
Some of the most rewarding projects take less than an hour and use materials already in your kitchen or recycling bin.
Easy at-home crafts aren’t about skill; they’re about picking projects that truly deliver. Here, you’ll find paper crafts, home décor ideas, kids’ activities, and quick boredom-busters.
Each project meets one simple standard: starts now, finishes today, and looks good enough to keep.
What Counts as Easy when it Comes to Home Crafts?
Not every craft that shows up in an “easy DIY” list is actually easy. A lot of them need a Cricut, a heat press, or a resin kit you don’t own. Others look great in photos but require 24 hours of drying before they resemble anything.
Every craft here meets three criteria: you can make it with things already at home, no specialized tools are required, and you finish it in one sitting.
No supply runs. No waiting until tomorrow to see how it turned out.
Easy DIY Crafts to Do at Home
These crafts use materials you likely already have and can be finished in a single sitting. Each one was chosen because the result looks worth keeping, not just worth starting.
Paper Crafts You Can Make Right Now
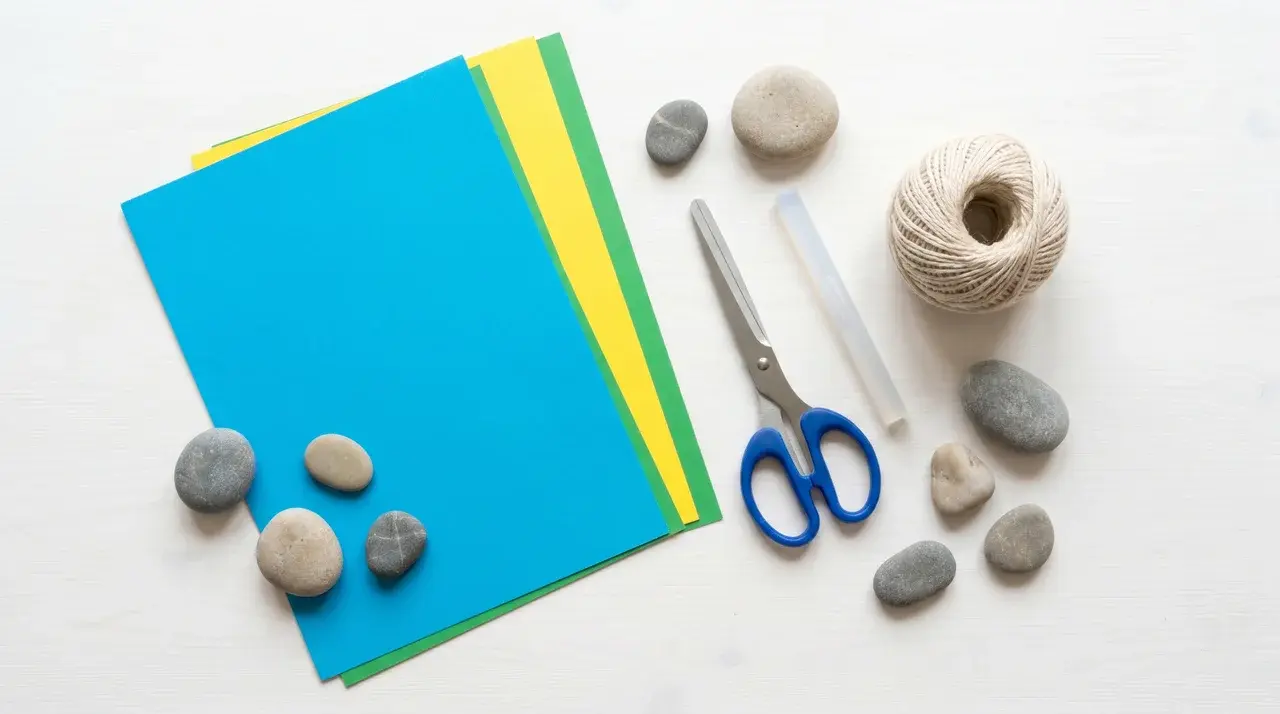
Paper crafts have one real advantage: the barrier to starting is almost zero. No prep, no special materials, just paper and a few basics from a drawer.
1. Magazine Collage
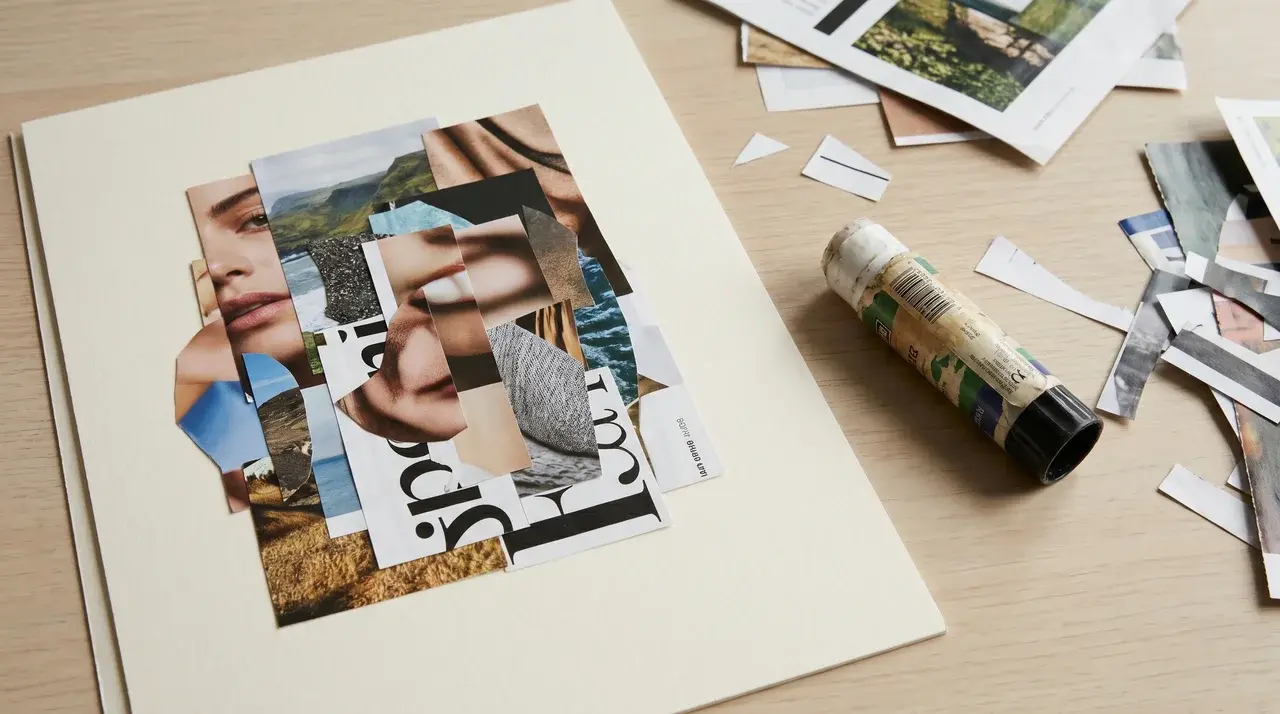
Materials: Old magazines, scissors, glue stick, heavy cardstock or plain canvas
Cut out words, colors, and patterns from old magazines. Arrange them on cardstock however you like, then glue them down. That’s the whole process.
There’s no technique to learn. You can’t really get it wrong. Most people finish their first one in under 20 minutes, and it looks intentional every time.
It’s also a good project to come back to. Save clippings over a few days and add to the same piece; it gets more interesting with layers.
2. Paper Quilling Shapes
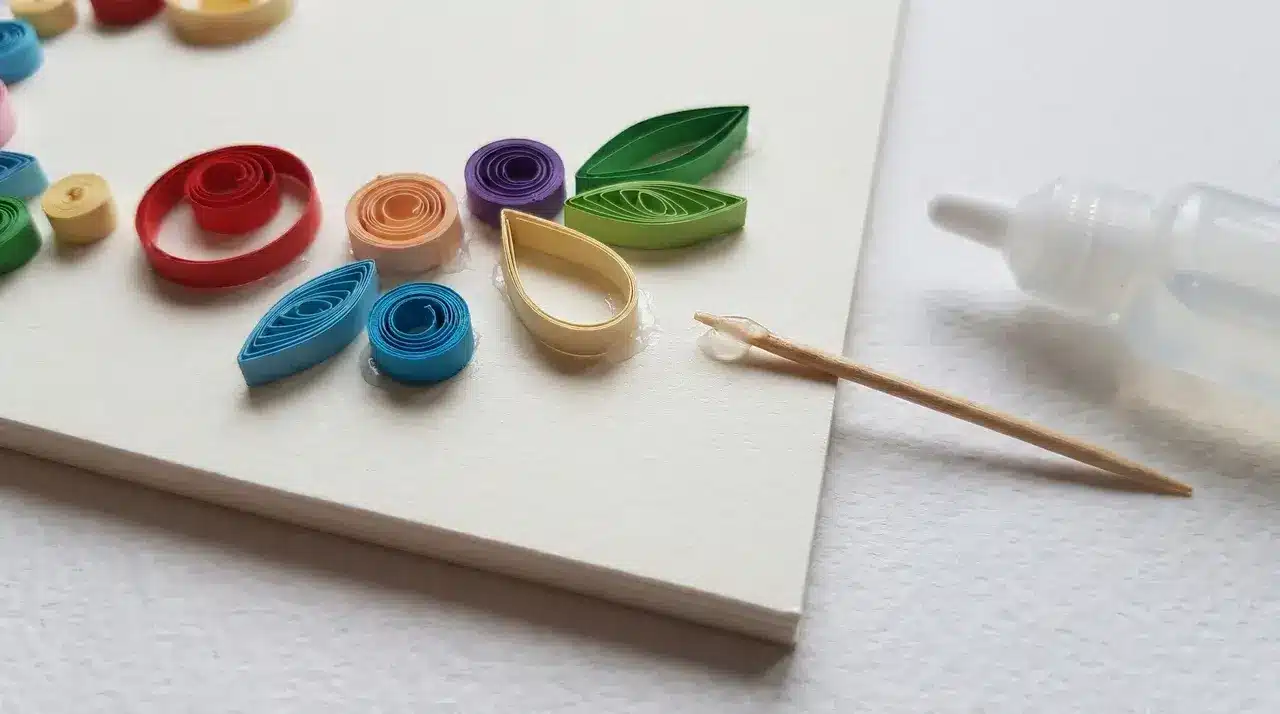
Materials: Thin paper strips, toothpick, glue, cardstock base
Quilling means rolling thin strips of paper around a toothpick, then pinching or bending the coil into a shape. Circles, teardrops, and leaves all come from the same basic roll.
It sounds fiddly, but the first shape takes about three minutes. Once you have a few, glue them onto cardstock to build flowers, animals, or patterns.
The trick is keeping your tension consistent as you roll. Too loose and the coil falls apart. Too tight and it won’t pinch into shape. One or two practice rolls and you’ll find it.
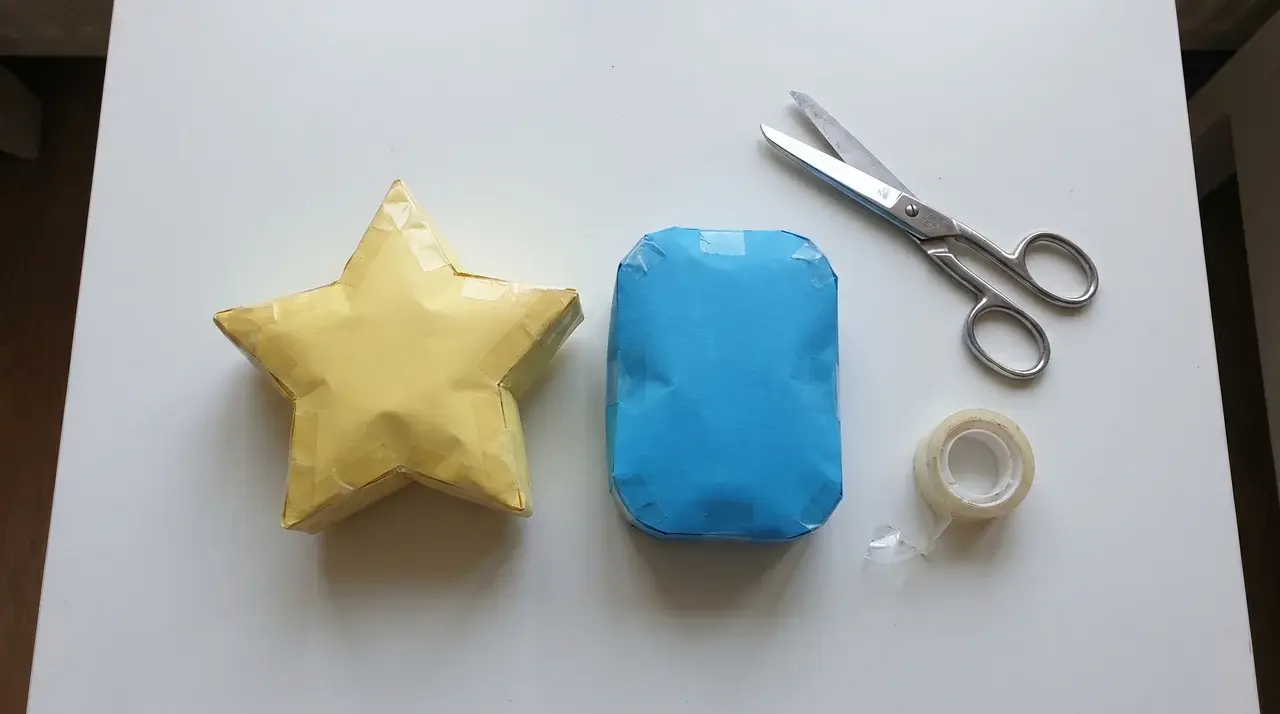
3. Origami Bookmark
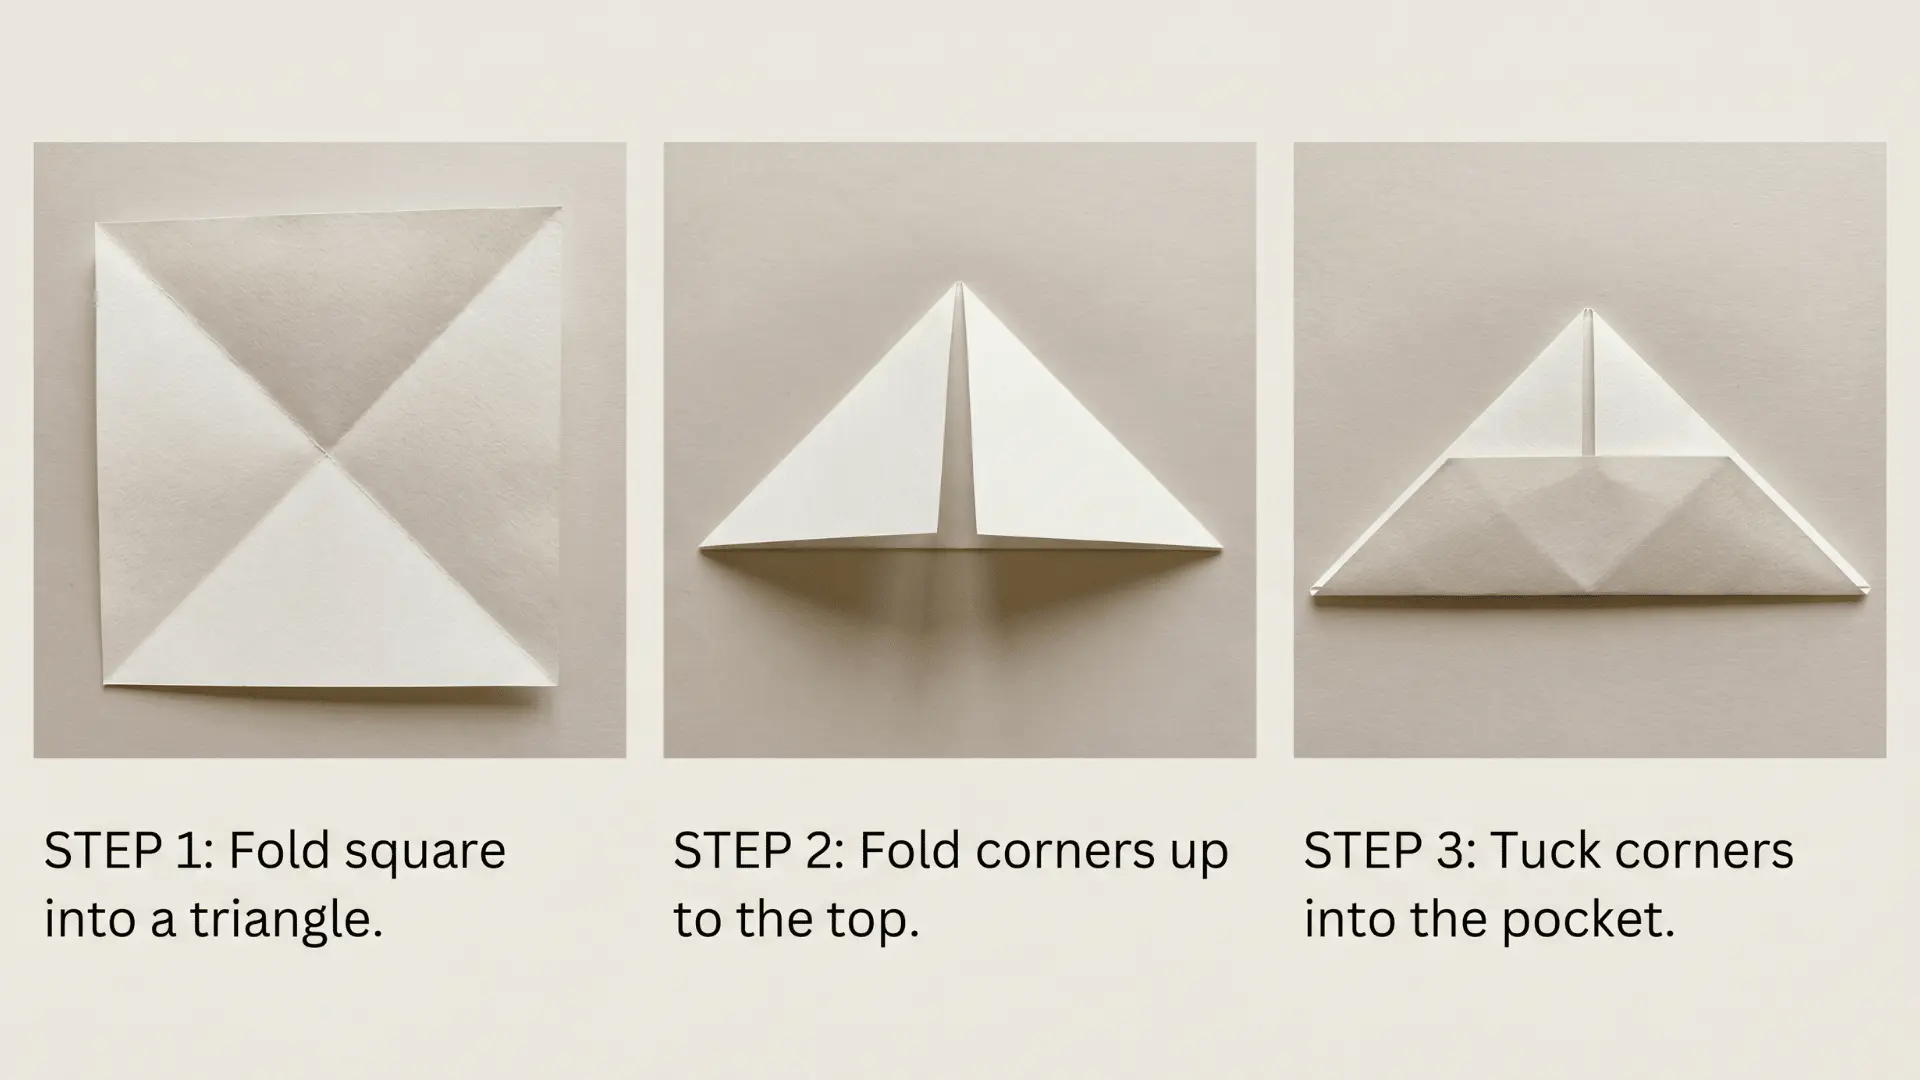
Materials: One square of paper
Fold a square sheet of paper into a triangle, then lift the two side corners to meet the top point and tuck them neatly into the resulting pocket. No glue, cutting, or measuring required.
The finished piece slips over a page corner and holds securely, taking just five minutes from start to finish. Using thicker paper, such as cardstock or a magazine cover, creates a sturdier version that maintains its shape over time.
4. Paper Squishies
Materials: Paper, scissors, tape, tissue paper, or cotton stuffing
Draw a shape on paper, cut two identical pieces, tape around the edges, and leave a small gap to stuff with tissue. Seal it up, and you have a soft, squeezable paper toy.
Kids are making these constantly right now. Simple enough for a rainy afternoon, satisfying enough that most people make more than one.
The cleaner your tape lines, the neater the finished squishy. Running the tape flush along the edge, rather than overlapping it, makes a big difference in how the final shape looks.
Home Decor Crafts Using What You Already Own
Every craft here uses things most households already have. Each one produces something you’d actually want on a shelf or a wall, not just a craft you made and set aside.
5. Yarn-Wrapped Storage Basket
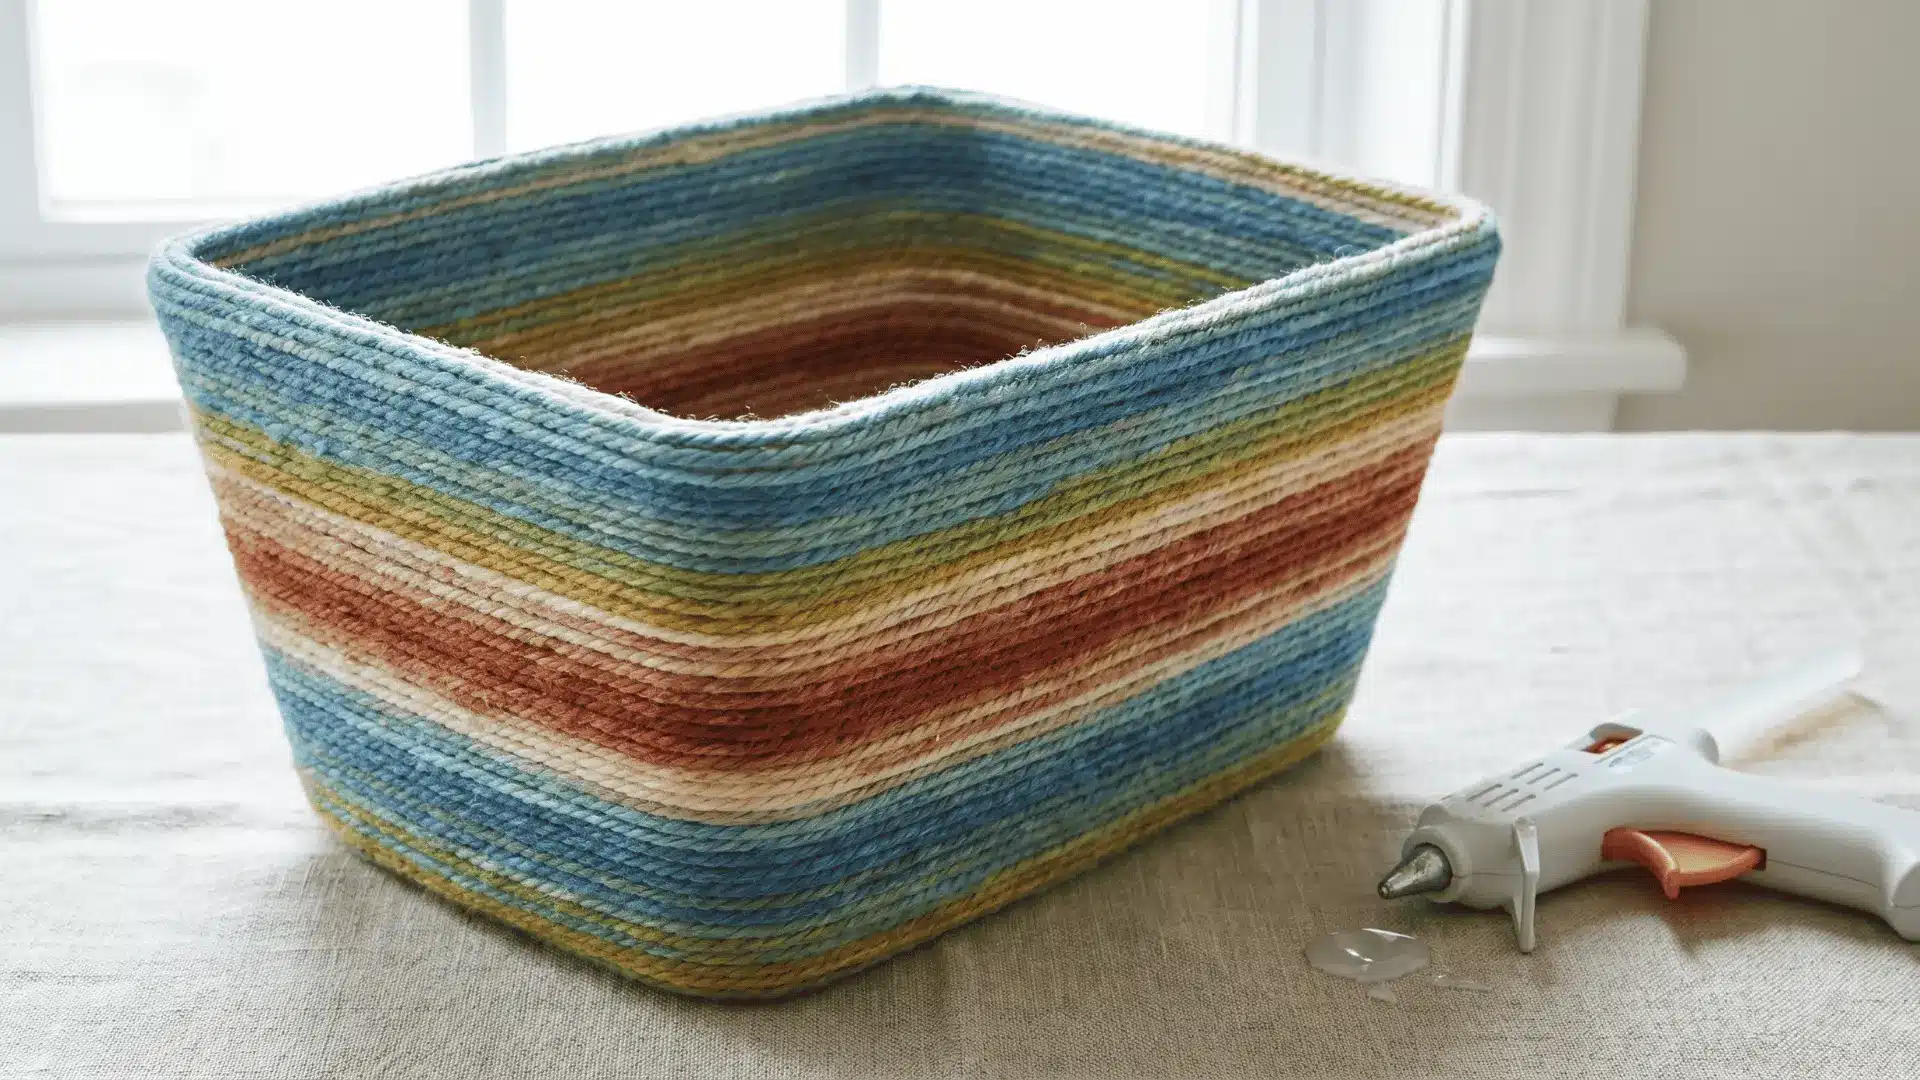
Materials: Plain woven bin, variegated yarn, hot glue gun
Run a line of hot glue around the bin, then press the yarn into it row by row. Variegated yarn, meaning it shifts through multiple colors along a single strand, is what does the work.
Each row lands a slightly different shade, creating depth and texture that look deliberate and expensive. A plain Dollar Tree bin goes from forgettable to display-worthy in about 30 minutes.
Keep rows tight and flush against each other. Gaps between rows are the only thing that makes this look unfinished.
6. Botanical Shadow Box
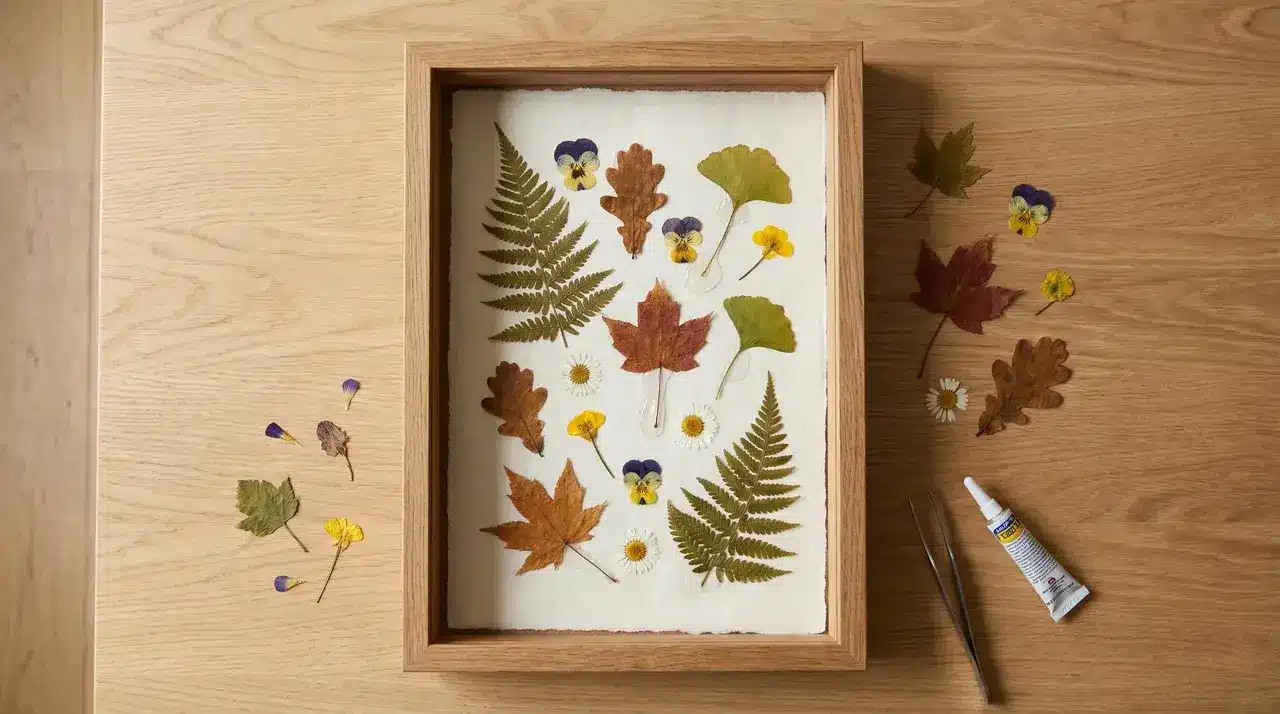
Materials: Pressed leaves or flowers, deep picture frame or shadow box, glue
This one has two stages. Press your botanicals flat between the pages of a heavy book for 48 hours, then arrange and glue them inside a deep frame.
The pressing step can run overnight or over a couple of days. The assembly, the part where it actually becomes a finished piece, takes under 20 minutes.
The depth of the frame creates a shadow that makes each piece look curated rather than stuck to cardboard. That’s what separates this from a basic nature print.
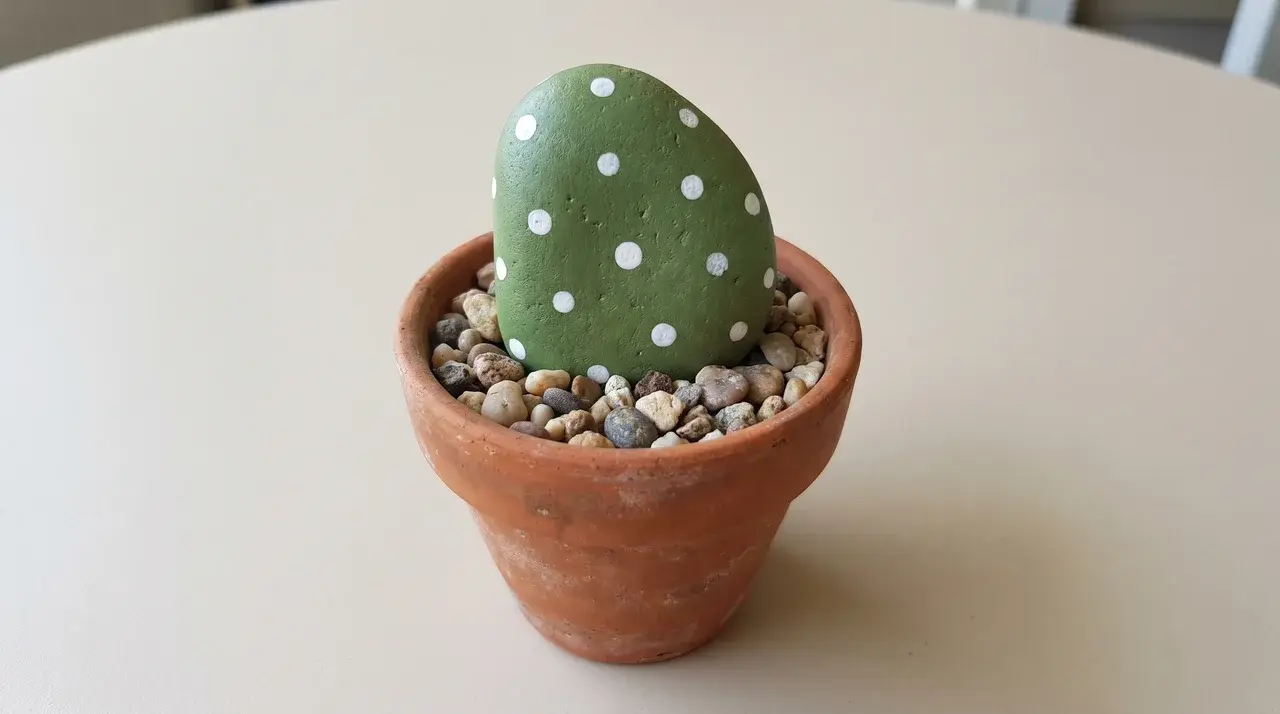
7. Painted Pet Rock Ornament
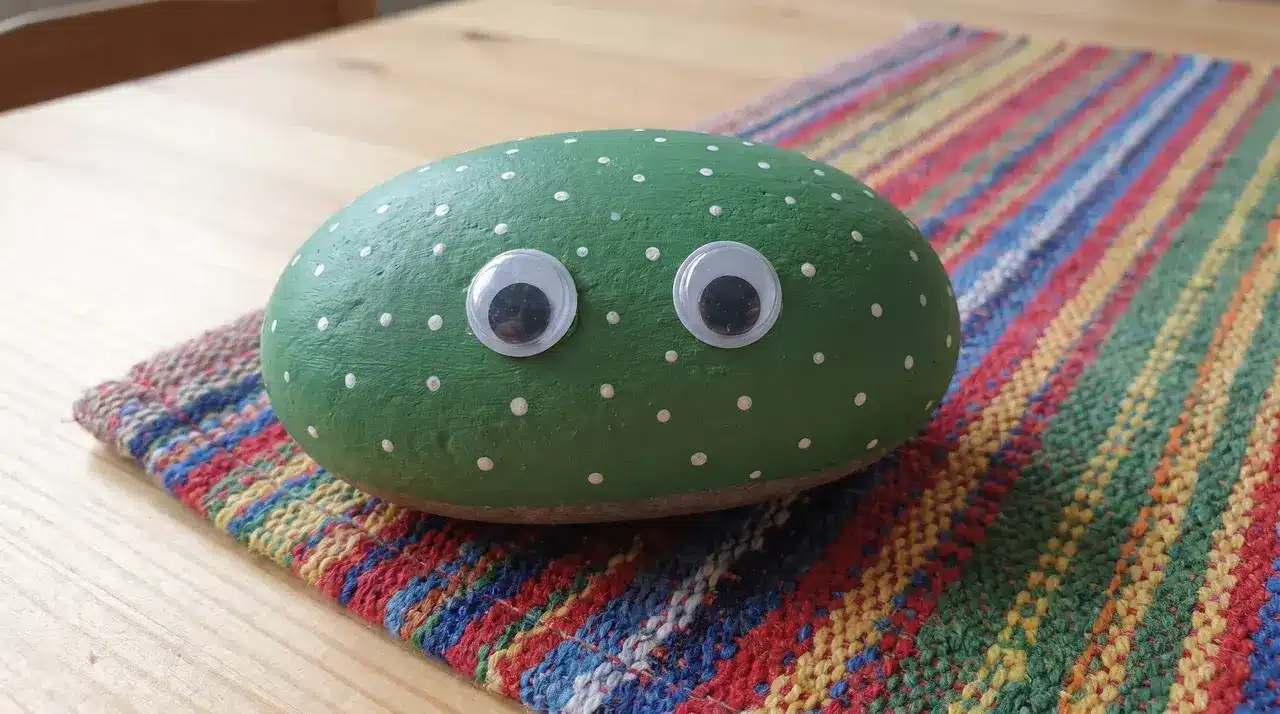
Materials: Smooth flat stone, acrylic paint pens, small terracotta pot (optional)
Find a smooth stone outside and decorate it with acrylic paint pens. They give you clean lines without needing a brush or watered-down paint.
Turn it into a mini desk cactus by painting it green, adding small white dots, and sitting it in a tiny terracotta pot. It looks like something from a gift shop.
Smooth, flat stones hold the detail better than rough or rounded ones. Spending 60 seconds picking the right stone makes everything that follows easier.
8. Mason Jar Vase or Organizer
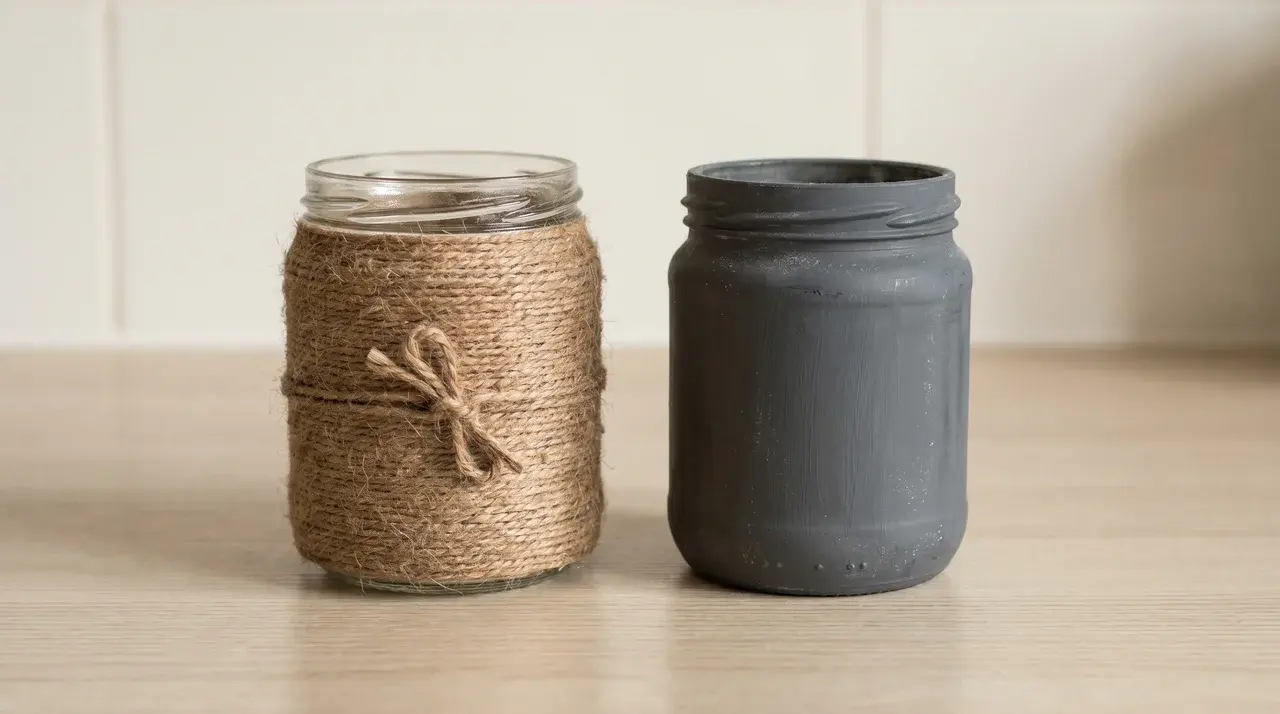
Materials: Empty glass jar, twine or chalk paint
Wrap twine tightly around the outside of a clean jar, securing each row with a dot of glue. Or paint the whole jar with chalk paint for a matte, textured finish.
Either version turns a pasta jar into something that looks intentional on a kitchen counter or bathroom shelf.
The twine version works best on smooth glass. The chalk paint version hides imperfections and works on almost any jar shape.
9. Washi Tape Wall Art
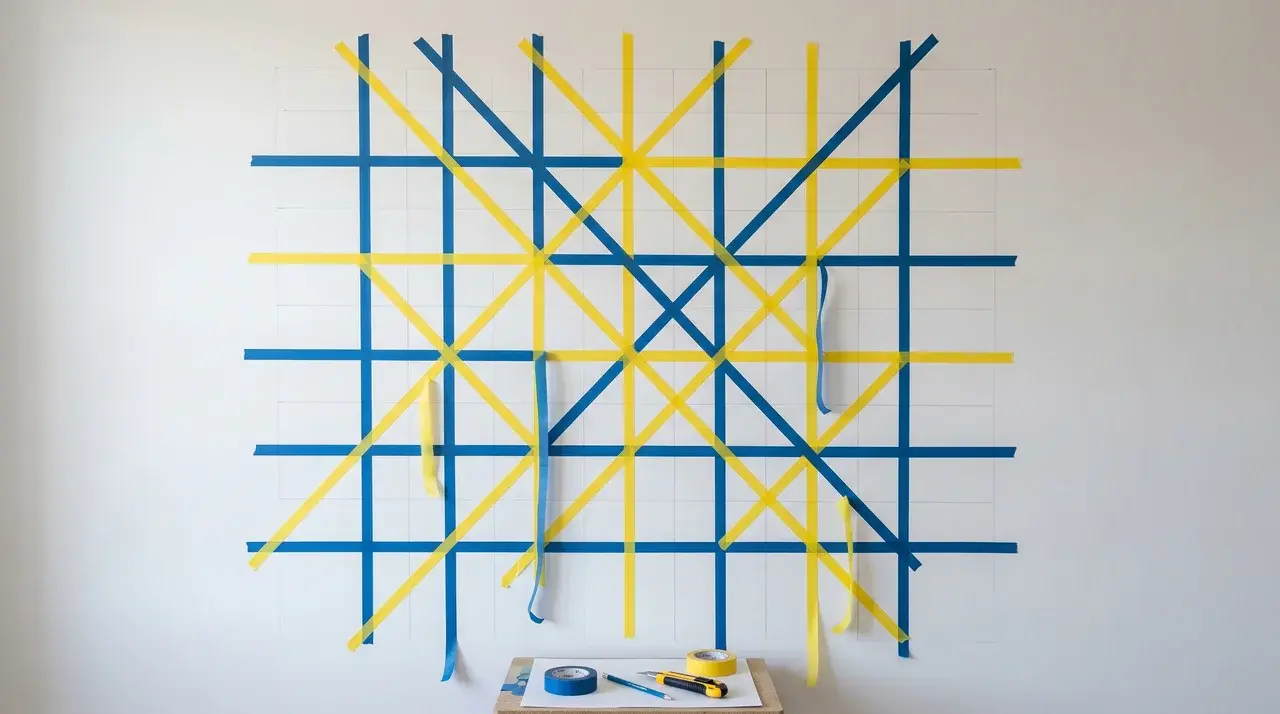
Materials: Washi tape in 2–3 colors or patterns
Sketch your pattern lightly in pencil before you start, a grid, a chevron, or a simple geometric shape. Then lay the tape directly on the wall.
It peels off cleanly, which makes it renter-friendly. The pencil guide is what keeps it from looking accidental rather than designed.
Start with straight horizontal or vertical lines if it’s your first attempt. Diagonal patterns are more impressive but harder to keep even without a long ruler.
10. Tin Can Planter
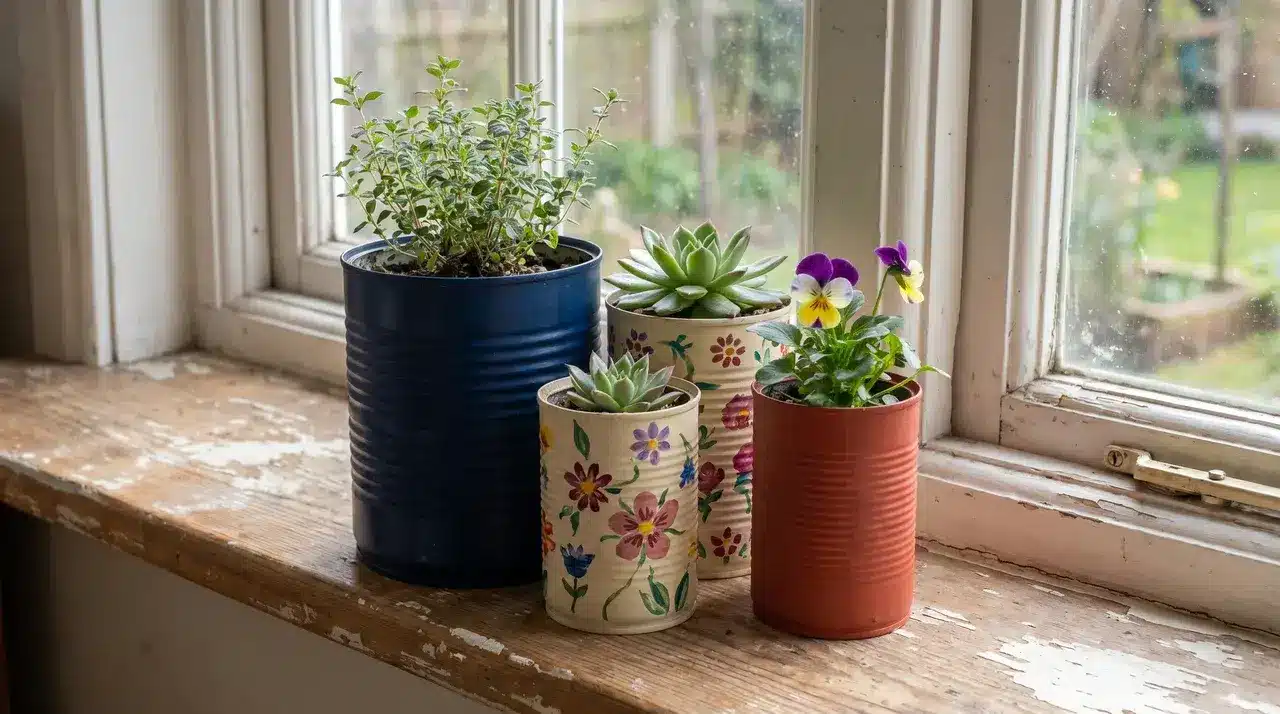
Materials: Empty food cans, paint, a nail, and a hammer for drainage
Peel the label, punch a small hole in the base for drainage, and paint the outside. One coat is usually enough on metal.
Group three different-sized cans together on a windowsill, and they read as a set rather than repurposed tins. Use outdoor paint if they’re going outside.
Tomato cans, bean cans, and small tomato paste cans give you three different heights without any cutting or resizing. That size variation is what makes the grouping work.
All projects here share one quality: the finished result looks like it came from a deliberate place. That’s what makes them worth the 30 minutes.
Easy Crafts Kids Can Do at Home
These crafts cover toddlers through age 10. All use household or dollar-store materials, and nothing here has small parts that are unsafe for young children unless noted.
11. Cactus Pet Rocks
Age: Kids (5 and up)
Materials: Smooth stone, acrylic paint pens, small terracotta pot, pebbles or soil
Paint the rock green and add small white dots for spines. Once dry, sit it in a tiny terracotta pot with a few pebbles to hold it upright.
Acrylic paint pens keep the mess to a minimum; no brush, no water cup, no paint spreading everywhere. Kids can do this independently once the materials are set out.
It also doubles as a gift. A rock cactus in a little pot is the kind of thing kids are genuinely proud to give someone.
12. Colorful Calming Jars
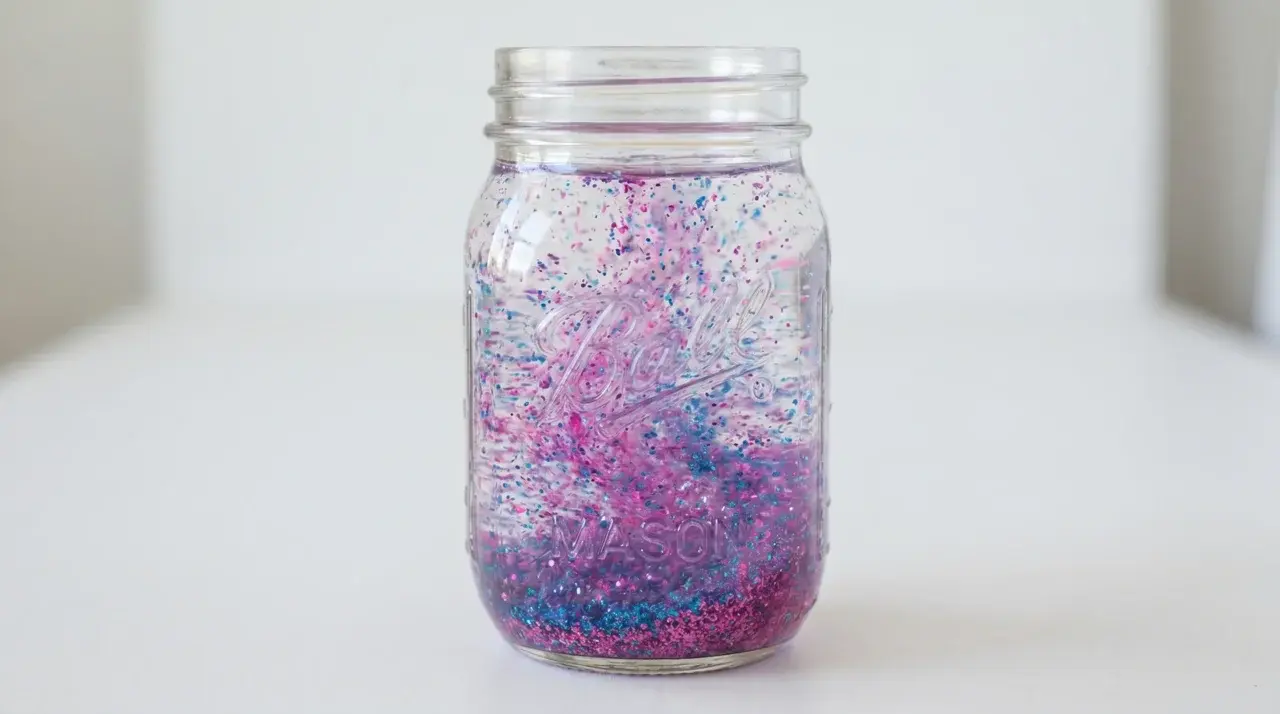
Age: Toddler (2 and up)
Materials: Empty jar with lid, warm water, glitter glue, superglue
Fill the jar with warm water and squeeze in glitter glue. Put the lid on and shake it. The glitter swirls slowly and settles over about 30 seconds.
Seal the lid permanently with a dot of superglue before handing it to a toddler. That seal is the only thing standing between a calm activity and a glitter cleanup.
Glitter glue moves more slowly than loose glitter, which is what makes the settling effect satisfying rather than chaotic. Regular glitter in water drops is too fast to be calming.
13. Egg Carton Flowers
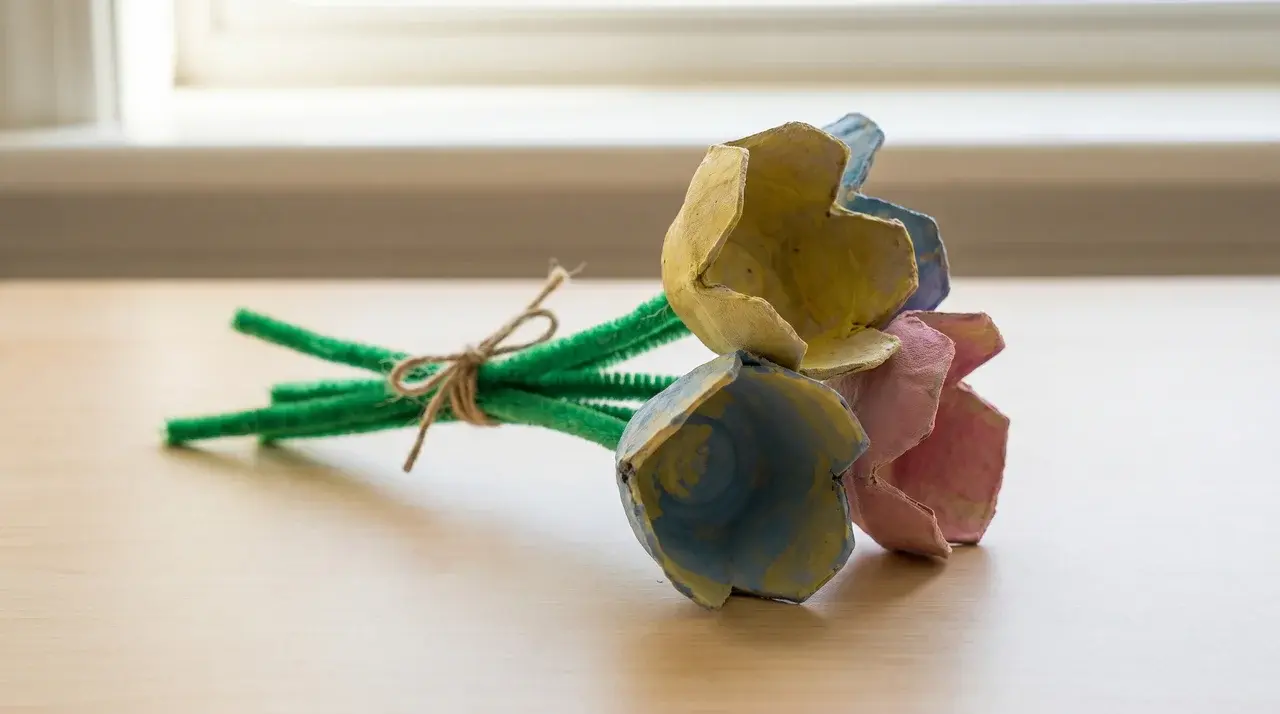
Age: Toddlers to kids (3 and up)
Materials: Egg carton, paint, pipe cleaners, scissors (adult use)
Cut individual cups from the egg carton; an adult handles this part. Kids paint each cup, let it dry, and push a pipe cleaner through the base as a stem.
Bunch several together, and they look like a little bouquet. No glue needed, no mess beyond the paint, and the painting stage is fully independent.
The painting stage is where kids take the most ownership. Letting them choose colors and patterns freely, rather than copying a reference, makes the result feel genuinely theirs.
All of these translate well to group settings, too. A table of kids can each work on their own version without needing extra supervision or materials.
Quick Crafts to Do when You’re Bored
Both crafts here start in under five minutes. Three materials maximum, nothing to buy, nothing to plan, just pick one and go.
14. Ink Blot Art
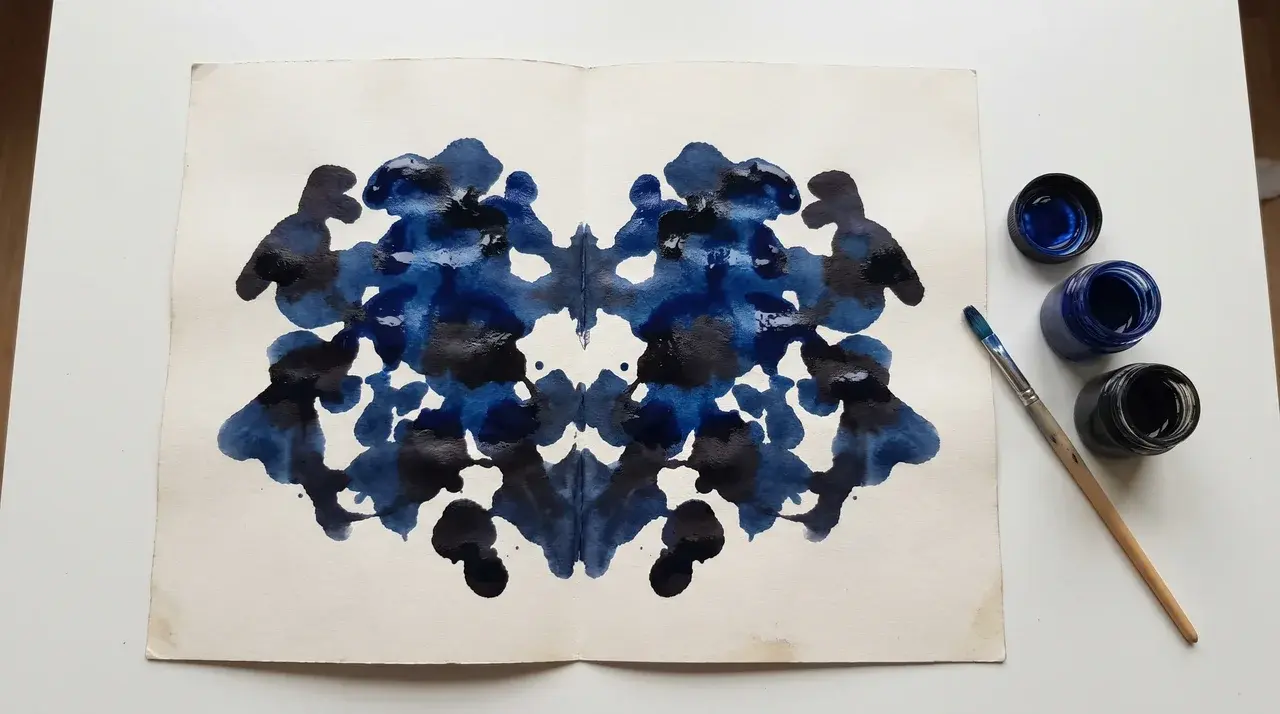
Materials: Paint, paper, a brush
Fold a sheet of paper in half, then open it flat. Dab or drip paint on one side, fold it closed again, and press firmly. Open it up.
Whatever shape appears is perfectly symmetrical. It looks intentional every time, even when it wasn’t. Rinse the brush, and you’re done; no other cleanup required.
Two colors work better than one. They blend at the fold line in a way that a single color doesn’t, and you get more variation across the page.
15. Thread Bracelet
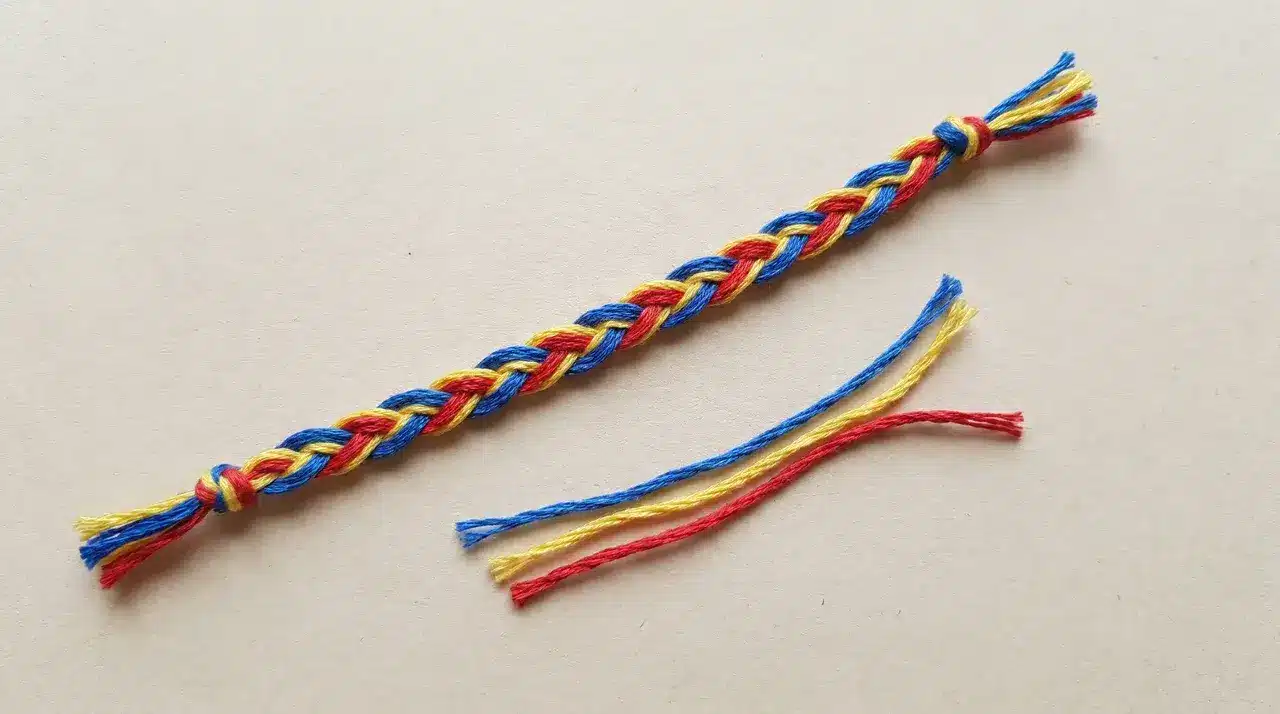
Materials: Embroidery thread or yarn, scissors
Cut three strands of equal length and knot them together at one end. Braid or twist them down to your wrist size, then tie them off.
It takes about four minutes. You can make it tighter or looser, mix colors, or keep it simple. Wearable the moment you tie the last knot.
Tape the knotted end to a flat surface while you braid. It keeps the tension even and stops the whole thing from twisting back on itself.
Both projects are the kind of thing you pick up without much intention and finish before you’ve thought twice about it.
Common Mistakes in Easy DIY Crafts
Most craft projects don’t go wrong because they’re hard. They go wrong because of a few consistent habits that are easy to avoid once you know what to look for.
Here are the most common ones and what to do instead:
| Mistake / Challenge | Advice |
|---|---|
| Rushing Through Steps | Set out all your materials before you start. Read the full steps once. Test any new technique on a scrap piece first. Two minutes of prep prevent most mistakes. |
| Overcomplicating Simple Crafts | Stick to the steps as written. Adding extra tools, colors, or details to a beginner project rarely improves it. Get the basic version right before experimenting. |
| Impatience With Drying and Setting | Glue, paint, and folds all need time to set. Moving something too soon can pull it apart or smudge it. If a project says wait, wait, it’s almost always faster than starting over. |
None of these are hard rules to follow. They just require slowing down by about 10 percent. Most failed crafts come down to speed, not skill.
Conclusion
Not every craft idea you find online is worth your time. The ones that work are simple, quick, and use what you already have.
Easy crafts to do at home don’t require a new hobby kit or a Pinterest-perfect workspace. Just materials you already own and 30 minutes to spare.
Every project on this list was chosen because it can be finished in one sitting and produces something worth keeping. The guesswork is already done.
Pick one project from this list and start today. Your first finished piece is closer than you think.
Frequently Asked Questions
What are some inexpensive crafts to do at home?
Use recycled materials like jars, cardboard, or old magazines to make collages, painted rocks, and tin can planters. Most cost nothing if you already have the materials at home.
Which crafts are suitable for toddlers?
Glitter jars, egg carton flowers, and simple paper folding are all safe and low-mess for ages 2–5. Adult supervision is still recommended for anything involving scissors or superglue.
Can adults complete a craft in one sitting?
Yes. Thread bracelets, magazine collages, and yarn-wrapped baskets all finish in under an hour without any special tools. The botanical shadow box is the one exception; pressing takes 48 hours, though assembly itself is quick.
Are there crafts that double as gifts or decor?
Botanical shadow boxes, painted rocks, and mason jar vases work as both handmade gifts and home decor pieces. They look considered, not cobbled together, which is what makes them giftable.