
Tired of chasing runaway pattern pieces across your cutting table? Nothing ruins a sewing day faster than watching your carefully pinned pattern slide off the fabric right before you cut!
Pattern weights are the perfect solution, but store-bought ones can be pricey. Why not make your own?
With just a few items from your craft stash, you can create custom pattern weights in less than an hour. These handy little helpers will keep your patterns perfectly in place without damaging delicate fabrics or leaving pin holes.
Ready to make sewing easier and more enjoyable? Let’s dive into these simple steps that will have you whipping up a set of pattern weights before your coffee gets cold.
What are Pattern Weights and their Benefits
Pattern weights are small, heavy objects used to hold sewing patterns in place on fabric while cutting. They replace traditional pins by using gravity instead of piercing the fabric.
Why Use Pattern Weights Instead of Pins?
- No Holes or Damage – Pattern weights sit on top of your fabric without making holes that could weaken or damage delicate materials.
- Faster Setup – Placing weights takes seconds, while pinning can take several minutes for large pattern pieces.
- Better for Thick Fabrics – Weights work perfectly on materials that are difficult to pin, like leather, vinyl, or heavy denim.
- More Accurate Cutting – Without pins pulling or distorting the fabric, your cuts will be more precise.
- Easier Pattern Adjustments – Need to shift your pattern slightly? Simply move the weights rather than removing and repositioning multiple pins.
- Safer for Children – If you sew with kids around, weights eliminate the risk of pins getting lost in carpet or stepped on.
- Reduced Hand Strain – No more pushing pins into tough fabrics, which is especially helpful for those with arthritis or hand pain.
Once you try using pattern weights, you’ll wonder how you ever managed without them in your sewing room!
Materials Needed
Gather these simple supplies before you start. You might already have most of them in your sewing room or craft area.
Here’s everything you’ll need to make your own pattern weights in just a few steps.
| Material | Description |
|---|---|
| Fabric | 1 piece, 8 inches by 4 inches |
| Ribbon | 1 piece, 4 inches long |
| Weights | Pellets, rice, barley, or anything heavy |
| Needle and Thread | For stitching the opening closed |
| Sewing Machine | Optional (for quicker sewing) |
Steps to Make Pattern Weights
Follow these five simple steps to create your own custom pattern weights. Each weight takes just minutes to make!
Step 1: Prepare the Fabric and Ribbon
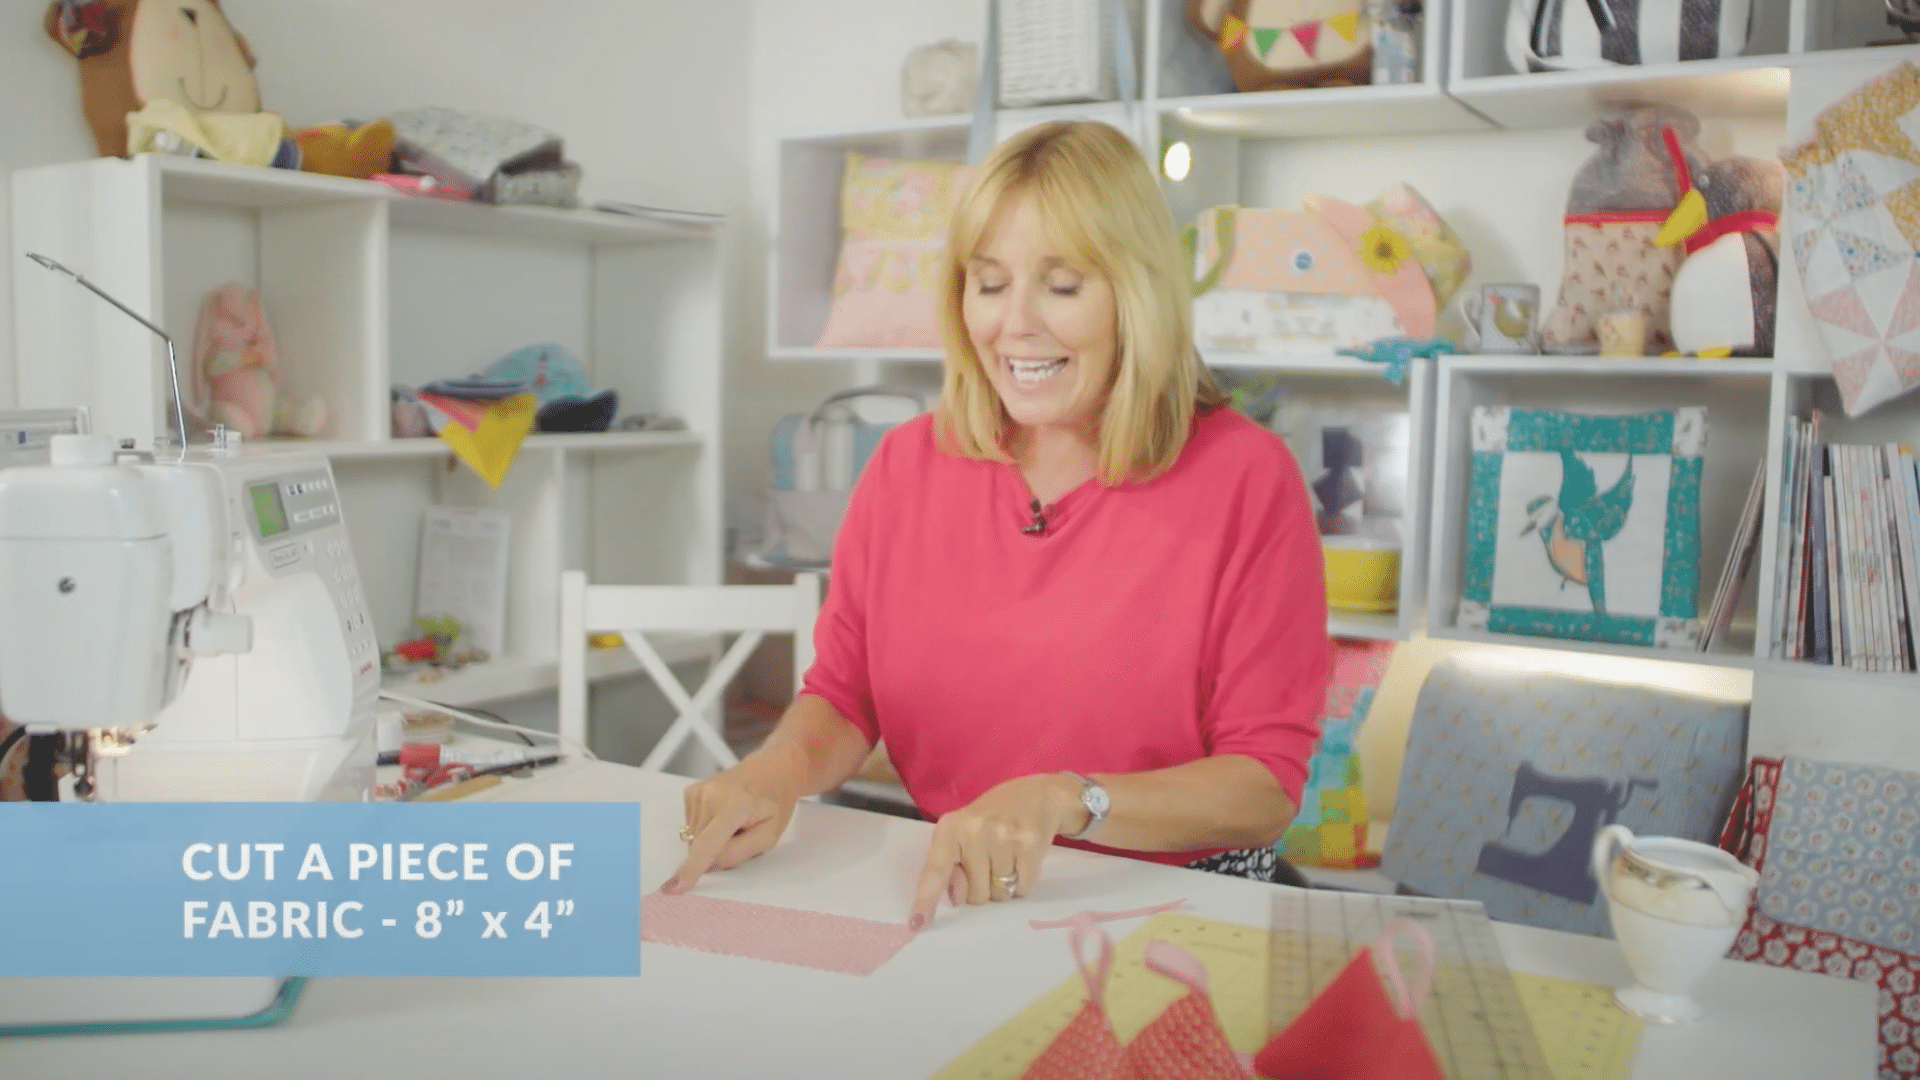
Cut your fabric into an 8-inch by 4-inch rectangle. Make sure the edges are straight for easier sewing later. If your fabric frays easily, you might want to finish the edges with a zigzag stitch.
For the hanging loop, cut your ribbon to a 4-inch length. Fold it in half to create a loop shape – this will help you hang your pattern weights when not in use or grab them quickly while working.
Step 2: Fold and Sew
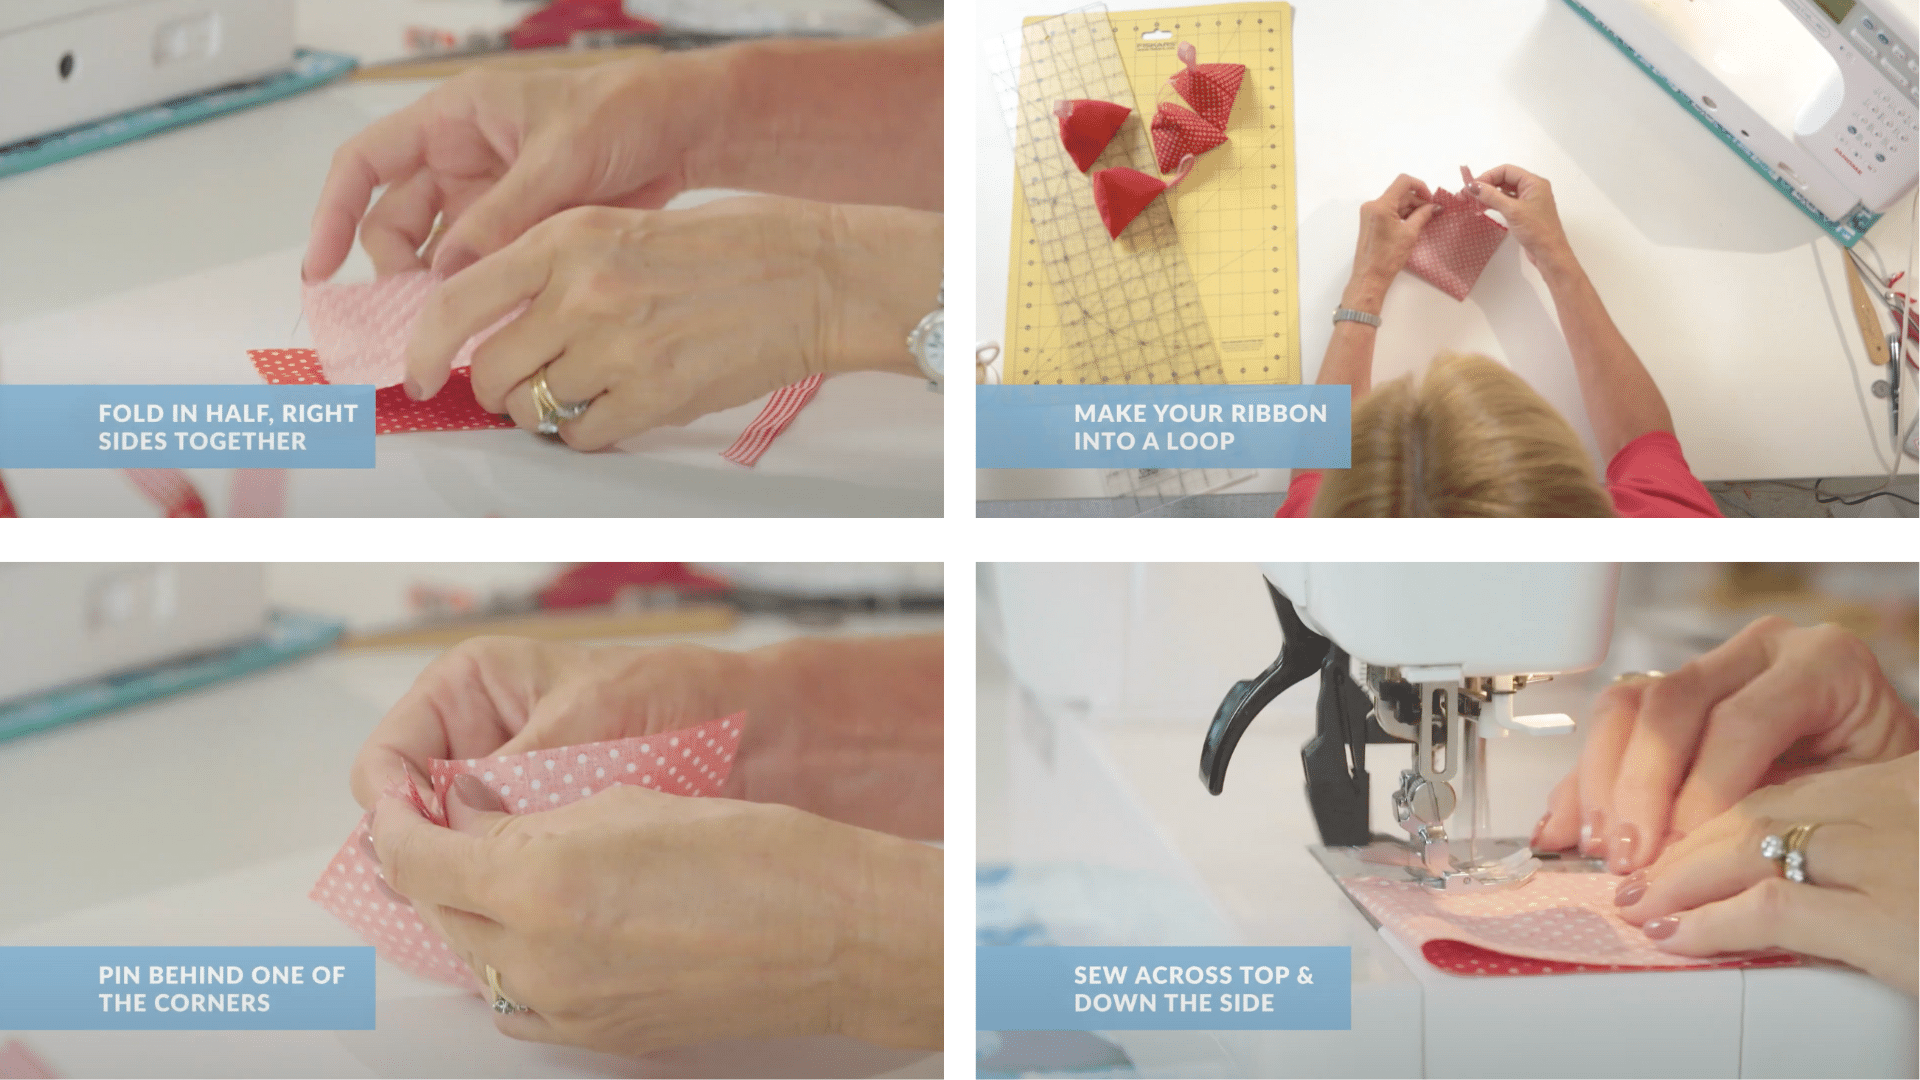
Fold your fabric rectangle in half with right sides facing each other. This creates a 4-inch square with the wrong side of the fabric facing outward.
Place the ribbon loop between the fabric layers at one corner, with the loop pointing inside the folded fabric. Make sure the open ends of the ribbon stick out slightly at the edge so they’ll be caught in your stitching. Sew along two sides, leaving one short side open for turning and filling.
Step 3: Shape the Weight
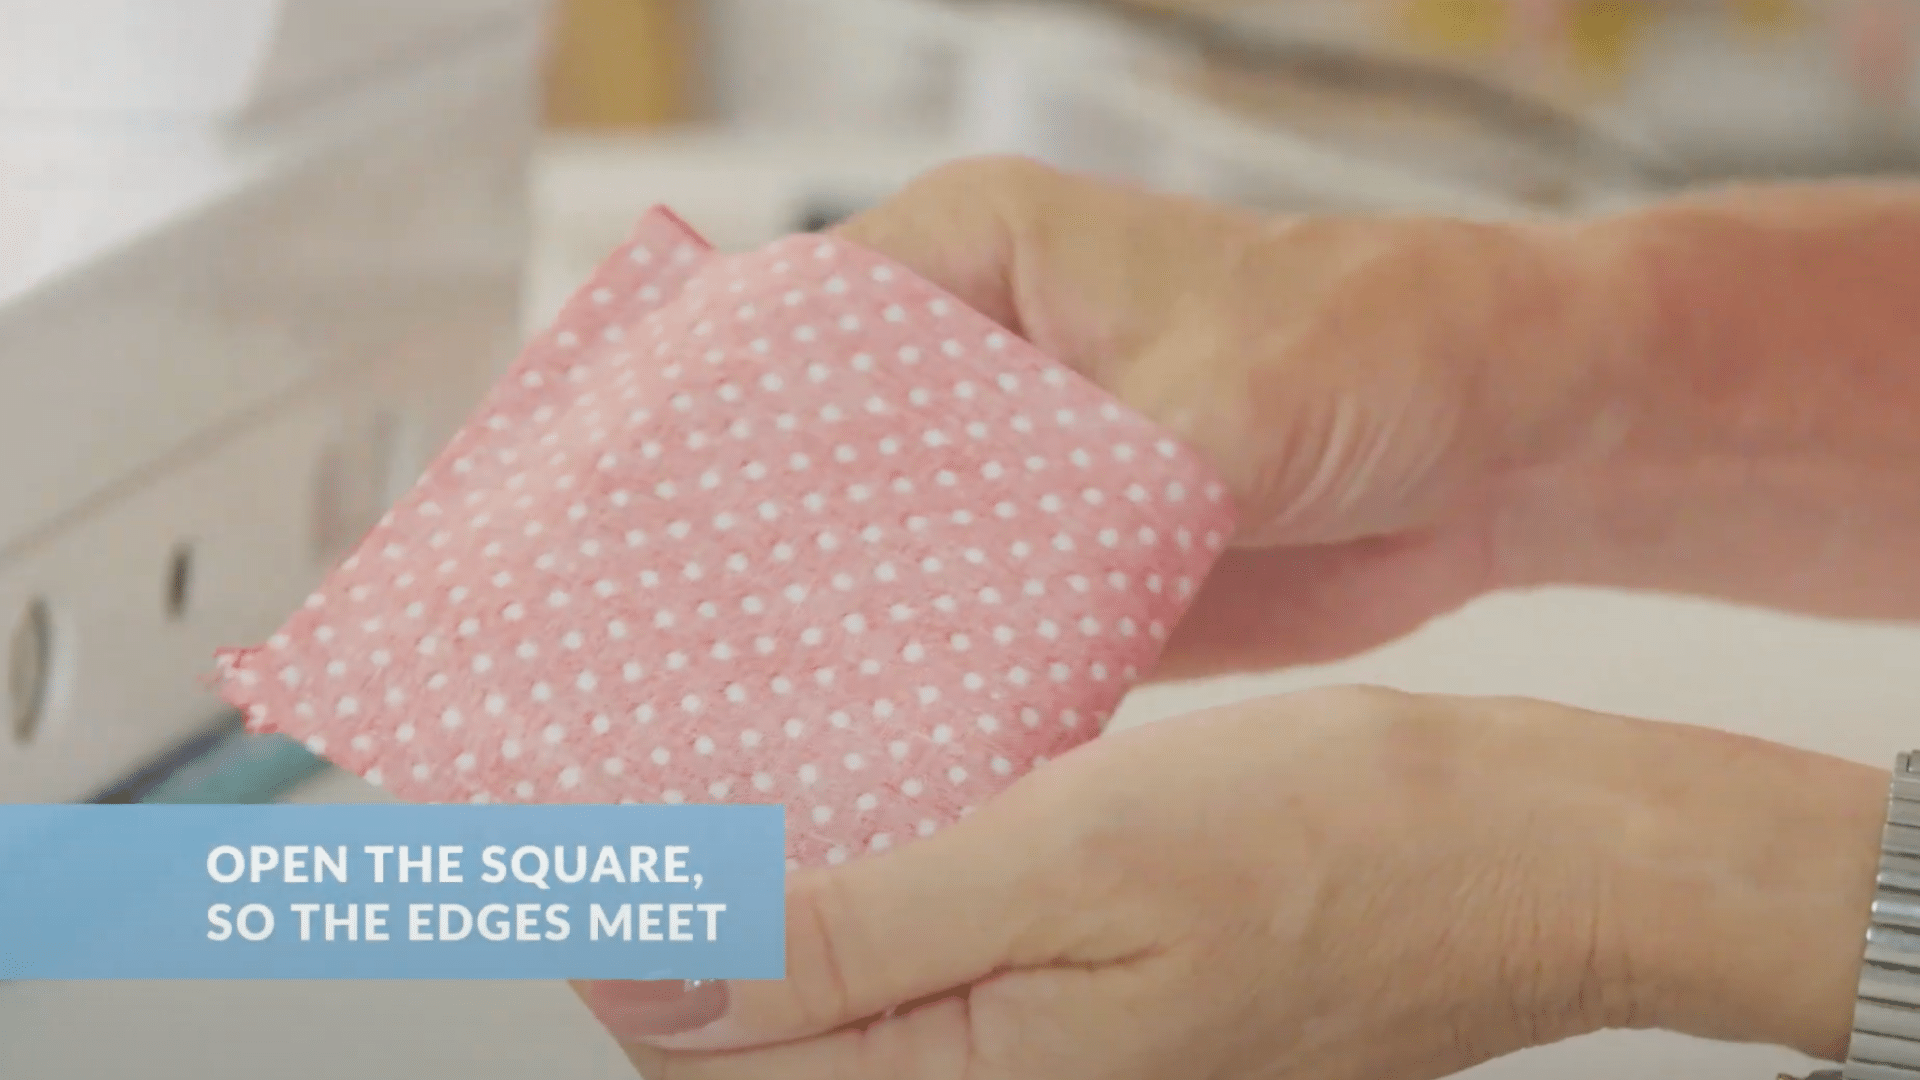
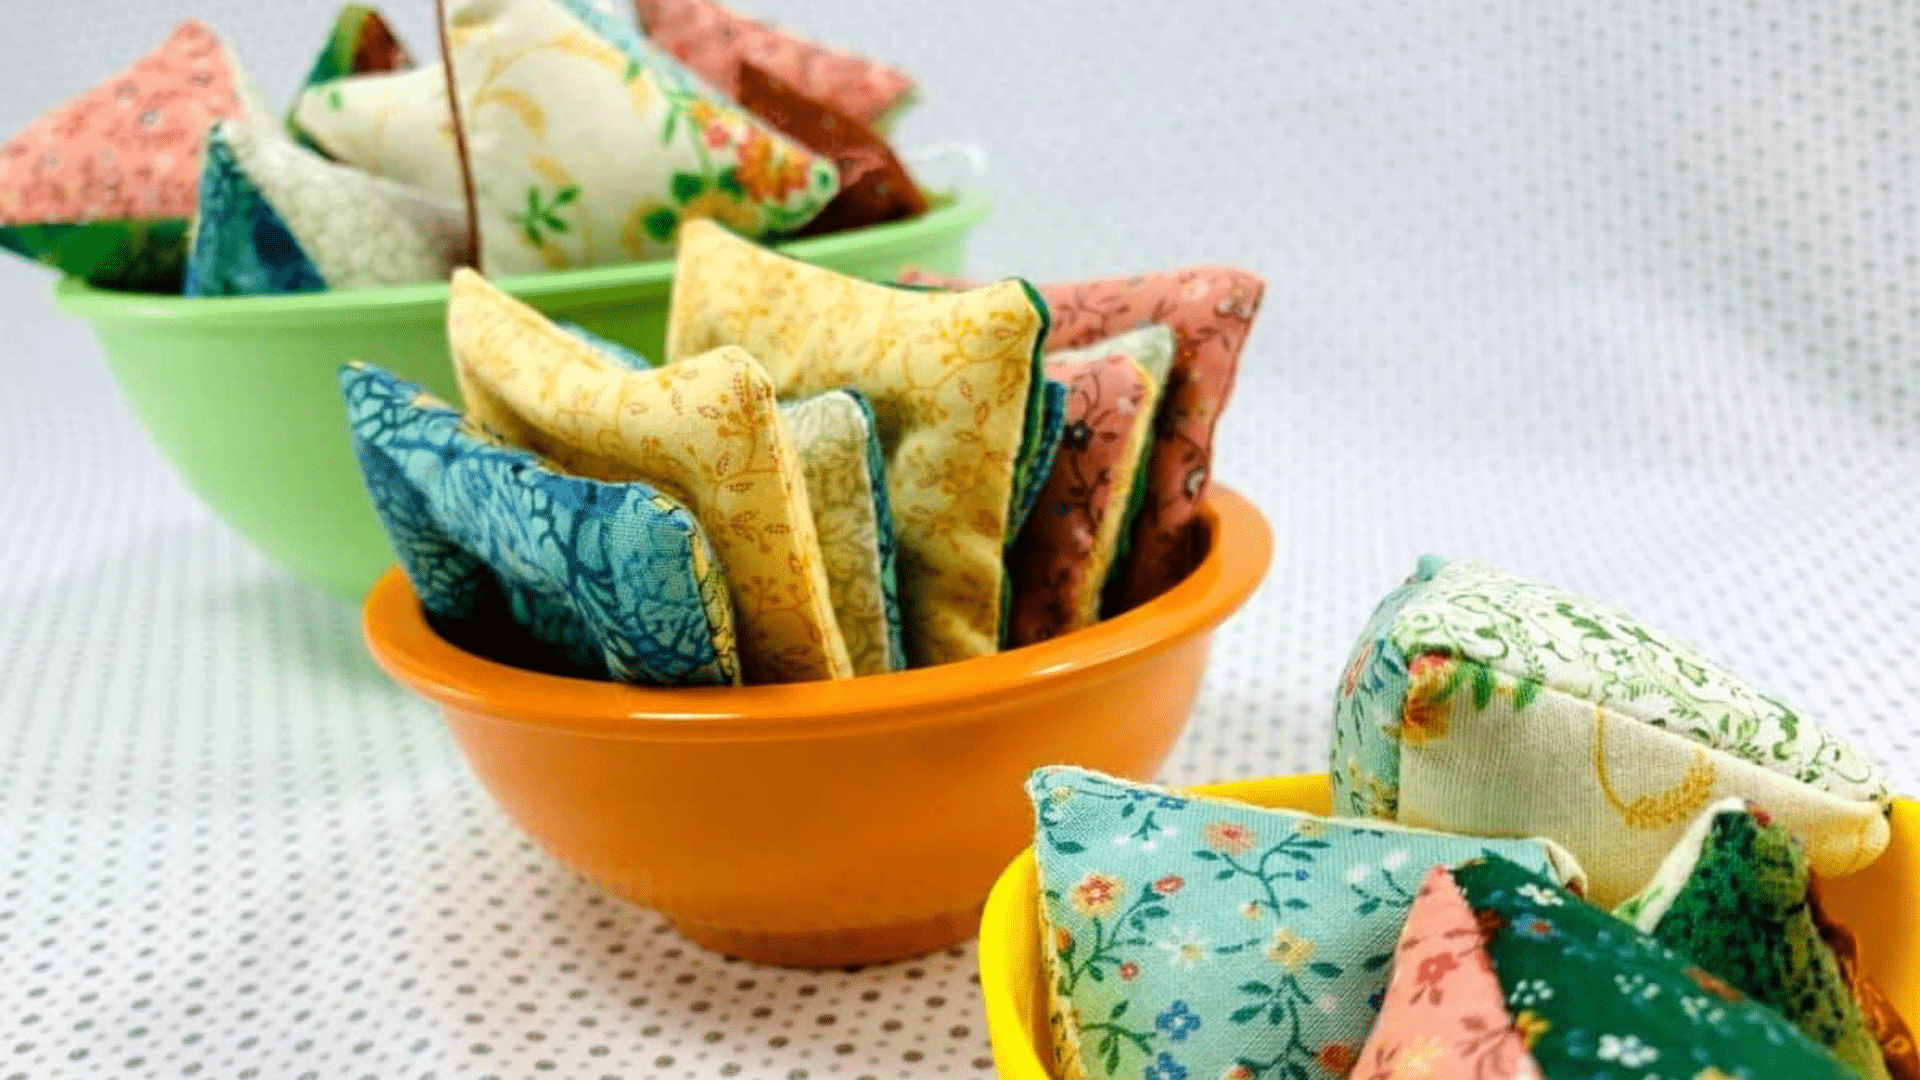
To create the 3D shape of your pattern weight, open the sewn rectangle at the fold. Now position it so the side seams meet in the middle, forming a diamond shape.
Sew a short distance (about 1 inch) along both sides of one corner, leaving a gap in the center. This creates the distinctive shape of your pattern weight while leaving an opening for filling.
Step 4: Turn and Fill

Gently turn your fabric pouch right side out through the gap you left. Use a chopstick or pencil (eraser end) to carefully push out the corners so they’re nice and sharp.
Now fill your pattern weight with your chosen heavy material. Rice works well, as do metal pellets, small pebbles, or craft sand. Don’t overfill – leave some space for the filling to move slightly so the weight sits flat on your patterns.
Step 5: Close the Opening
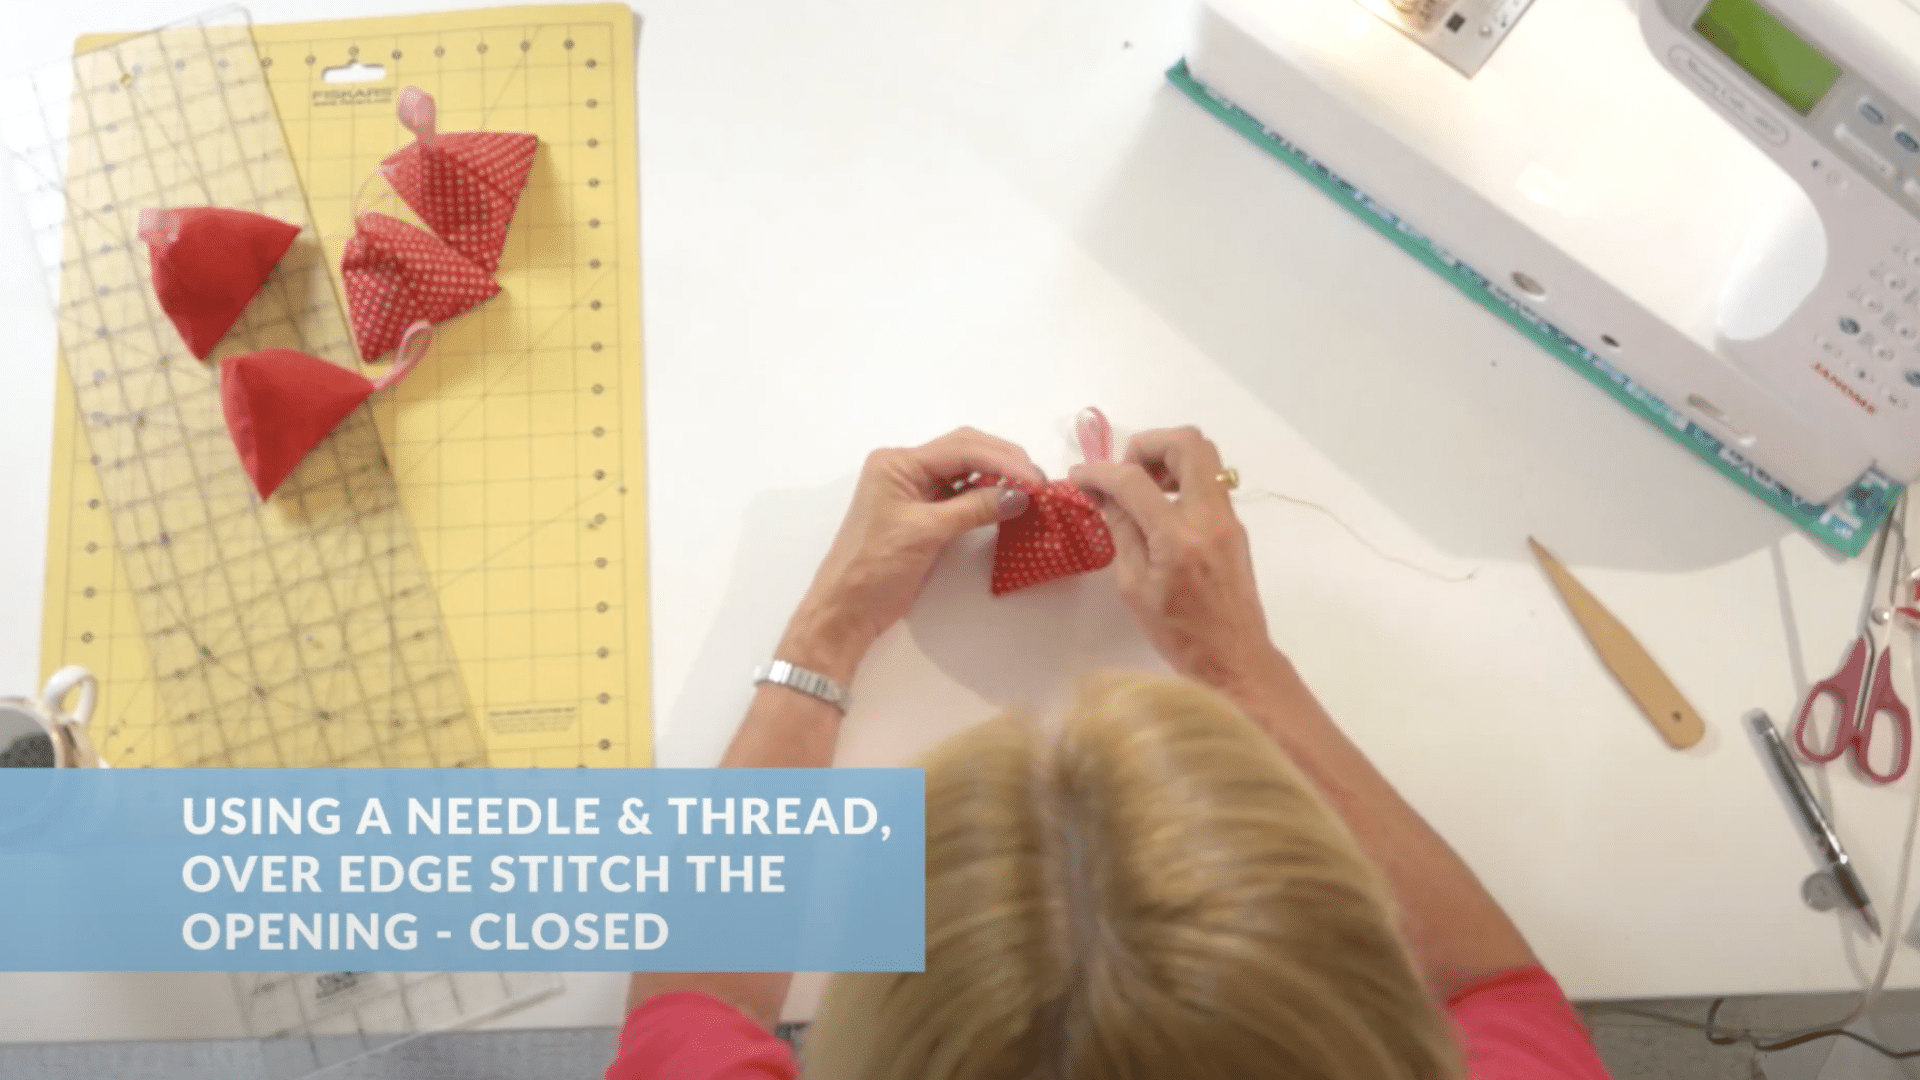
Once filled to your desired weight, carefully fold in the raw edges of the opening. Use a needle and thread to sew the gap closed with small, neat stitches. An invisible ladder stitch works perfectly here for a professional finish.
Give your finished pattern weight a gentle shake to distribute the filling evenly. Your custom-made pattern weight is now ready to use on your next sewing project!
Video Tutorial
Special thanks to The Craft Store for this excellent demonstration of how to make pattern weights. Their clear instructions and close-up shots make this project even easier to follow.
Check out their channel for more beginner-friendly sewing projects!
Cost Comparison: DIY vs Store-Bought Pattern Weights
Making your own pattern weights isn’t just fun—it’s also budget-friendly! Let’s look at how much you can save by creating your own.
Store-Bought Pattern Weights
| Type | Average Cost | Cost Per Set (4 weights) |
|---|---|---|
| Basic Plastic Weights | $3-5 each | $12-20 |
| Decorative Metal Weights | $5-8 each | $20-32 |
| Premium Designer Weights | $8-12 each | $32-48 |
DIY Pattern Weights
| Material | Approximate Cost | Notes |
|---|---|---|
| Fabric Scraps | $0 | Use leftover fabric from other projects |
| Ribbon Scraps | $0 | Reuse from gift wrapping or other crafts |
| Rice/Beans | $1-2 | For filling 4-6 weights (1 cup total) |
| Metal Washers | $2-3 | For filling 4-6 weights (pack of 20) |
| Thread | Minimal | You likely already have this |
| TOTAL | $1-3 | For a complete set of 4-6 weights |
As you can see, making your own pattern weights costs just a fraction of store-bought options. For the price of one fancy store-bought weight, you can make an entire set of 12-15 DIY weights!
Plus, your homemade weights will be customized to your style and sewing needs—something you can’t put a price tag on.
Caring for Your Pattern Weights
Keeping your DIY pattern weights in good shape is simple. Here are a few quick tips:
- Storage: Keep your weights in a small basket or pouch near your cutting area for easy access.
- Cleaning: Spot clean with a damp cloth if they get dirty. Do not submerge in water, especially if filled with rice or beans.
- Checking: Occasionally check for leaks, especially around the sewn closure. Fix any small holes promptly to prevent filling from escaping.
- Refreshing: If your fabric weights lose their shape or feel less effective, open a small section and add more filling as needed.
With proper care, your homemade pattern weights should last for years of sewing projects!
Ready, Set, Sew: Your Pattern Weights
Making your own pattern weights is quick, easy, and saves money. These simple tools will transform your sewing experience by eliminating pin holes and making cutting fabric much faster.
With just scraps of fabric and common household items, you’ve created professional-quality sewing tools that would cost 5 times as much in stores. Plus, your custom weights perfectly match your style and sewing needs.
Why not make a few extra sets? They make wonderful gifts for sewing friends and are perfect for craft fairs or sewing club exchanges.
Did you find this guide helpful? Share it with your sewing friends so they can make their own pattern weights too! Click the share buttons below or send them the link directly.
And don’t forget to bookmark this page for when you’re ready to make your next batch of weights.
