
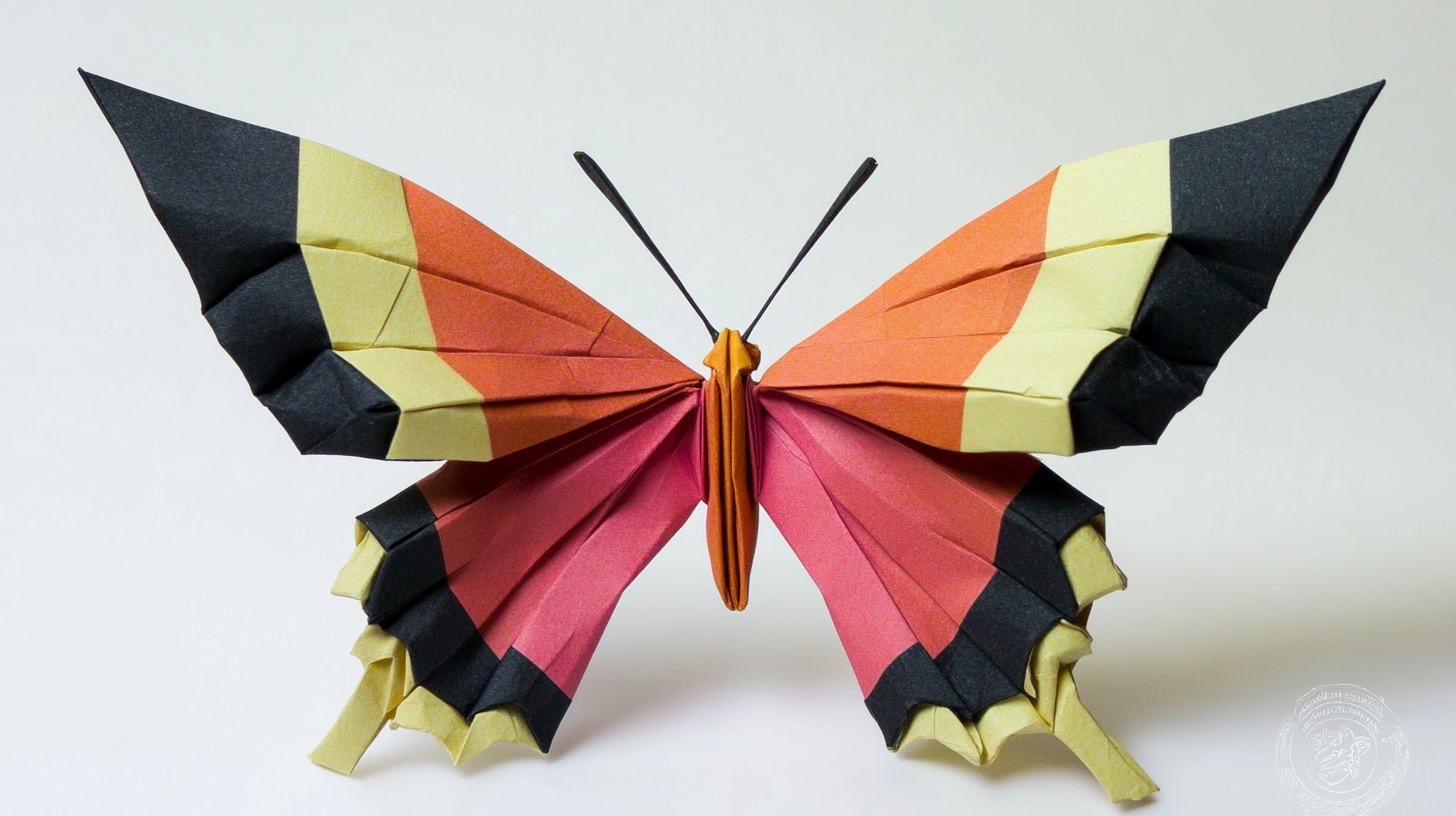
Looking for a fun, creative hobby that’s simple to start and offers beautiful results?
Origami butterflies are the perfect project! If you’re a beginner or just looking to try something new, folding paper into intricate butterfly designs can be a relaxing and rewarding experience.
In this guide, we’ll show you how to create a traditional origami butterfly with easy-to-follow steps, and we’ll even give you some creative ideas for different variations to take your paper folding to the next level.
With just a square piece of paper and a little patience, you’ll have your very own fluttering masterpieces in no time. Get ready to turn a simple sheet of paper into something magical!
Why Origami Butterflies are Perfect for Beginners
Butterfly designs offer the perfect balance of simplicity and beauty for those new to paper folding. The design employs basic folding methods that enable you to practice essential techniques without becoming overly complex or frustrating.
When you create a butterfly, you’ll work with diagonal and straight folds that naturally build your precision skills. These fundamental techniques form the basis for many other paper-folding projects you might try later.
The finished butterflies are not just practice pieces; they’re useful creations. You can attach them to greeting cards, string several together to make hanging decorations, use them as gift toppers, or display them around your home. Children especially enjoy making these as craft projects since they can see results quickly.
Materials Required for Origami Butterfly
Before you begin folding your paper butterfly, gather the following essential materials:
Square Sheet of Paper
| Material | Description | Quantity |
|---|---|---|
| Square Sheet of Paper | A 6-inch or larger square sheet, any color or design | 1 |
Paper quality matters when creating your butterfly. While regular printer paper can be used, specialty origami paper offers cleaner folds and better results due to its thinner, more flexible nature. If you don’t have origami paper, you can cut a square from any paper you have available.
For those looking to create multiple butterflies, consider papers with different colors and patterns to build a varied collection of these beautiful creations.
Step-by-Step Guide to Folding an Origami Butterfly
Learn how to make a beautiful paper butterfly with this simple folding technique that works for beginners and experienced paper crafters alike.
Step 1: Start with the White Side Up
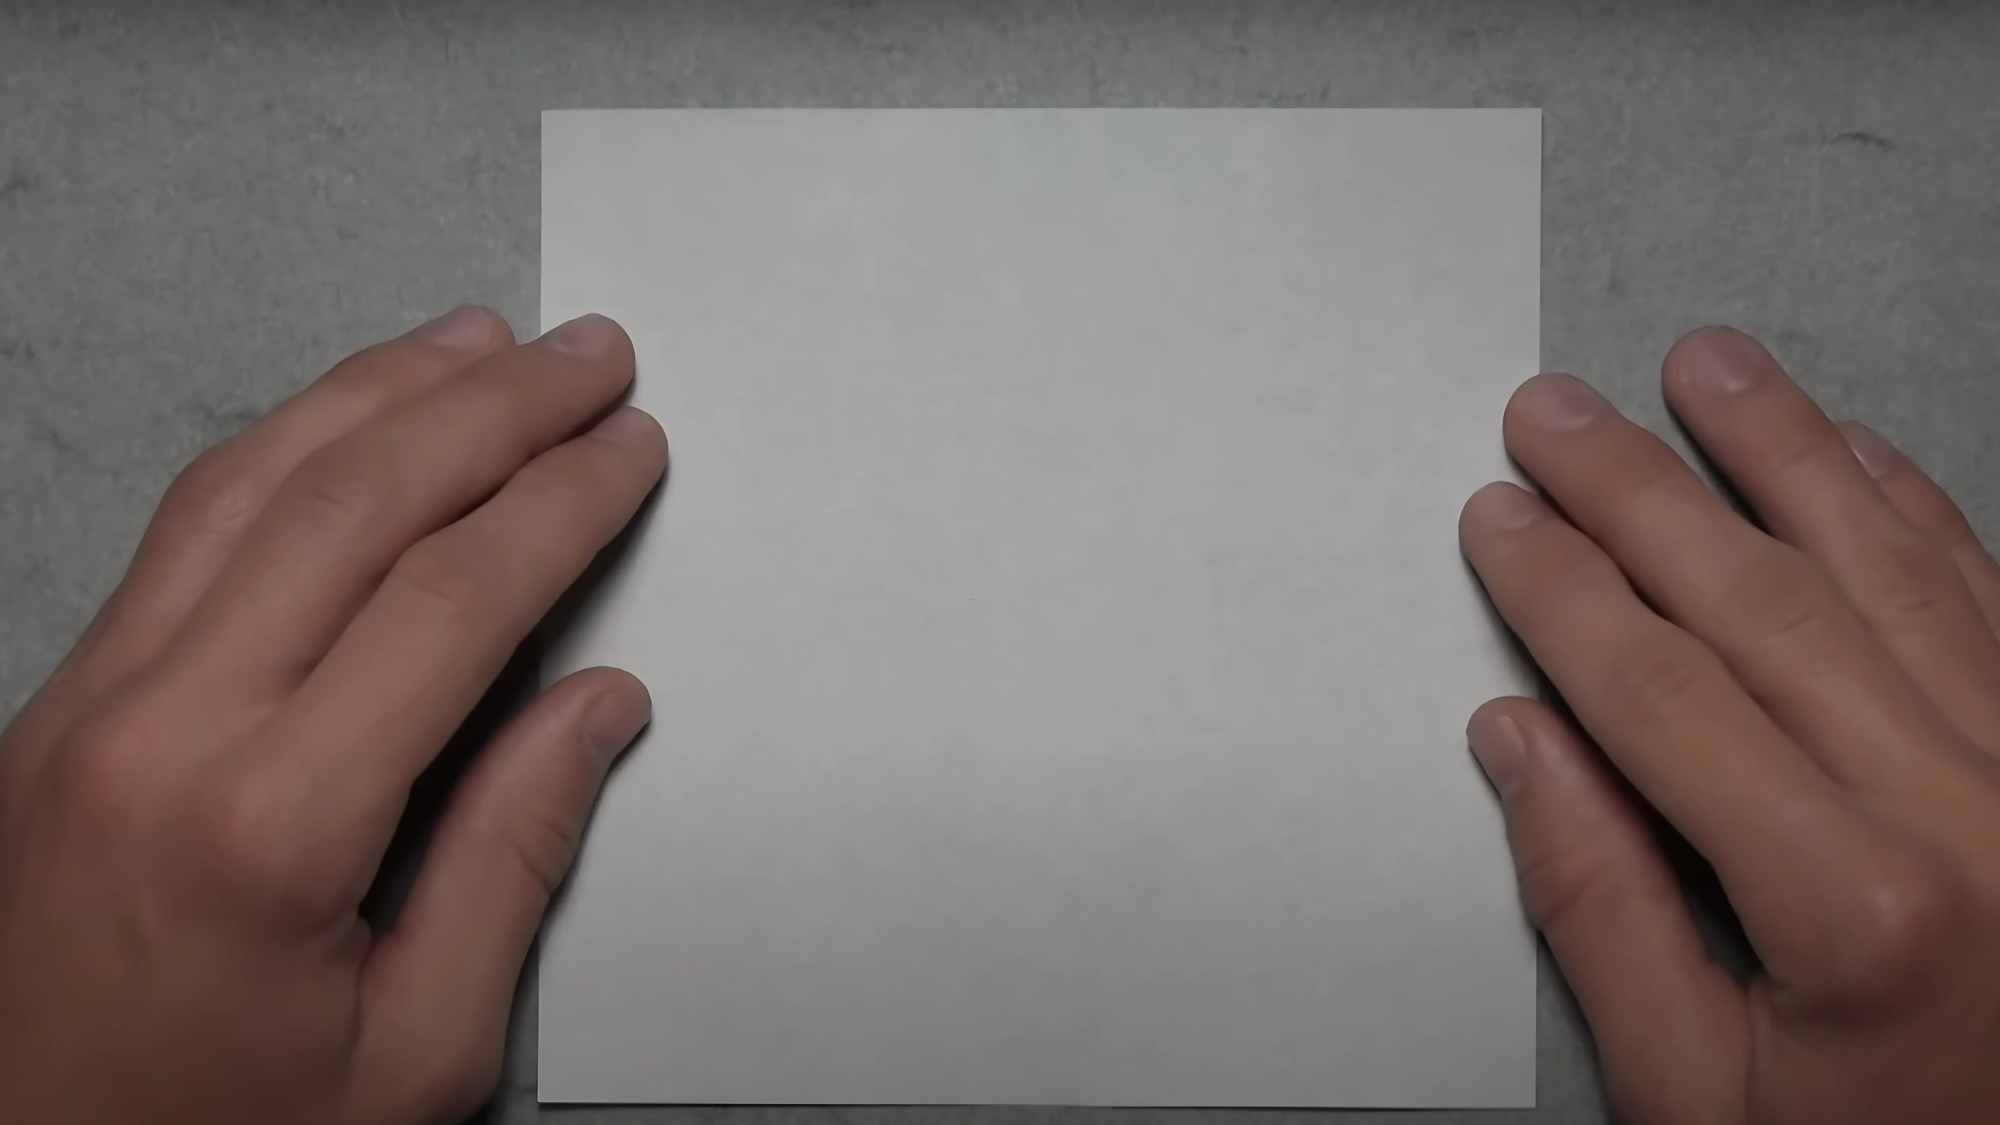
Place your square paper on a flat surface with the white side (or less colorful side) facing upward. Ensure your workspace is clear and well-lit, allowing you to see the fold lines clearly.
Step 2: Make the First Diagonal Fold

Take the bottom right corner of your paper and fold it up to meet the top left corner. Ensure the edges and corners align perfectly.
Press down firmly along the fold line to create a sharp crease. Then unfold the paper back to its square shape, leaving the diagonal crease visible.
Step 3: Make the Opposite Diagonal Fold
Now, rotate the paper slightly and fold the bottom left corner up to meet the top right corner.
Again, align the edges and corners carefully, press down to create a crisp crease, and then unfold. Your paper should now have an X-shaped crease pattern in the center.
Step 4: Make Vertical and Horizontal Folds

Fold your paper in half vertically by bringing the right edge to meet the left edge. Create a firm crease and unfold.
Next, fold the paper in half horizontally by bringing the top edge down to meet the bottom edge. Create another firm crease and unfold. Your paper should now have creases that form a grid with four equal sections.
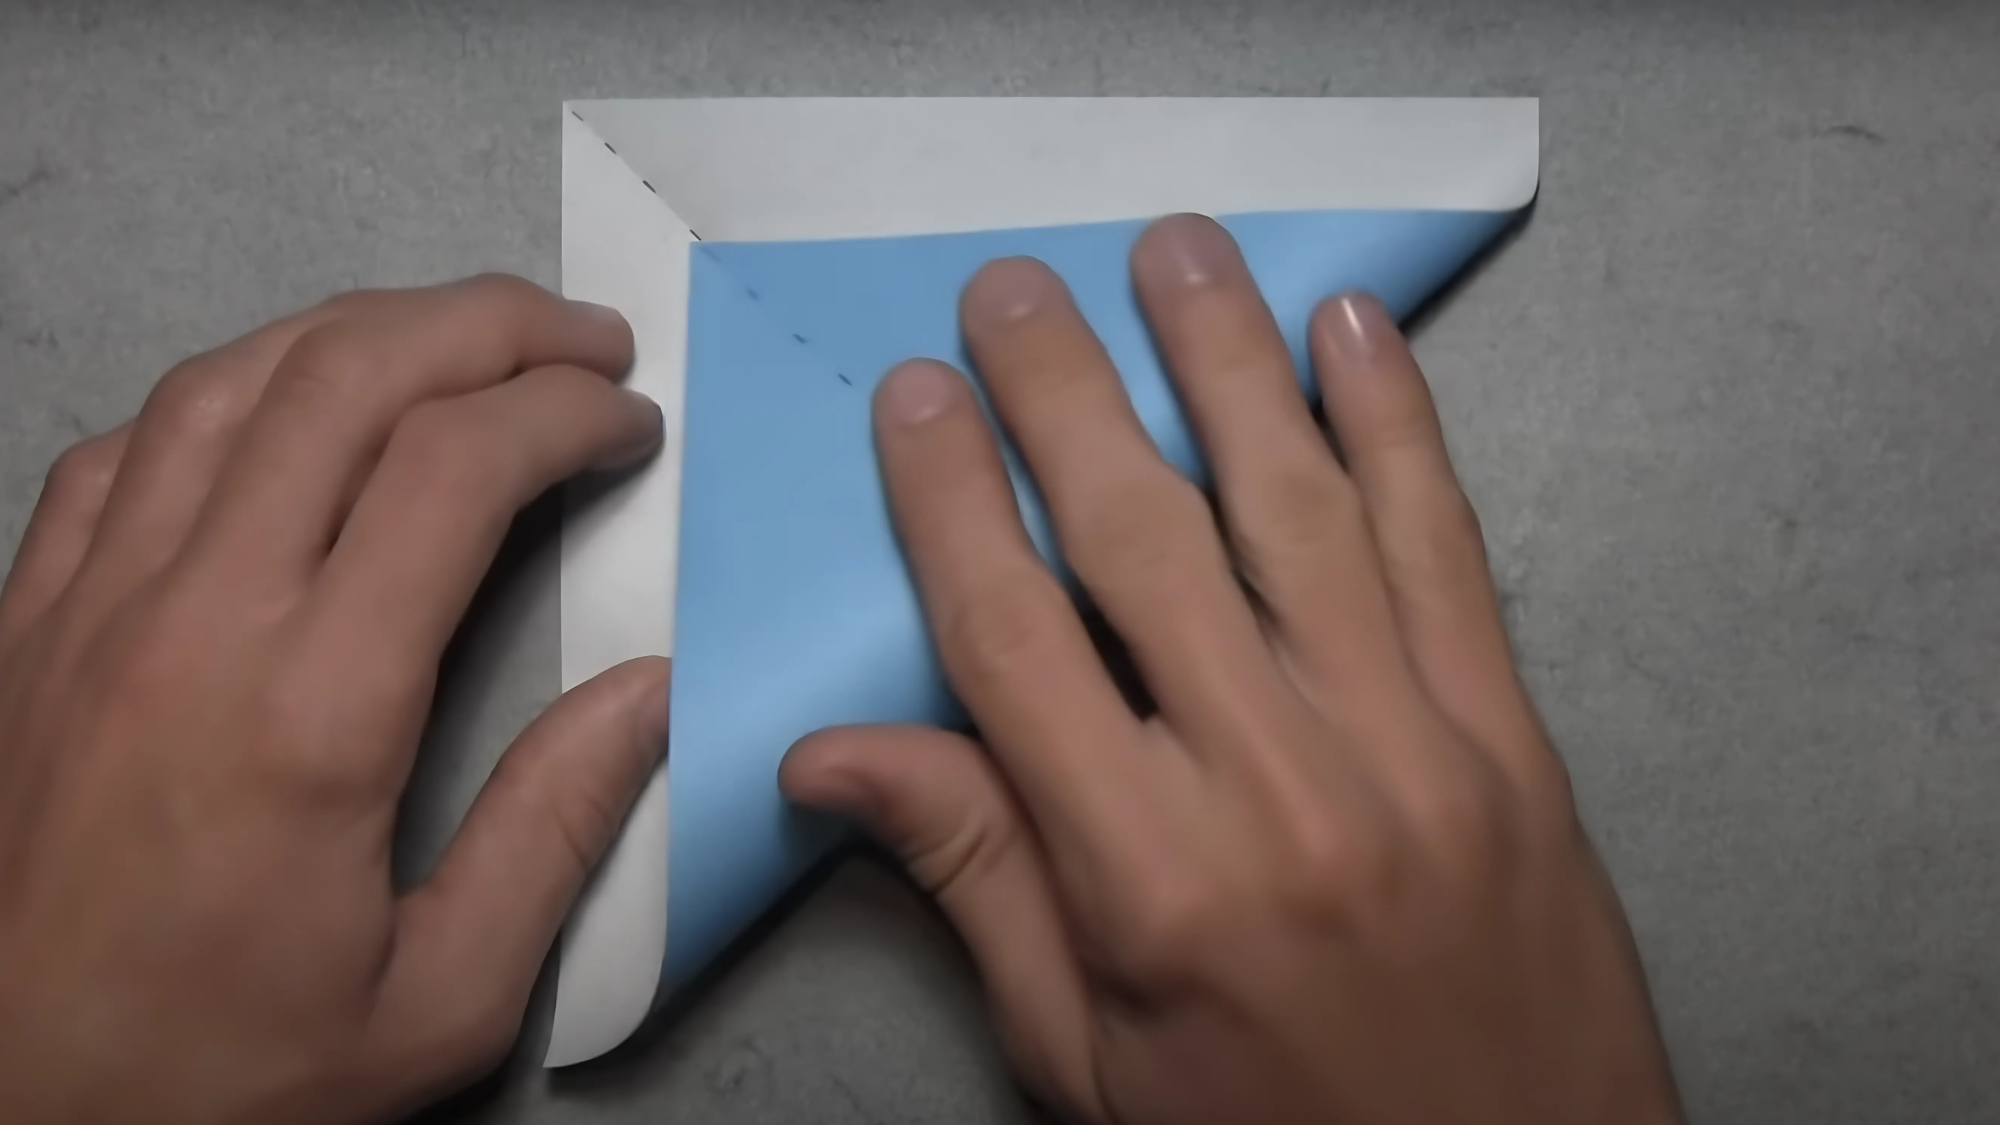
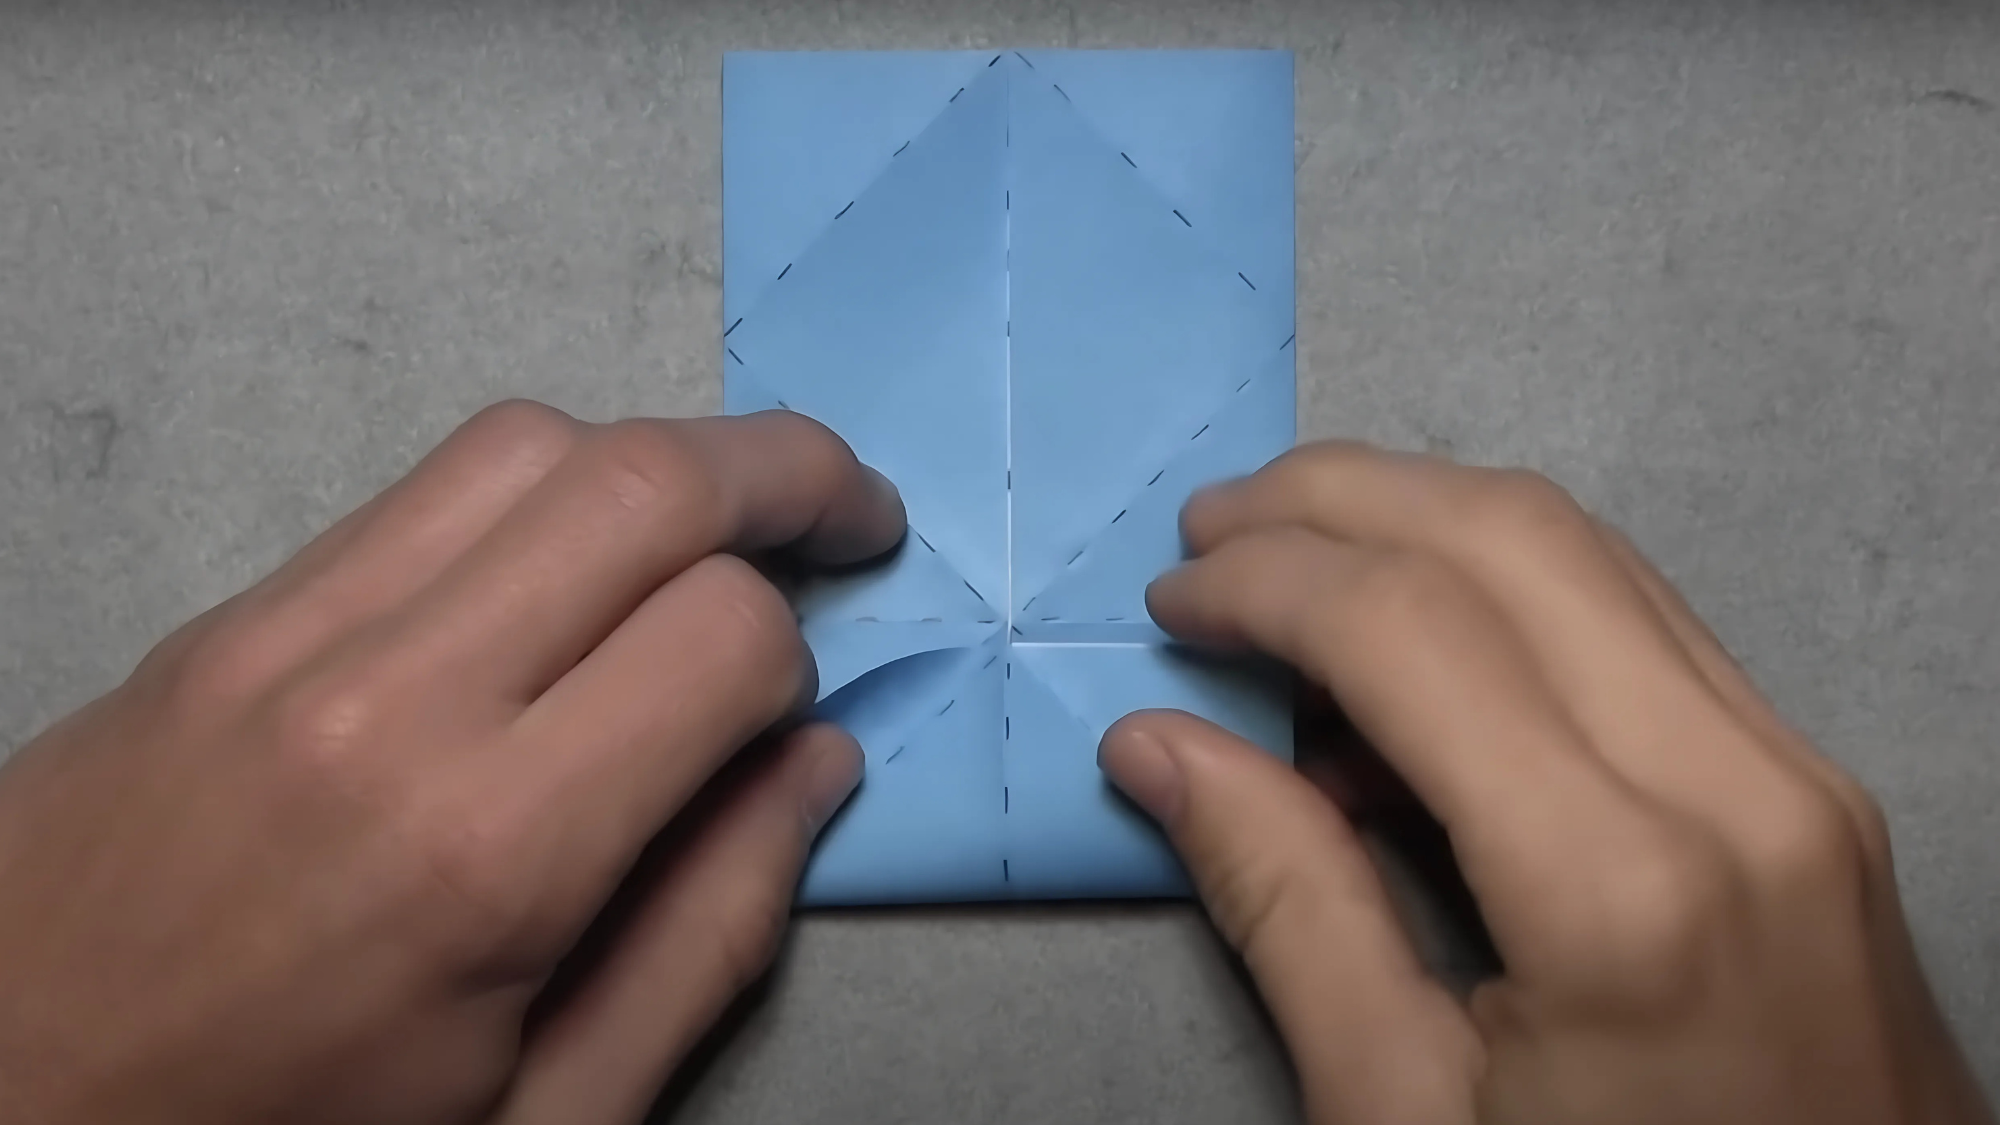
Step 5: Fold in the Corners

Take each of the four corners of your square and fold them inward so they meet at the center point where all your crease lines intersect.
Press each fold firmly to create sharp creases. At this point, your paper should resemble a smaller square with four flaps meeting in the center.
Step 6: Unfold the Corners
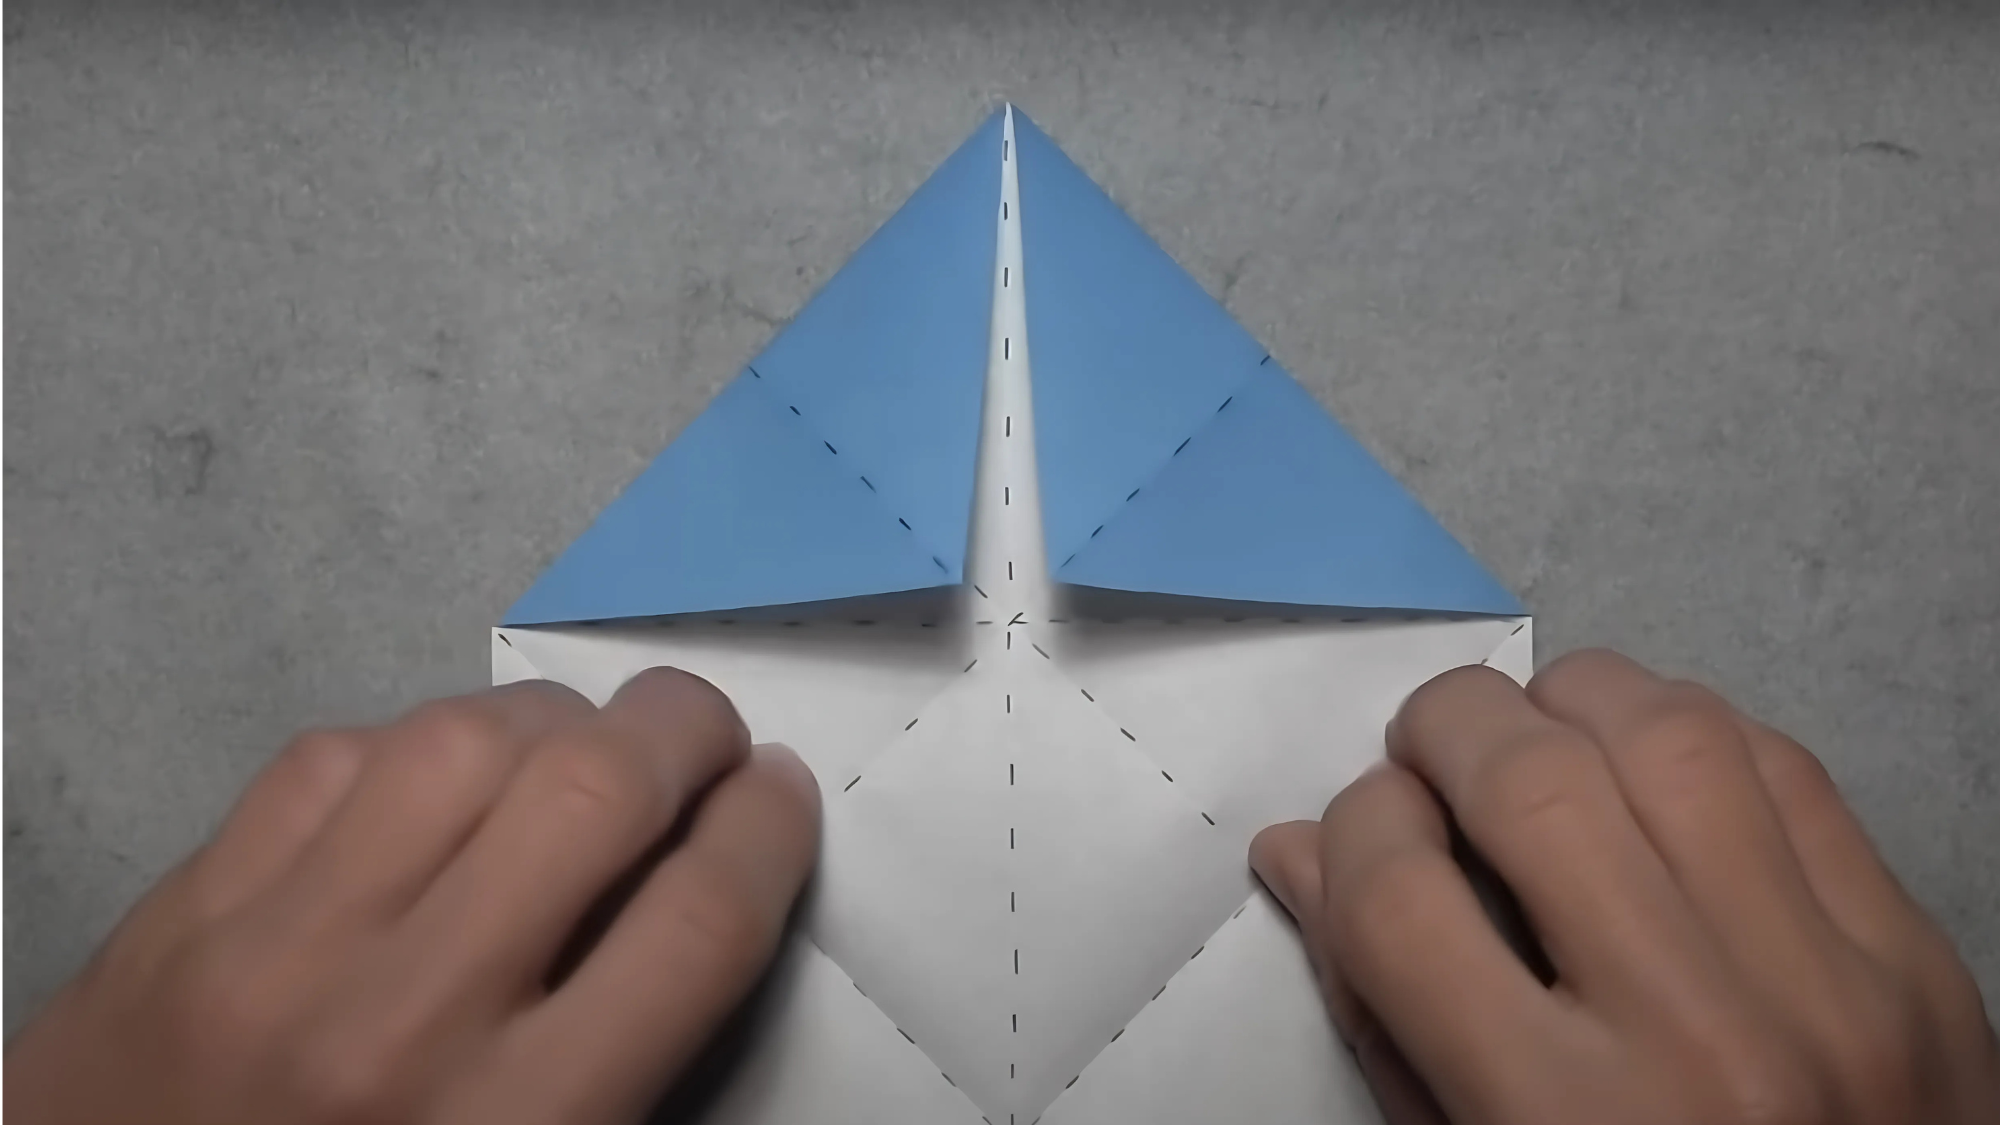
Carefully unfold the four corners you just folded in, returning your paper to a flat, square shape. The creases you’ve made will serve as guides for the next steps. Your paper should now have a complex pattern of fold lines that will help with the following folds.
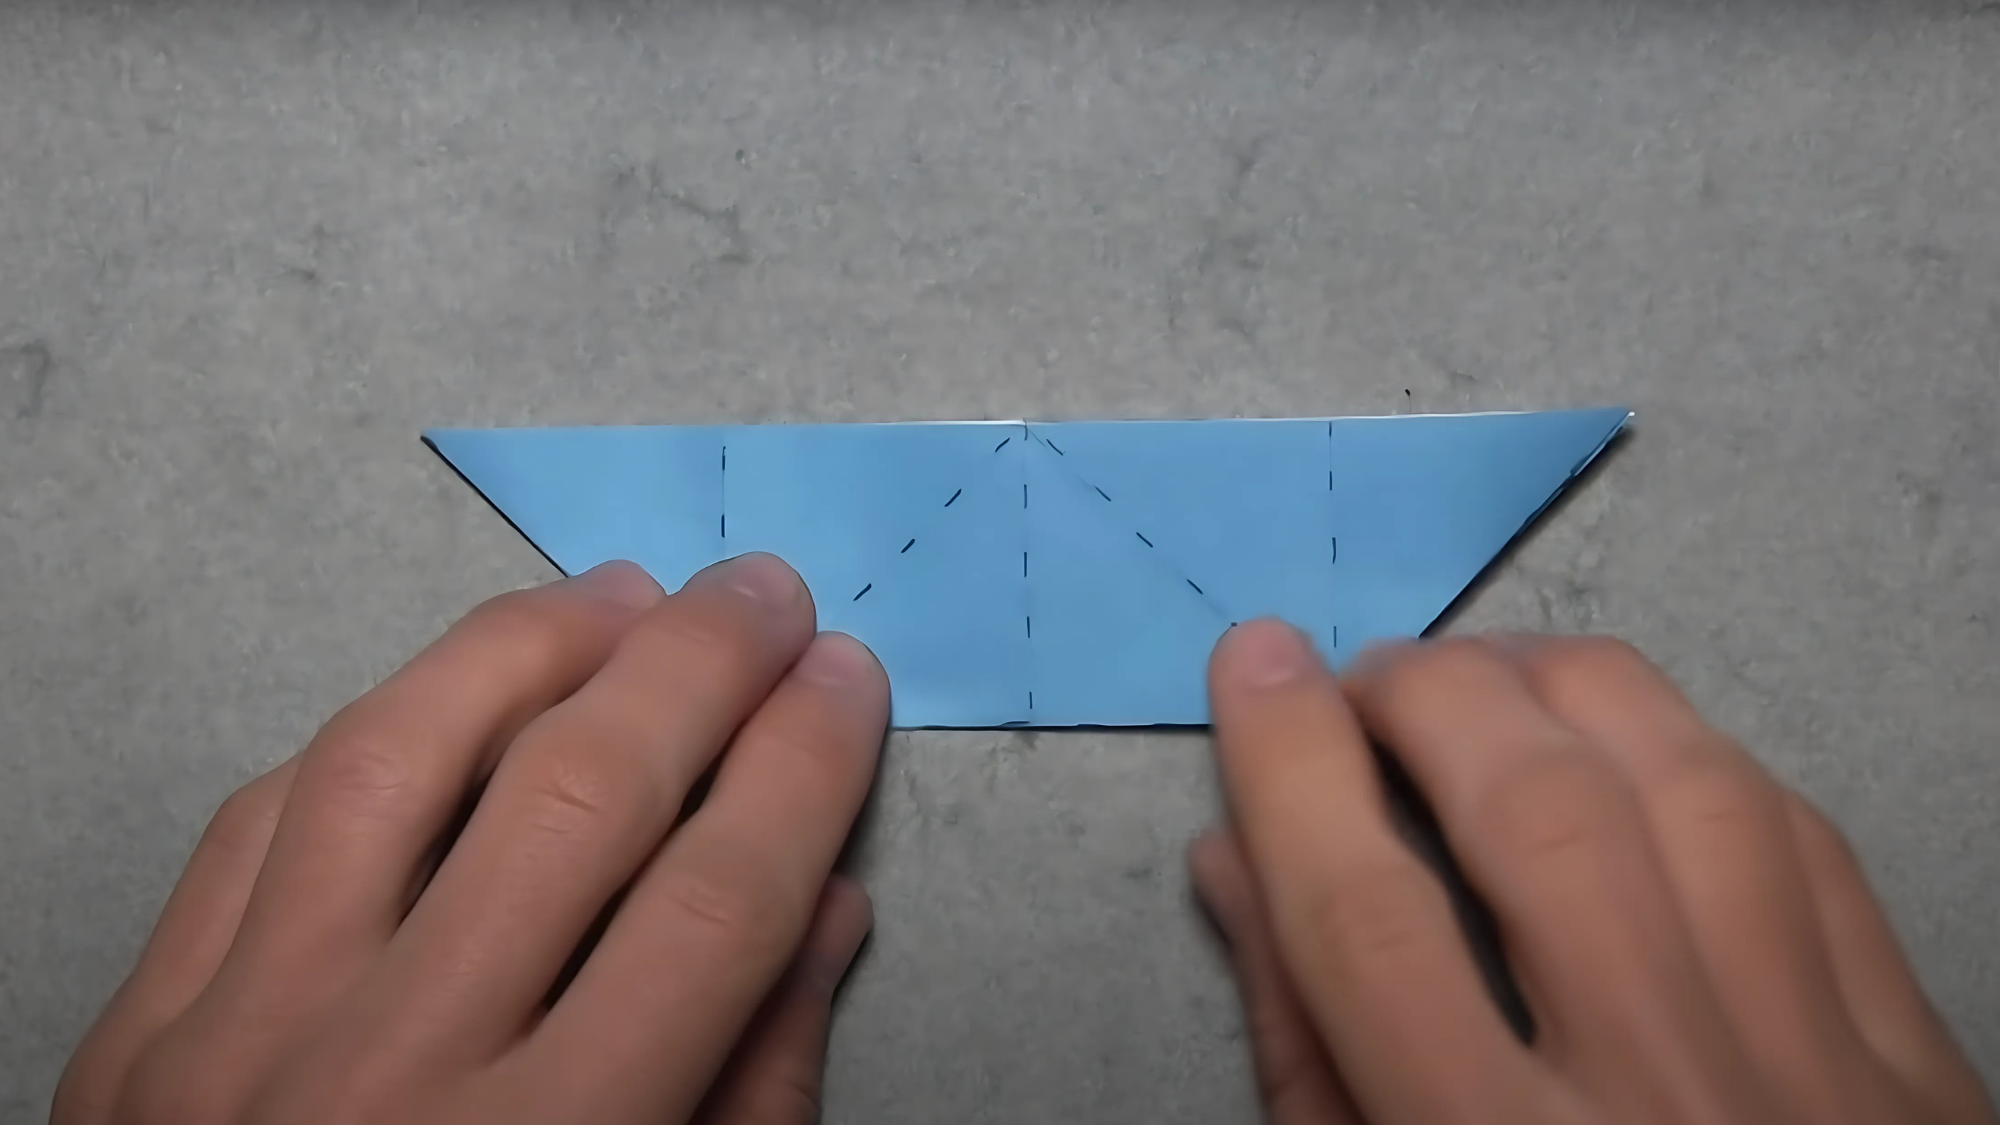
Step 7: Fold the Edges Inward
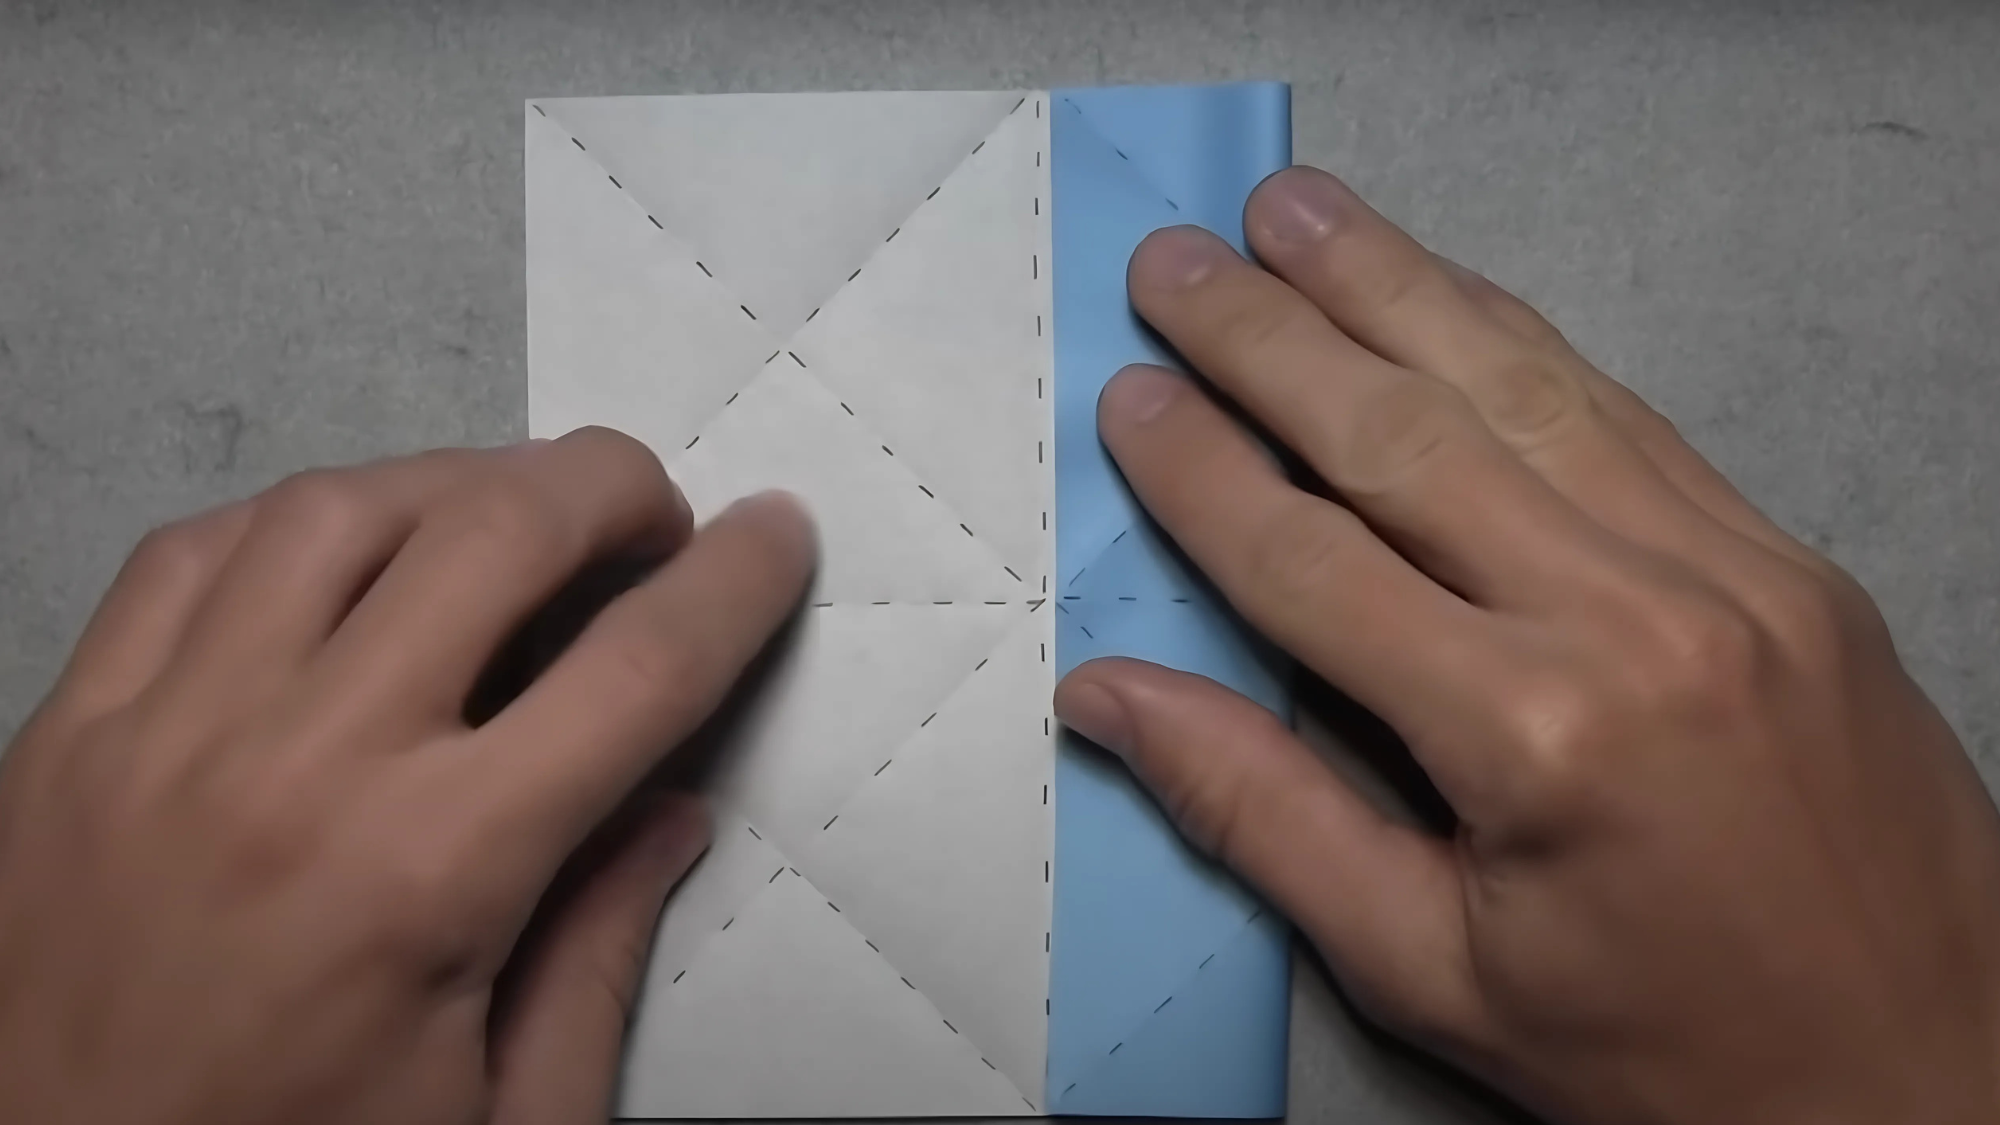
Take the left edge of your paper and fold it toward the center, aligning it precisely with the vertical center crease you made earlier.
Repeat this with the right edge, folding it to meet the center crease as well. Press firmly along both folds to create clean creases. Your paper should now be folded vertically into thirds.
Step 8: Fold the Bottom Edge Up
Now, take the bottom edge of your paper and fold it upward to align exactly with the horizontal center crease.
Ensure the edge is straight and parallel to the center line before creating a firm crease. The paper is now taking on a more complex shape with multiple layers of folds.
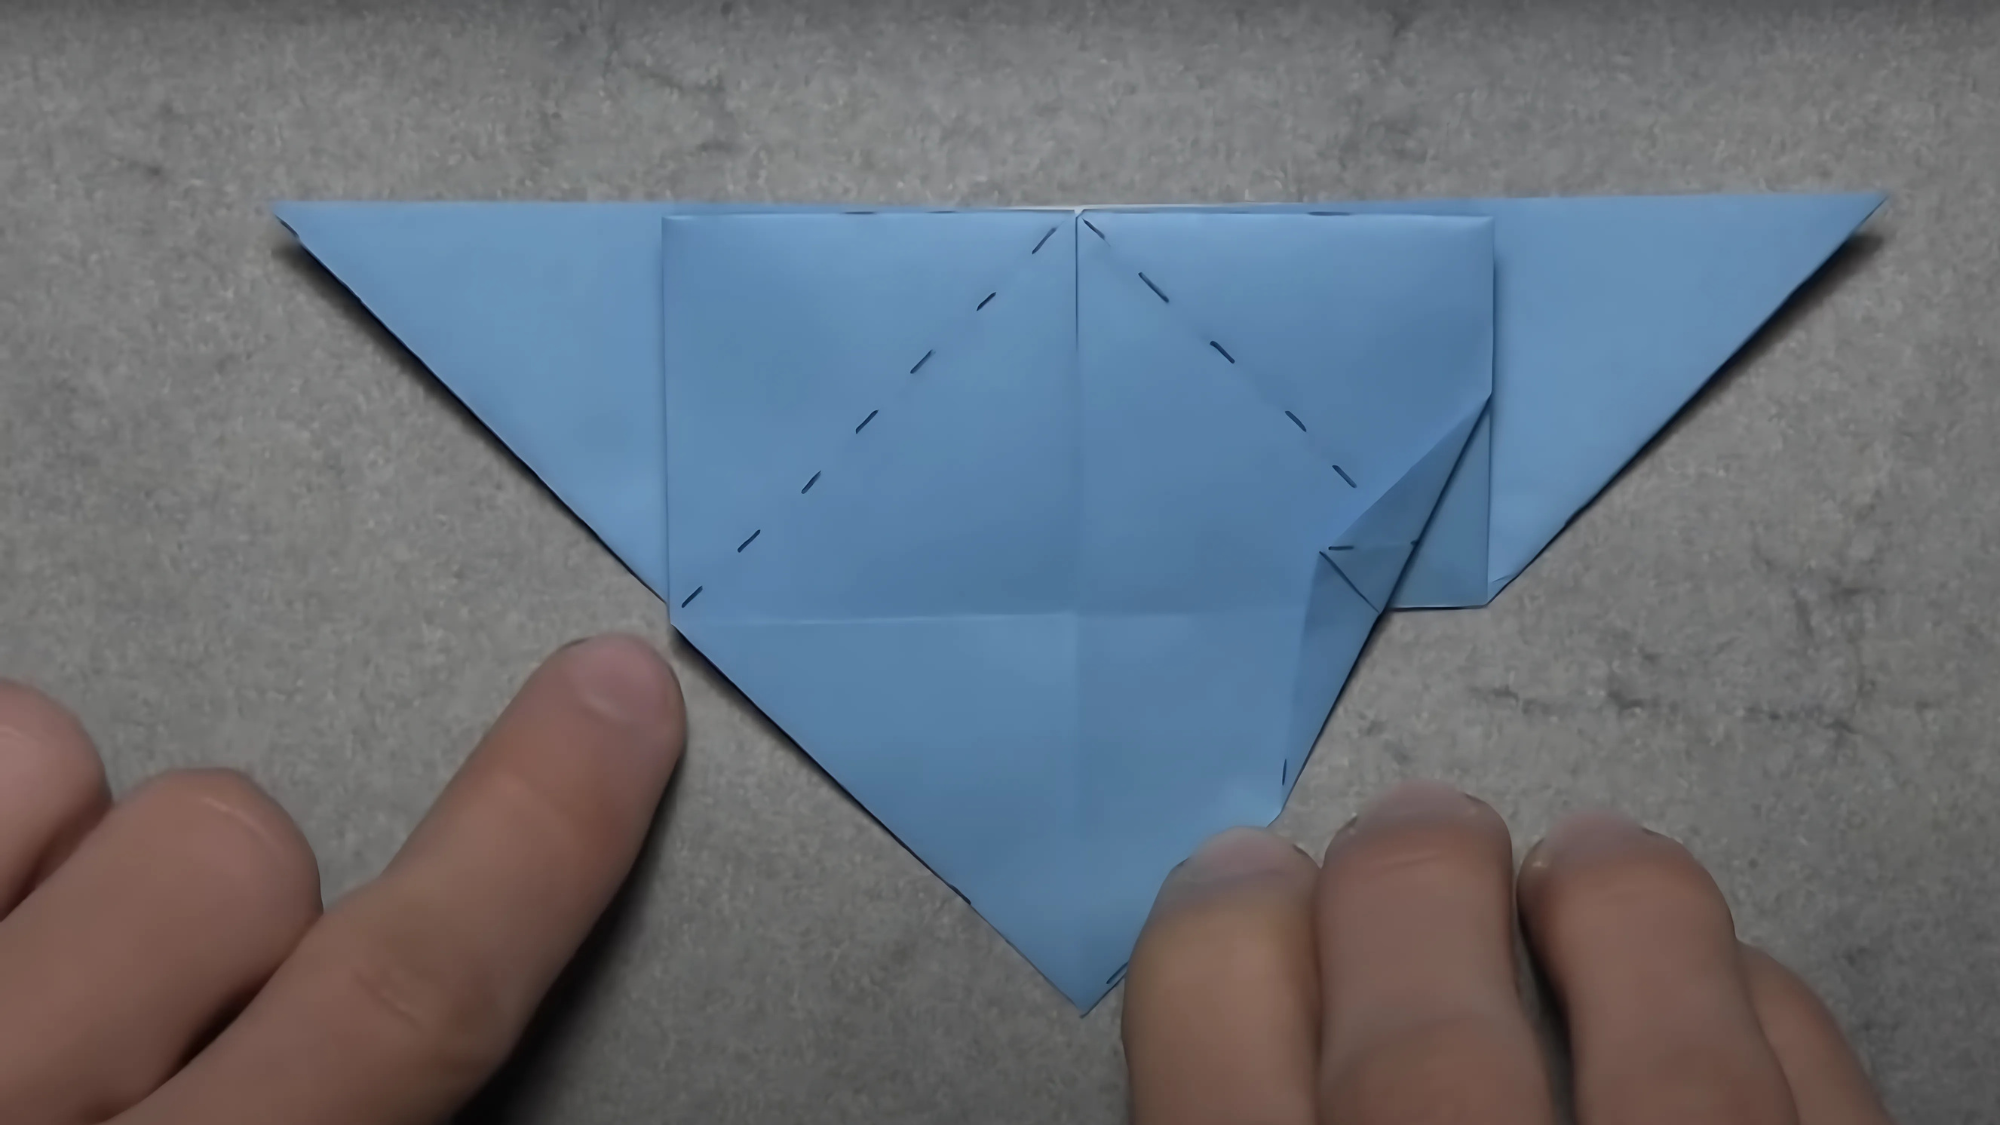
Step 9: Lift and Adjust the Layers

This step requires careful handling of the paper. Lift the bottom layer of your model and gently pull the small white section from behind over to the right side.
As you do this, the paper will naturally want to collapse along the existing crease lines. Help it along by flattening the model and adjusting the folds to maintain symmetry.
Step 10: Fold in Half
Fold your model in half along the horizontal crease line that runs through the middle. The bottom half should fold up behind the top half. Next, identify the top layers on each side of your model and fold them downward.
This creates the basic shape of your butterfly with distinct wings beginning to take form. Make sure your folds are precise and symmetrical on both sides.
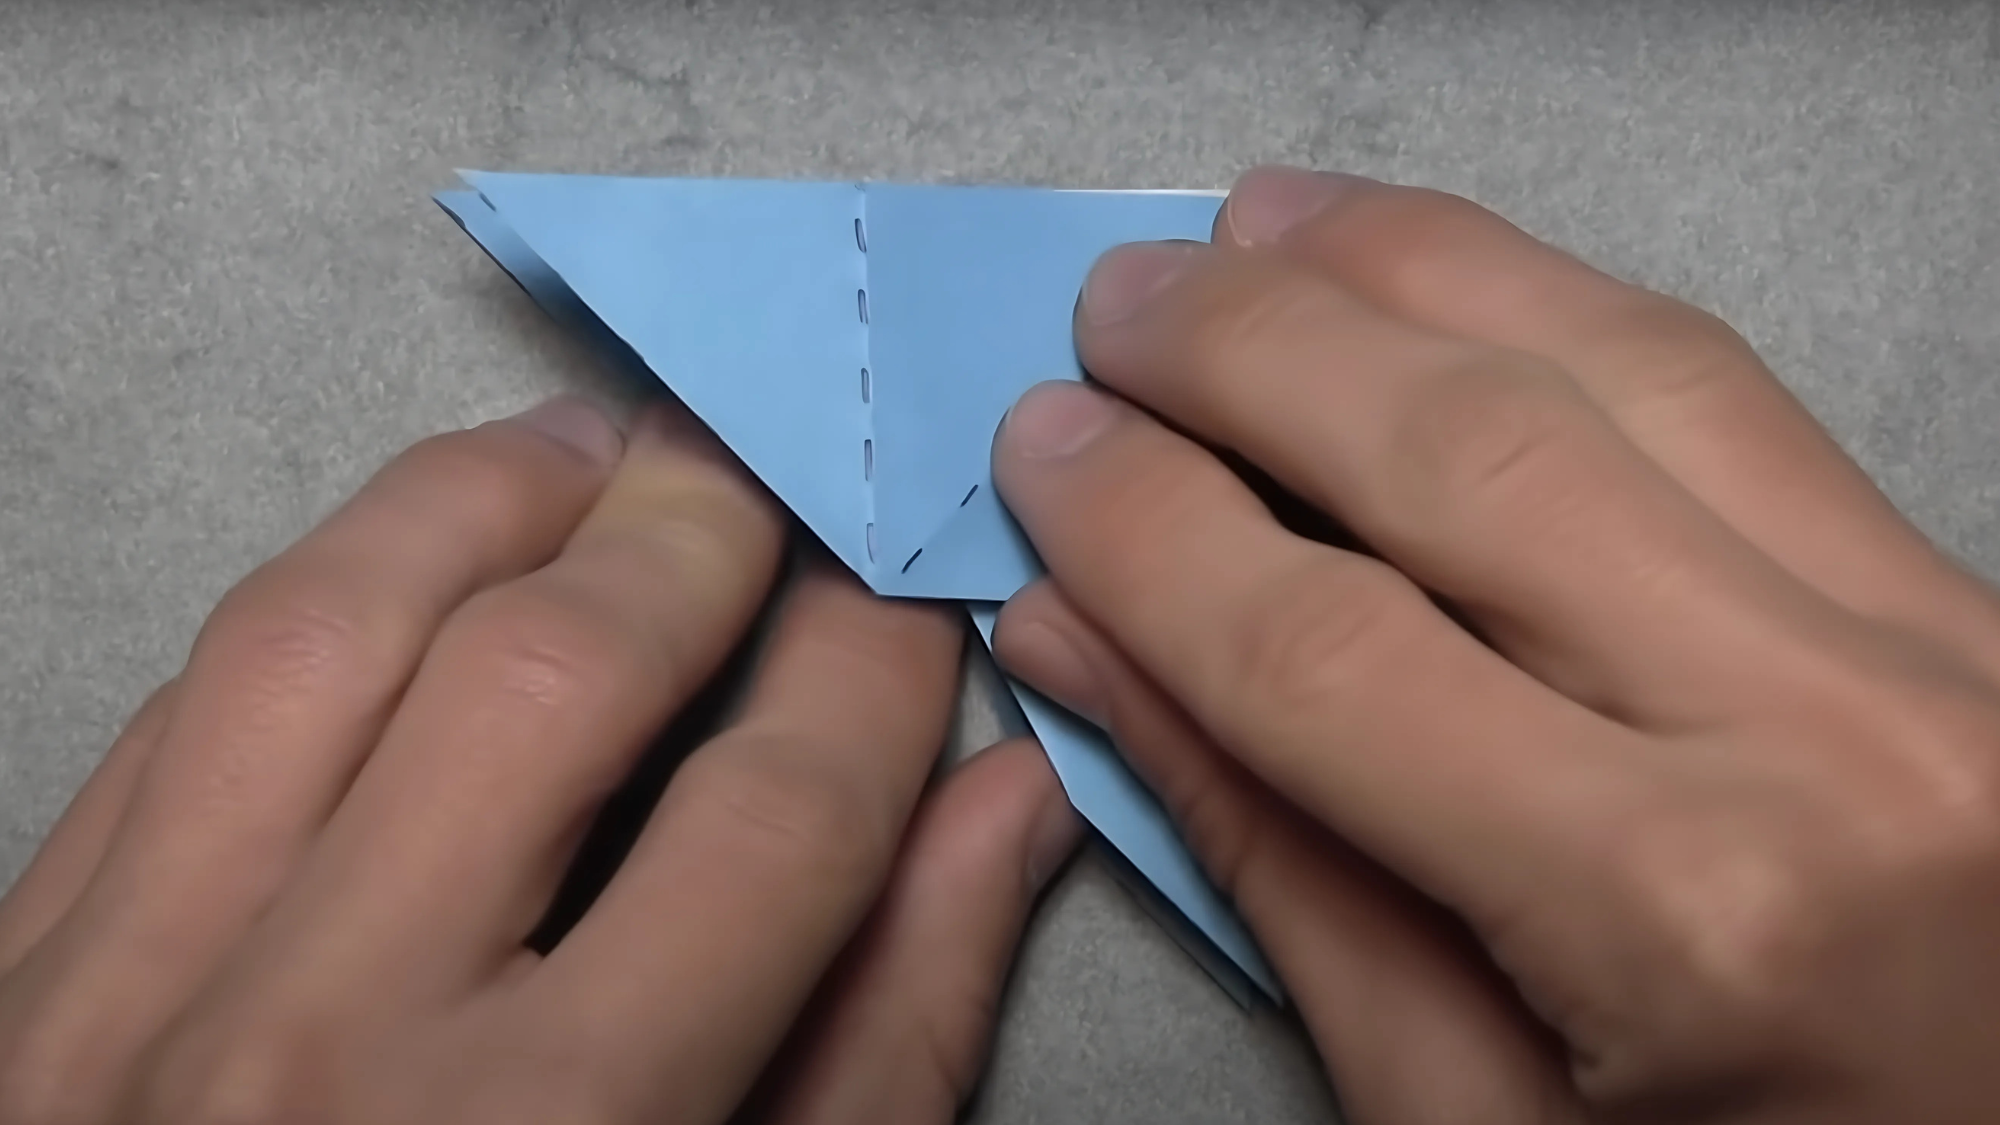
Step 11: Shape the Butterfly’s Wings
To give your butterfly more realistic wing shapes, take the outer corners on each side and fold them slightly inward. This narrows the wings, creating a more natural butterfly silhouette.
The amount you fold in is up to your preference—experiment with different angles to find the wing shape you like best. Remember to make the folds symmetrical on both sides.
Step 12: Final Folding and Shaping
Fold your model in half along the vertical center crease, bringing the left side over to meet the right side. While doing this, pay attention to how all the layers align.
Make small adjustments to ensure the butterfly maintains its symmetry. This fold helps define the body of the butterfly between the wings.
Step 13: Separate the Layers

For the final step, carefully lift the top layers of your folded model and gently separate them. As you pull the layers apart, the butterfly begins to take shape. Adjust the wing angles to create a more lifelike appearance.
You can flatten the body section slightly while allowing the wings to remain somewhat raised, giving your butterfly a three-dimensional quality.
Make sure both sides are evenly opened and shaped. If needed, you can make minor adjustments to the wing positions until you’re satisfied with how your butterfly looks.
The finished butterfly should be able to stand on its own or be mounted on a surface for display.
Video Tutorial
For more information, check out this video tutorial by EzOrigami.
4 Creative Ideas for Your Origami Butterfly
Now that you’ve mastered the basic butterfly design, let’s learn some creative variations to expand your paper folding skills:
1. Origami Swallowtail Butterfly
Take your skills further by creating a swallowtail butterfly. This design requires a few additional folds to create the distinctive long tails on the lower wings. The extra effort results in an elegant butterfly that resembles the beautiful swallowtail species found in nature.
Video Tutorial: https://www.youtube.com/watch?v=NtAS_4cIVYk
2. Origami Monarch Butterfly
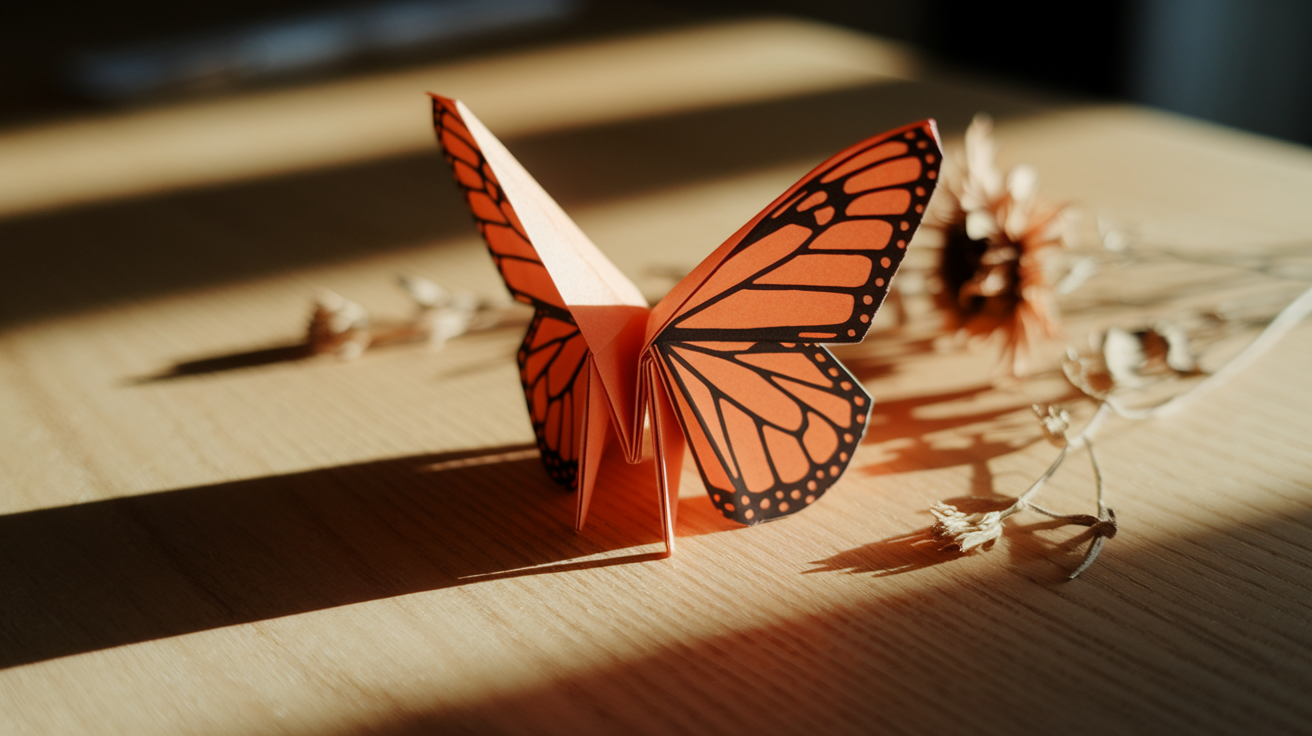
Create a monarch butterfly by using orange paper with black edges or by adding black markings with a marker after folding. The basic folding pattern remains the same, but the coloration makes this instantly recognizable as the beloved monarch butterfly.
Video Tutorial:https://www.youtube.com/watch?v=_2TMKFRUmWI
3. Origami Butterfly Mobile
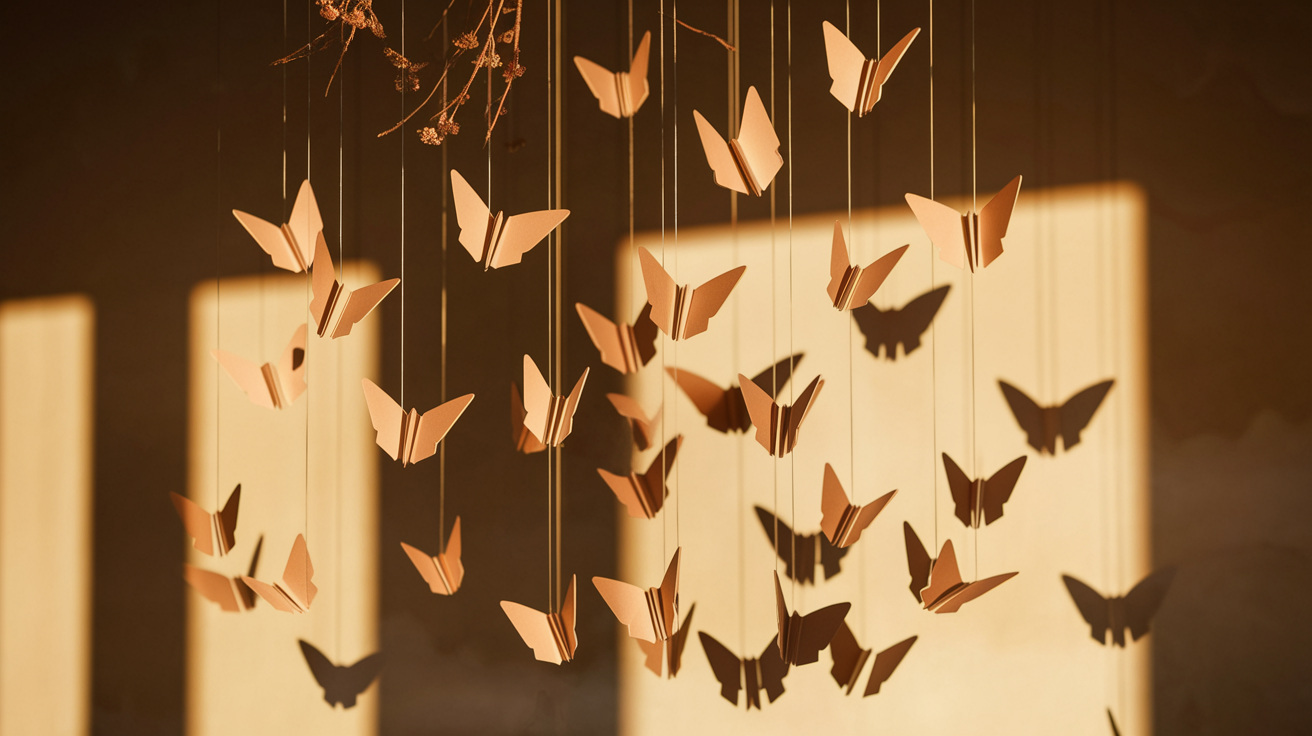
Create multiple butterflies in various sizes and colors. Attach them to threads of different lengths and hang them from a small hoop or branch to create a beautiful hanging mobile that seems to flutter with the slightest breeze.
Video Tutorial:https://www.youtube.com/watch?v=9N6e_K04TPM
4. Butterfly Gift Toppers

Make tiny butterflies using small paper squares and attach them to gifts with a small dab of glue or double-sided tape. This personal touch transforms any present into something special.
Video Tutorial:https://www.youtube.com/watch?v=x2YntvHNOQA
Conclusion
Congratulations on mastering the art of folding origami butterflies! This enjoyable craft not only helps develop your folding skills but also results in beautiful creations that can be used as decorations, gifts, or simply for fun.
The beauty of origami lies in the fact that each butterfly can be one-of-a-kind, allowing for endless customization. If you’re making one as a personal gift or several to hang as a mobile, the possibilities are endless.
Share your creations with us and inspire others to get started on their origami journey.
Looking for more ideas? Check out our other DIY Project guides to create a space that’s uniquely yours.
Frequently Asked Questions
What is the Hardest Origami to Make?
Ryu-zin 3.5, created in 2005 by Kamiya, is one of the most intricate origami pieces ever made. It took a month to complete using just one sheet of paper measuring two meters on each side.
What Does it Mean when Someone Gives You an Origami Butterfly?
An origami butterfly symbolizes love and good luck. With its concave wings, it can be used as a decorative plate for candy or as a special ornament on wedding or anniversary gifts.
What Paper is Best for Origami Butterflies?
DUO COLOR STANDARD paper is best for origami butterflies. It has different colors on front and back and comes in various color combinations, making it perfect for models with color changes.
