Twelve years on job sites taught me that paint chipping is rarely just a cosmetic problem.
Most of the time, a chip signals that something went wrong during prep, moisture is getting in, or the wrong materials were used the first time around.
Leaving it untreated exposes the underlying surface to damage that costs far more to fix later.
Knowing how to repair chipped paint correctly, with the right filler, the right primer, and the right technique, is what separates a patch that lasts from one that fails within a season.
Why is Your Paint Chipping
Before you pick up a putty knife or open a can of paint, take a moment to look at what caused the damage.
High moisture levels or water leaking from pipes can cause paint to bubble, wrinkle, and chip, and in some cases, lead to peeling paint that spreads well beyond the original damaged spot
Other common causes include a dirty or oily surface that was not cleaned before painting, no primer or the wrong type of primer, and old paint that has lost its bond to the wall over time.
Physical impact from furniture, doors, pets, or kids can knock paint off edges and corners. Applying latex paint over an oil-based coat without proper prep is another frequent cause.
On the outside of the home, weather damage from rain, heat, and freezing temperatures breaks down paint over time. Fixing the cause first is the only way to make sure your repair lasts.
When to Patch or Repaint
Not every chip needs a full wall repaint. Small chips are the simplest case and are best handled with a quick patch. Once you clean the area and fill it in, most small spots disappear with one or two coats of paint.
- Peeling around the chip: Scrape until all edges feel firm and no more paint lifts when you press it.
- Widespread paint chipping across a wall or section: Repainting the full wall or section gives a cleaner, more even result.
- Water-damaged paint: Fix the moisture source first, then dry the wall fully before any repair work.
- Older homes: Deteriorating paint that is peeling, chipping, or cracking is a hazard and requires careful attention. Use a lead test kit from a hardware store before sanding or scraping, and follow EPA safety guidelines for containment and cleanup.
Knowing which situation you are in saves time and gives better results. A simple patch that is planned well looks far better than a rushed full repaint.
Tools and Materials You Will Need
|
How to Repair Chipped Paint on Interior Walls

The fastest way to fix a paint chip is to clean, fill, sand, and repaint. Most interior repairs take just a few hours and cost very little. Follow these seven steps for a smooth, nearly invisible result.
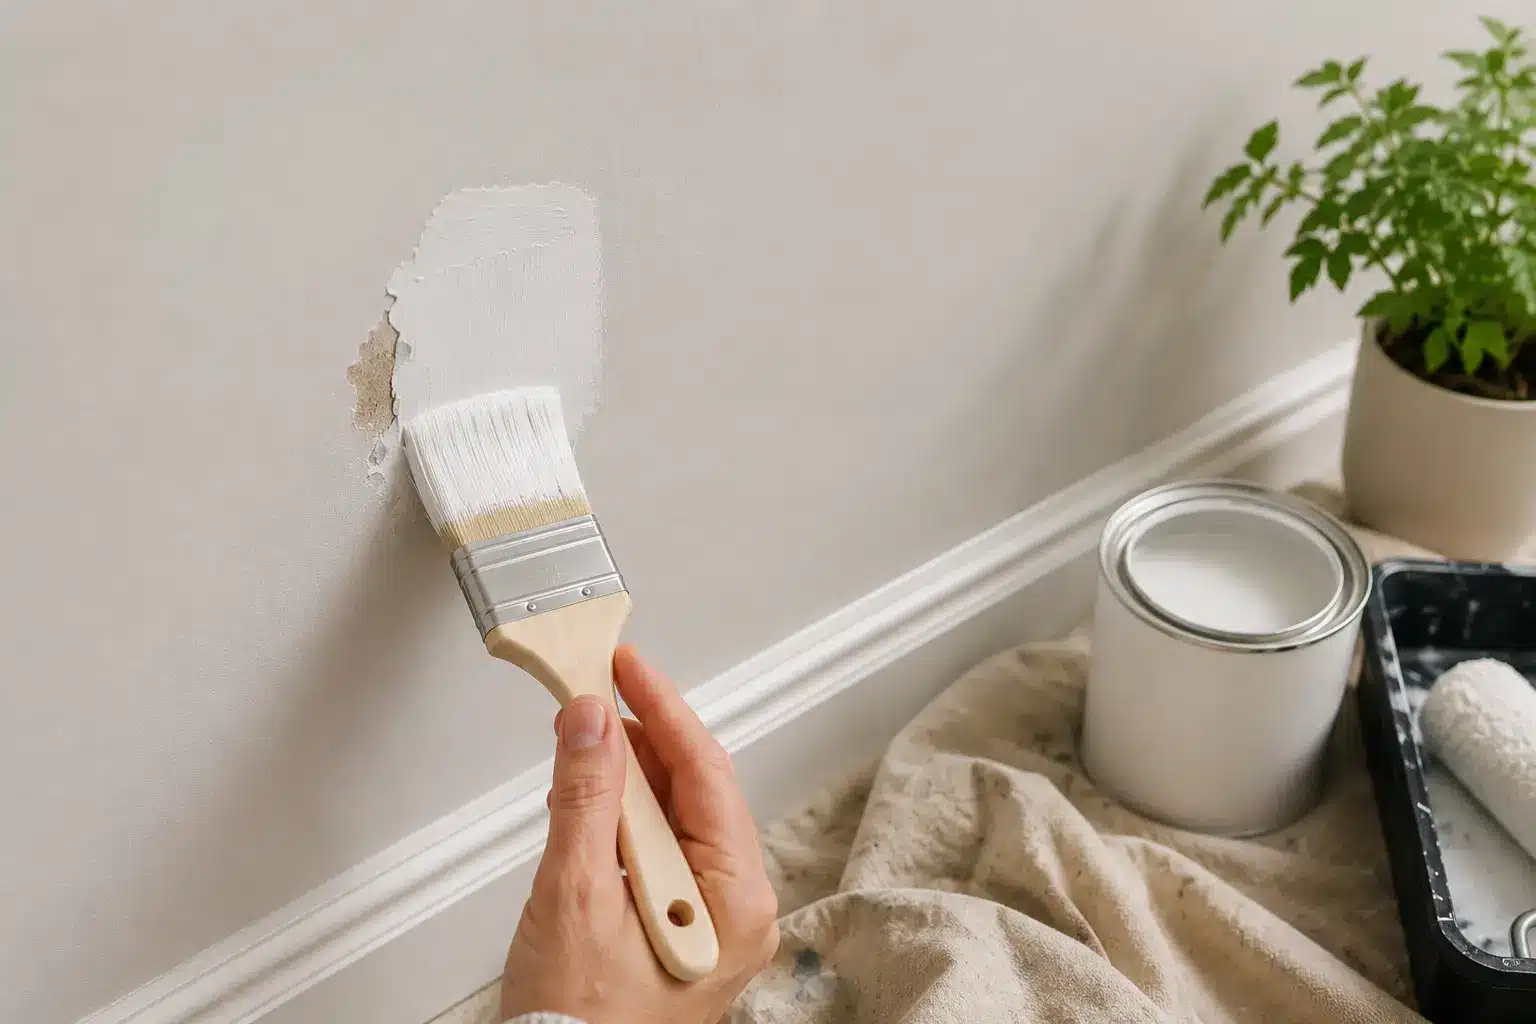
Step 1: Clean and Scrape the Damaged Area
Start by wiping the chipped spot with a damp cloth to remove dust, grease, and loose debris. Let it dry fully before doing anything else.
Then use a putty knife or scraper to remove all flaking edges. Keep scraping until no loose paint remains.
Any paint left behind will create a rough texture under your new coat and cause the repair to fail sooner.
Pro Tip: Add a small drop of dish soap to your damp cloth when cleaning oily or kitchen-adjacent walls. It cuts through grease better than water alone and helps the filler bond more cleanly to the surface.
Step 2: Sand the Edges Flat
Use 100-grit sandpaper to feather the hard edges around the chip. The goal is to remove the sharp ridge where old paint ends and the bare wall begins.
A smooth transition here means your filler will sit flush with the surface, and your final paint coat will blend in without showing a visible outline around the repaired spot.
Pro Tip: Wrap the sandpaper around a small wood block or a sanding sponge instead of holding it loose in your hand. This keeps the pressure even across the surface and prevents you from accidentally digging into the soft drywall beneath.
Step 3: Apply Spackle in Thin Layers
Press spackle into the damaged spot using a 2-inch putty knife, then smooth with a 4-inch knife from different angles.
For shallow chips, lightweight spackle dries fast and sands easily.
For more serious damage that exposes drywall, use joint compound instead; it builds up better over multiple coats and resists cracking, but keep in mind it takes 24 hours or more to dry fully.
Pro Tip: Slightly overfill the chip on your first pass. Spackle shrinks a little as it dries, so starting with a touch more than you need means you will end up with a level surface after sanding rather than a small dip you have to fill a second time.
Step 4: Let the Filler Dry Completely
Most fillers dry within 20 to 60 minutes, but deeper repairs may take longer. Do not rush this step.
Painting or sanding over filler that is still wet traps moisture beneath it and can lead to cracking.
The patch should feel hard and cool to the touch before you move on. If it still looks slightly darker than the surrounding wall, it needs more drying time.
Pro Tip: Use the color change as your guide. Fresh spackle goes on pink or gray and turns bright white when it is fully dry. If any part of the patch still looks off-white or slightly damp in color, wait another 15 to 20 minutes before sanding.
Step 5: Sand Until Smooth and Wipe Clean
Switch to 220-grit sandpaper and sand the dried patch until it feels completely level with the surrounding wall. Run your hand across it to check for any raised edges or rough spots.
Once it feels flat, wipe the area with a dry or slightly damp cloth to remove all sanding dust. Dust left on the surface stops primer and paint from bonding correctly.
Pro Tip: Close your eyes and use your fingertips to feel the patch rather than just looking at it. Your sense of touch catches small ridges and uneven spots that are easy to miss under room lighting, especially on walls painted in lighter colors.
Step 6: Prime the Patched Area
Apply a thin coat of primer directly over the repair, extending it slightly beyond the patch edges.
Primer seals the filler, evens out surface porosity, and helps the finish coat stick evenly, unless the product label on your spackle states no priming is needed for interior use.
Without this step, the repaired spot often looks duller or shinier than the rest of the wall, even after painting. Let the primer dry fully according to the label before applying paint.
Pro Tip: Use a small foam roller instead of a brush to apply primer over the patch. A foam roller lays down a smoother, more even layer than a brush and leaves a texture much closer to the original rolled wall surface around it.
Step 7: Paint and Feather the Edges
Load a small brush or mini roller with your matching paint and start at the center of the patch. Work outward with light strokes, gradually feathering the paint into the surrounding wall.
This blending technique prevents a hard edge from forming where the new paint meets the old. Apply a second coat once the first is dry, if needed, and feather again for a seamless finish.
Pro Tip: Let the first coat dry for at least two hours before applying a second one, even if it looks dry after 30 minutes. A second coat applied too soon can pull up the first layer and leave a streaky, uneven finish that is harder to correct than starting over.
A well-prepped patch is almost impossible to spot once the paint dries. Take your time at each step, and the repair will hold up long after the job is done.
How to Fix Paint Chipping on Exterior Walls
Exterior paint chips need dry weather and proper surface repair first, or the new paint may fail again.
- Check the surface first: Look for water damage, rotten wood, mildew, cracked caulk, or damp spots before repairing the paint.
- Remove loose paint: Use a scraper or wire brush to clear any loose paint along the edges around the chipped area.
- Fill the damaged area: Apply exterior-rated acrylic latex filler. Avoid interior spackle because it can crack outside.
- Sand and prime: Once dry, sand the patch smooth and apply exterior primer to bare spots.
- Paint in the right weather: Use matching exterior paint and avoid rain, damp surfaces, high humidity, or heat above 90°F.
A careful exterior repair lasts longer when the surface is dry, stable, and properly primed before painting.
How to Repair Chipped Paint on Textured Walls
If your walls have an orange-peel, knockdown, or skip-trowel texture, there is one extra step between sanding and priming: you need to recreate the texture before painting, or the flat spackle patch will be visible under the finish coat.
Once the spackle is dry and sanded smooth, apply a spray texture product from about 12 to 18 inches away.
Use a light, even pass and let it dry before painting. For a heavier knockdown texture, lightly dab a damp sponge over the wet compound before it fully sets to create a rougher, more irregular surface.
Always test your texture technique on a piece of cardboard or scrap drywall first. Adjust your distance and spray pressure until the pattern closely matches the wall.
Once you are satisfied with the match, apply it to the actual repair area, let it cure, then prime and paint as normal.
Pro Tip: Hold the cardboard test piece against the actual wall in the same lighting to compare the texture pattern. What looks like a match on a flat table can look slightly different when vertical and lit from the side.
Fix Chipped Paint on Trim
Trim repairs differ slightly from wall repairs and need different materials and techniques. Doors, baseboards, and window trim take more daily wear than walls, so the right approach here makes a bigger difference in how long the repair holds.
| Step | What to Use | Why It Matters |
|---|---|---|
| Fill the chip | Wood filler | Firmer than spackle; holds up on high-wear edges and corners |
| Sand the surface | 220-grit sandpaper | Sand with the grain to avoid scratches showing under paint |
| Seal bare wood | Primer | Prevents uneven absorption and dull patches on unpainted wood |
| Match the finish | Same sheen as original | Semi-gloss mismatches catch light and expose the repair |
| Apply paint | Thin, even coats | Thick coats sag on trim edges and dry with a bumpy texture |
| Dry between coats | Wait for the full drying time | Trim stays tacky longer; rushing causes peeling at corners |
Getting the sheen and filler right on trim makes a bigger difference than on walls. A repair done with the correct materials and a matching finish will hold up through daily use and stay nearly invisible for years.
How to Fix Paint Chips in a Rental
Rental paint repairs need extra care because a poor patch can affect your deposit. Always check your lease and keep the repair small unless your landlord approves more work.
- Check your lease first: Some rentals require landlord approval before painting, patching, or making even small wall repairs.
- Use leftover paint: If your landlord provided paint at move-in, use it for the closest color and sheen match.
- Fix tiny chips carefully: Use a small artist’s brush and dab lightly so the repair does not spread beyond the chip.
- Avoid large repainting jobs: Do not repaint entire sections without permission, as mismatched paint can create a bigger problem.
- Take clear photos- Photograph the wall before and after repair to avoid confusion during your move-out inspection.
A small, careful repair is usually safest in a rental. When the damage is larger, ask before repainting.
How to Match Paint for a Seamless Repair

Color matching can make or break the repair. Even a smooth patch will stand out if the paint color or sheen is slightly different.
Use leftover paint from the original job when possible, and keep it sealed away from heat or freezing temperatures.
Match the sheen as carefully as the color, since flat, satin, and semi-gloss finishes reflect light differently.
Without leftover paint, cut a small sample from a hidden area, such as behind a door or inside a closet, and take it to a paint store.
Use the same applicator as the original finish, such as a roller for walls or a brush for trim. Feather the paint beyond the patch for a softer blend.
Common Paint Repair Mistakes to Avoid
Avoiding common mistakes matters just as much as following the repair steps. A small shortcut can make the same paint chip return within weeks.
- Painting over loose paint leaves the chip underneath, and the new coat will fail in the same spot.
- Skipping primer means the new paint sits on a different surface and may not bond or match well.
- Patching before the surface is dry traps moisture beneath the filler, leading to cracking and further chipping.
- Sanding too early before the filler is fully cured pulls the compound out of the repair and creates a rough surface.
- Ignoring moisture is the most common reason for chipping returns. If water is getting in, no paint repair will hold for long.
Most failed paint repairs come from weak prep, trapped moisture, or rushed drying. Take your time with each step, especially sanding and priming. A careful repair blends better and lasts much longer.
How to Prevent Paint Chipping Again
Clean walls before painting so dust, grease, and dirt do not block adhesion. Prime every bare or patched spot before adding the finish coat, and let each coat dry fully before applying the next one.
In busy areas like hallways, kitchens, and kids’ rooms, use a durable washable paint, such as satin or semi-gloss, because it handles marks better than flat paint. Add rubber bumpers behind doors so knobs and handles do not keep hitting the wall.
Also, fix leaks, condensation, and poor ventilation early. Moisture is one of the main reasons paint fails again, even after a careful repair.
Taking a little extra time during prep and maintenance can help your paint last for years without chipping.
Cost and Time
Most interior repairs cost very little, aside from the cost of spackle, primer, and a small can of paint.
| Repair Type | Active Time | Total Time with Drying |
|---|---|---|
| Small chip (coin-sized) | Under 30 minutes | 2 to 3 hours |
| Medium patch (palm-sized) | 45 to 60 minutes | Next-day painting |
| Exterior or moisture damage | Several hours | 2 to 3 days or more |
Exterior repairs and moisture-related damage take longer because the prep work is more involved, and drying time depends on weather conditions.
Final Checklist Before You Paint
|
Conclusion
Repairing chipped paint is a skill that pays off every time you spot a new chip or flake.
I’ve found that the process becomes much less intimidating once you understand what each step does and why it matters.
When I take the time to properly prep the surface, the repair almost always lasts longer and blends in better.
A clean surface, the right filler, a solid coat of primer, and a matched finish are all it takes to make most repairs invisible. No full repaint is needed, and most small jobs do not require professional help.
Start with one damaged spot and work through it at your own pace. The results will speak for themselves.
Frequently Asked Questions
Can You Paint Directly Over Chipped Paint Without Fixing It First?
Painting over chipped paint will not last long because the unstable surface underneath continues lifting, pulling the new coat with it. Always scrape, fill, and prime first.
How Long Does a Chipped Paint Repair Last When Done Correctly?
Paint properly matched to its environment should last at least a few years before showing signs of wear, peeling, or cracking. Poor prep shortens that considerably.
Does Chipped Paint Always Mean the Whole Wall Needs Repainting?
Small paint chips can be repaired without repainting an entire wall or room, as long as the damage is isolated and the surrounding paint edges remain firmly bonded to the surface.
Can You Repair Chipped Paint on Textured Walls?
Yes. After filling and sanding the chip smooth, you need to recreate the wall’s texture before painting. Use a spray texture can for orange-peel finishes or a damp sponge for knockdown. Always test the texture on scrap material first and match the pattern to the surrounding wall before applying it to the repair area.