
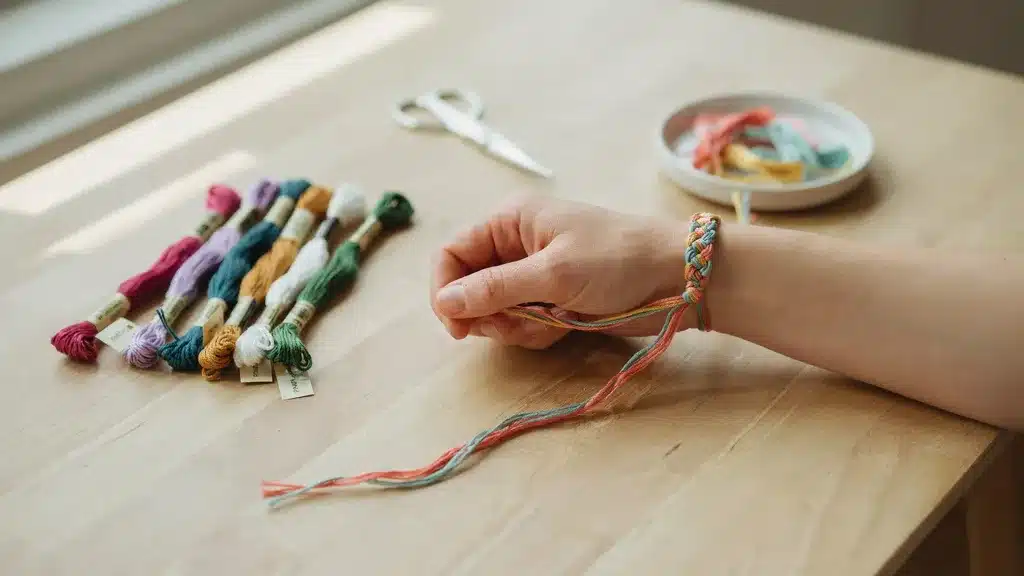
You spend time making a friendship bracelet, only to get stuck when it’s time to put it on. The knot feels loose, the ends slip around, or you need someone else to help secure it.
Learning how to tie a friendship bracelet can save time and help your bracelet stay secure and comfortable throughout the day. A few simple knot techniques can also make it easier to adjust the fit or take the bracelet off later without damaging it.
Below, you’ll learn the most common friendship bracelet knots, easy ways to secure different bracelet styles, and simple methods for tying a bracelet by yourself.
What Kind of Friendship Bracelet are You Tying
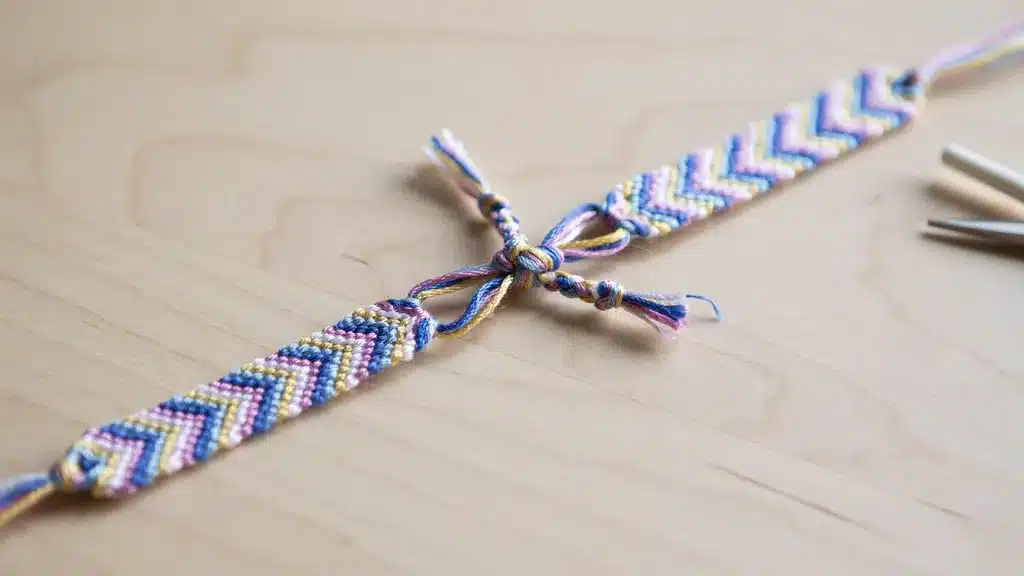
Some friendship bracelets have a small loop on one end and braided strings on the other. In this style, the braids are passed through the loop and tied together to secure the bracelet.
Others have loose strings on both ends. These bracelets are usually tied directly around the wrist with a simple knot or bow, making them among the easiest styles to fasten.
There are also adjustable friendship bracelets that use a sliding closure. This design allows you to tighten or loosen the bracelet as needed, making it easy to put on and take off without assistance.
If you’re still creating your bracelet and deciding how to finish it, learning how to make friendship bracelets can help you understand the different ending styles and closures commonly used.
The Four Friendship Bracelet Knots Explained
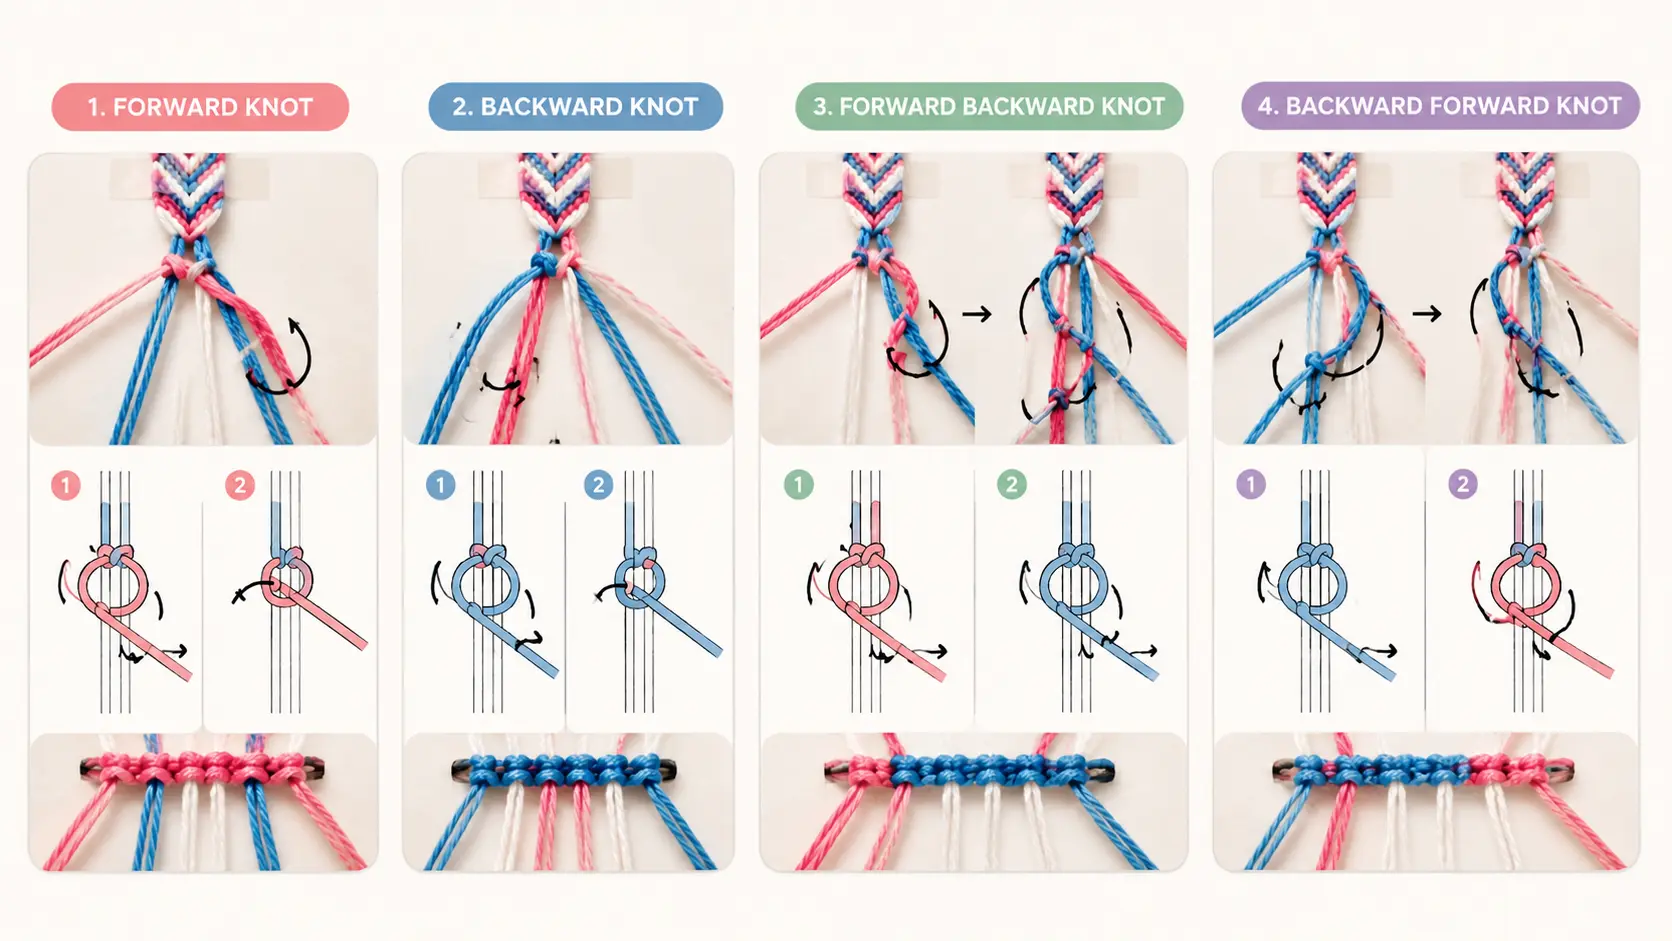
Most friendship bracelet patterns rely on four essential knots, and each one changes the direction of the working string in a different way.
1. Forward Knot
The forward knot moves the working string from left to right and is one of the most commonly used knots in friendship bracelet making.
Create a number 4 shape with the working string, loop it around the adjacent string, and tighten.
Repeat the motion a second time to complete the knot and secure its direction.
2. Backward Knot
The backward knot moves the working string from right to left, making it the opposite of the forward knot.
Form a backward 4 shape by crossing the working string over the neighboring strand, then pull it through the loop and tighten.
Repeat the process once more to finish the knot and maintain consistent tension.
3. Forward Backward Knot
The forward-backward knot is made by tying a forward half knot followed immediately by a backward half knot.
Since the working string ends on the same side as it started, this knot is useful for changing the pattern direction without shifting the string positions.
It is often used for creating shapes, edges, and detailed designs.
4. Backward-Forward Knot
The backward-forward knot starts with a backward half-knot and is completed with a forward half-knot.
Like the forward-backward knot, the working string returns to its original side after the knot is finished.
This technique helps create precise pattern elements, sharp points, and smooth transitions between different bracelet sections.
How to Tie a Friendship Bracelet With a Loop
A loop closure is simple to use and works well when one end has a loop, and the other end has braided strings.
Step 1: Place the Bracelet Around Your Wrist
Wrap the bracelet around your wrist, positioning the loop on one side and the braided ends on the other.
Make sure the bracelet lies flat against your skin so the design remains visible and untwisted. Adjust its position until it feels comfortable, and the loop is easy to reach for the next step.
Step 2: Pass the Braids Through the Loop
Take both braided ends and carefully thread them through the loop. Pull the braids gently until the bracelet sits neatly around your wrist.
Avoid tightening it too much at this stage. Use only enough tension to keep the bracelet in place while you confirm that the size and positioning feel correct.
Step 3: Check the Fit Before Knotting
Move your wrist naturally and check that the bracelet feels comfortable. A good fit allows enough space to slide one finger underneath without difficulty.
If the bracelet feels too loose, pull the braids slightly tighter. If it feels restrictive, loosen the braids by easing them back through the loop.
Step 4: Tie the Braided Ends Together
Tie the braided ends together with a simple knot near the loop. To improve security, add a second knot directly over the first one.
Tighten the knots enough to prevent slipping, but avoid excessive force. The bracelet should stay secure while remaining comfortable and easy to remove later.
Step 5: Trim or Tuck the Ends
After securing the bracelet, examine the remaining length of the braided ends. If they extend too far, tie them into a small bow or tuck them neatly beneath the bracelet.
Avoid trimming the ends too close to the knot, since leaving a little extra length helps prevent accidental loosening.
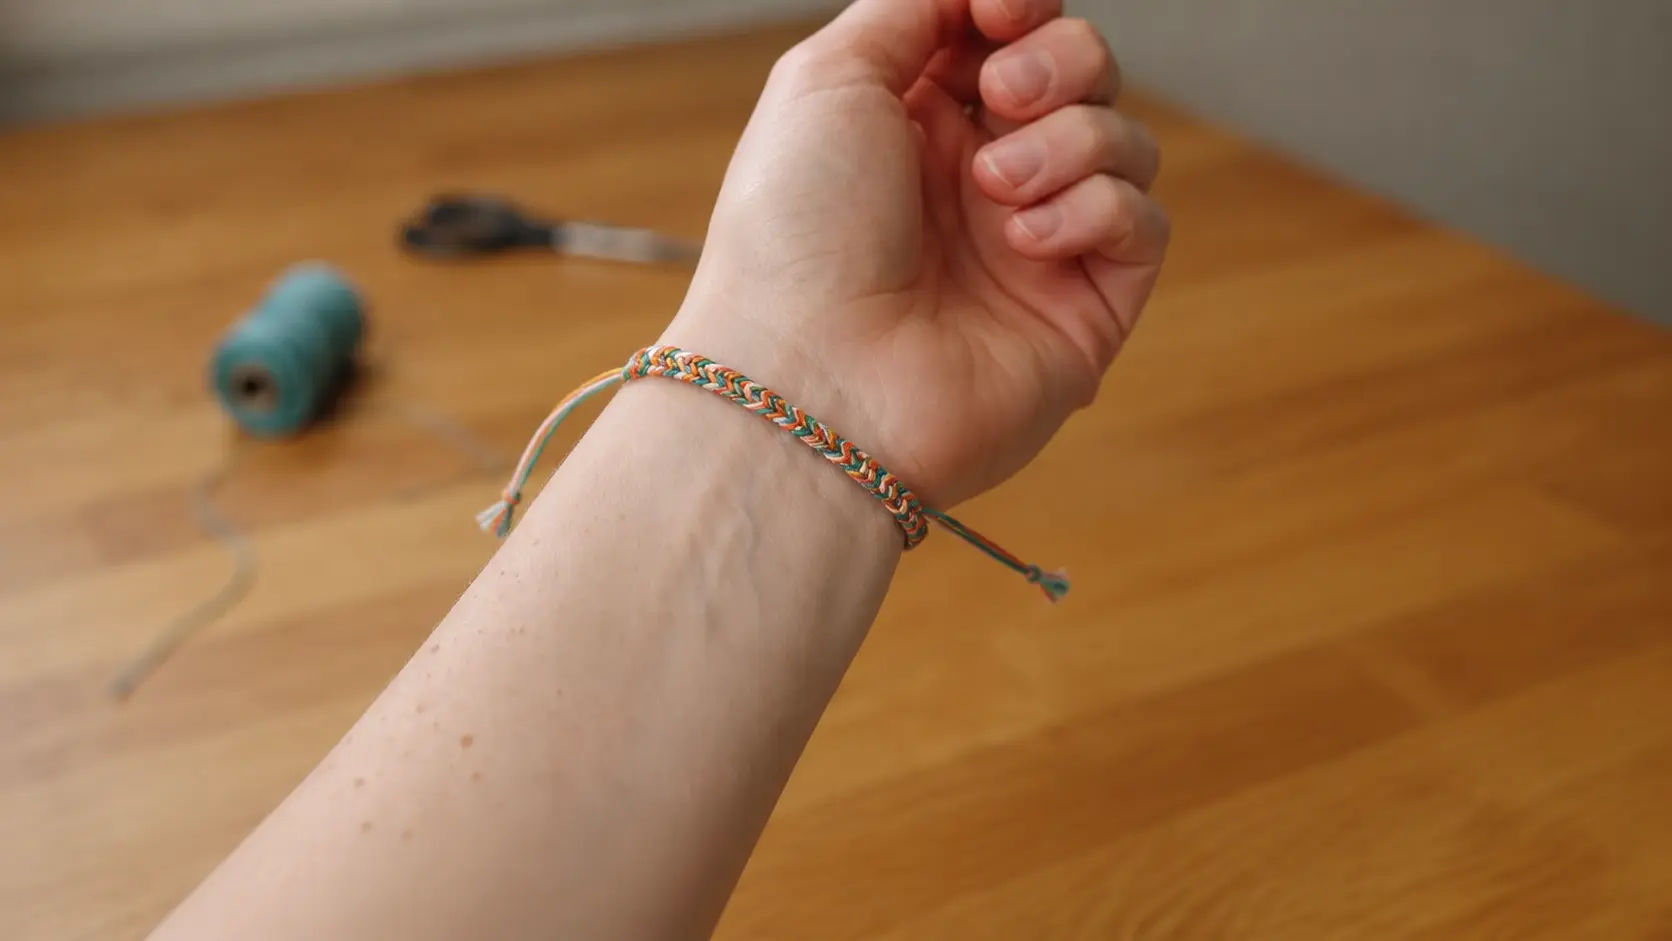
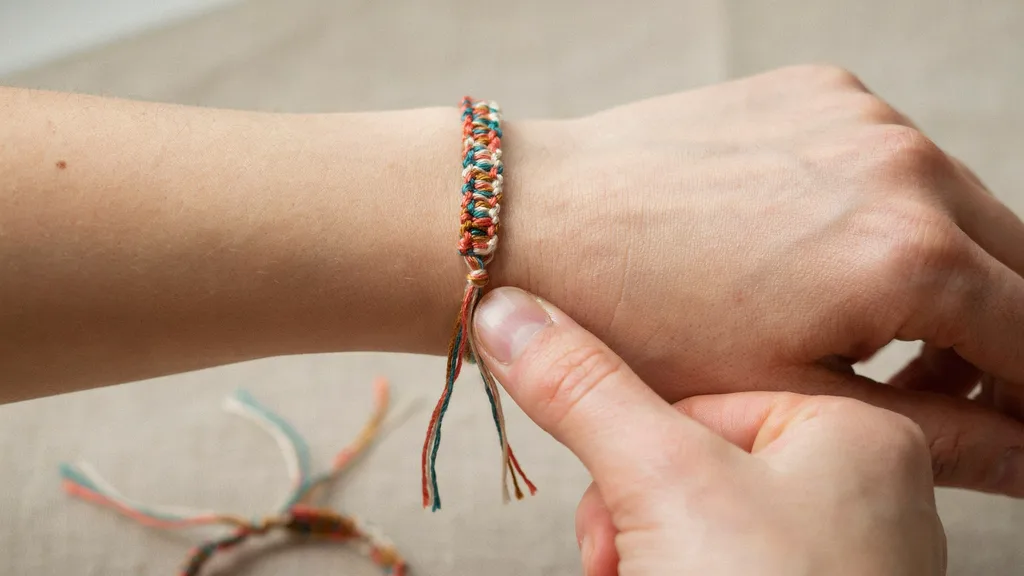
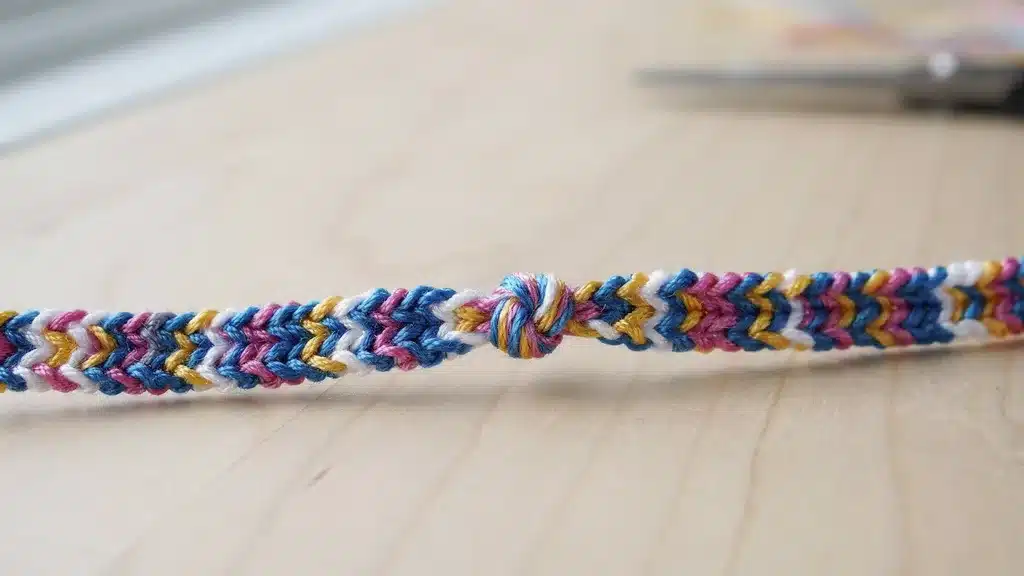
How to Tie a Friendship Bracelet With Two Loose Ends
Friendship bracelets with loose strings on both sides are easy to secure and do not require a loop closure.
Step 1: Wrap the Bracelet Around Your Wrist
Place the bracelet around your wrist and bring the two loose ends together behind or beside your wrist. Hold the bracelet steady with one hand while adjusting the fit with the other.
Ensure the bracelet lies flat against your skin without twisting. A smooth, even position will make the tying process easier and more comfortable.
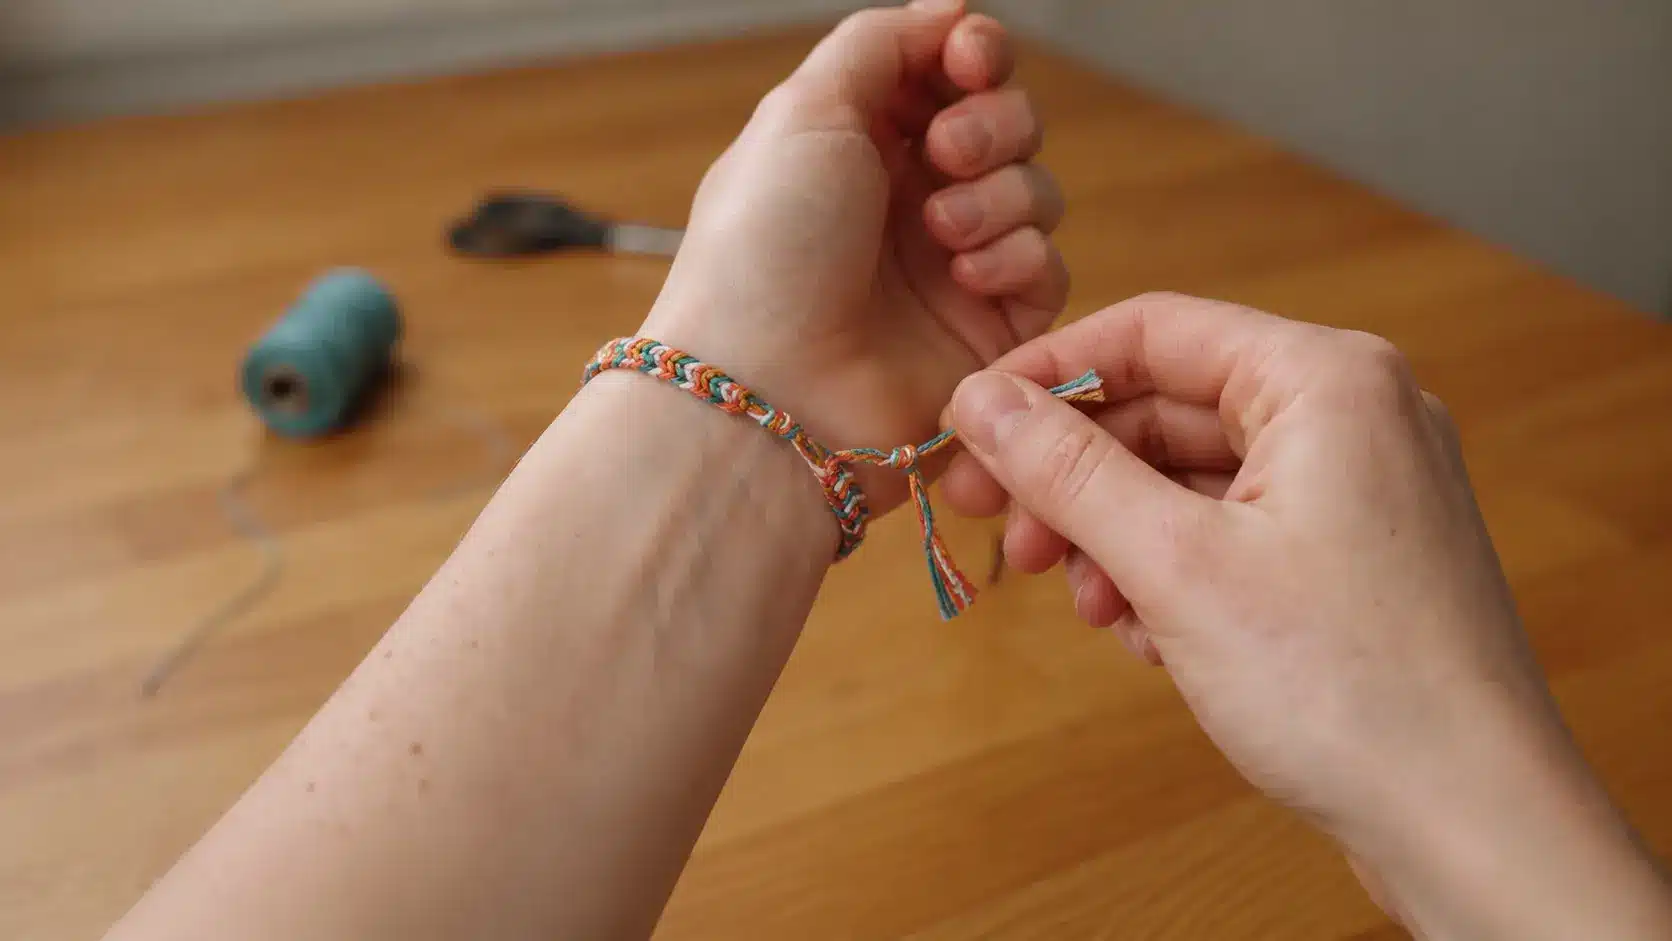
Step 2: Cross the Loose Ends
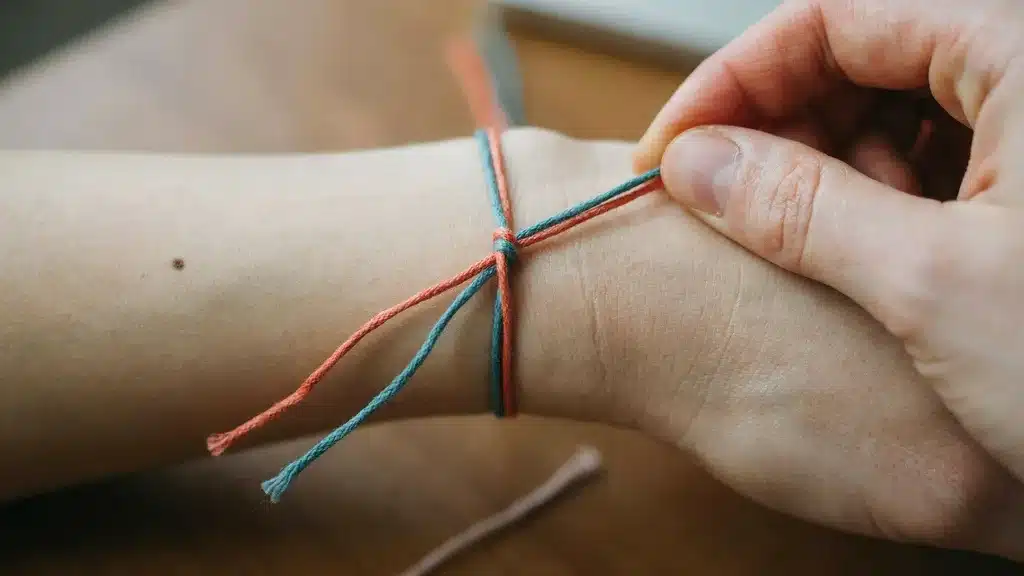
Take one loose end and cross it over the other to start forming a simple knot. Keep the bracelet comfortably positioned on your wrist while maintaining a light grip on both strings.
Avoid pulling too tightly at this stage. Leaving a little flexibility allows you to make final fit adjustments before fully securing the bracelet.
Step 3: Tie the First Knot
Pull one string through the opening formed by the crossed ends, then tighten it gently. This first knot temporarily secures the bracelet and helps keep it from shifting.
Before moving on, check that the bracelet feels comfortable and sits correctly. Making adjustments now is easier than after additional knots are added.
Step 4: Add a Second Knot for Security
Tie a second knot directly on top of the first knot to help prevent the bracelet from loosening during wear. Pull both ends evenly so the knot remains centered and neat.
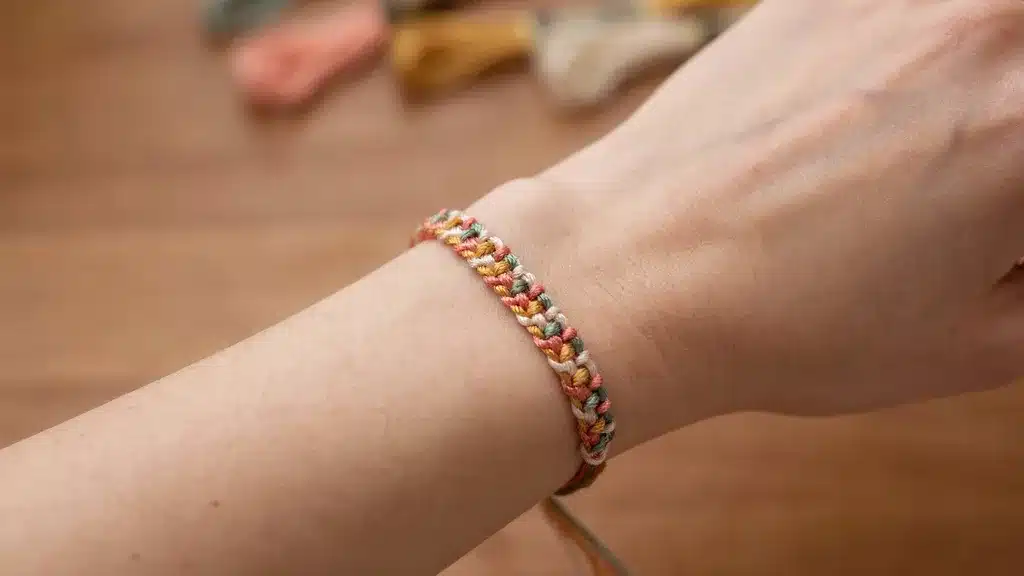
For most friendship bracelets, a double knot provides enough security for everyday activities while remaining easy to remove later if needed.
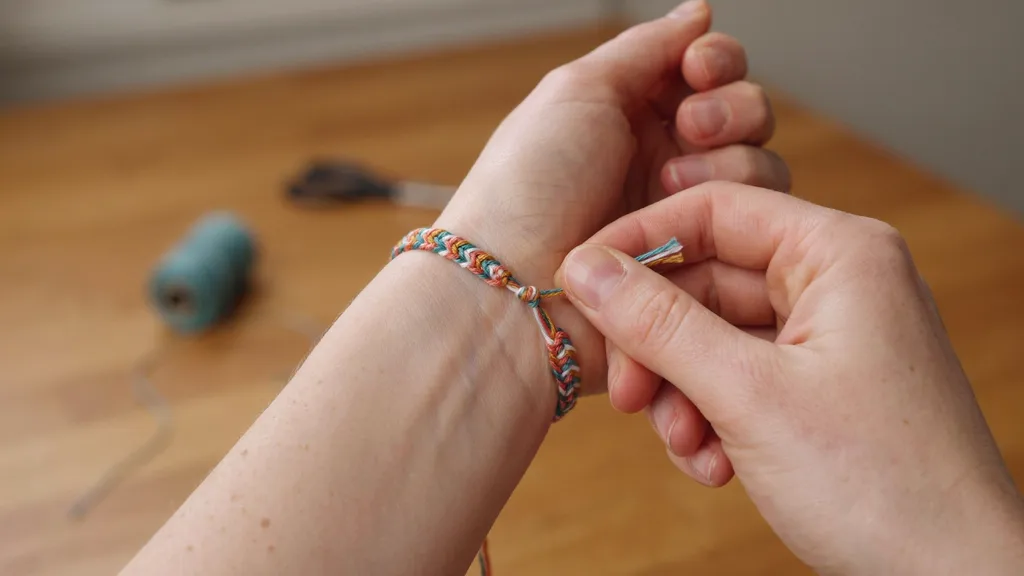
Step 5: Adjust and Finish the Ends
Examine the remaining string length after securing the bracelet. You can leave the ends hanging freely, tie them into a decorative bow, or trim excess material if desired.
Be sure to leave enough string beyond the knot to maintain a secure hold. This final step helps improve both appearance and durability.
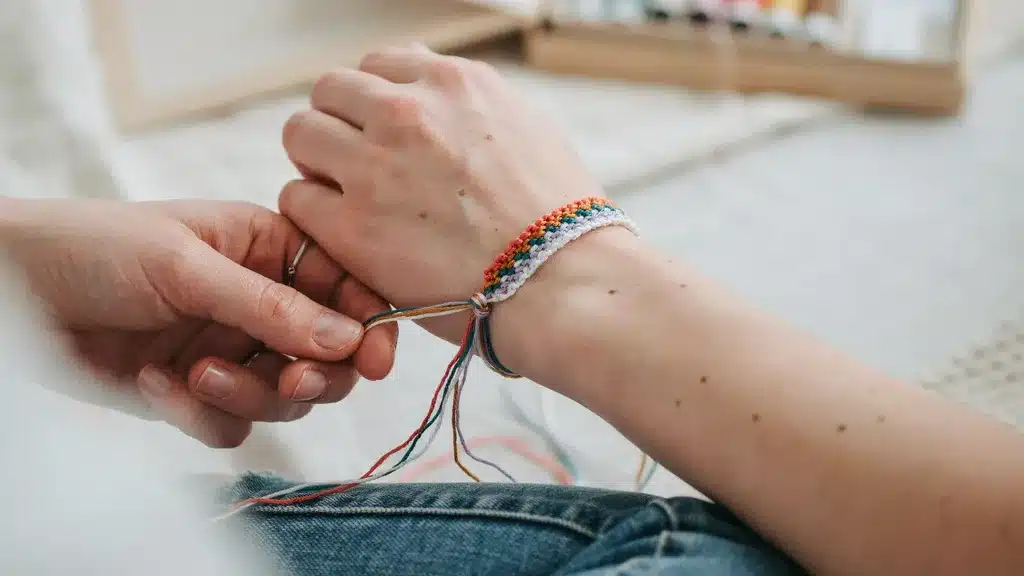
How to Tie a Friendship Bracelet by Yourself
Tying a friendship bracelet on your own is simple with a few tools and techniques to keep it steady while you work.
- Use Tape for Stability – Tape one end of the bracelet to your wrist or a nearby surface to keep it from moving while you tie it.
- Anchor with a Safety Pin – Secure one end to your clothing or a cushion with a safety pin for better control during tying.
- Use a Paper Clip for Loop Bracelets – Hook a paper clip through the loop to hold it steady while wrapping and tying the bracelet.
- Tighten the Knot Gradually – Pull the ends slowly to adjust the fit comfortably and avoid making the bracelet too tight.
- Check the Fit Before Wearing – Move your wrist to ensure the bracelet feels secure and comfortable, and adjust if needed.
With the right support and a quick fit check, you can securely tie a friendship bracelet by yourself in just a few minutes.
Troubleshooting Specific Pattern Issues
Uneven knots can make rows look messy. Adjust the tension on each knot as you work to keep them smooth and uniform. Twisted or overlapping strings can disrupt the pattern.
Lay all strands flat before tying each knot to prevent twists and overlaps. Incorrect knot direction is common. Undo only the last few knots and re-tie them in the correct direction to maintain the pattern.
Skipped or missing knots create gaps. Go back a few steps and retie the knots to fill any spaces in the design. Pattern misalignment can make the bracelet look uneven.
Check your work periodically and adjust rows gently to keep the design straight. Color sequence errors can confuse the overall pattern. Carefully untie the affected section and rework the sequence to fix it.
Fraying ends may affect knot stability. Trim or tuck frayed strings before continuing to maintain clean edges and strong knots.
Wrist Sizing & Custom Fit Tips
|
How to Finish a Friendship Bracelet
The right finish helps your bracelet stay secure, feel comfortable, and come off without damaging the strings.
Loop and Braid Closure
A loop-and-braid closure works well for classic friendship bracelets and provides a secure, traditional fastening. One end forms a loop, while the other end is divided into braided strands.
After placing the bracelet on the wrist, pass the braids through the loop and tie them together. This closure is durable, comfortable, reliable, and easy to untie later.
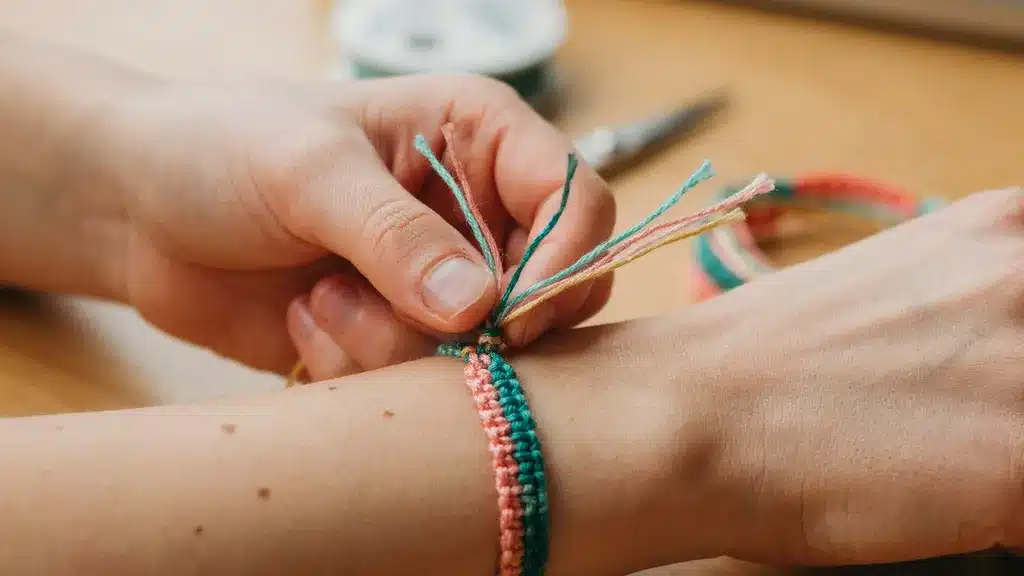
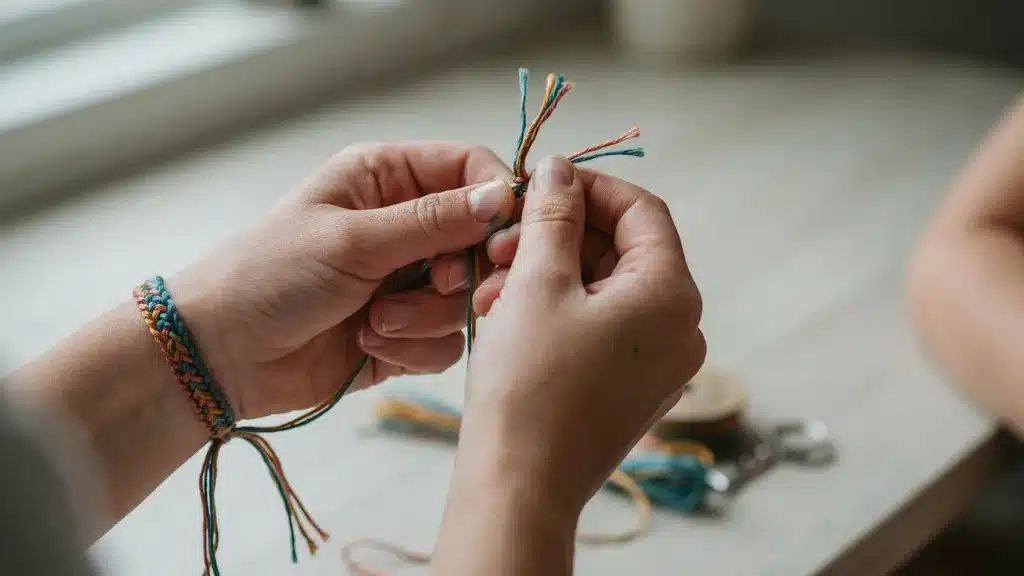
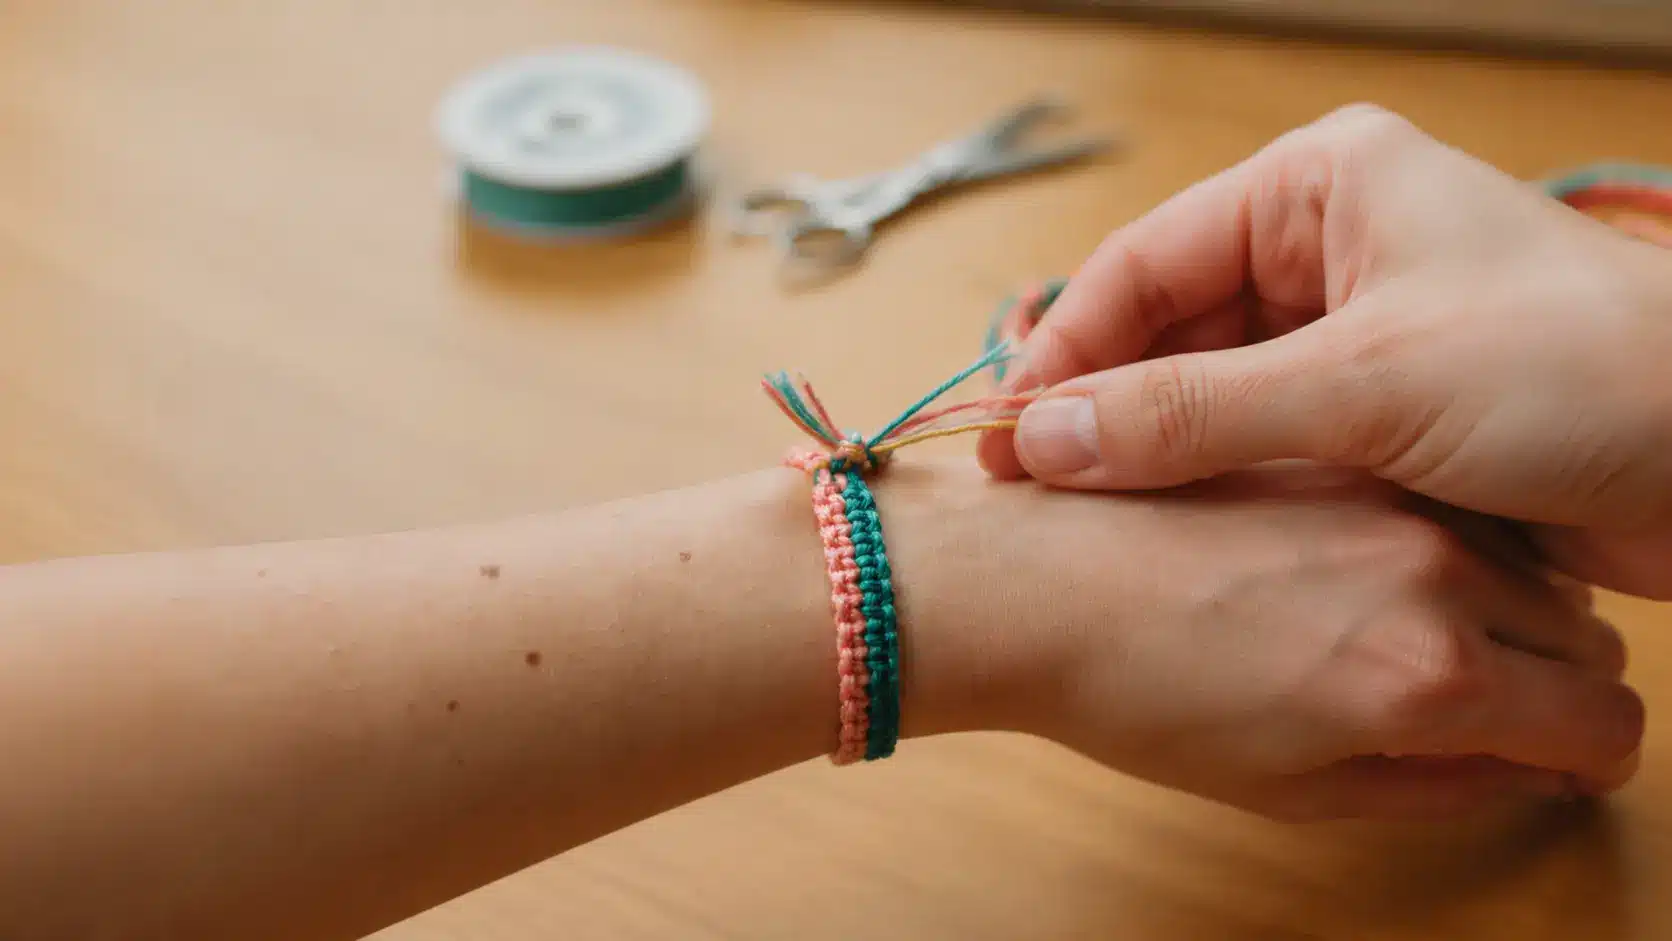
Braided Finish
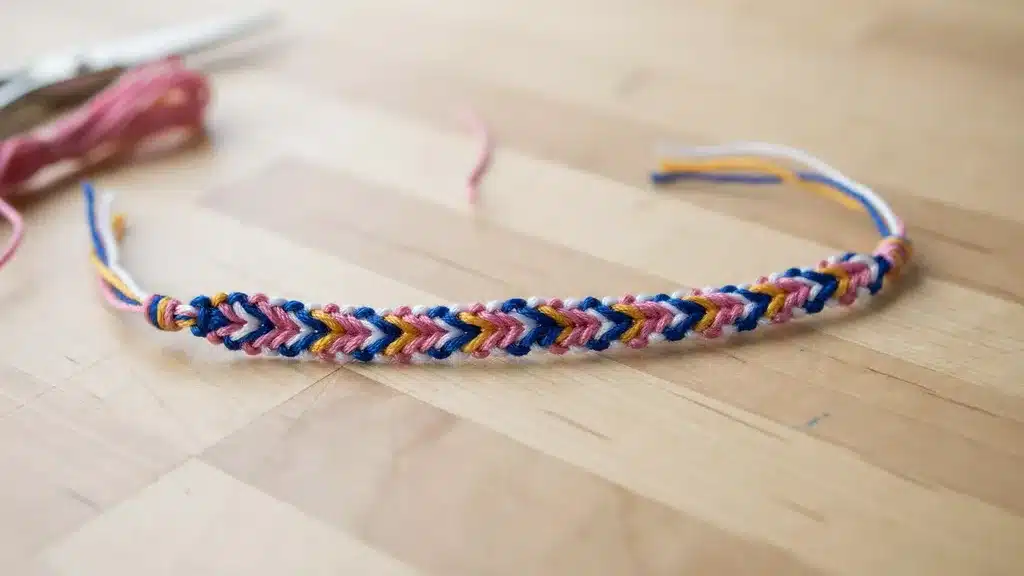
A braided finish is useful when both ends of the friendship bracelet have extra loose strings remaining. Separate the strands into small sections and braid each side neatly before tying a knot at the end.
The braids create stronger ties, improve the bracelet’s appearance, and help prevent fraying. This finish is simple, attractive, practical, and long-lasting for everyday wear.
Twisted Finish
A twisted finish works best for thinner friendship bracelets that need a lightweight, flexible end. Twist the loose strings tightly in one direction, then fold them in half and allow them to twist together naturally.
Secure the end with a small knot to keep everything in place. This method is quick, neat, comfortable, and suitable for casual daily use.
Sliding Knot Closure

A sliding knot closure is an excellent option for a friendship bracelet with an adjustable fit. The knots allow the bracelet to tighten or loosen easily without needing to retie it.
This closure is especially useful for bracelets that are frequently removed or shared among wearers. It is practical, versatile, secure, and convenient for everyday use.
Button Closure
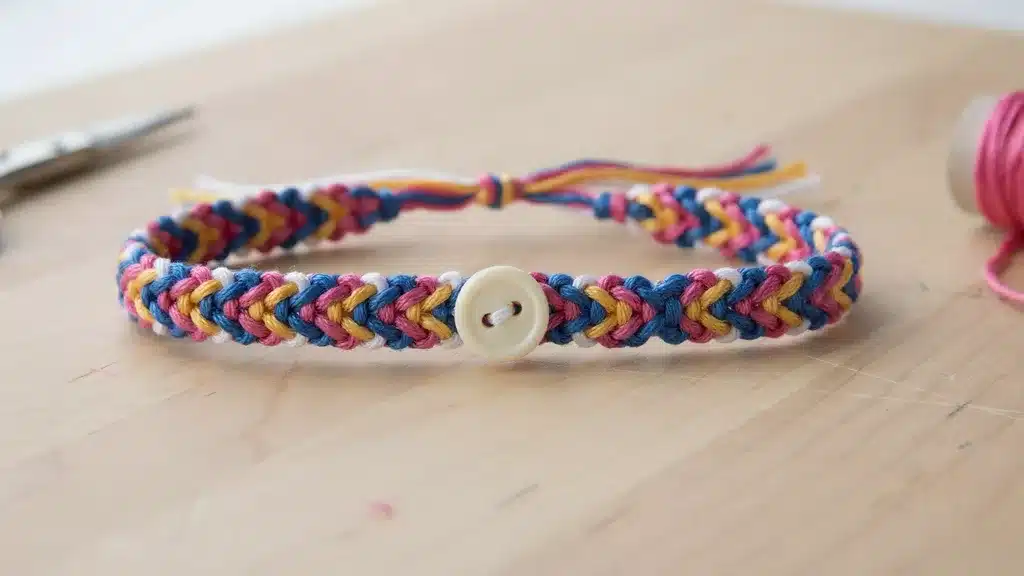
A button closure provides a simple and reusable way to fasten a friendship bracelet securely. Create a loop on one end of the bracelet and attach a button to the opposite end.
The loop fits over the button to hold the bracelet in place. This closure works particularly well for wider friendship bracelet types, offering extra strength, stability, and ease of removal.
Why Friendship Bracelet Knots Come Loose
A friendship bracelet may come loose if the knot is too loose, the string is slippery, or the fit is not checked before wearing.
Loose tension is a common cause. If knots are not tightened evenly, the strings can shift as your wrist moves. Pull each knot firmly, but avoid making the bracelet too stiff.
The string material matters too. Smooth or stretchy cords tend to slip more than cotton embroidery floss. If knots keep loosening, using a better friendship bracelet string can help the bracelet stay secure.
Uneven ends can also weaken the knot. Leave enough length on both sides so it can be tied firmly. Before wearing the bracelet, gently tug the ends and move your wrist. If the knot shifts, retie it before trimming or tucking the strings.
Conclusion
Learning how to tie a friendship bracelet is a simple skill that can make your bracelets more secure, comfortable, and easier to wear.
Once you know the basic knots and closure methods, you’ll be able to handle different bracelet designs with confidence and avoid common problems like loose knots or poor fit.
The best way to improve is through practice. Try a few tying methods, find the one that works best for your bracelet, and use it consistently for better results.
Grab a friendship bracelet and practice these techniques today so every bracelet stays secure and looks its best.
Frequently Asked Questions
How Tight Should a Friendship Bracelet be?
A friendship bracelet should fit snugly while still allowing one finger to slide comfortably underneath.
What is the Strongest Knot for a Friendship Bracelet?
A double knot is one of the strongest and simplest ways to keep a friendship bracelet secure.
How Long Should the Ends of a Friendship Bracelet be?
Leaving at least 2 to 3 inches of string beyond the knot helps prevent the bracelet from coming undone.