Wondering how to make your wooden projects stronger and more durable? Laminating wood might be exactly what you need to take your craftsmanship to the next level.
This process of bonding multiple layers of wood together creates structures that are often stronger than solid pieces.
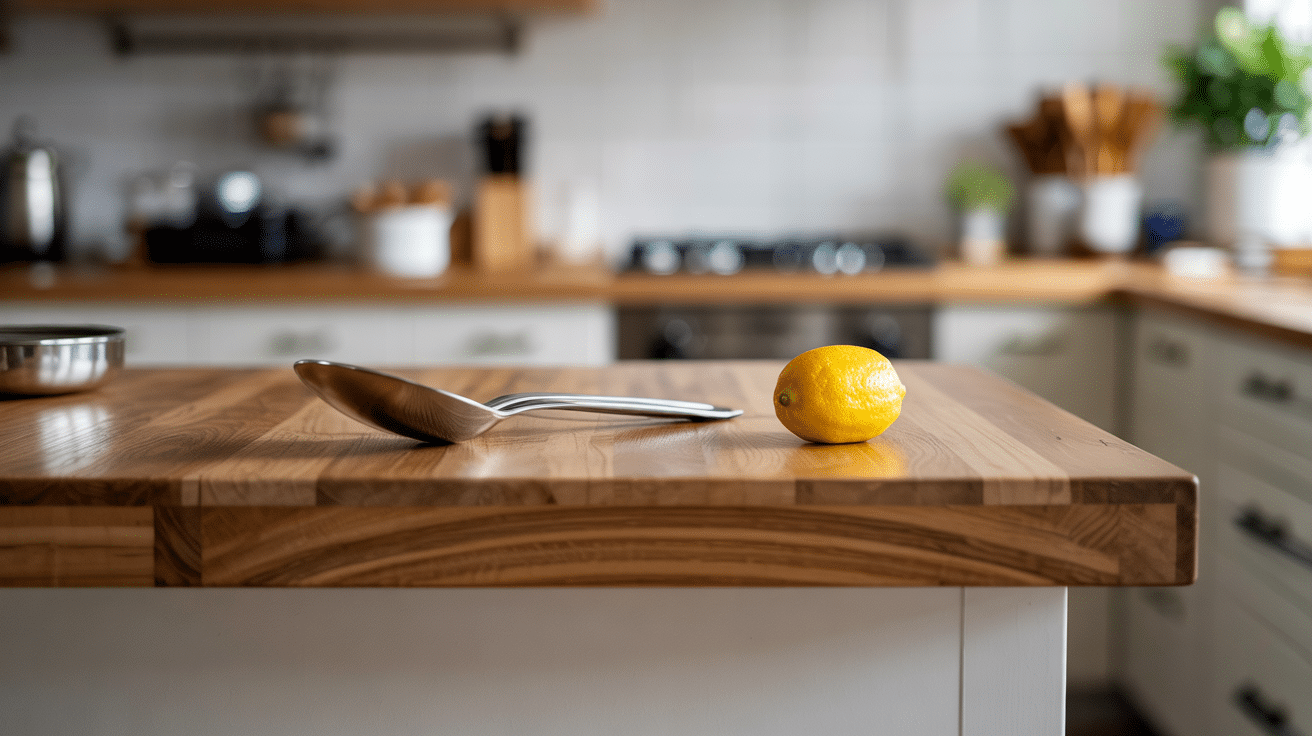
From kitchen countertops to custom furniture, laminating wood opens up countless possibilities for your projects.
Are you curious about getting started with wood lamination? Or perhaps you’re wondering which materials work best for your specific project?
Let’s look at everything you need to know about laminating wood and how it can transform your woodworking results.
What is Laminating Wood?
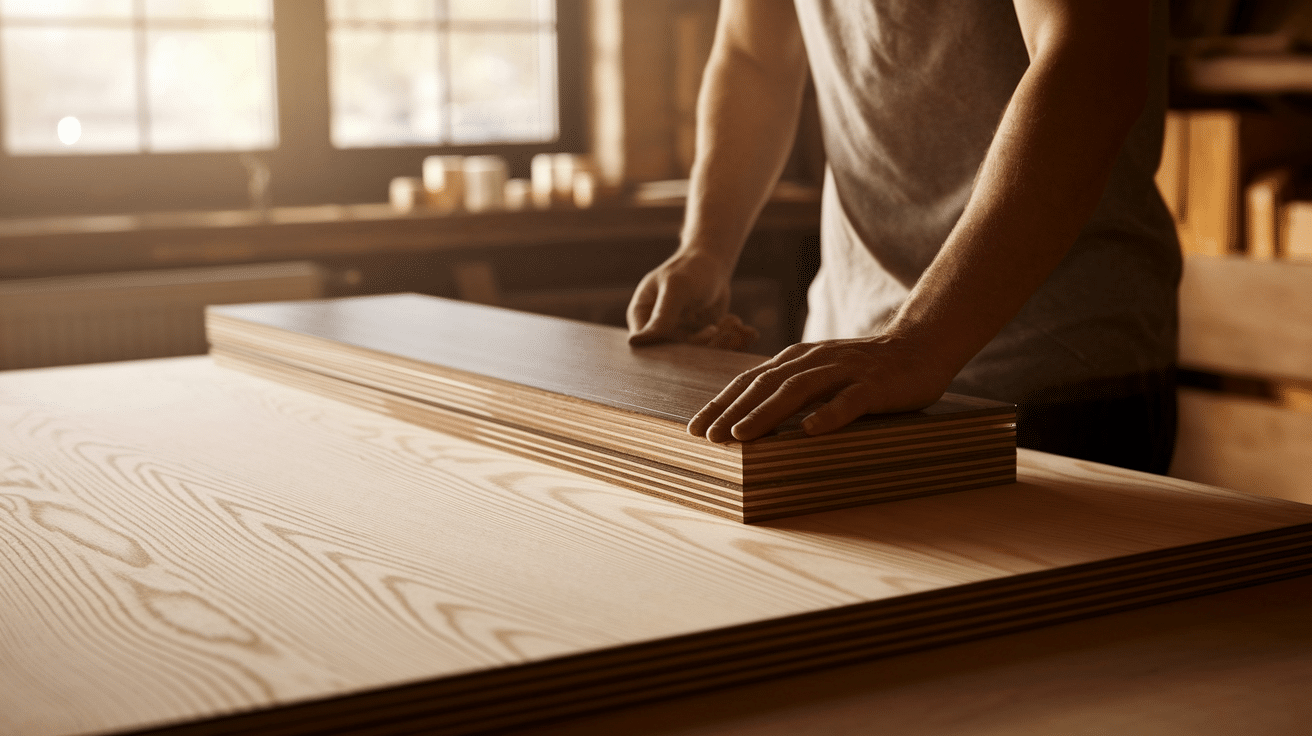
Laminating wood refers to the process of bonding multiple layers of wood together to create a single, stronger piece.
These layers, often called laminates, are typically thin sheets of wood or veneer that are glued together with the grain running in the same direction or in alternating patterns, depending on the desired outcome.
The layering technique creates a structure that distributes weight and stress more effectively than a single piece of the same dimensions.
When properly laminated, the finished product becomes more stable and less likely to warp or crack compared to natural wood.
This makes laminating wood a practical technique for creating functional, long-lasting wooden items.
Why Should We Laminate Wood?
Laminating wood brings numerous advantages that make it worth the extra effort:
- Increased Strength: Multiple layers bonded together can withstand greater stress than a single piece of equal thickness.
- Better Stability: Laminated wood resists warping and twisting, making it ideal for furniture that needs to maintain its shape.
- Cost-Effective: You can use smaller, less expensive pieces of wood to create larger items.
- Reduced Waste: Laminating allows you to utilize scraps and smaller pieces that might otherwise go unused.
- Appearance Options: You can mix different wood types to create visual interest or patterns.
When making furniture, laminating wood allows you to build pieces that would be difficult or impossible to create from solid stock.
For example, curved chair backs or boat hulls are typically made through lamination. The improved strength also makes laminated wood perfect for high-stress components like workbenches and table legs.
Tools and Materials Needed for Laminating Wood
When purchasing materials for laminating wood, look for boards with consistent moisture content and minimal defects. This will help ensure that your laminated piece remains stable over time.
| Tool/Material | Quantity/Description |
|---|---|
| Wood | 3 pieces, each about 1/4 inch thick (can range from 1/8 inch to 3/8 inch depending on the desired curvature) |
| Bandsaw/Scroll Saw/Coping Saw | 1, used for cutting the wood into the required dimensions |
| Wood Glue | 1 bottle, preferably wood glue for strong bonding between pieces |
| Clamps | Several (multiple clamps are necessary to securely hold the wood in place during the gluing and drying process) |
| Pre-made Form/Template | 1, rigid and unbending to shape the laminated wood pieces to the desired curve |
For beginners, start with basic bar clamps and standard PVA wood glue. As you gain experience, you might want to invest in specialized clamping systems and higher-grade adhesives for more complex projects.
The Step-by-Step Laminating Wood Process
Master the art of wood lamination. Follow this practical, step-by-step method to successfully bond multiple wood layers, creating stronger, more stable pieces for your woodworking projects.
Step 1: Cutting The Wood Pieces
- Cut Thin Strips: Cut your wood into the required dimensions. For example, in the accent chair arm project, the piece is 17 inches long, 2.5 inches wide, and 3/16 inches thick after assembly.
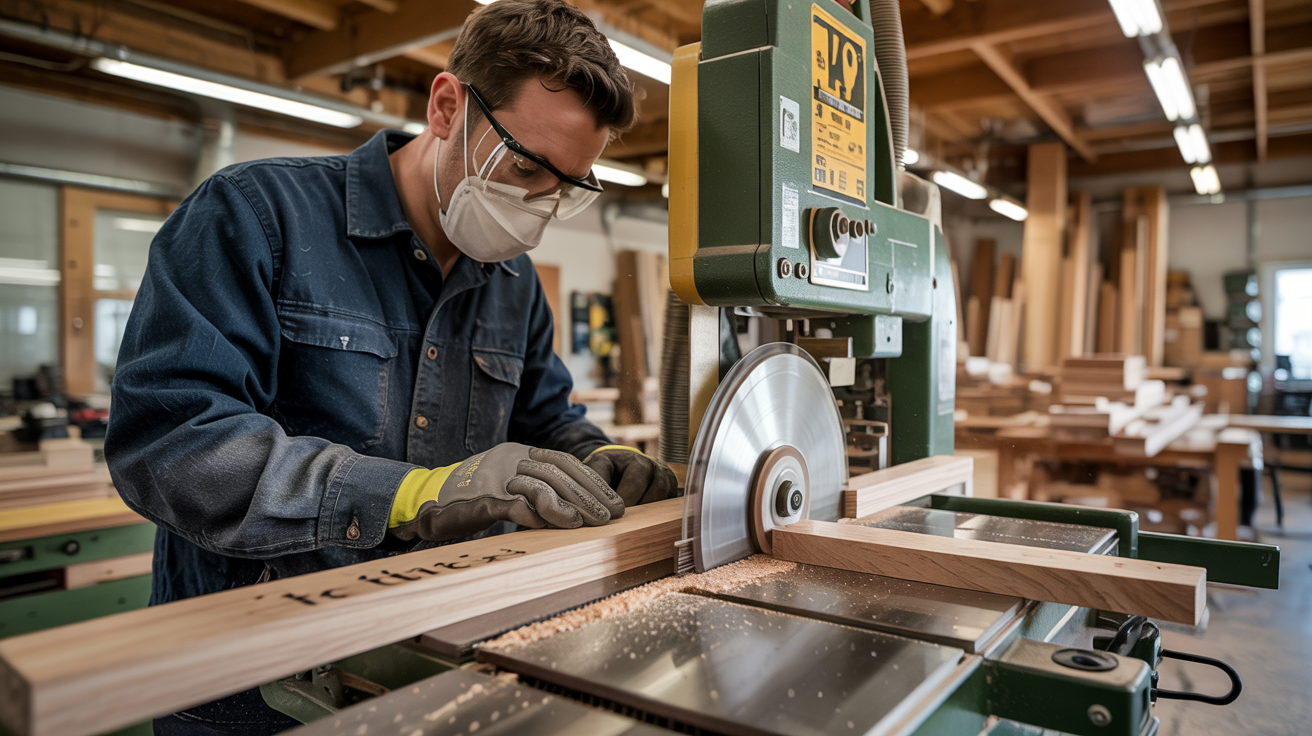
- Use a Bandsaw or Jigsaw: Utilize a bandsaw or jigsaw to achieve clean and straight cuts for consistency in dimensions across all pieces.
- Ensure Consistency: Make sure each piece is cut to the same thickness and size. This uniformity is critical for the success of the laminating process and achieving an even curve.
Step 2: Preparing The Form
- Make The Form Rigid: Your form should be thick and rigid to withstand the pressure during clamping. Choose durable materials that won’t warp under pressure.
- Ensure The Correct Depth: The form should be deep enough to allow for the desired curvature, ensuring the laminate layers fit perfectly inside.
- Pre-Cut Shape: Pre-cut the form to match the desired final shape. While it doesn’t need to be as wide as the final piece, it should still capture the curve accurately.
Step 3: Gluing And Clamping The Wood Pieces
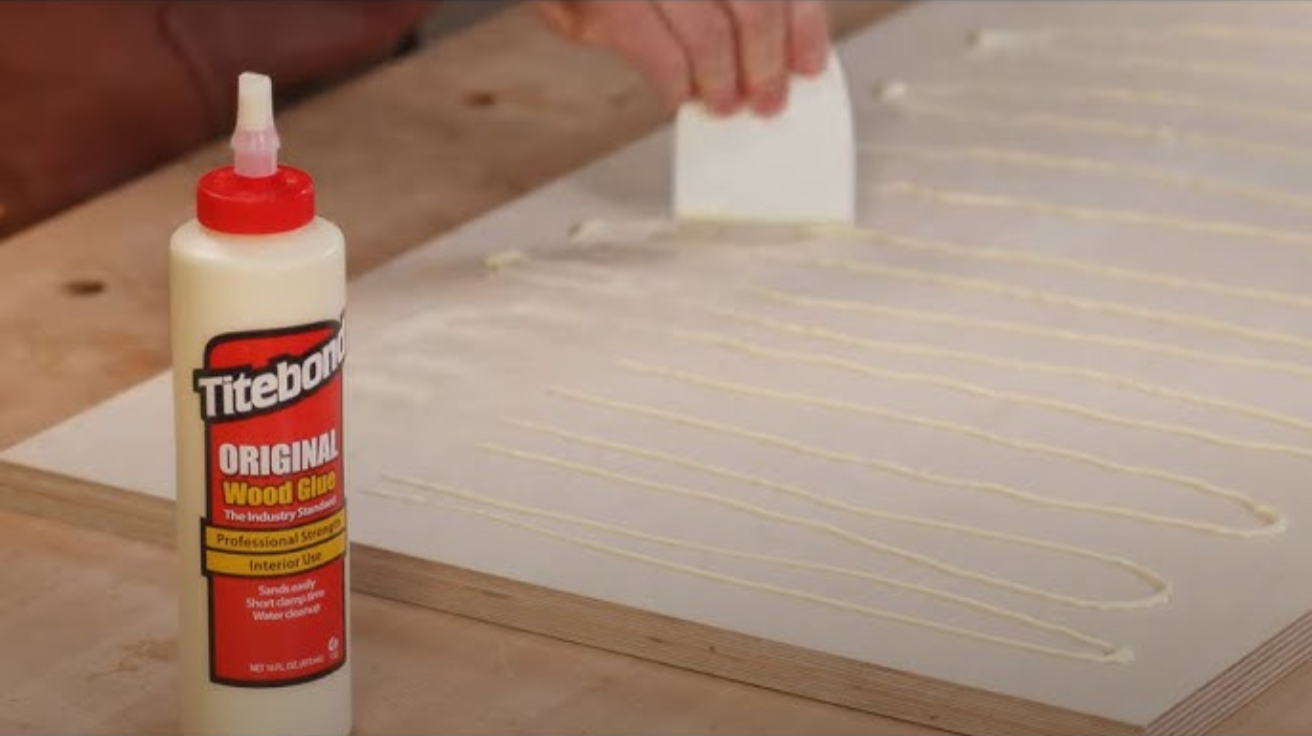
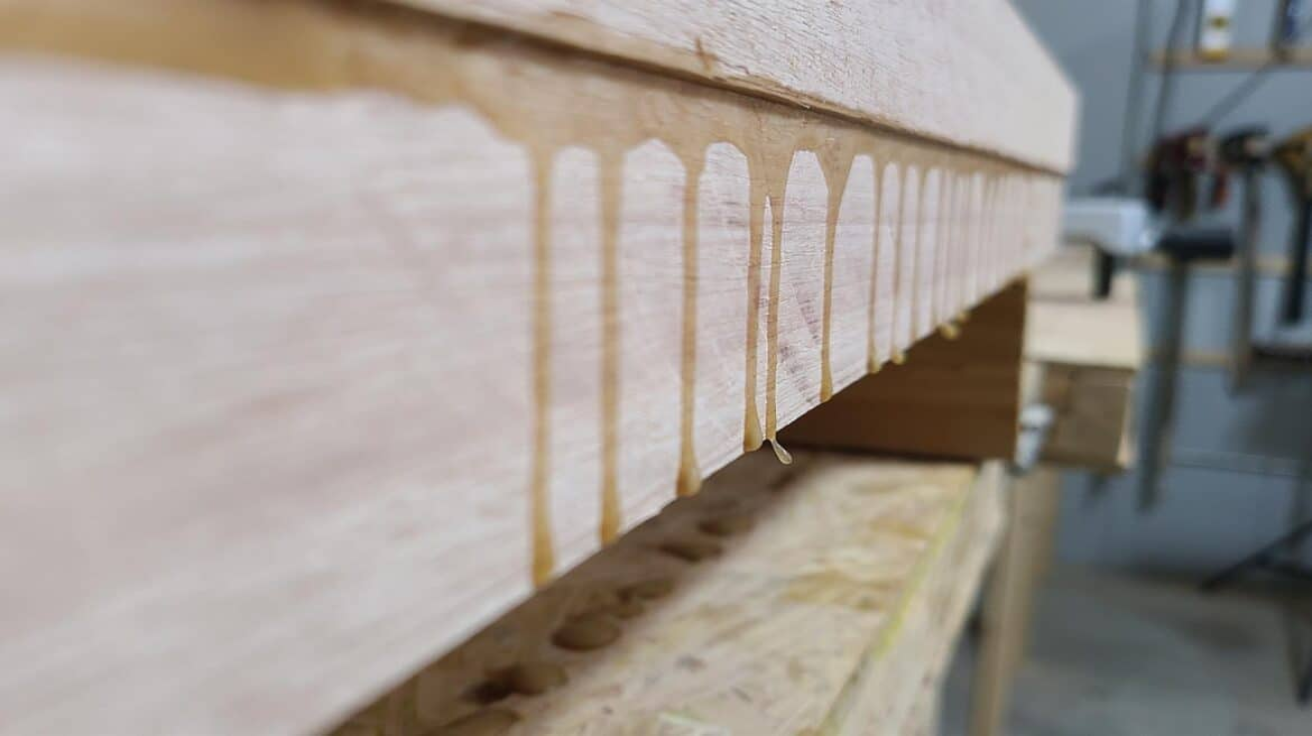
- Apply Wood Glue: Apply an even layer of wood glue on each piece of wood before placing it into the form. Avoid excess glue to prevent squeezing out when clamped.
- Place Pieces In The Form: Arrange the glued pieces into the form, ensuring they are properly aligned for the curve.
- Clamp Securely: Use several clamps to secure the wood tightly into the form. Ensure that the clamps hold the pieces firmly and prevent movement during the drying process.
Step 4: Drying And Springback Considerations
- Allow The Glue To Dry Overnight: For the strongest bond, let the glue dry for at least 8 hours or overnight, ensuring no movement in the pieces during the curing process.
- Check For Springback: After removing the piece from the form, check for any springback, where the wood may return slightly to its original shape. This is normal, and minimal springback is expected.
- Ensure Strong Bonding: Once the glue is dry, verify the pieces are securely bonded and the shape holds. If necessary, use additional clamps for extra support during the drying process.
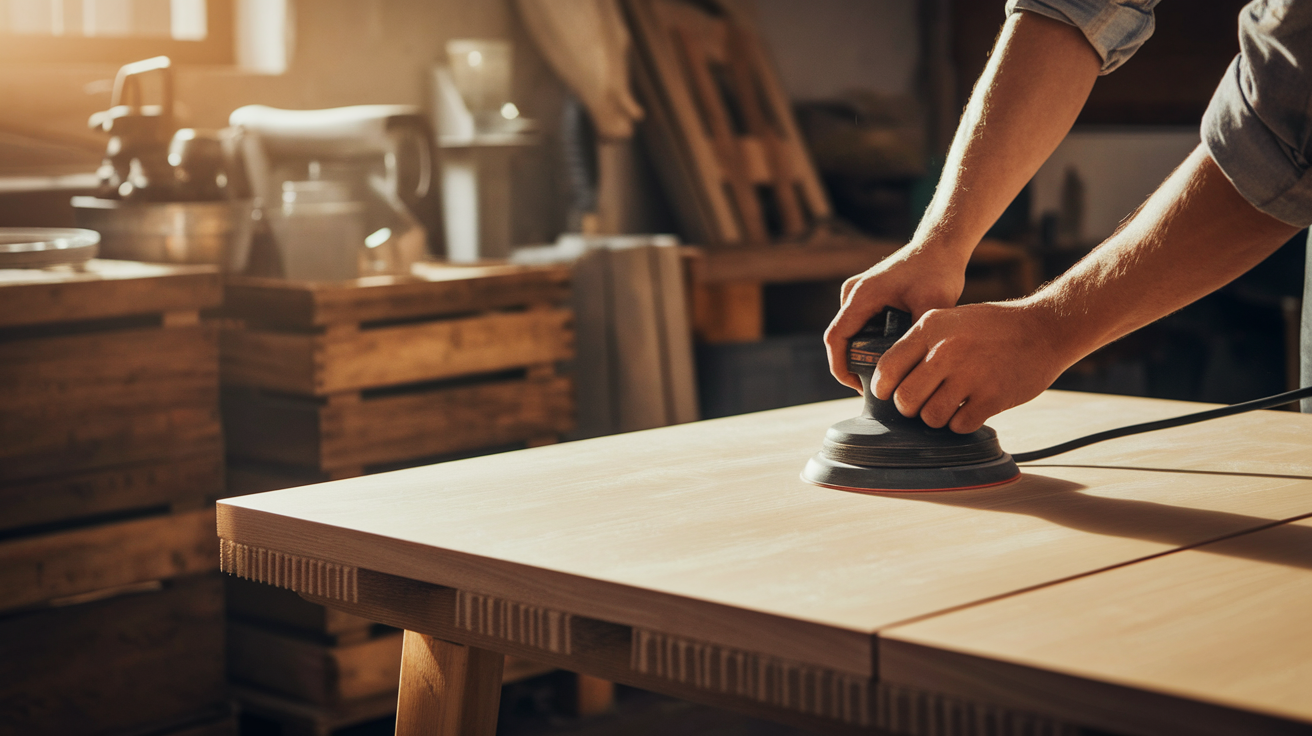
Step 5: Final Shaping And Sanding
- Cut To Final Shape: After the glue has dried, remove the piece from the form and cut it to the final shape using a bandsaw or jigsaw.
- Smooth The Edges: Sand the edges using fine-grit sandpaper to remove any rough spots and ensure the piece fits perfectly into your project.
- Shape The Curves: Carefully shape the curves with sandpaper or a power sander to achieve a smooth and even finish that matches the desired contour.
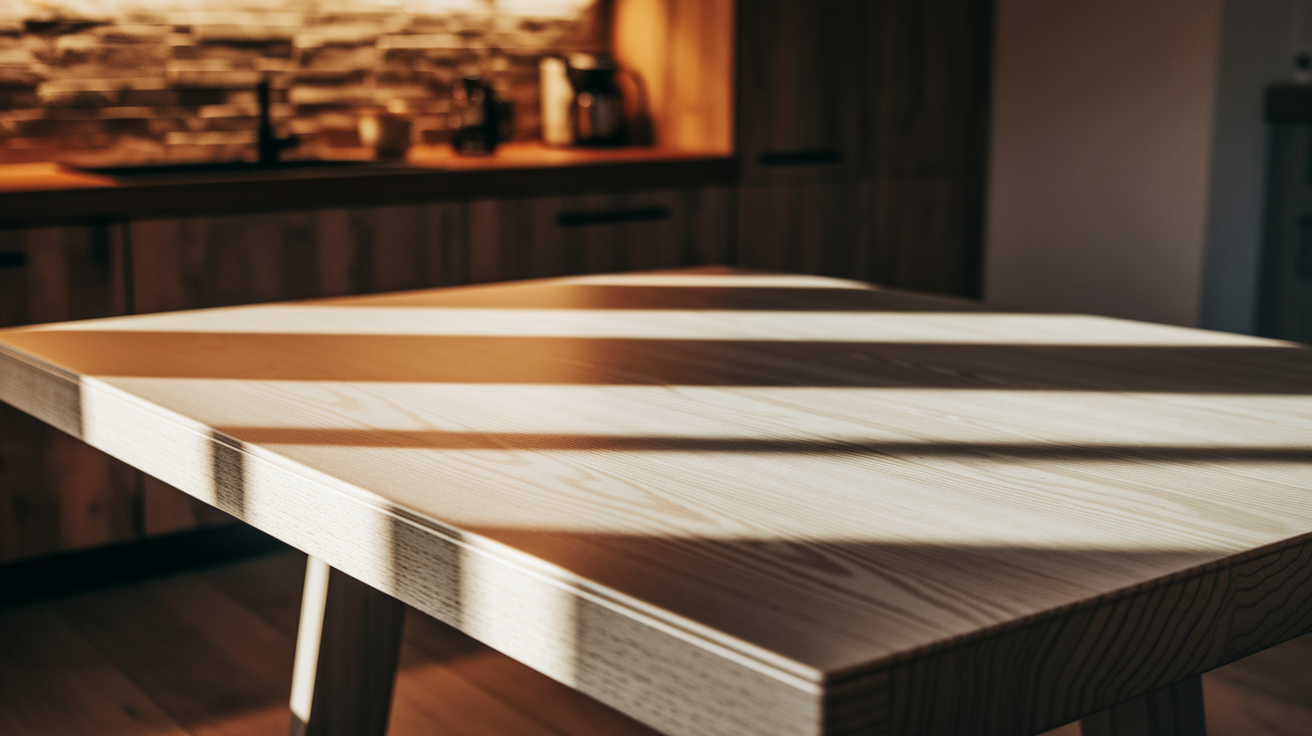
Step 6: Finish The Piece
- Inspect For Final Adjustments: Once the shape is complete, inspect the piece for any imperfections or rough spots that may need additional sanding or trimming.
- Add Finishing Touches: Apply a finish or stain to protect the wood and enhance its appearance, ensuring a polished, smooth surface.
- Integrate Into The Project: Finally, integrate the laminated wood piece into your project, such as attaching it to the accent chair frame or another piece of furniture.
For best results, maintain consistent pressure across the entire surface during clamping. Uneven pressure can lead to gaps or weak spots in the lamination.
Types and Applications of Laminated Wood
Choosing the right type of laminated wood is critical for project success. Each variety offers specific advantages for different uses.
The table below shows how laminate types align with common applications and highlights their key benefits.
| Laminate Type | Description | Best Applications | Key Benefits |
|---|---|---|---|
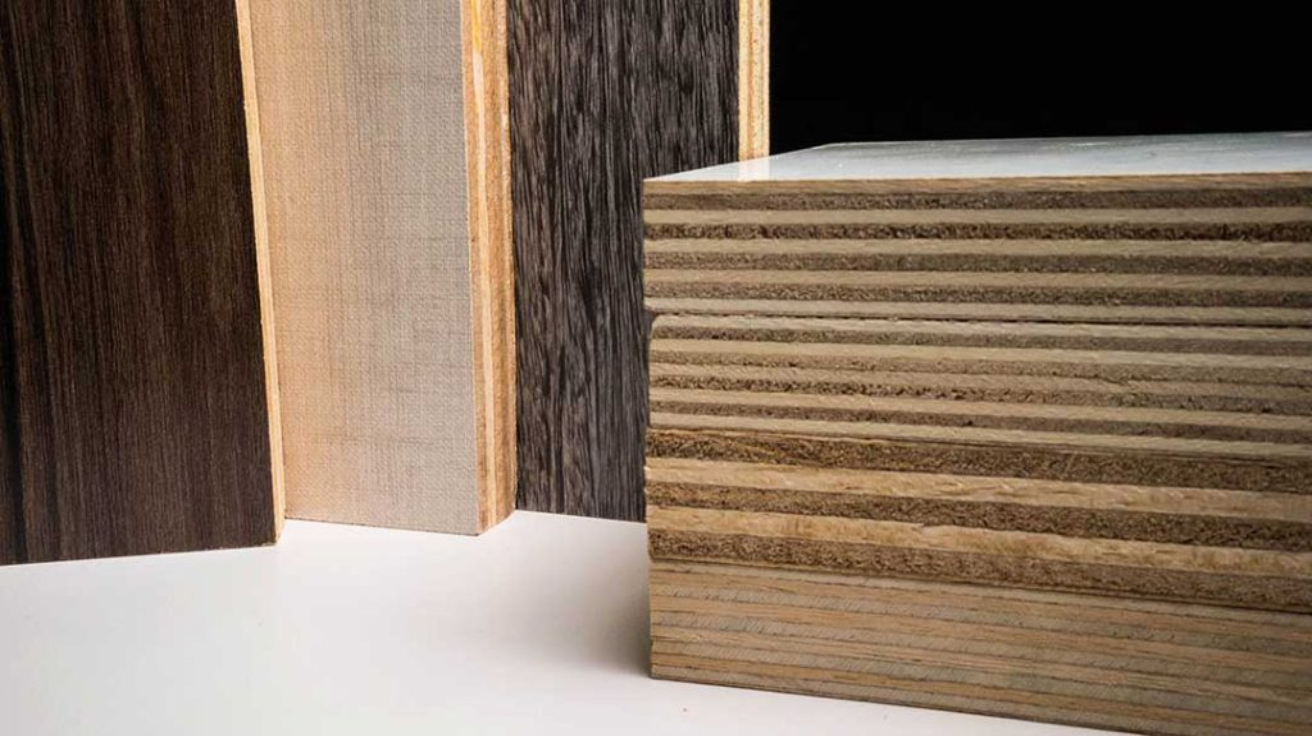
| Veneer Laminates | Thin slices of high-quality wood applied over a substrate | Furniture surfaces, decorative panels, cabinets | Visual appeal of premium wood at lower cost |
| Plywood | Alternating layers of wood veneer with grain rotating 90° between layers | Furniture construction, shelving, structural panels | Exceptional stability, resistance to warping |
| Cross-Laminated Timber (CLT) | Multiple layers of solid wood lumber stacked in alternating directions | Construction, load-bearing walls, flooring systems | High strength-to-weight ratio, structural integrity |
| Glue-Laminated Timber (Glulam) | Layers of dimensional lumber bonded with moisture-resistant adhesives | Structural beams, arches, columns | Can create curved forms, handles heavy loads |
| Melamine Laminates | Paper impregnated with resin and bonded to particleboard or MDF | Kitchen cabinets, countertops, office furniture | Durable, easy-to-clean, moisture-resistant surface |
When selecting laminated wood for your project, consider both the functional requirements and visual preferences.
The right choice depends on factors like required strength, moisture exposure, and budget constraints. For specific advice on your particular project, consult with a woodworking professional or lumber supplier.
Tips for Successful Wood Laminating
Creating professional-quality laminated wood requires careful attention and proven methods. Both beginners and experienced woodworkers can benefit from these practical guidelines.
- Maintain sharp tools to prevent damage to wood fibers
- Apply glue in a medium, even layer – neither too little nor too much
- Use sufficient clamping pressure, distributed evenly across the project
- Allow full curing time according to the glue manufacturer’s instructions
- Work with woods that have similar moisture content
- Test-fit all pieces without adhesive before final assembly
- Use cauls (straight wooden boards) for consistent pressure distribution
- Allow laminated pieces to rest before further machining
- Consider dowels or biscuits for perfect layer alignment during glue-up
- Stagger joints when laminating multiple pieces for added strength
For reliable results, maintain a clean workspace free from dust and debris. Take your time with each step. Your patience will produce strong, well-bonded laminated wood that meets your expectations.
Wrapping Up: Making the Most of Laminated Wood
Congratulations! You now have the fundamental knowledge to start laminating wood for your projects.
By combining multiple wood layers, you’re creating something that’s more than the sum of its parts—stronger, more stable, and often more visually striking.
For those building furniture, crafting decorative items, or working on home improvements, laminating wood can help you achieve professional results.
Ready to give it a try? Don’t be afraid to start with a small project to practice your technique. What will you create with laminated wood? We’d love to hear about your experiences and see your finished projects!
Have questions about laminating wood? Leave a comment below or check out our related blogs!
Frequently Asked Questions (FAQs)
How to Laminate Wood for a Table Top?
Select matching boards, arrange for grain continuity, apply quality wood glue evenly, and use sufficient clamps spaced 4-6 inches apart. Allow 24 hours for proper curing.
Best Glue for Laminating Wood?
Titebond III offers excellent strength, water resistance, and reasonable working time. For complex projects, consider slow-setting epoxy for extended positioning time.
What is Laminated Wood Used For?
Laminated wood serves in furniture, cabinetry, musical instruments, sporting goods, and structural building components requiring enhanced strength and stability.
