

Need a practical solution for your entryway mess? A DIY mudroom bench might be just what your home needs.
A mudroom serves as the transition space between outdoors and indoors, containing dirt and clutter.
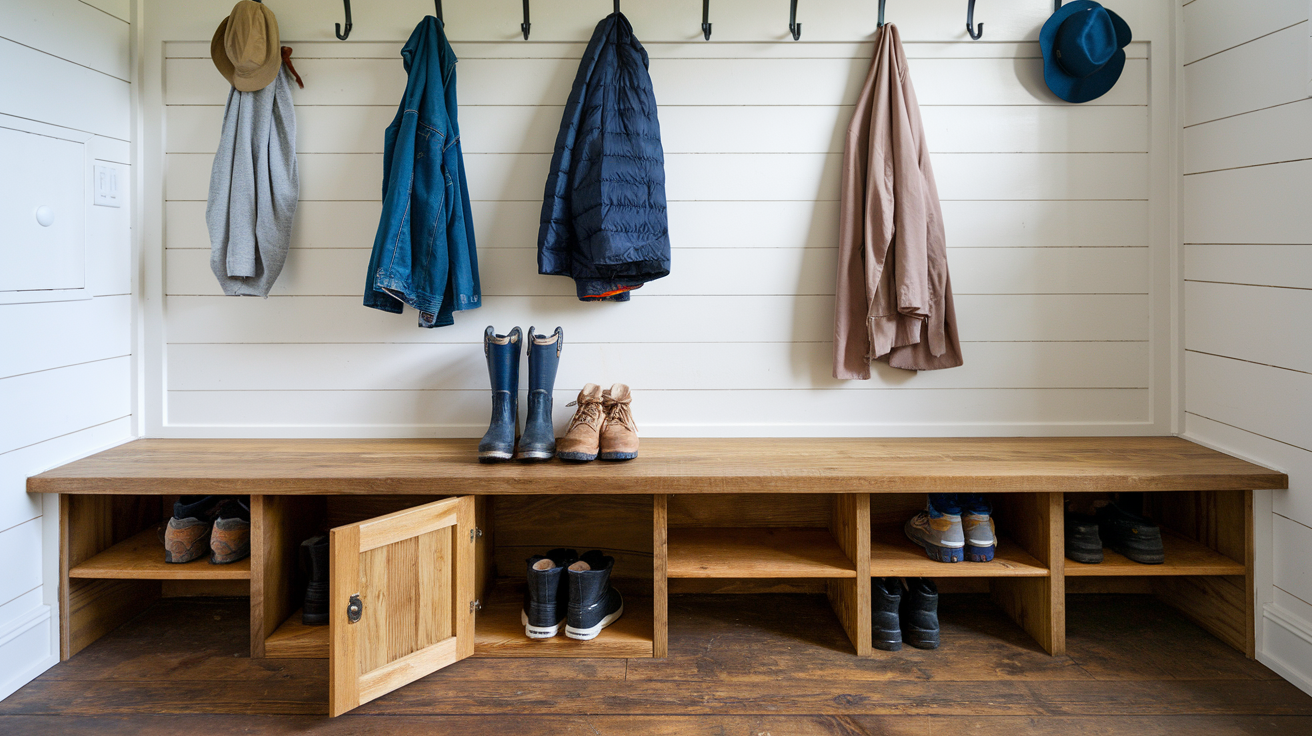
At its heart sits a well-designed bench providing seating while you remove shoes, storage for seasonal items, and better organization.
Building your own bench means creating something that fits your exact space and needs. This guide walks through understanding, planning, and creating the perfect mudroom bench for your home.
With some basic tools and materials, your DIY mudroom bench will quickly become the most useful addition to your entryway.
What is a Mudroom Bench?
Wondering what exactly defines a mudroom bench? Here’s what sets this practical home addition apart from other furniture pieces.
A mudroom bench is a multipurpose furniture piece you build yourself rather than purchasing pre-made. Typically placed in an entryway or dedicated mudroom, it serves several key functions:
- Seating area for putting on and removing footwear
- Storage solution for shoes, bags, and seasonal items
- Organization center with hooks for coats and accessories
- Decorative element that complements your home’s style
The most practical designs include a comfortable seating area with built-in storage underneath, often in the form of cubbies, drawers, or a lift-top bench.
The beauty of a bench is that you can customize each element to serve your specific household needs.
Materials Needed for Your DIY Mudroom Bench
| Category | Materials/Tools |
|---|---|
| Wood & Panels | Arauco Plywood Sanded Pine (cabinets) |
| Arauco Edge Glued Pre-Primed Trim Boards (trim/face frames) | |
| 1×2, 1×3, and 1×4 Wood Boards (face frames/cabinet details) | |
| Quarter Inch Plywood (panels for cabinet doors) | |
| Butcher Block Countertop (bench seat) | |
| Cutting & Joinery Tools | Circular Saw |
| Craig Rip Cut | |
| Pocket Hole Jig | |
| Router with Rabbeting Bit | |
| Fasteners & Adhesives | Wood Glue |
| Nails | |
| Screws | |
| Dowel Pins (optional for cabinet doors) | |
| Finishing Materials | Wood Filler |
| Caulk | |
| Paint (Sherwin-Williams Evergreen Fog) | |
| Additional Components | Toe Kick Piece (bottom of cabinets) |
| Ball Bearing Drawer Slides | |
| Crown Molding | |
| Adjustable Shelf Pins |
Step-by-Step Guide to Building Your DIY Mudroom Bench
Ready to convert your entryway with your own hands? Follow these straightforward steps to build a functional mudroom bench that fits your space perfectly.
Step 1: Cutting the Plywood for Cabinets
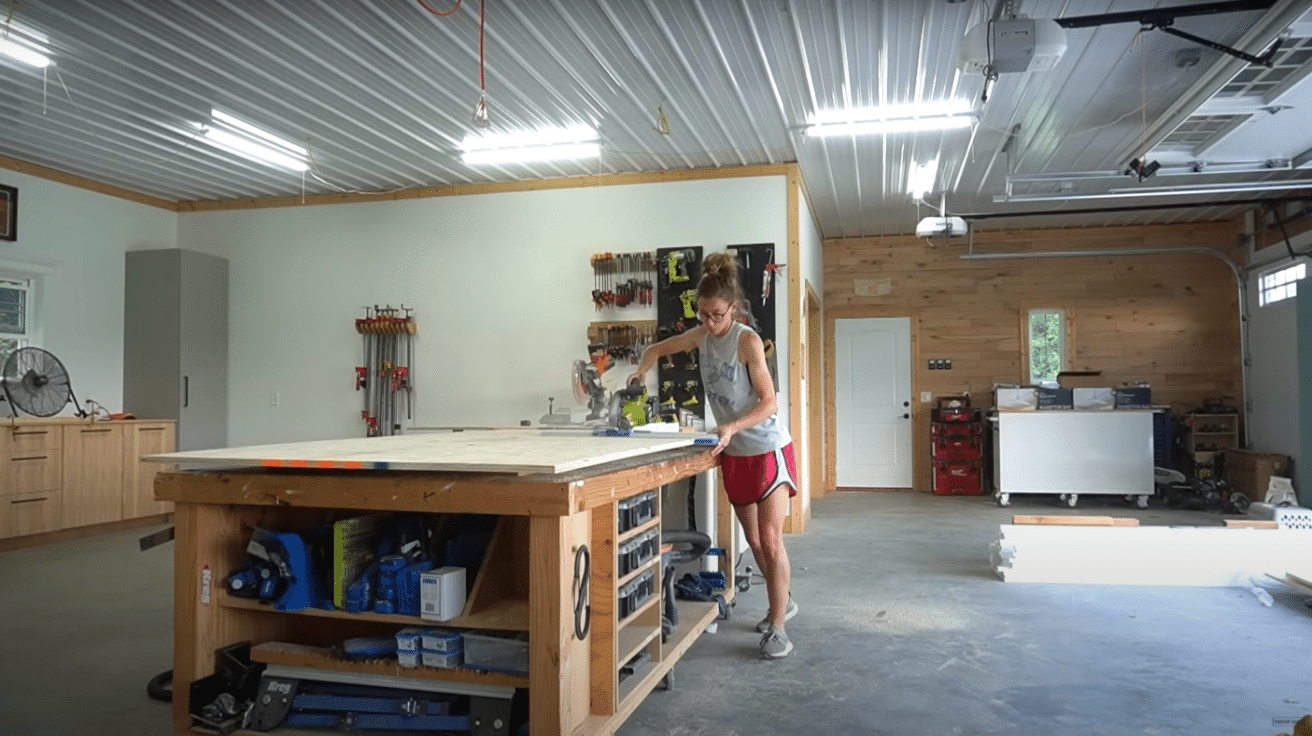
- Start by selecting high-quality plywood sheets to form the main cabinet structure.
- Use a circular saw and Craig rip cut to cut the plywood into 16-inch wide strips. These strips will be used to build two tall cabinets.
- Carefully measure and mark the plywood before cutting to ensure precision.
- Printable plans with cutting diagrams are available in the video description to guide you with exact measurements and cut details.
Step 2: Trimming Plywood to Length and Assembly
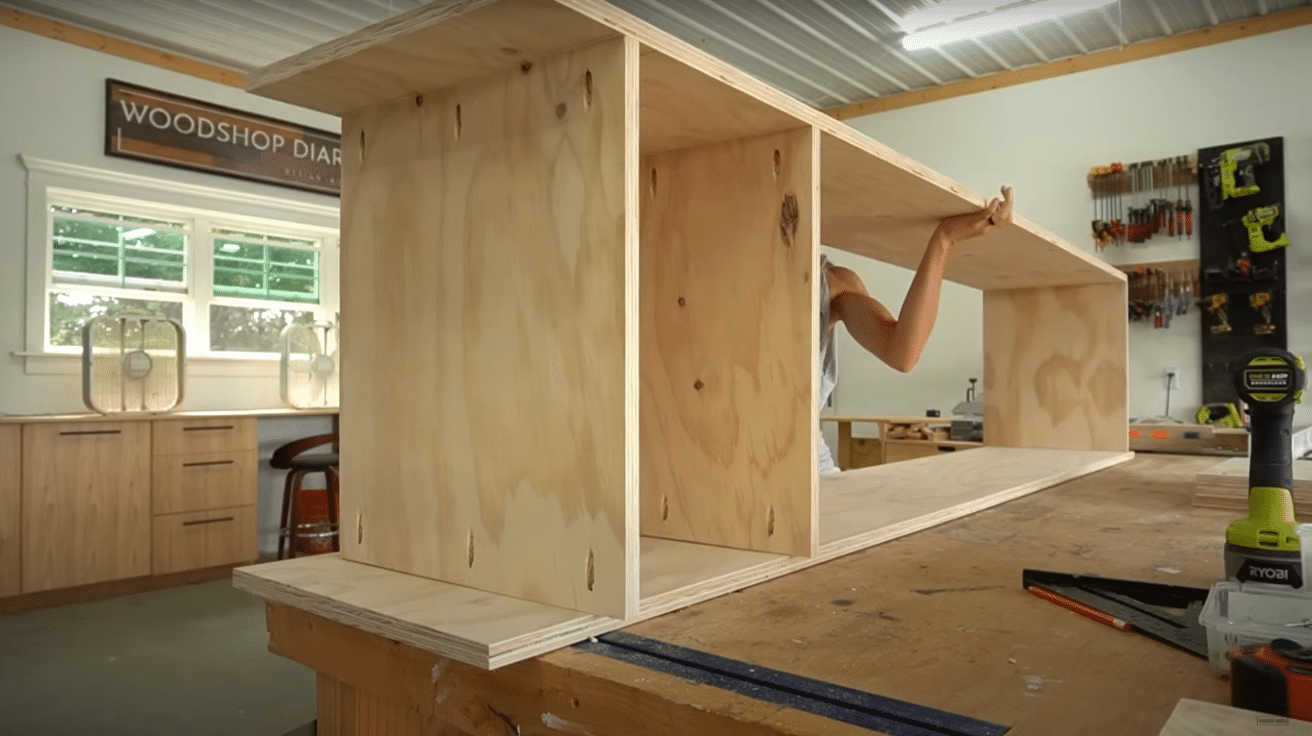
- Trim the plywood to the required length for the cabinet’s bottom, middle, and top panels. This involves cutting six pieces in total.
- Measure and cut the two long side panels to fit your available space, ensuring the height is approximately 94 inches to fit an 8-foot ceiling.
- Assemble the two tall cabinet carcasses by joining the panels using pocket holes and screws, ensuring a sturdy structure.
Step 3: Adding Face Frames and Toe Kick
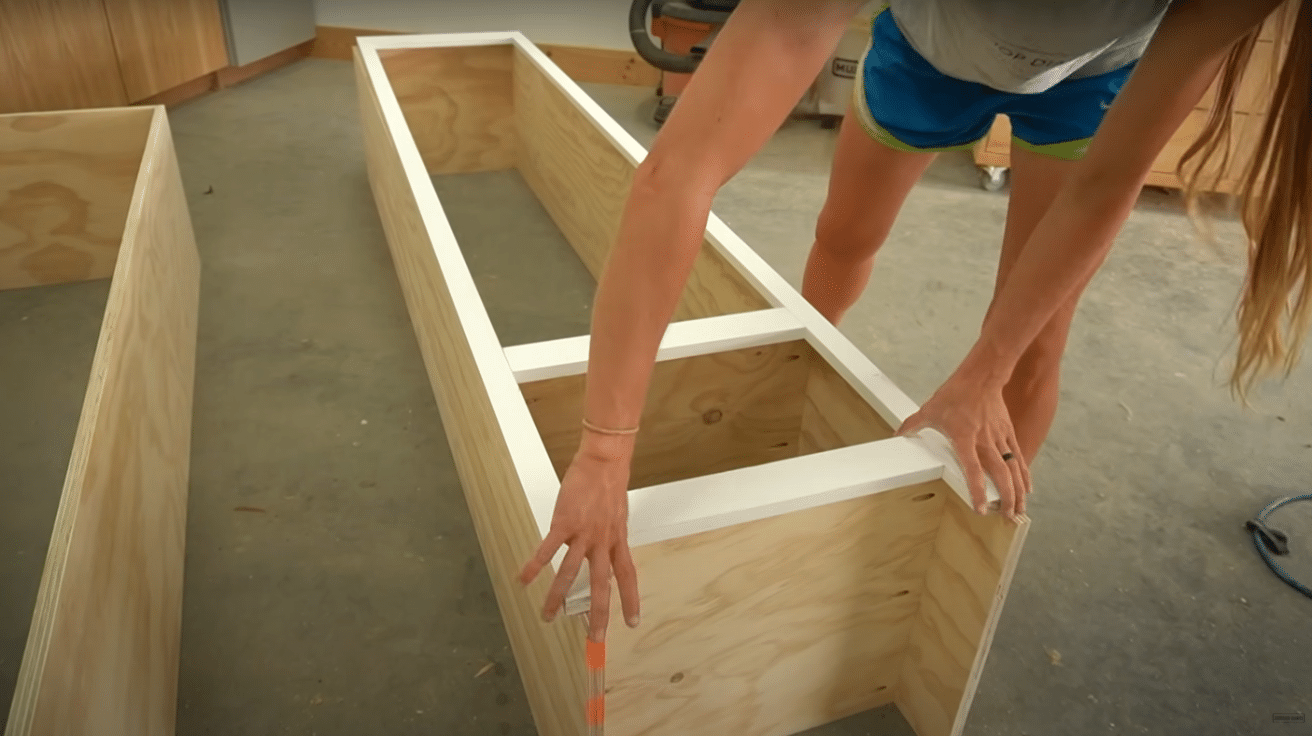
- Install pre-primed, edge-glued trim boards as face frames for a clean, finished appearance.
- Secure the face frames with wood glue and nails for a strong hold.
- Install a toe kick piece at the bottom of the cabinets and add back supports to ensure secure mounting against the wall studs.
- These supports will stabilize the cabinets before you install doors and drawers.
Step 4: Building the Cabinet Doors and Drawer Boxes
- Construct cabinet doors using one-by-threes for strength, with dowels for added durability. Route grooves on the back of each door to fit the plywood panels.
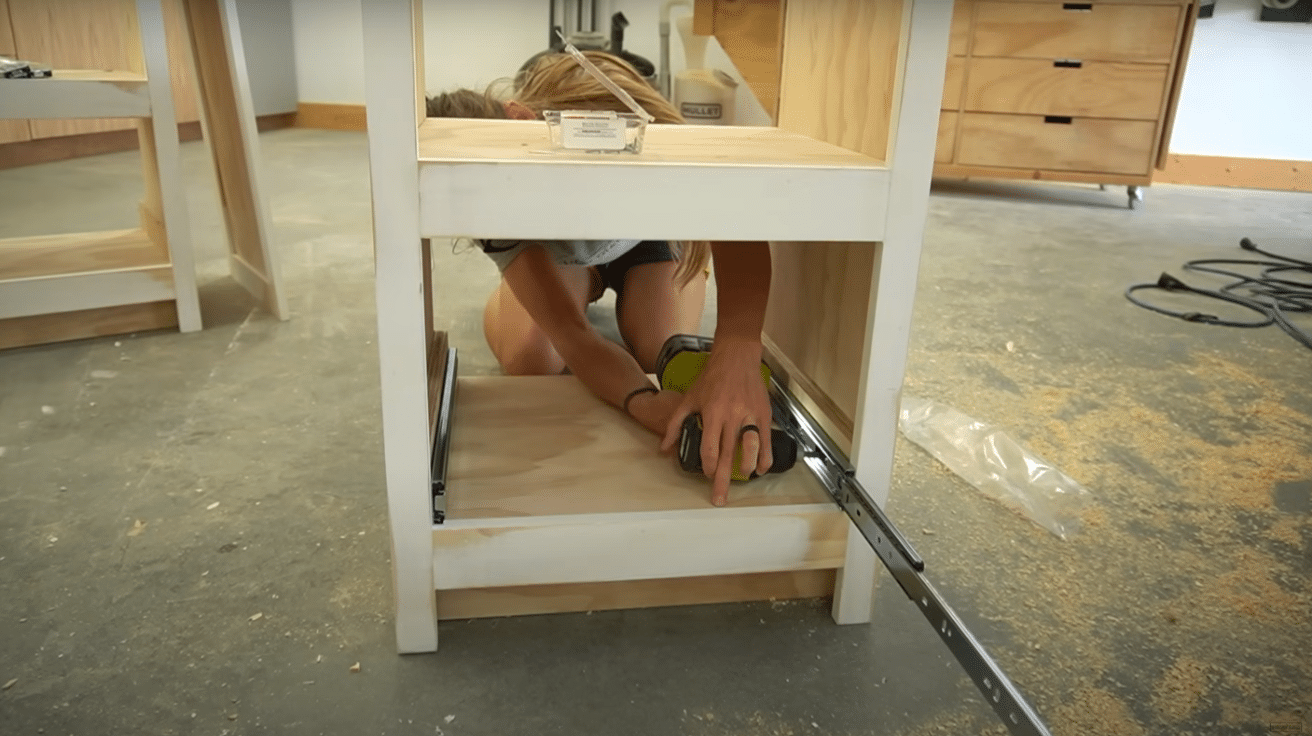
- Build the drawer boxes using dado cuts to accommodate the drawer bottoms, then assemble the boxes using pocket holes for easy installation.
- Mount the drawer boxes on ball-bearing slides inside the cabinet for smooth operation.
- Install a simple frame over the drawer fronts to cover any exposed pocket holes, giving the drawers a polished look.
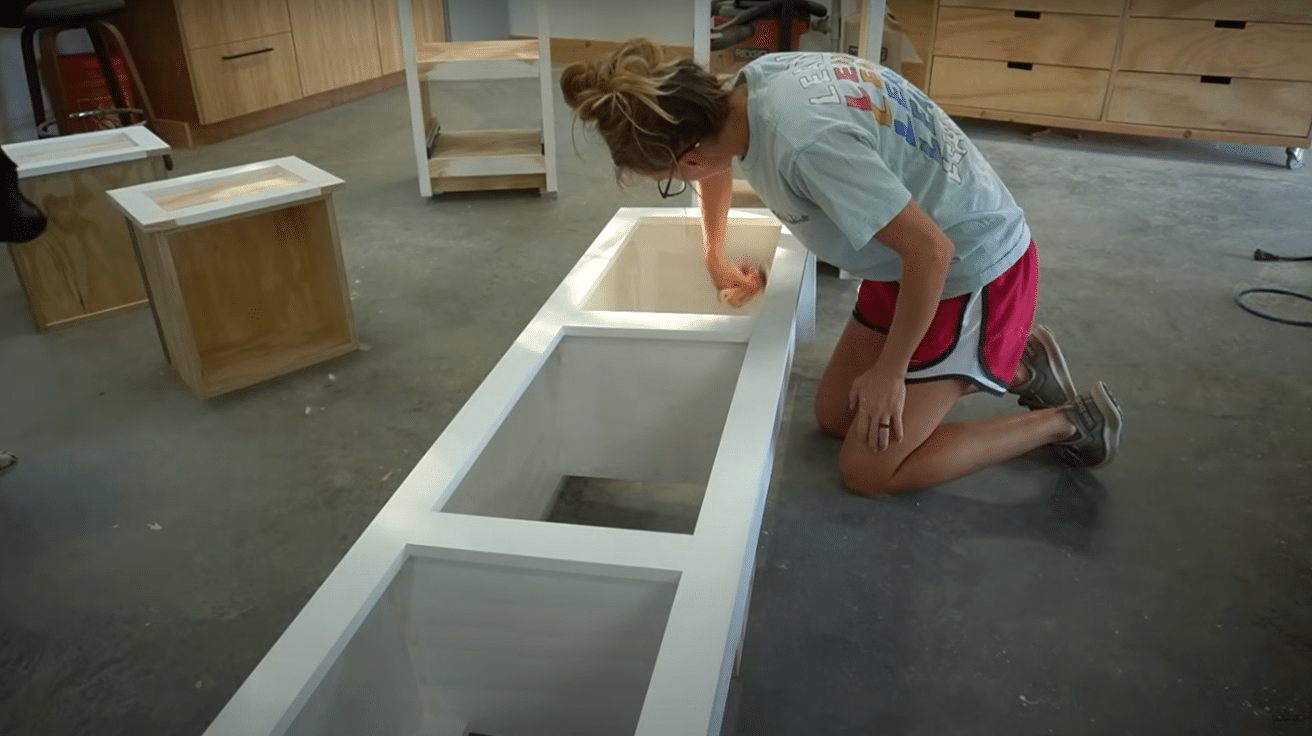
Step 5: Constructing the Cubbies and Bench Supports

- Create a cabinet box for the cubbies above the bench using plywood strips and divider panels. This will form a six-foot long, 18-inch tall structure.
- Assemble the cubbies by securing the panels with screws, ensuring each piece is tightly fitted.
- Build the bench seat using an inexpensive butcher block countertop. Construct a simple support structure underneath the seat using plywood for strength.
- Secure the bench to the wall and ensure stability using figure-eight brackets for a solid hold.
Step 6: Paint and Finish the Project
- Sand all surfaces of the cabinet, trim, and bench to ensure smoothness before applying primer.
- Apply a coat of primer to the plywood and trim, followed by two coats of paint (Sherwin-Williams Evergreen Fog) for a polished, professional look.
- Touch up any areas needing wood filler or caulk, then sand everything smooth to create an even finish.
- Begin by positioning the first tall cabinet in the desired location within the mudroom.
Step 7. Finishing and Installing
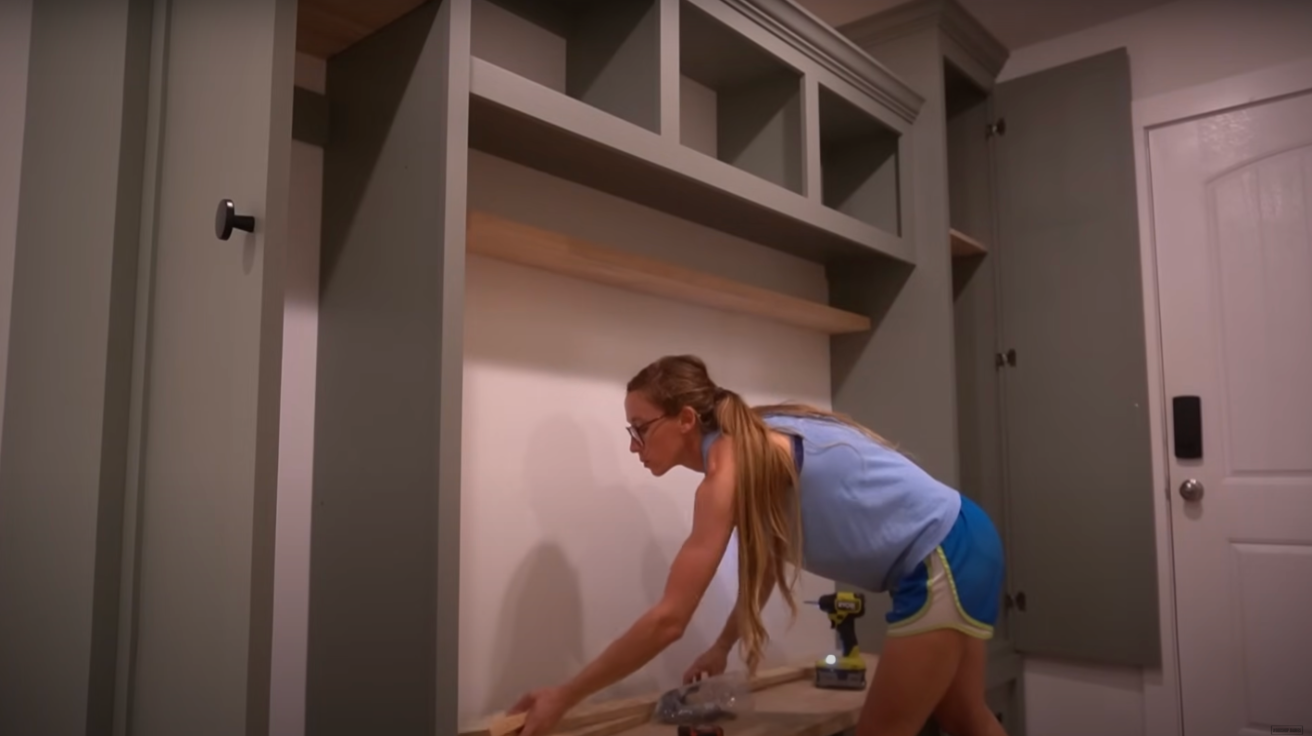
- Secure the tall cabinet to the wall studs through the back supports, ensuring it is tightly anchored for stability.
- Place the butcher block countertop onto the bench supports and adjust it into position. Double-check that both the bench and cabinets are stable before moving forward.
- Reinstall any baseboards along the sides and beneath the bench for a neat, polished appearance.
- Add adjustable shelves inside the cabinets, mount the cabinet doors with hinges, and install crown molding at the top to give the entire unit a finished, high-end look.
Video Tutorial
Check out the full DIY mudroom bench build, complete with step-by-step instructions by Shara Woodshop Diaries.
Tips for Personalizing Your DIY Mudroom Bench
Once your basic bench is built, it’s time to make it truly yours. These personalization ideas will help your bench stand out while serving your specific needs.
Paint and Finish Options
The finish you choose dramatically impacts both the look and longevity of your bench:
- Neutral colors like white, gray, or beige create a timeless look
- Bold colors can make your bench a focal point
- Stains highlight the natural wood grain for a warm, rustic feel
- Distressed finishes add character and hide wear over time
Consider using durable, washable paint formulations designed for furniture to ensure your bench stands up to daily use.
Comfortable Seating
Add comfort to your bench with cushions or padding:
- Measure your bench top and add 1-2 inches to cushion dimensions for a slight overhang
- Choose weather-resistant, washable fabrics for easy cleaning
- Secure cushions with ties, velcro, or a non-slip backing to prevent sliding
- Consider using outdoor fabric for maximum durability
Storage Variations
Customize your storage based on your family’s needs:
- Open cubbies provide easy access but visible storage
- Baskets inside cubbies hide items while maintaining accessibility
- Drawers conceal items completely for a cleaner look
- Shoe rack specifically designed for footwear organization
- Combination approaches using different storage types for various items
Coordinating with Home Decor
Your mudroom bench should complement your home’s overall style:
- For traditional homes, opt for classic lines and neutral colors
- For modern spaces, consider clean lines and minimalist hardware
- For farmhouse style, incorporate shiplap, distressing, or rustic hardware
- Match or coordinate hardware with nearby door handles or light fixtures
Remember that these personalization options not only enhance the look of your bench but also improve its functionality for your specific household.
Troubleshooting Common DIY Mudroom Bench Issues
Even the most careful DIY builders can encounter challenges. Here’s how to solve the most frequent problems that might arise with your mudroom bench project.
Structural Stability
If your bench wobbles or feels unstable:
- Add corner braces to reinforce connections
- Install additional support beams underneath the seating area
- Check that all screws are properly tightened
- Consider anchoring the bench to the wall for extra stability
Finish Problems
For issues with paint or stain application:
- Sand between coats for a smoother finish
- Apply thin, even coats rather than one thick layer
- Allow proper drying time between coats
- Use high-quality brushes or foam rollers for streak-free application
Storage Functionality
If storage spaces aren’t functioning optimally:
- Add dividers to large cubbies to prevent items from toppling
- Install drawer slides for smoother operation
- Add stoppers to prevent drawers from pulling out completely
- Adjust shelf heights to accommodate your most frequently used items
With these troubleshooting tips, you can overcome common challenges and ensure your mudroom bench functions perfectly for years to come.
Final Thoughts
Ready to tackle that messy entryway once and for all? Your DIY mudroom bench is the answer!
This project delivers big benefits – storage, seating, and organization all in one custom piece. The skills you’ll gain will help with future home projects too.
Ready to start?
Measure your space and sketch a design. Find inspiration photos and list must-have features for your family. Then grab those materials and build a bench that’ll serve your household for years.
Don’t forget maintenance – check for loose screws, wipe surfaces, and refresh finishes occasionally. Your bench will thank you by staying functional and attractive.
Why wait? That perfect mudroom bench won’t build itself – start planning today!