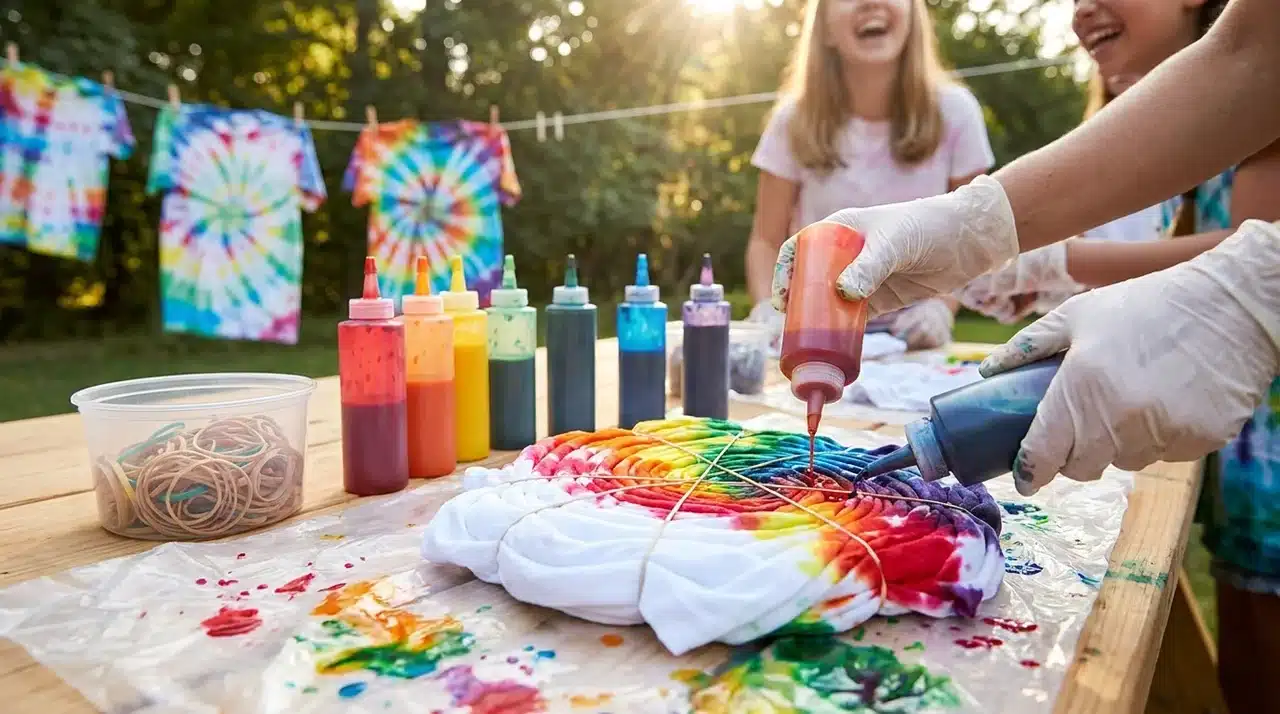
I still remember staring at a plain white T-shirt and wondering if I could turn it into something more interesting. I had seen colorful designs everywhere, but the process always looked harder than it actually was.
Once I gave it a try, I realized tie-dye is less about getting everything right and more about having fun with it. Every piece comes out a little different, and that is part of what makes it so enjoyable.
If you have ever wanted to learn how to tie-dye without feeling overwhelmed, you are in the right place.
What is Tie Dye and Why Try it
Tie-dye is a fabric dyeing method in which you fold, twist, or scrunch cloth, then apply dye to create bold color patterns.
The folded or tied areas resist the dye, which is what creates those signature swirls and rings of color.
No two pieces ever come out the same, and that is exactly what makes it so addictive. You do not need to be crafty or artistic to get great results.
The process is straightforward and genuinely fun for all ages. It works on t-shirts, tote bags, pillowcases, socks, and a whole lot more.
Types of Tie Dye
There are many ways to tie dye, each giving a unique look depending on how you fold or twist the fabric.
- Spiral: Create a classic swirl by pinching the center of your fabric and twisting it into a tight spiral before securing it with rubber bands.
- Bullseye: Fold the fabric accordion-style from the center outwards to make concentric circles of color.
- Stripes: Accordion-fold your fabric into long sections to create horizontal or vertical stripes.
- Crumple/Scrunch: Bunch the fabric randomly and secure lightly with rubber bands for a marbled, textured look.
- Shibori-Inspired: Use traditional Japanese folding techniques, clamps, or stitching to create intricate geometric patterns.
Experimenting with different folding techniques is part of the fun, and no two pieces ever come out exactly the same.
Everything You Need Before You Start Tie Dyeing
Get these ready before you begin, and the whole process will go much more smoothly.
- Fabric: Choosing the right tie-dye fabric is the first real decision. Stick to 100% cotton or natural fibers. Anything with more than 5% polyester will not take color well.
- Dye: Fiber reactive dyes like Procion MX give the most lasting results. Beginner kits from brands like Tulip are a solid choice and come with everything premeasured.
- Soda ash: Helps the color bond permanently to the fabric. Some kits include it. If not, most craft stores carry it.
- Other supplies: Rubber bands, squeeze bottles, plastic gloves, a table cover, paper towels, and resealable plastic bags.
Cover your surface with plastic sheeting and keep paper towels close by. Working outside makes cleanup far easier, especially with a group.
How to Prepare Your Fabric for Tie Dye
Wash your fabric before you start to remove any factory coatings or residue that could block dye absorption. Skip the fabric softener, as it leaves a coating that gets in the way of even color.
Your fabric should be damp when you begin folding, neither dripping wet nor fully dry. Once washed, wring it out well and move straight into the tying stage.
The step most beginners skip is the soda ash soak. Submerge your damp garment in a solution of 1 cup of soda ash per gallon of warm water and let it soak for about 15 to 30 minutes.
This allows the dye to form a permanent bond with the fibers, which means a brighter color and less bleeding after washing. Wring out the excess and start folding right away.
How to Tie Dye (Step by Step)
Follow these six steps, and you will have a finished piece ready to wear within 24 hours.
Step 1: Fold and tie your fabric
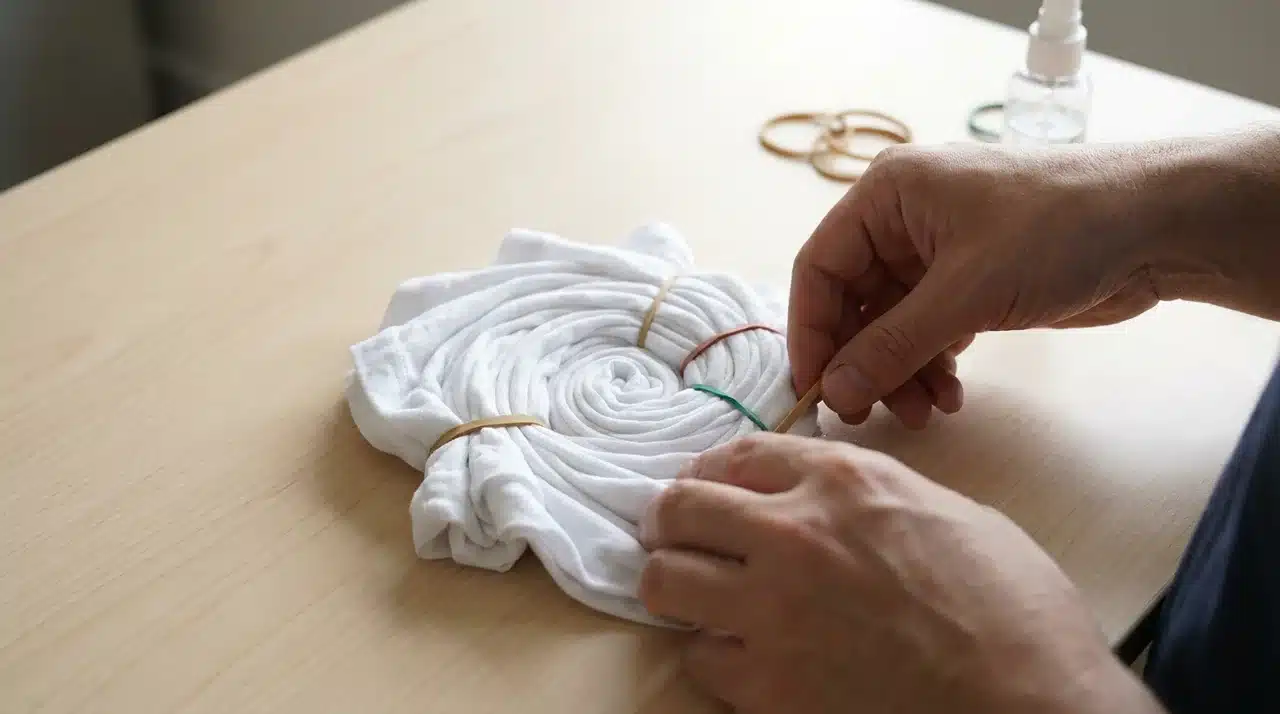
Lay your damp fabric flat and decide how you want the finished design to look. The way you fold, twist, or scrunch the fabric will shape the final pattern. Spirals, stripes, bullseyes, and circles each start with a slightly different fold.
If you are not sure where to begin, looking through a few simple tie-dye patterns can help you choose a style before you start tying.
Once folded, wrap rubber bands firmly around the fabric at even intervals.
Use at least three bands, and make sure each one is tight enough to hold the folds in place when you lift the piece.
Step 2: Mix your dye

Put your gloves on before handling any dye powder. Add the powder to your squeeze bottles first, then fill with warm water, cap tightly, and shake until fully dissolved.
Mix only what you plan to use within 24 to 48 hours. The dye loses strength after that, and the colors will come out noticeably paler.
Step 3: Apply dye to the fabric
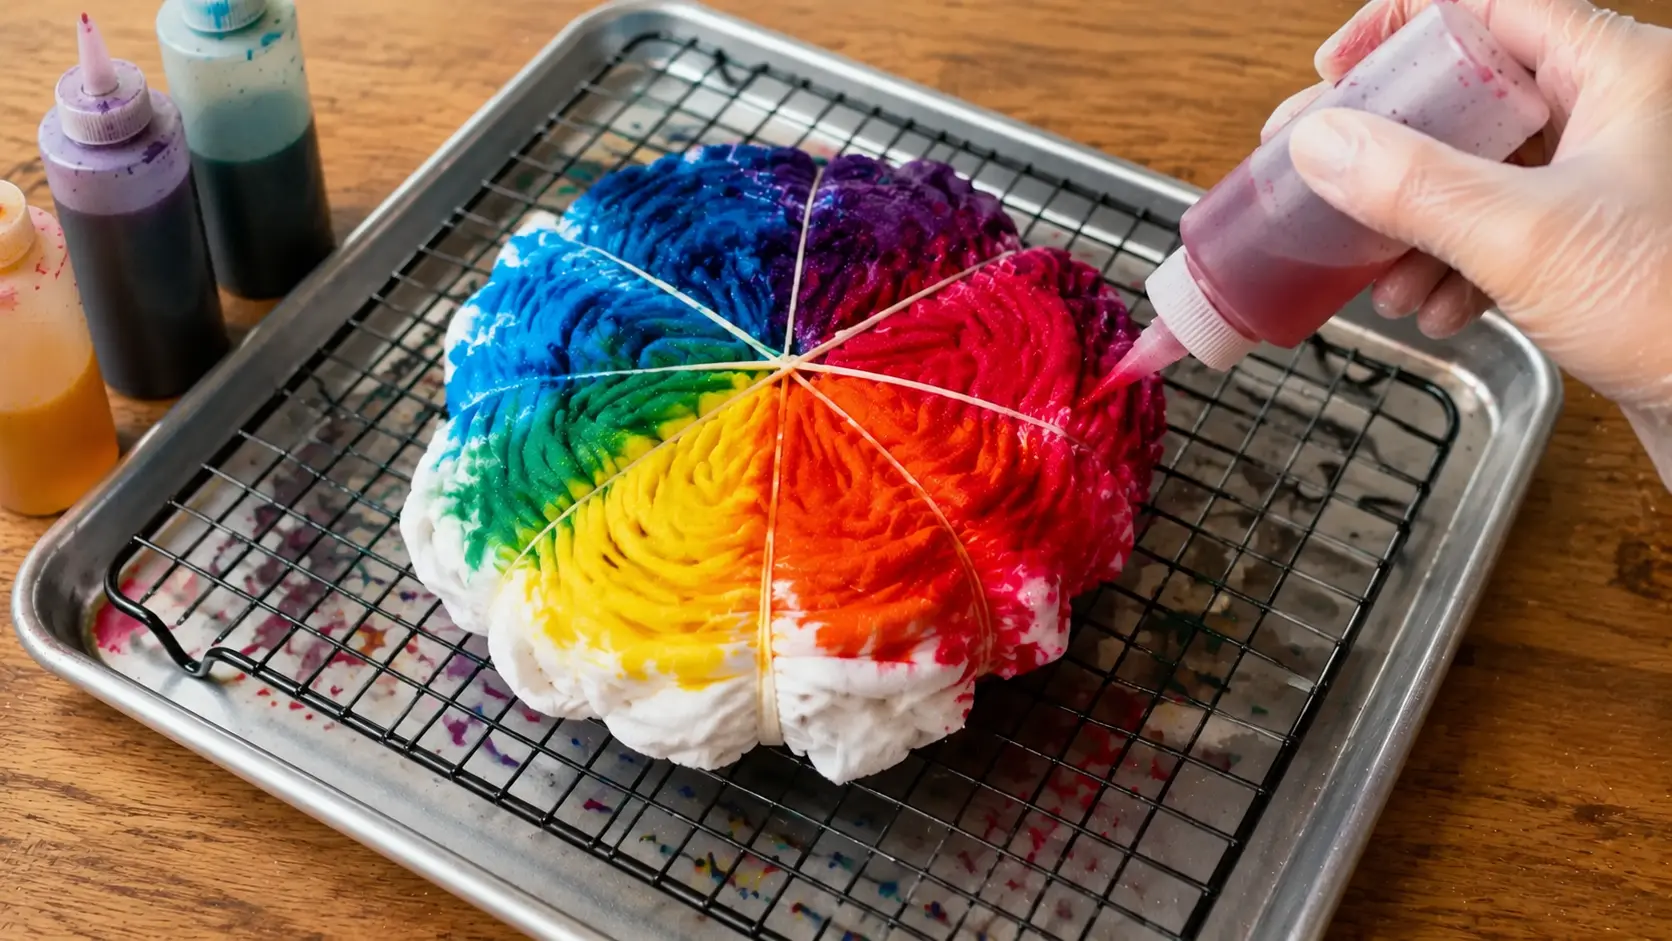
Place your tied fabric on the covered surface and hold the squeeze bottle tip close to the folds.
Squeeze the dye directly into the creases and press the fabric gently with your fingers so the color soaks through all the layers.
Flip the piece over and repeat on the other side. A well-dyed piece should feel saturated but not dripping.
If dye is pooling underneath, you have used too much. Wipe your gloves clean between colors to avoid muddy mixing.
Step 4: Seal it and let the dye set
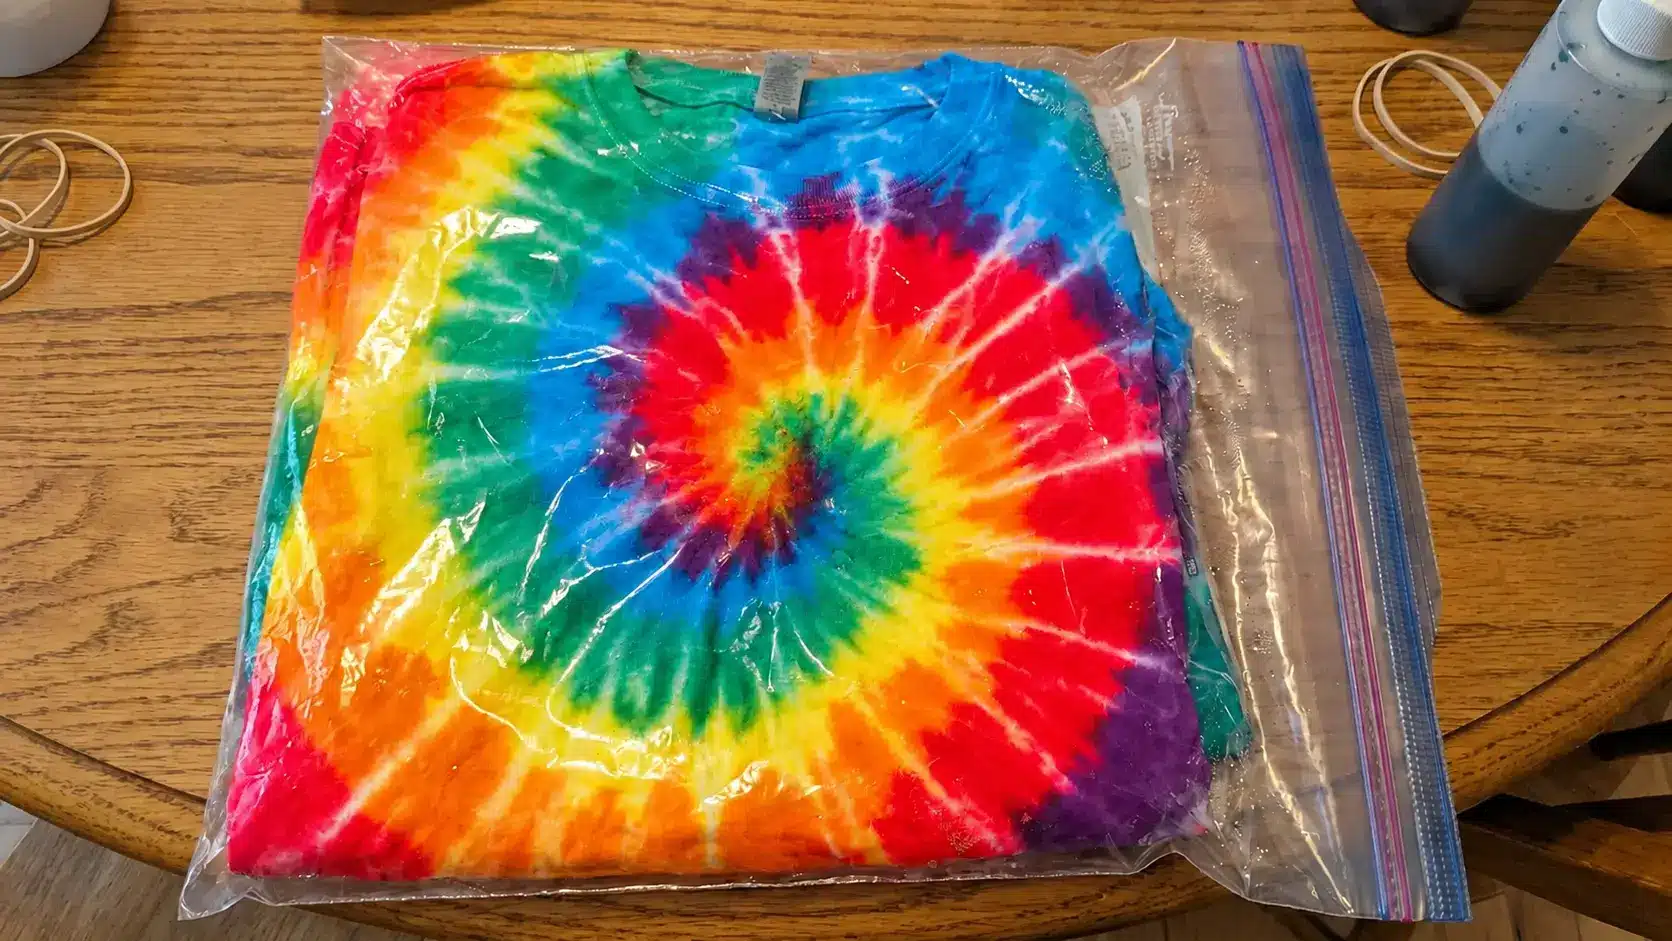
Place the dyed fabric into a sealed plastic bag while it is still damp. Keep the bag at room temperature, away from direct sunlight.
The moisture inside is what keeps the dye reacting with the fibers. Most beginners rush this part without realizing that how long tie dye sits is directly tied to how rich and bold the final colors turn out. Do not cut this time short.
Step 5: Rinse and reveal
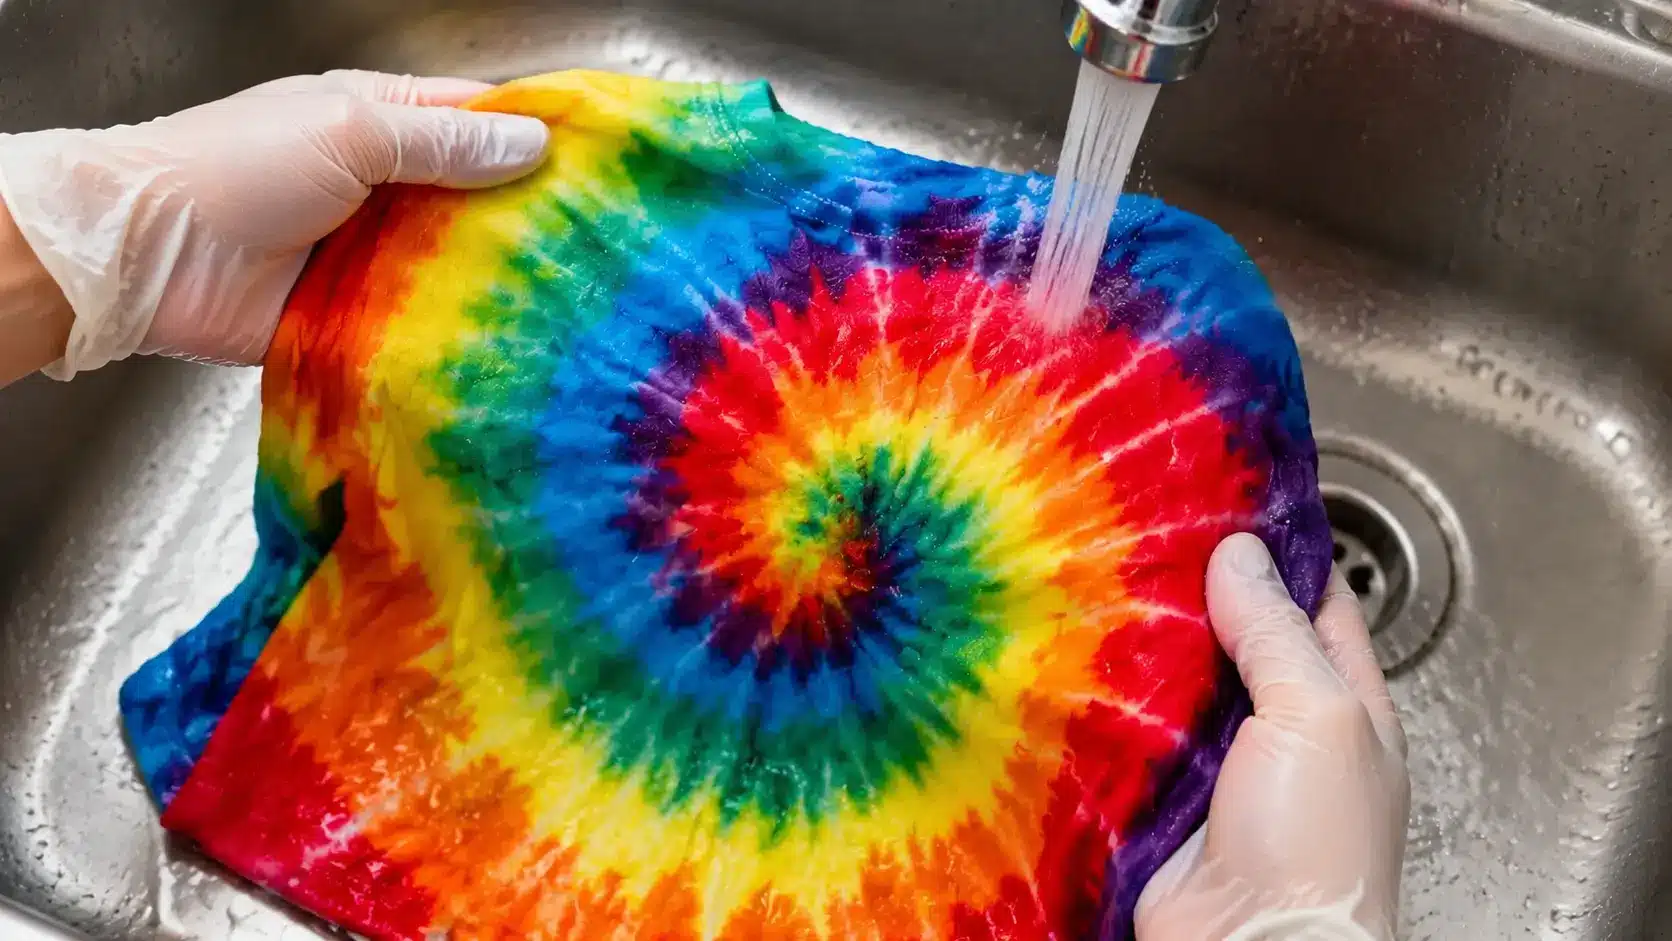
Put your gloves back on before opening the bag. Rinse the fabric under cold running water with the rubber bands still on.
Once the water starts running clearer, cut the bands carefully and unfold the fabric.
At this stage, the colors will look much darker and muddier than the final result. Do not panic.
Keep rinsing until the water runs fully clear, then do a final rinse with the hottest water available to remove any unreacted dye.
Step 6: Wash and dry
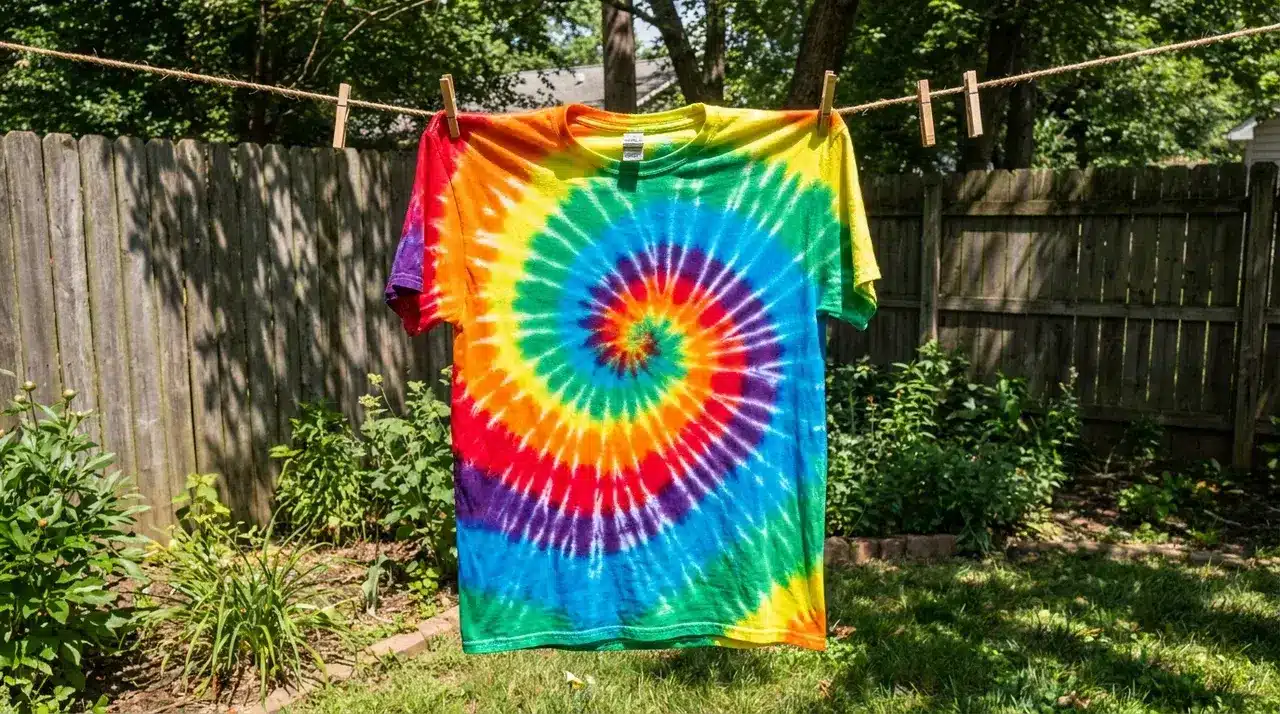
Machine wash the rinsed piece on a warm or hot cycle using a small amount of regular detergent.
Wash it on its own or only with other tie-dye items for the first two to three washes to prevent color transfer.
Dry as normal, and the true colors will show up once the fabric is fully dry. Your piece is ready to wear.
Essential Folding Techniques for Tie Dye
How you fold your fabric determines the final tie-dye pattern. Here are some basic folding techniques to try.
- Accordion Fold: Fold the fabric back and forth in a zigzag pattern for stripes or layered designs.
- Spiral Twist: Pinch the fabric at the center and twist it into a tight spiral for classic swirls.
- Bullseye Fold: Gather the fabric at a central point and secure with rubber bands at intervals to make circular patterns.
- Random Scrunch: Bunch the fabric at random and secure it lightly for a marbled, textured effect.
- Diagonal Fold: Fold the fabric diagonally or in triangles for angled stripes and geometric designs.
Experimenting with different folds is the key to discovering new patterns and effects. Each technique creates unique results every time.
How to Pick the Right Tie Dye Colors
The colors you pick and how you place them will decide whether your final piece looks bold or just brown.
| Colors to Pair | Result |
|---|---|
| Fuchsia + yellow | Red |
| Yellow + turquoise | Green |
| Turquoise + fuchsia | Blue/purple |
| Blues + purples | Clean, cool tones |
| Yellows + oranges | Warm, bright tones |
| Pinks + reds | Soft, natural blend |
Red + green, blue + orange, and yellow + purple will all blend into a muddy brown where they meet.
Beginner Tips for Brighter and Bolder Tie Dye Results
Small habits during the process make a bigger difference than the dye brand alone.
- Always use fiber-reactive dye over all-purpose dyes for colors that last beyond the first few washes.
- Squeeze dye generously into every fold so the color reaches all the inner layers of fabric.
- Press the fabric gently after applying dye to help it soak through rather than sit on the surface.
- Keep the sealed bag at room temperature so the dye keeps reacting with the fibers throughout the setting stage.
- Never let the fabric dry out while it is still setting, as this will significantly dull the final colors.
- Wipe your gloves and bottle tips clean between colors to prevent unwanted mixing.
Get these right, and the difference in your results will show from the first rinse.
How to Care for Tie Dye After the First Wash
The first wash sets the tone for how long your colors will last. Wash your tie-dye piece alone for the first two to three washes.
Use cold water on the first wash, then switch to warm going forward. Adding a small cap of white vinegar to the rinse cycle helps the colors hold longer.
After the first few washes, you can launder it normally. Turn the garment inside out before each wash and avoid long tumble dry cycles.
Keep finished pieces away from direct sunlight as UV exposure will fade even the most well-set dye over time.
Common Tie Dye Mistakes and How to Fix Them
|
Conclusion
Tie-dye is one of those crafts that looks complicated but is really just a matter of following the right steps in the right order. Now that you know how to tie dye from start to finish, the only thing left is to pick up your supplies and give it a go.
Your first piece may not be perfect, and that is completely fine. Every result is different, and that is the whole point.
Start with one shirt, one pattern, and two or three colors. Keep it simple and build from there. Share your finished piece in the comments so we can see how it turned out.
Frequently Asked Questions
Can You Tie-Dye Dark-Colored Fabric?
Dark fabrics absorb dye, but the colors will not show up the way they do on white or light colored fabric.
Can You Use Regular Food Coloring Instead of Dye?
Food coloring produces color, but it fades very quickly and does not bond to fabric the way fiber-reactive dye does.
How Do You Store Leftover Mixed Dye?
Keep mixed dye in sealed bottles away from light and heat, and use it within 48 hours for the best color payoff.
Can You Tie-Dye Synthetic Fabric Like Polyester?
Standard fiber-reactive dyes will not work on polyester, but disperse dyes designed for synthetic fabrics can yield decent results.