

Have you seen those fancy chalkboards in cafes and wondered how to make one yourself? The cost of store-bought chalkboards can be shocking when you see the price tag.
You don’t need to spend big money to get a nice chalkboard for your home. With a few basic items and simple steps, you can create a custom chalkboard that fits your style and space.
This guide will show you how to make your own chalkboard from start to finish. You’ll learn which materials work best, the right way to prep surfaces, and how to finish it so it lasts for years.
Let’s start making your perfect home chalkboard today!
Why Make Your Own Chalkboard?
Making your own chalkboard offers many benefits that you won’t get from buying one at the store. When you create a chalkboard at home, you control every aspect of the project from start to finish.
- Cost savings compared to store-bought options. You can make a chalkboard for a fraction of what you’d pay in stores, often using materials you might already have at home.
- Customizable size, shape, and color. Unlike pre-made options, your DIY chalkboard can fit exactly where you need it—whether that’s a small space by the phone or a full wall in your kitchen.
- Great for personalization and creativity. Add frames, borders, or special touches that match your home’s style. You can change colors beyond the typical black surface to fit your decor.
The satisfaction of pointing to your chalkboard and saying “I made that” adds a special value that no store-bought item can match.
Each time family members use it or guests notice it, you’ll feel a sense of pride in your handiwork.
This personal connection turns a simple household item into a conversation piece with a story behind it. Plus, the skills you gain from this project can lead to more DIY success in your home.
Step-By-Step Guide to DIY a Chalkboard
Materials You’ll Need:
| Material | Purpose | Where to Find |
|---|---|---|
| Wood board (MDF or plywood) | Base for your chalkboard | Hardware stores, lumber yards |
| Sandpaper (120-220 grit) | Smooths the surface | Hardware stores, craft shops |
| Chalkboard paint | Creates the writing surface | Hardware stores, craft shops, online |
| Paintbrush or foam roller | For applying paint evenly | Hardware stores, dollar stores |
| Painter’s tape | Keeps edges clean | Hardware stores, grocery stores |
| Primer (optional) | Helps paint stick better | Hardware stores |
| Frame (optional) | Adds a finished look | Craft stores, thrift shops |
| Hanging hardware (optional) | For wall mounting | Hardware stores |
| Clean cloth | For wiping and cleaning | Home supplies |
The best part is that many of these items might already be in your garage or tool box. If you need to buy new supplies, most can be found at local hardware stores or ordered online for quick delivery.
Before selecting your wood board, it's essential to ensure accurate measurements to fit your desired space. Refer to our guide on How to Measure Wood: The Complete Guide for Any Project for detailed instructions
Step 1: Prepare the Surface
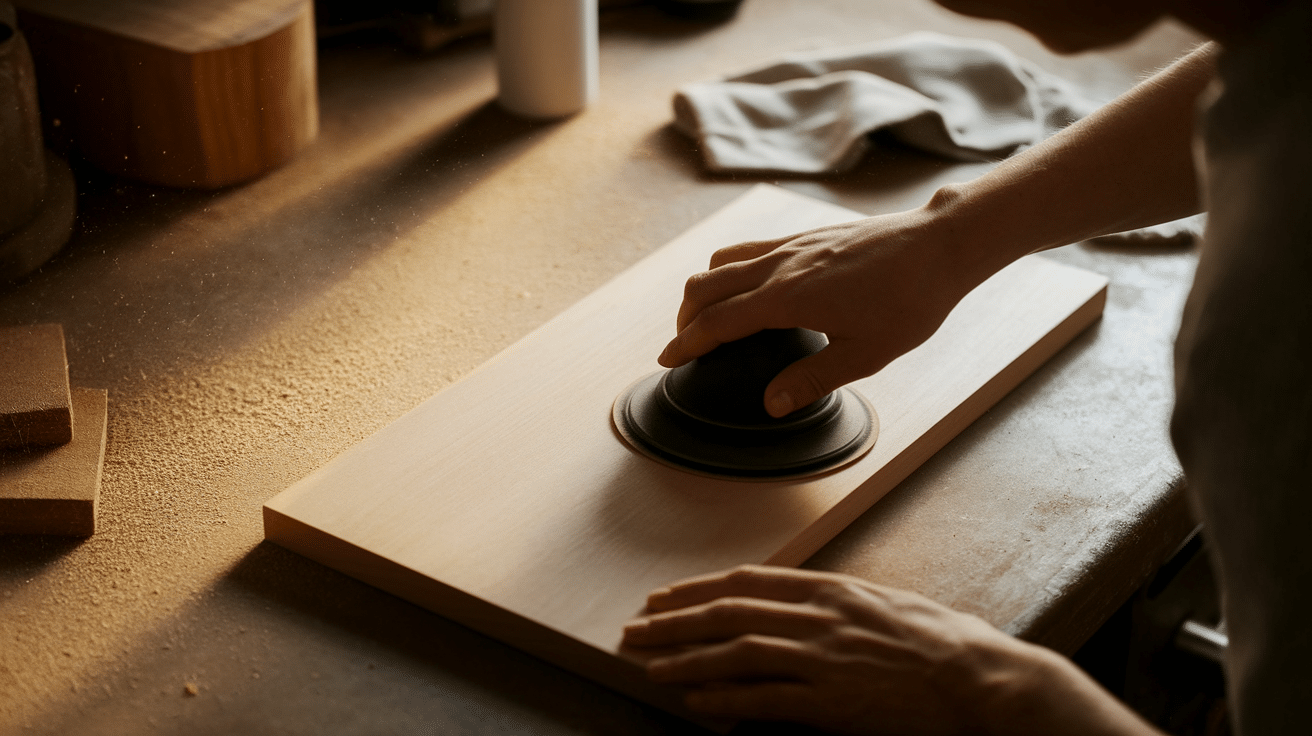
Success starts with good preparation. A smooth base creates a better writing surface for your finished chalkboard.
- Sand the wood board until it feels smooth to touch
- Wipe away all dust with a damp cloth
- Let the board dry completely
- Apply primer if you’re using raw wood or a dark-colored board
Keep in mind: Skipping proper sanding might lead to a bumpy surface that’s hard to write on later.
Step 2: Apply Chalkboard Paint
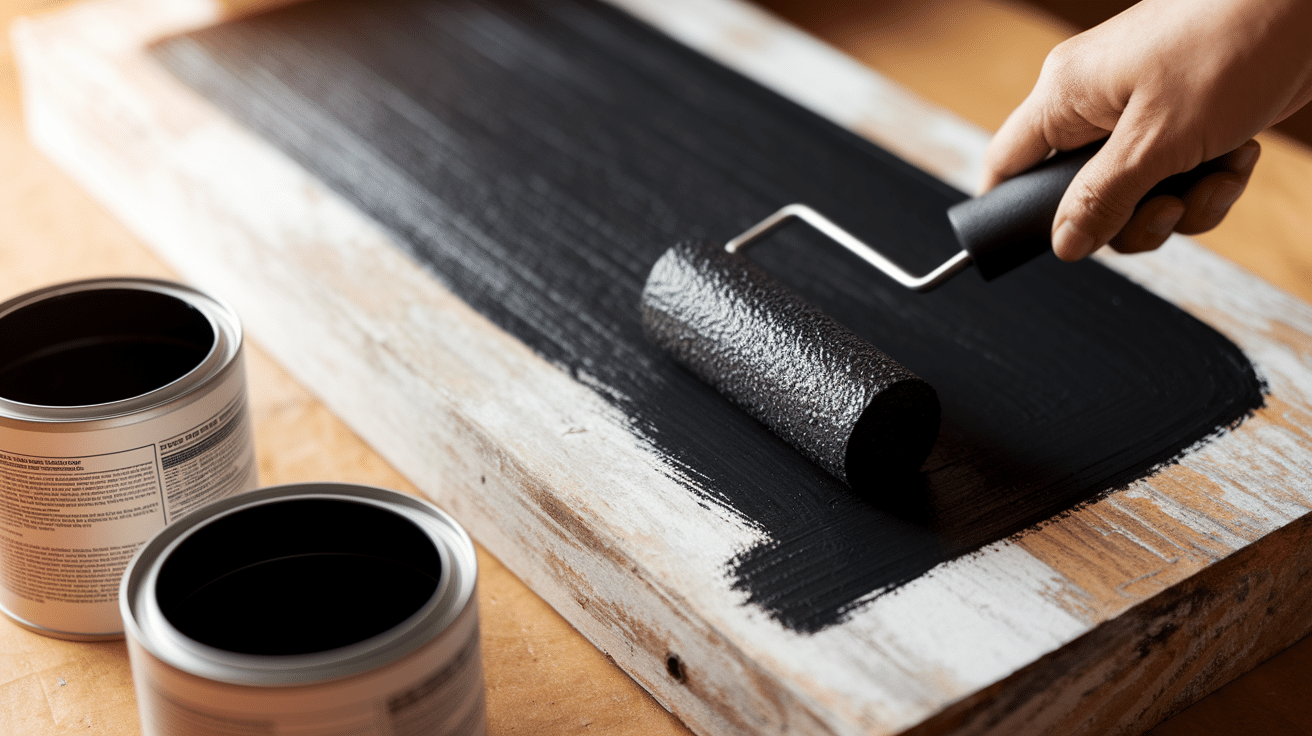
The paint application determines how well your chalkboard will work. Take your time with this critical step.
- Use even strokes in one direction for the first coat
- Wait 4-6 hours between coats (check paint can for exact times)
- Apply 2-3 coats for best results
- Sand lightly with fine sandpaper between coats if needed
Keep in mind: Rushing the drying time could cause the paint to peel or bubble later.
Step 3: Curing and Seasoning the Chalkboard
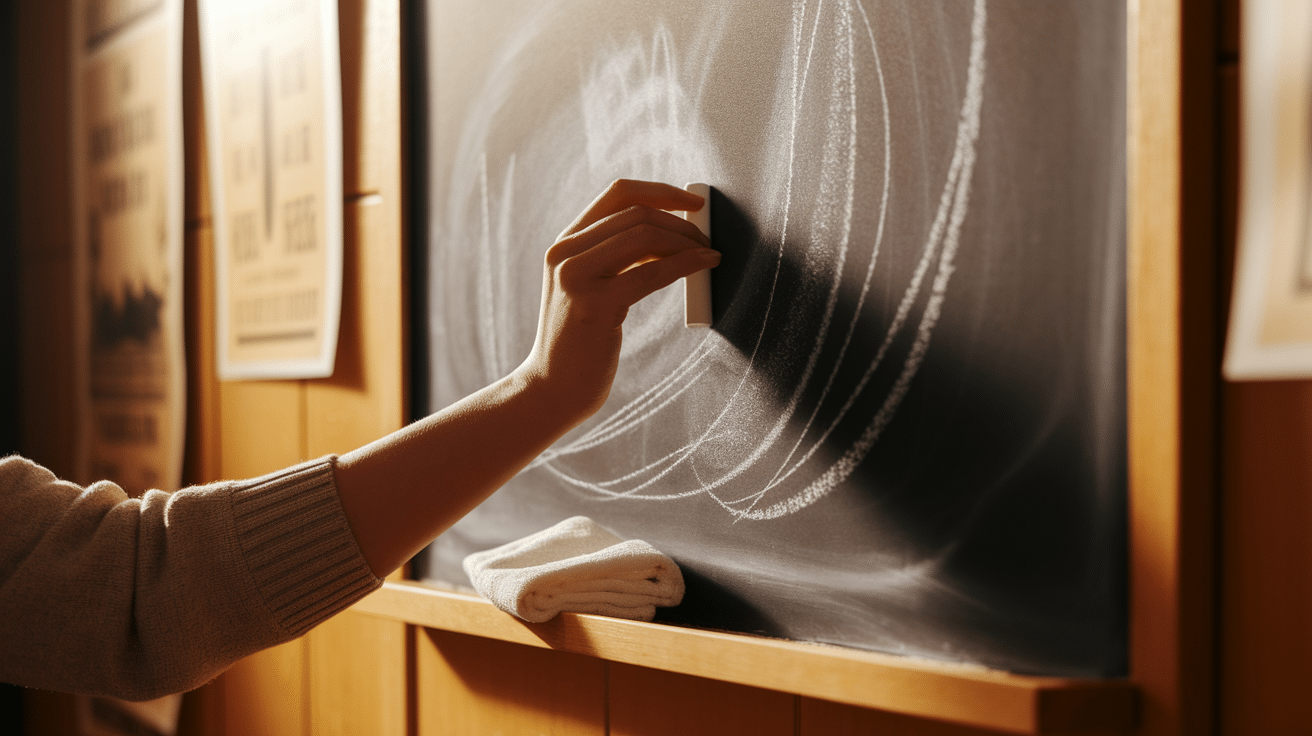
Your chalkboard needs time to set properly before use. This step is often missed but makes a big difference.
- Let the final coat cure for at least 24 hours
- Rub the side of a piece of chalk over the entire surface
- Wipe the chalk dust away with a soft cloth
- This “seasoning” helps prevent ghost marks later
Keep in mind: Using the chalkboard before seasoning may lead to permanent marks that won’t erase fully.
Step 4: Adding a Frame
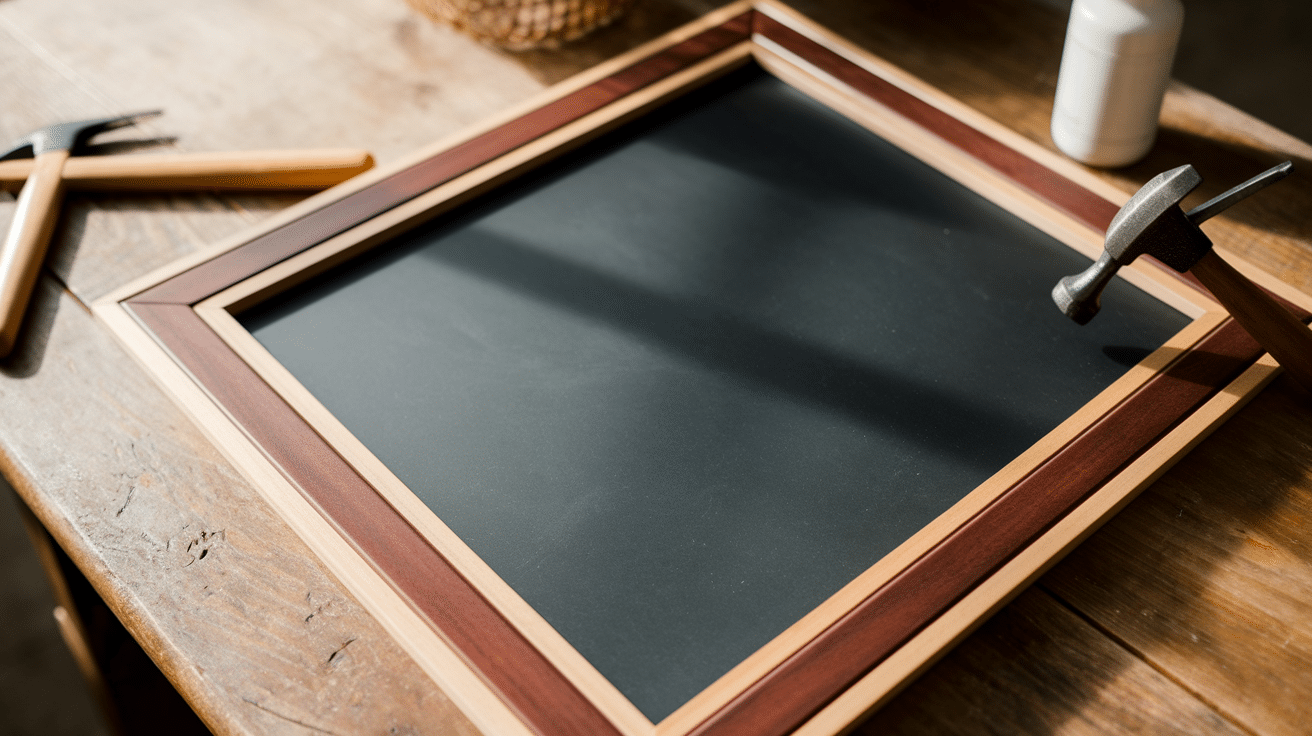
A frame gives your chalkboard a finished look and can protect the edges from damage.
- Measure and cut frame pieces to size
- Sand and paint or stain the frame pieces
- Attach the frame with wood glue or small nails
- Let the frame dry completely before handling
Keep in mind: If using wood glue, clamp the frame in place until dry for a secure bond.
Step 5: Installing Hanging Hardware
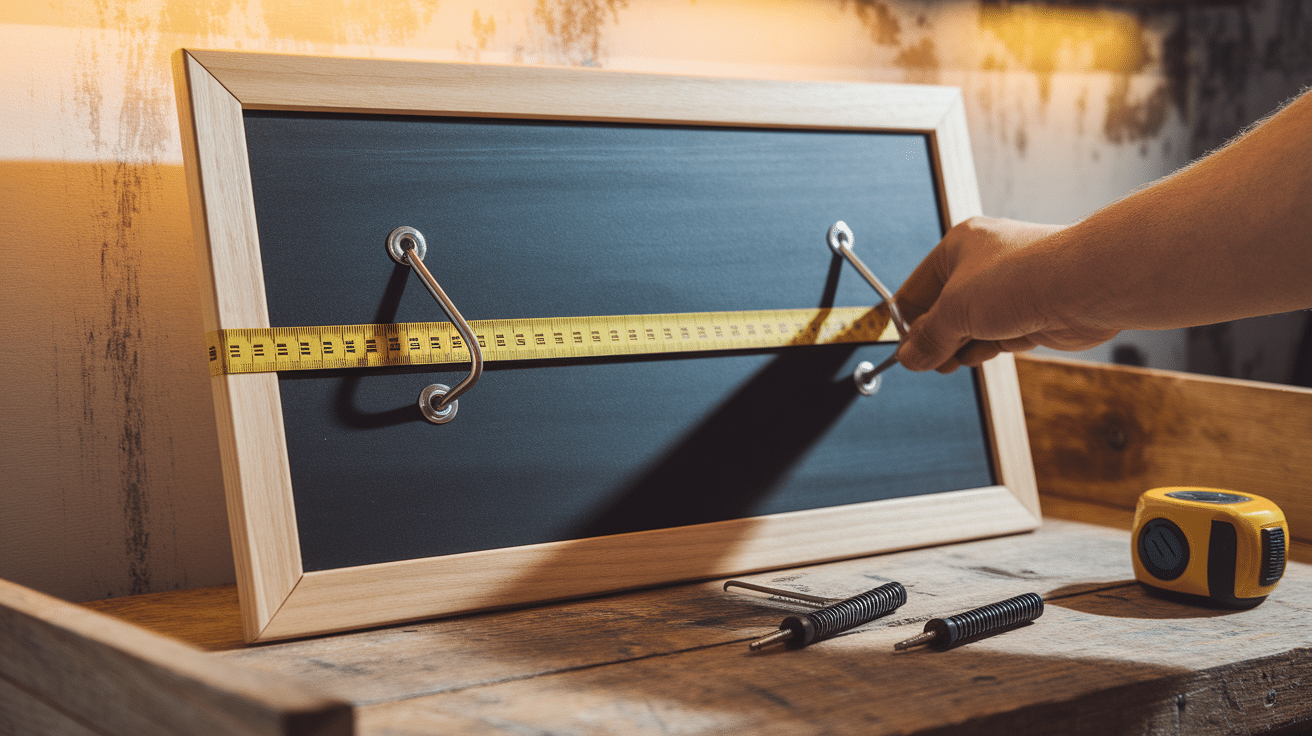
Make sure your chalkboard is ready to hang securely on your wall.
- Decide if you want to hang it vertically or horizontally
- Attach D-rings or sawtooth hangers to the back
- Place hangers about 1/3 from the top of the board
- Make sure hangers are level with each other
Keep in mind: The weight of your board determines what type of wall anchors you’ll need.
Step 6: Placement and Usage Tips
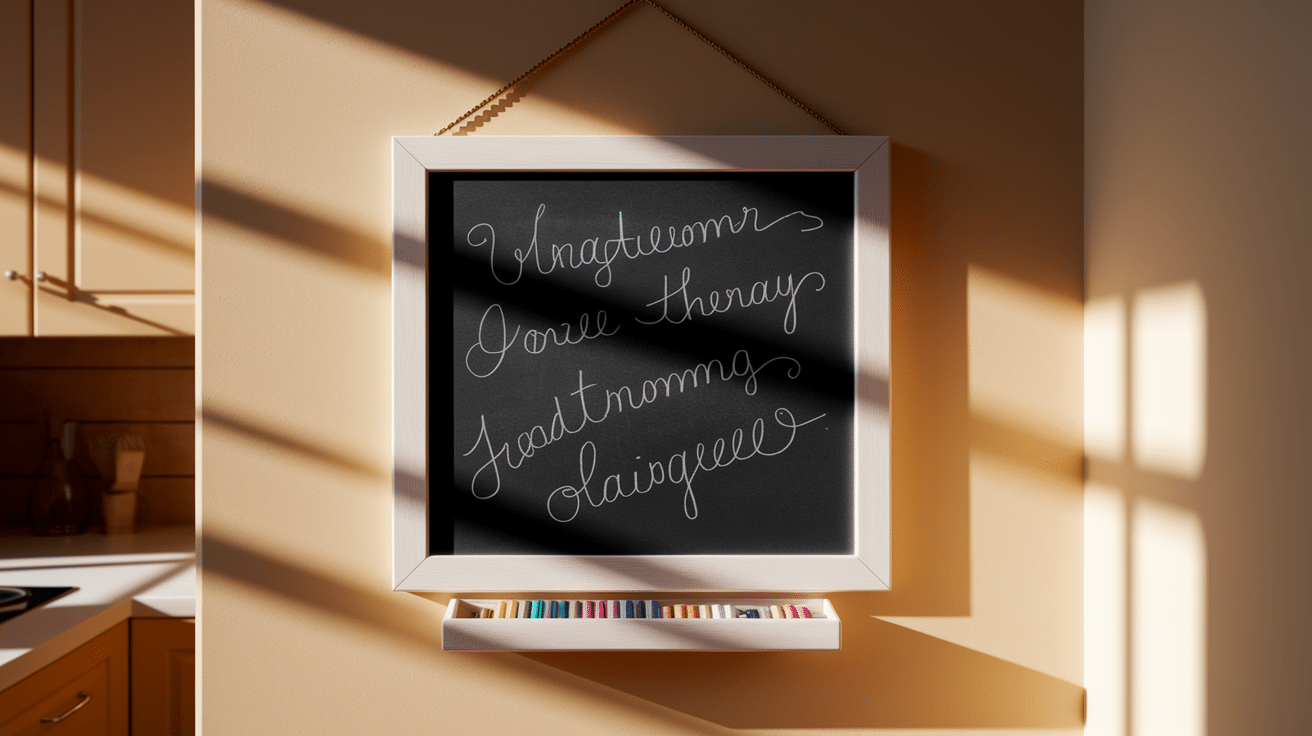
Find the perfect spot for your new chalkboard and learn how to keep it looking great.
- Hang at eye level in a spot with good lighting
- Avoid areas with high humidity or direct sunlight
- Use chalk markers for cleaner lines if desired
- Clean regularly with a slightly damp cloth
Keep in mind: Chalk dust can settle below the board, so consider placement above non-fabric furniture.
Maintenance Tips
Proper care will keep your DIY chalkboard looking fresh and working well for years to come. A few simple habits can make a big difference.
- Use soft cloths for cleaning – Microfiber works best and won’t scratch the surface like paper towels might
- Clean with plain water first – Most chalk marks come off with just a damp cloth; only use mild soap when needed
- Avoid harsh chemicals – Vinegar, bleach, and strong cleaners can damage chalkboard paint and cause fading
- Prevent chalk dust buildup – Wipe the board at least once a week, even if it doesn’t look dirty
- Re-season occasionally – Every few months, rub chalk over the entire surface and wipe clean to maintain quality
- Store chalk in a dry container – Moisture makes chalk crumbly and harder to write with
- Keep erasers clean – Wash fabric erasers monthly and let them dry completely before using again
When your chalkboard starts looking worn after months or years of use, you can easily refresh it. Simply clean thoroughly, lightly sand, and apply a fresh coat of chalkboard paint.
Creative Uses for Your Chalkboard
Your new DIY chalkboard can serve many purposes beyond basic notes. Here’s how to make the most of your creation:
| Use | Location | Benefits | Creative Ideas |
|---|---|---|---|
| Kitchen Menu Board | Kitchen wall or pantry door | Helps with meal planning and grocery lists | Add frames for “This Week’s Meals” and “Shopping List” sections |
| Message Center | Entryway or hallway | Keeps family communications in one spot | Use colored chalk for different family members’ messages |
| Children’s Art Station | Playroom or child’s bedroom | Provides endless drawing space without wasting paper | Mark off sections for drawing games or tic-tac-toe |
| Event Signage | Front door or party space | Welcomes guests with custom messages | Switch themes for holidays, birthdays, or seasonal decor |
| Decorative Quotes | Living room or office | Adds personal touch to home decor | Change quotes monthly for fresh inspiration |
| Calendar | Home office or kitchen | Keeps schedule visible to all | Create a grid with tape before painting for built-in lines |
| Learning Tool | Study area | Helps with practicing math, spelling, or other subjects | Add a math section with permanent grid lines for homework help |
The beauty of your homemade chalkboard is how quickly you can change its purpose as your needs change throughout the year.
Common Mistakes to Avoid
1. Using the wrong surface – Too rough or too glossy surfaces won’t hold chalkboard paint properly, leading to peeling or poor writing quality
2. Rushing the drying process – Not allowing full drying time between coats causes bubbling, streaking, and potential peeling later on
3. Not seasoning before first use – Skipping the chalk rubdown step leaves your board vulnerable to permanent “ghost” marks that won’t erase
4. Applying paint too thickly – Heavy coats can crack and peel; multiple thin coats work much better for long-term durability
5. Using regular erasers or wet wipes – These can damage the surface; stick to soft cloths or chalkboard-specific erasers for cleaning
Final Thoughts
Making your own chalkboard at home offers a fun project with useful results. The steps are easy to follow, the materials are simple to find, and the final product serves many purposes in your home.
Your DIY chalkboard can become a family hub, a creativity space, or a helpful tool for staying organized. The money you save compared to buying one makes the effort worthwhile.
Remember to prepare your surface well, allow proper drying time, and season your board before the first use. These key steps ensure your chalkboard works well for years to come.
Why not start gathering your supplies today? In just a weekend, you could have a custom chalkboard that fits your needs perfectly—made with your own hands and ready to use.