

Pine cones sit in most yards, ignored and unused. Did you know these humble items can become the star of your home decor? Many craft fans struggle with sticky, dirty pine cones that ruin their projects. This common problem stops even the most keen crafters from using these natural gems.
Good news! You can turn those basic backyard finds into clean, ready-to-use craft items with a few simple steps. When you learn the right methods, you’ll create lasting decor pieces that friends will ask about.
This guide will show you exactly how to clean, dry, and prepare pine cones for all your craft needs. From table centerpieces to door wreaths, you’ll soon have the know-how to make pine cones work for you.
Let’s start making those pine cones craft-ready!
Why You Need to Prepare Pine Cones Before Crafting ?
Found pine cones need proper cleaning before use in craft projects. These natural items often hide several problems you’ll want to fix first.
Hidden Problems in Raw Pine Cones:
- Small bugs and eggs tucked between scales
- Mold spores that can spread to other craft items
- Dirt, sap, and plant residue that feel sticky
Better Results Through Preparation:
- Clean pine cones last longer without rotting
- No musty smells that might ruin indoor decor
- Paint and glue stick better to cleaned surfaces
The time spent preparing pine cones pays off with better-looking, longer-lasting crafts. A few simple steps now will make your craft work easier later.
The cleaning process isn’t hard, but it is needed. Let’s look at how to get your pine cones ready for any project you have in mind.
How to Collect the Right Pine Cones ?
Fall and early winter offer the best pine cones, when they drop naturally from trees.
Look in pine forests, parks, or even your own yard for good finds. Pick cones that have opened fully and feel dry to touch. Skip any that look rotten, broken, or still have green parts.
Make sure the cones feel solid when squeezed gently. Always check local rules before gathering in parks or public spaces – some places ban taking natural items. Wear gloves to protect your hands from sharp edges and sticky sap. Bring a small bag or basket for easy carrying.
Collect more than you think you’ll need, as some may not clean up well during the preparation process.
Materials You’ll Need
| Item | Purpose | Notes |
|---|---|---|
| Pine cones | Main craft material | Choose open, dry cones |
| Large bucket | For soaking | Deep enough to fully cover cones |
| White vinegar | Cleaning agent | Helps kill bugs and remove dirt |
| Old toothbrush | Detail cleaning | Gets between scales |
| Baking tray | For drying in oven | Must be heat-safe |
| Aluminum foil | Liner for tray | Prevents sticky sap on your pans |
| Parchment paper | Alternative liner | Works if you don’t have foil |
| Gloves | Hand protection | Useful for handling sticky cones |
| Paper towels | Drying | For blotting excess water |
| Newspaper | Work surface | Keeps cleanup simple |
How to Clean Pine Cones: Step-by-Step Instructions
Cleaning pine cones removes hidden bugs, dirt, and sap that can ruin your craft projects. The process takes time but ensures better results.
Step 1: Remove Debris
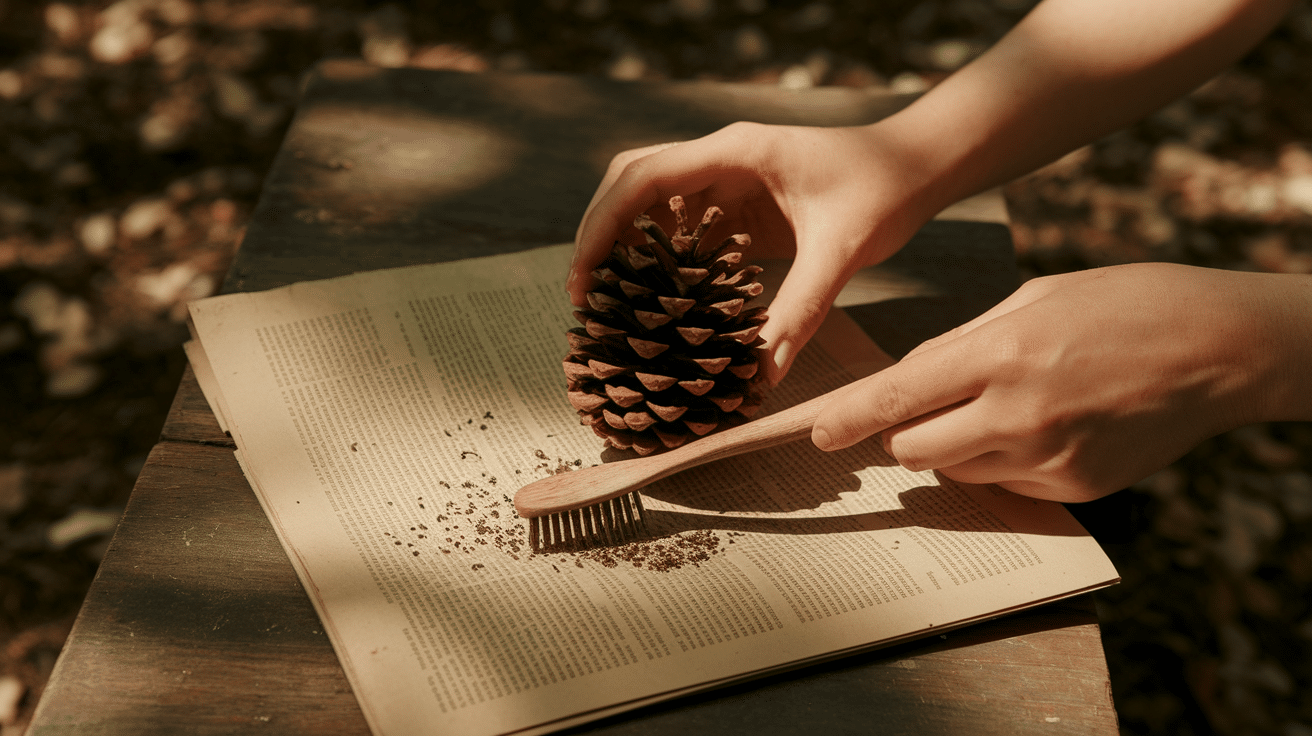
Shake pine cones upside down over newspaper to dislodge loose dirt and insects.
Hold each cone by its stem and tap firmly against a hard surface. Use a toothbrush to scrub between scales, working from top to bottom. Pay special attention to the base where most dirt collects.
Pro Tip: Work outdoors if possible, as hidden bugs may fall out during this step.
Step 2: Soak in Vinegar Solution
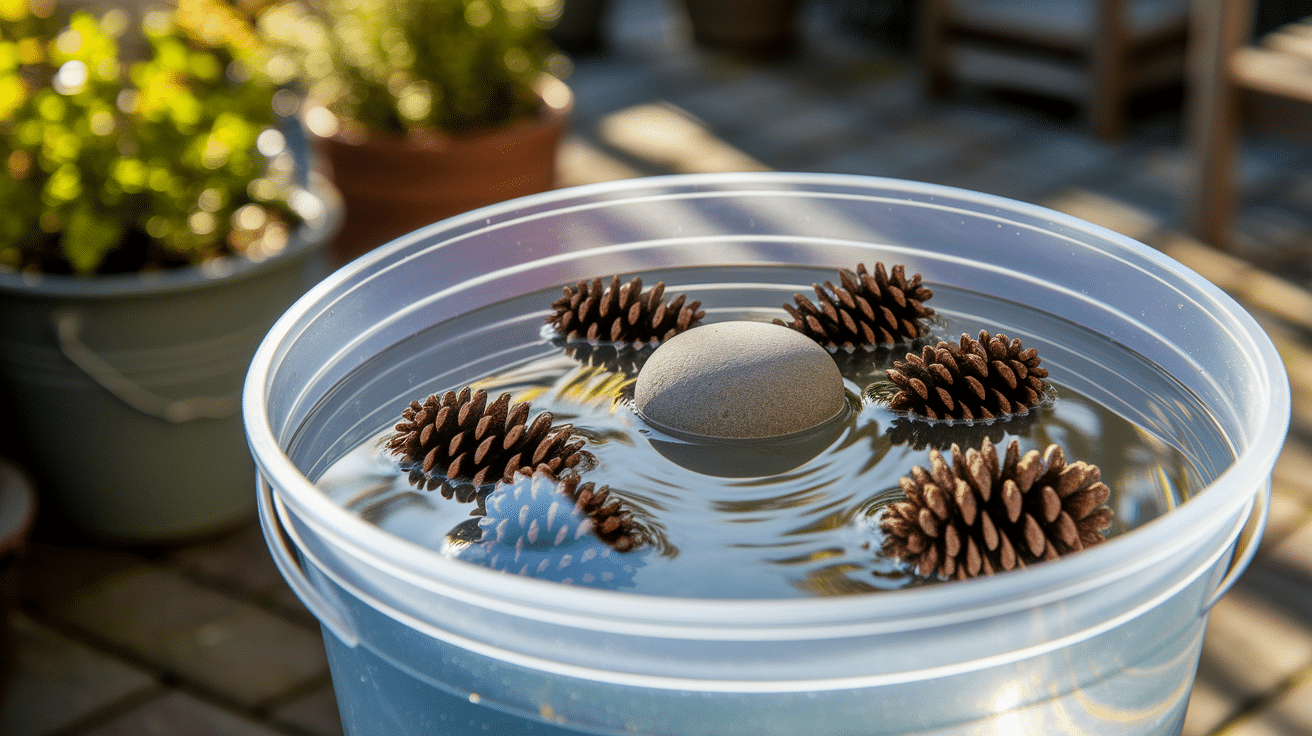
Fill a bucket with a mixture of 1 part white vinegar to 2 parts water.
Submerge pine cones fully, placing a small weight on top if they float. Let them soak for 20-30 minutes. The vinegar kills mold spores and removes sticky sap while forcing out any hiding insects.
Pro Tip: Add a few drops of dish soap to the solution for extra cleaning power on very dirty cones.
Step 3: Rinse and Dry
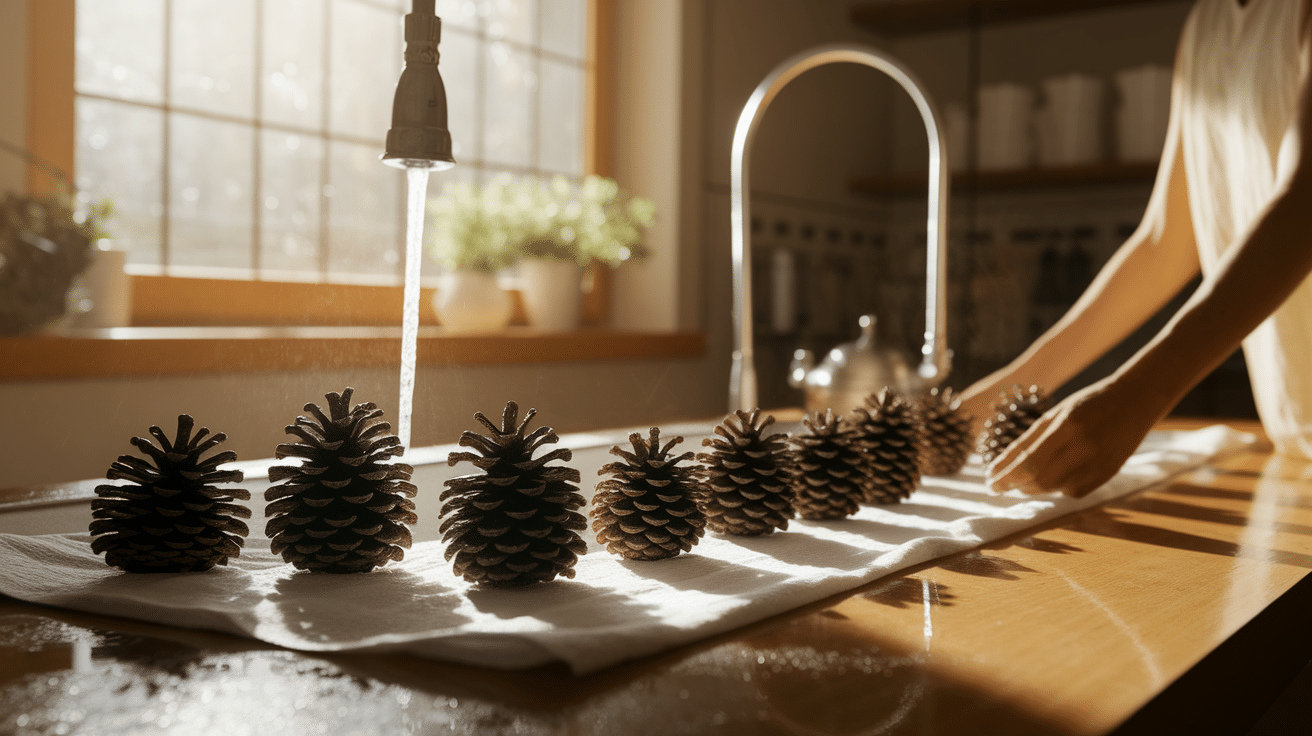
Remove pine cones from the solution and rinse under cool running water.
Place on paper towels and pat gently to remove excess moisture. Allow them to air dry for about 30 minutes before moving to the baking stage.
Pro Tip: The cones will close up when wet – this is normal! They’ll reopen during the drying process.
Baking Pine Cones to Kill Pests and Harden Them
Baking pine cones is a vital step that kills any remaining pests and helps tightly closed cones open fully.
Baking Process
- Preheat your oven to 200°F (93°C) – higher temps may cause pine cones to burn
- Line a baking sheet with aluminum foil or parchment paper to catch dripping sap
- Arrange pine cones in a single layer with space between each one
- Place the baking sheet on the middle rack of your oven
- Bake for 30-45 minutes until pine cones open completely
- Watch for any smoke or strong smells – these indicate the temperature is too high
- Small amounts of sap may leak out during baking – this is normal
Why Baking Works
- Heat kills any insects, eggs, or larvae still hiding inside
- Warmth causes scales to expand and open fully
- Baking removes excess moisture that could cause mold later
- The process melts remaining sap, making cones less sticky
- Sterilization prevents bringing pests into your home
Safety Measures
- Never leave baking pine cones unattended
- Keep oven temperature low to prevent fire risk
- Use a timer to avoid forgetting about them
- Allow pine cones to cool completely before handling
- Open windows for good air flow if pine scent becomes strong
How to Finish Pine Cones for Stunning Craft Projects
After cleaning and drying, improve your pine cones with a clear acrylic spray for added shine and protection. Apply two thin coats in a well-ventilated area.
For a festive look, lightly brush the edges with white, gold, or silver paint. To scent pine cones, mist them with a mix of 20–30 drops of essential oil (like cinnamon or clove) and 2 tablespoons of water. For kids’ crafts, use non-toxic glue to add glitter, pom-poms, or paper decorations — the natural texture makes them perfect for creative projects!
You can also try wrapping thin wire around the base to create hanging ornaments for trees or windows. String several treated pine cones together with twine for rustic garlands. Small pine cones work well in potpourri mixes or as filler in clear glass vases.
Try pressing the bases into air-dry clay to make unique stamps for cards or gift wrap. The right finish can turn simple pine cones into heirloom-quality decor items that last for many seasons.
7 Best Practices for Storing Pine Cones
1. Airtight Protection: Store prepared pine cones in sealed plastic containers or ziplock bags to keep moisture and bugs out.
2. Moisture Absorbers: Add silica gel packets to storage containers to prevent dampness that could cause mold growth.
3. Labeling System: Mark containers with dates and pine cone types to track how long they’ve been stored.
4. Temperature Control: Keep stored pine cones in cool, dry places away from heat sources that could dry them too much.
5. Cushioning Method: Place tissue paper between layers of pine cones to prevent damage to delicate scales.
6. Inspection Schedule: Check stored pine cones every few months for signs of pests or moisture problems.
7. Separation Strategy: Store painted or decorated pine cones separately from natural ones to prevent color transfer.
Wrapping Up
Now you have all the steps needed to turn backyard pine cones into craft-ready treasures. The cleaning process may take a bit of time, but the results are worth the effort. Clean pine cones look better, last longer, and work well with paints and glues.
Remember that proper preparation prevents bugs, mold, and dirt from ruining your crafts. The simple steps of cleaning, baking, and storing create items you can use with confidence.
Start with a small batch to practice these methods. You’ll soon find that prepared pine cones become a go-to material for seasonal displays, gifts, and home decor.
What will you make with your cleaned pine cones? The options are as wide as your imagination. Happy crafting!