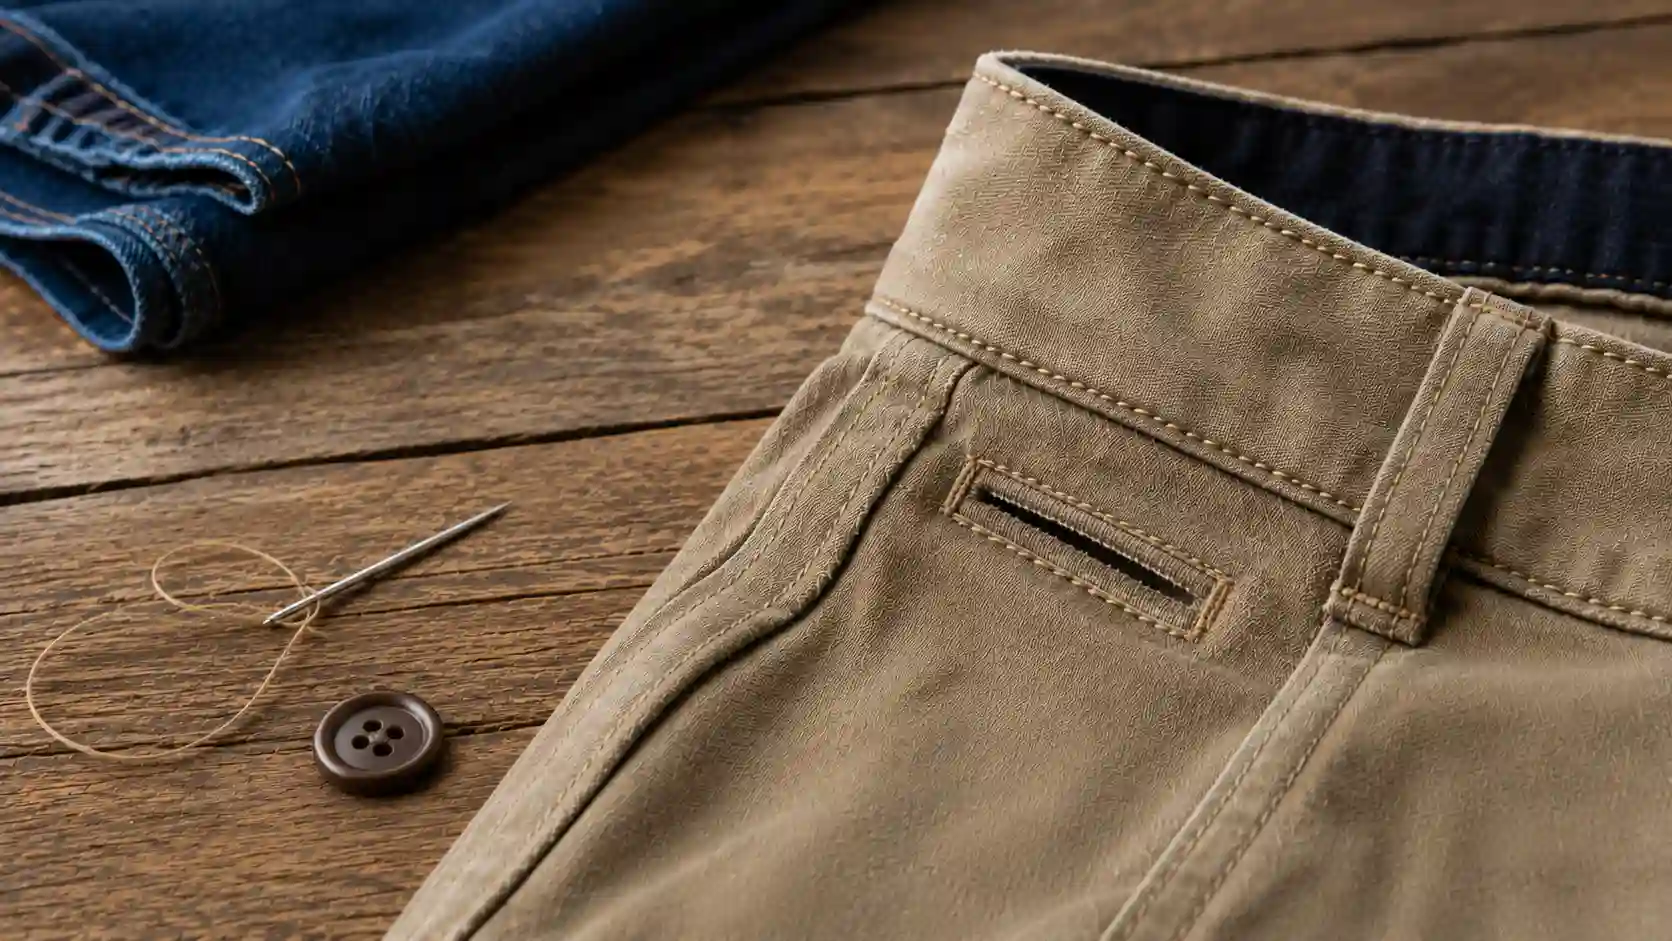
Knowing how to sew a button on pants is one of those small skills that saves you time, money, and a last-minute wardrobe panic.
Buttons fall off for simple reasons: worn thread, skipped shanks, or fabric that finally gave out under daily stress.
Fixing one takes under 10 minutes with just a needle, thread, and a little patience. No sewing machine needed. No trip to the tailor required.
Tools You’ll Need
|
Before You Sew, Check These 5 Things
Jumping straight into sewing without a quick check can result in a button falling off again within days. Spend two minutes going through these five points before threading your needle. It saves you from having to do the job twice.
| Check | What to Look For | Action Needed |
|---|---|---|
| Is the original button missing? | No button on the fabric | Find a matching replacement |
| Is the fabric damaged? | Tears, fraying, or holes near the button area | Reinforce or patch before sewing |
| Can the existing button be reused? | Button intact, thread broken | Clean it up and reattach |
| Does the buttonhole need repair? | Stretched or fraying edges | Stitch the edges before reattaching the button |
| Do you need a replacement button? | Button cracked, chipped, or lost. | Match size and style at a fabric or craft store |
Skipping these checks is the number one reason buttons fall off again after a repair. A solid foundation makes the fix last.
How to Sew a Button on Pants
Learning to sew a button on pants is a skill you will use for years. All you need is a needle, matching thread, and a few minutes. The steps below walk you through the full process so the button goes on straight, sits right, and stays put through regular wear and washing.
Step 1: Mark Placement
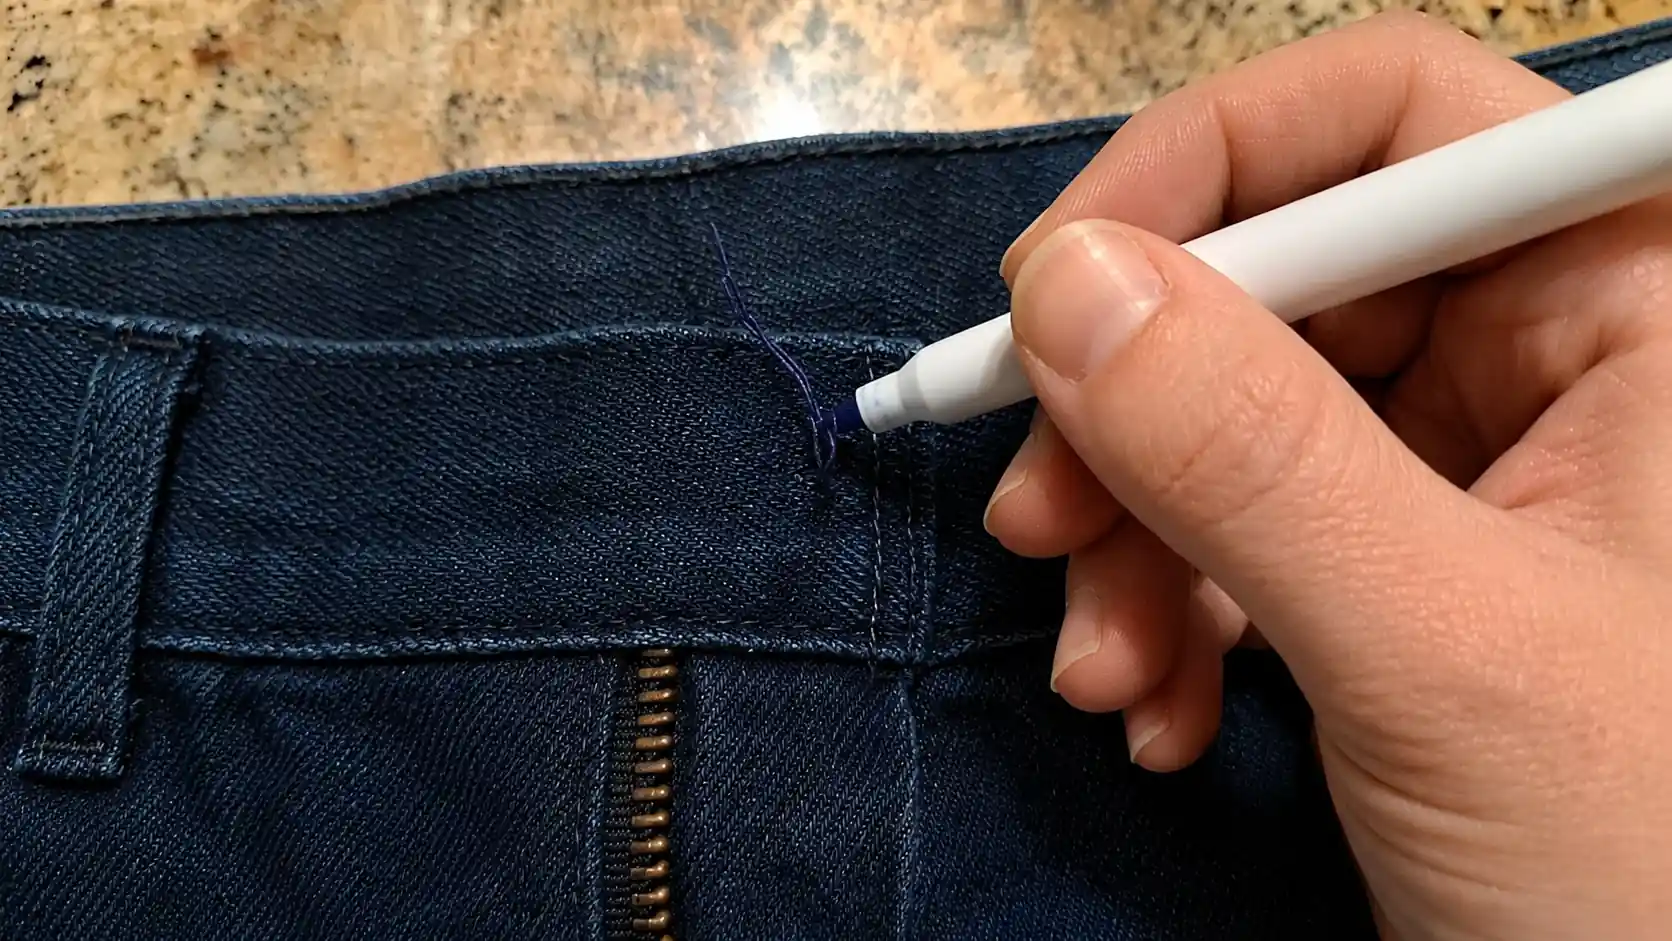
Use a washable fabric pen or a quick stitch to mark the exact spot where the button should sit. Line it up carefully with the buttonhole to make sure it closes evenly.
If the original button left a small imprint or traces of thread on the fabric, use that as your guide.
Getting the placement right before you start is the most important prep step because moving a button mid-sew is messy and wastes thread.
Pro Tip: Button the pants first, then push a pin through the buttonhole to mark the exact spot on the fabric. This gives you a perfectly aligned placement every time.
Step 2: Thread the Needle
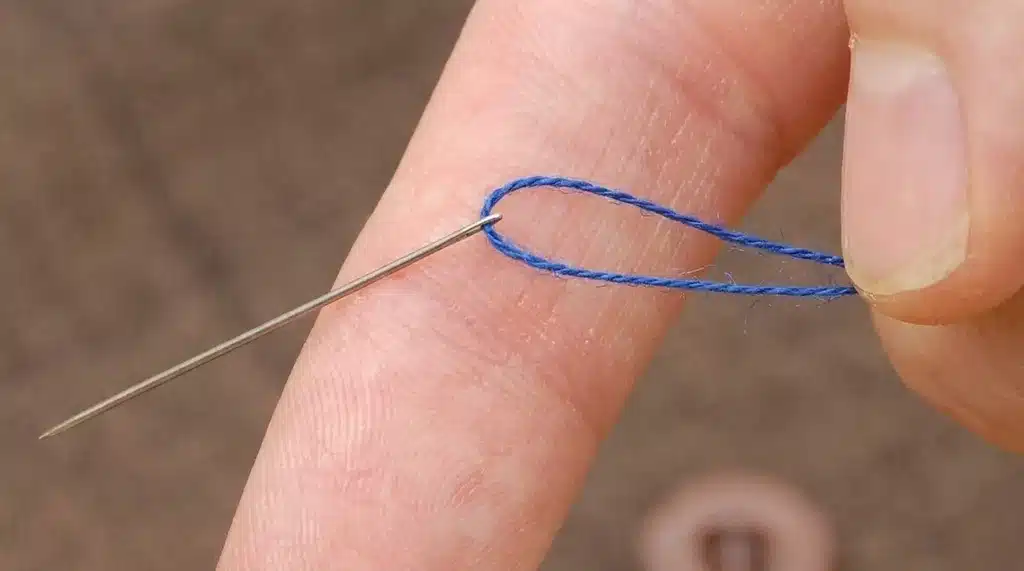
For lighter pants, thread your needle with a double strand and knot the ends together so you are pulling four threads through at once, which means you only need two to three passes per hole to get a secure hold.
For jeans and heavier fabrics, use a single strand of heavy-duty thread 18 to 24 inches long, then knot the ends together for a double strand.
Match your thread color to the fabric or the existing button stitching.
Use a needle sized to your fabric: a 70/10 or 80/12 sharp for dress pants and chinos, a 90/14 or 100/16 for denim and work pants. A larger-eye needle also helps prevent fraying as you pull thicker thread through.
Pro Tip: Run your thread through a small piece of beeswax before threading the needle. It prevents tangling and strengthens the thread against friction.
Step 3: Attach the Button
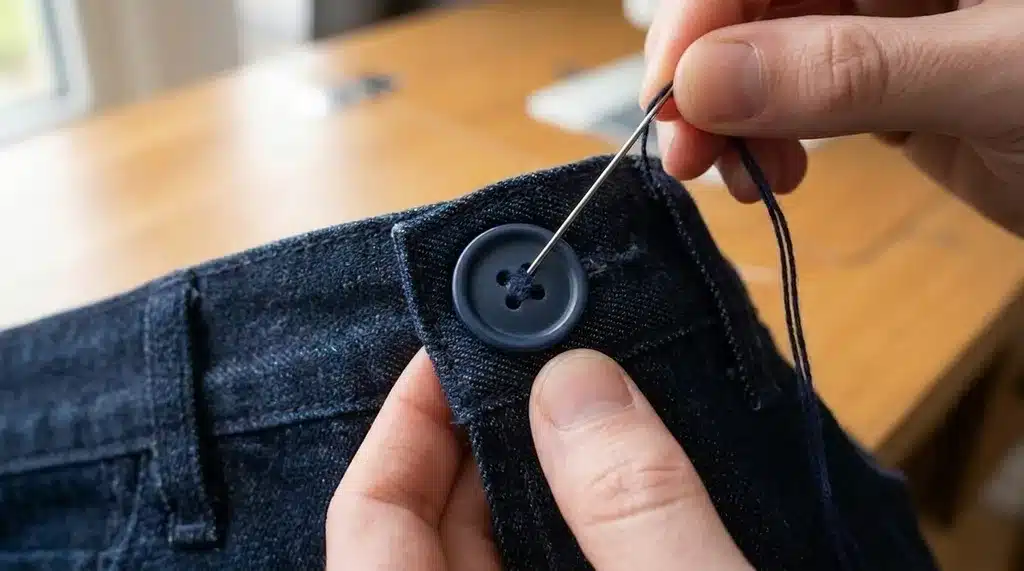
Push the needle up from the underside of the garment and through one of the holes on the button, pulling the thread all the way through until the knot sits flush against the underside of the fabric.
Turn the needle and push it back down through the opposite hole. Place a toothpick or pin under the button as you sew to keep it from being pulled too tight against the fabric.
Repeat this six times total, three passes per pair of holes. For four-hole buttons, complete both pairs of holes before moving on.
Steps may vary slightly depending on the type of button you are attaching.
Pro Tip: Sew the first pair of holes in a parallel stitch pattern and the second pair in a cross pattern. This spreads tension across all four attachment points and reduces stress on any single stitch.
Step 4: Create the Shank
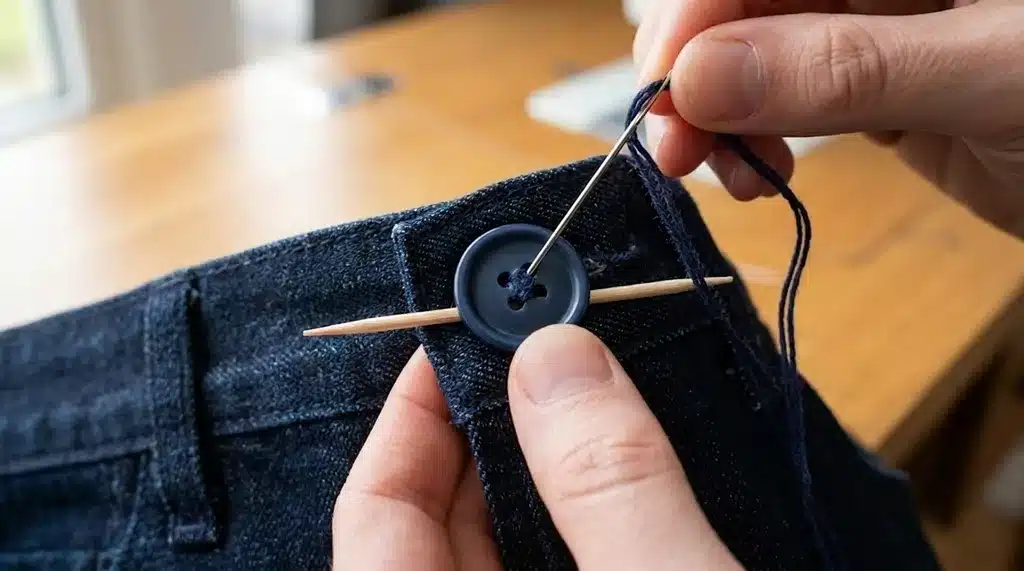
To help the buttonhole fabric fit smoothly under the button, wrap the thread around the stitches between the button and the fabric to create a small thread shank that lifts the button slightly off the surface.
This step is often skipped, but it is what separates a button that lasts from one that pops off in a week.
The shank gives the button room to move when fastened and prevents the thread from pulling tight and snapping under pressure. Wrap the thread three to six times to build a firm base.
Pro Tip: The thicker your pant fabric, the longer your shank needs to be. Hold the fabric up to the buttonhole before wrapping so you can judge the right height for your specific garment.
Step 5: Secure the Knot
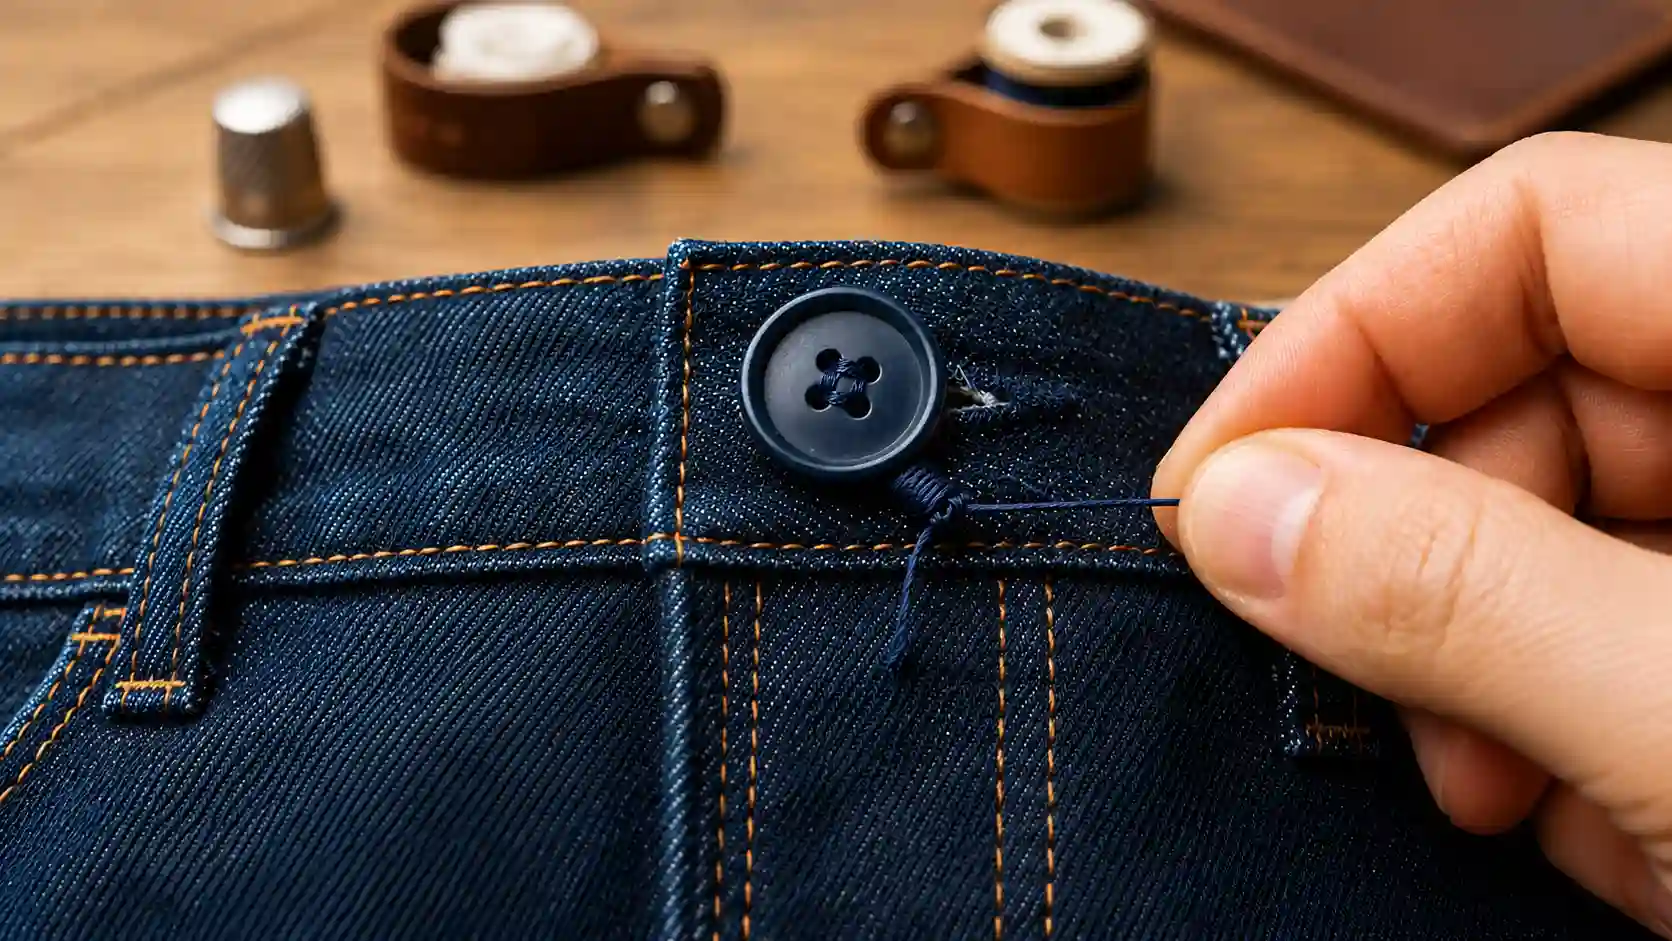
Bring the needle up under the button, wrap the thread around the stitches a few times, then pass the needle through the loop and pull tight.
Trim any excess thread near the knot. Do not leave a long tail, as it can catch and unravel the whole repair.
Give the button a gentle tug to test the hold before putting the pants back on. A well-tied finishing knot is what keeps months of wear from undoing your work.
Pro Tip: After trimming, press the knot area lightly with a warm iron through a damp cloth. It sets the thread fibers and tightens the entire repair without any extra stitching.
Sewing a button by hand takes under 10 minutes once you have done it a few times. With the right thread and a proper shank, a hand-sewn button can hold just as well as a factory-finished one. Practice on a scrap piece of fabric first if you feel unsure.
Watch the Full Tutorial Before You Start
Before grabbing your needle, take 10 minutes to watch the video below. It covers the full process from start to finish, so you go in with a clear picture of every step.
Seeing the technique in action makes it much easier to follow along, avoid mistakes, and get a result that actually holds.
Thanks to Jay Rules for the helpful tutorial featured above.
What You’ll Learn in the Video
- Reattaching a loose button
- Replacing a missing button
- Creating a durable thread shank
- Fixing common mistakes
Machine Sewing vs. Hand Sewing
Machine sewing is faster and works well for straight, high-stress seams where consistency matters.
It is the better choice for thick fabrics like denim, where even tension across each stitch keeps the button locked in place through heavy use.
Hand sewing gives you more control over placement and shank depth, which is why most tailors still recommend it specifically for button attachment.
You can adjust the tension stitch by stitch and build a proper thread shank that a machine cannot replicate easily.
For pants buttons, hand sewing wins. The process takes less time, requires no equipment, and produces a repair that holds just as well as the original factory stitching when done correctly.
Best Thread and Needle for Pants Buttons
The right thread and needle depend on the fabric weight. Fine trousers need lighter supplies, while denim and work pants need stronger tools.
- Dress pants: Use fine polyester or cotton thread with a 70/10 or 80/12 sharp needle. Double the thread for strength without bulk.
- Chinos: Choose medium-weight polyester thread and an 80/12 universal needle. Match the thread to the fabric or button for a cleaner repair.
- Work pants: Use heavy-duty button or upholstery thread with a 90/14 sharp needle. Add extra passes through each hole set for strength.
- Denim: Use a 90/14 needle for regular denim or a 100/16 needle for heavier denim. Polyester thread handles movement and daily wear well.
Choosing the right supplies keeps the button secure and the repair neat. It also helps the stitching hold up through regular washing and wear.
Estimated Time to Fix and How Long It Holds
A properly sewn pants button can last two to three years or longer when the thread, stitching, and underlying fabric are all in good condition.
The full repair takes 5 to 10 minutes, making it one of the quickest clothing fixes you can do at home.
Heavy-duty polyester or button thread holds up better than standard thread, especially on waistbands that take daily stress.
At least six passes through the button holes, combined with a proper thread shank, give the repair enough strength for regular wear and washing.
If the fabric around the button is frayed or weakened, the repair will fail sooner regardless of thread quality. Metal and thick plastic buttons also outlast thin plastic ones.
Preventive Maintenance Tips
A little button care can prevent bigger repairs later. Check high-use pants more often, especially jeans, uniforms, and work trousers.
- Check stitching regularly: Look at button threads every few months. If they seem loose, reinforce them before the button pulls away from the fabric.
- Watch the fabric: Check for fraying, tearing, or thinning around the button area. Weak fabric needs support before resewing or tightening the button.
- Store pants carefully: Hang pants or fold them neatly. Avoid storing them tightly fastened, as this can put steady pressure on the waistband button.
- Reinforce seasonal wear: Before heavy use, add a few stitches to buttons on work pants or jeans. This keeps small issues from becoming repairs.
Simple maintenance helps your pants last longer and keeps buttons from failing at the worst time. A quick seasonal check is usually enough.
Quick No-Sew Alternatives for a Pants Button
A few temporary fixes can hold you over until you have time for a proper repair.
A no-sew tack button kit works well for jeans and costs around five dollars at most fabric or craft stores.
Fabric glue can reattach a loose button on lighter pants but will not hold up through washing. A button pin clips directly onto the fabric and keeps the closure secure enough for a full day of wear.
For a last-minute fix, loop a hair tie through the buttonhole and wrap it around the existing button stud to create a temporary closure.
None of these replaces a hand-sewn button for long-term wear, but each buys you time for a proper repair.
Interactive Pants Button Troubleshooter
Use this quick troubleshooter when a pants button feels loose, breaks off, or stops closing properly. Start by matching the visible problem to the likely cause.
| Problem | Cause | Fix |
|---|---|---|
| The button fell off | Broken thread | Sew a new button |
| Button loose | Weak stitching | Reinforce stitches |
| Fabric tearing | Excess tension | Add backing support |
| Jeans button missing | Broken tack | Replace fastener |
| Buttonhole stretched | Wear and tear | Repair buttonhole |
Check the thread, backing fabric, and buttonhole before choosing the repair.
If the button or fabric is badly damaged, replacing the fastener is usually the safer choice.
Conclusion
Knowing how to sew a button on pants is a small skill that pays off every time a button gives out.
A needle, thread, and ten minutes are all it takes to keep your favorite pants in rotation without a trip to the tailor.
The repair holds for years when done with the right thread, proper stitches, and a solid thread shank. Even if sewing is not your thing, a no-sew kit or quick alternative buys you time until you can fix it properly.
Pick up a basic sewing kit today and keep it somewhere easy to reach. The next time a button fails, you will be ready to fix it in minutes.
Frequently Asked Questions
Can I Sew a Button without a Sewing Kit?
Yes. All you need is a needle, thread, and scissors. In a pinch, a safety pin can serve as a temporary fix until you can sew it properly.
Why Do Pants Buttons Fall Off?
Buttons fall off when the thread weakens from repeated stress, washing, or wear. A missing thread shank puts extra tension on the stitches, causing them to break faster.
What is a Thread Shank?
A thread shank is a small column of wrapped thread between the button and the fabric. It lifts the button slightly so the buttonhole fabric can pass through smoothly without pulling the stitches tight.
Can I Replace a Jeans Button Myself?
Yes. A no-sew tack button kit is available at fabric and craft stores for around five dollars and lets you replace a jeans button at home without any sewing skills.
How Much Thread Should I Use?
Use about 24 inches of thread, doubled over on the needle, so you have at least 12 inches to work with while sewing. For heavier fabrics, use a single heavy thread 18 to 24 inches long and knot both ends together.