
Ever noticed how a simple clay pot can make any plant look better? Terracotta pots have that special charm that plastic ones just can’t match. They breathe life into gardens, patios, and windowsills everywhere.
Making your own terracotta pots is fun—it’s also easier than you might think! With some clay, basic tools, and a bit of patience, you can create beautiful containers for your favorite plants.
This guide will walk you through each step of crafting your own terracotta pots, from picking the right clay to adding the finishing touches that make each pot unique.
Ready to get your hands dirty? Let’s dig into the wonderful world of handmade terracotta pots. Your plants (and your creative spirit) will thank you!
Why Terracotta Pots are Perfect for Your Plants and Home
Terracotta pots create ideal growing conditions with their porous walls that let roots breathe. The natural clay regulates temperature, preventing root rot and keeping plants healthy year-round.
Their warm, earthy color enhances plant display without drawing attention away from the greenery.
These durable pots age gracefully, adding subtle texture to any home décor while remaining practical and affordable.
Types of Terracotta
Here’s a simple table summarizing the different types of terracotta:
| Type | Description | Common Uses |
|---|---|---|
| Natural Terracotta | Unglazed, red earthenware with A rustic, earthy look. | Plant pots, sculptures, roof tiles |
| Glazed Terracotta | Coated with A shiny or colored glaze before final firing; waterproof. | Decorative tiles, architectural elements |
| Burnished Terracotta | Polished before firing to create a natural sheen without glaze. | Decorative pottery |
| Polished Terracotta | Polished after firing with wax or oils for a refined finish. | Artwork, display pieces |
| Architectural Terracotta | Designed for buildings; often glazed and weather-resistant. | Facades, Tiles, Structural Decorations |
Best Clay for Terracotta Pots: Red earthenware clay is perfect for terracotta pots.
Rich in iron for that classic reddish-brown color, it’s easy to shape, fires at lower temperatures, and creates porous walls that let plant roots breathe and prevent overwatering.
How to Make Terracotta Pots (Step-by-Step)
Learn how to make terracotta pots at home with this simple, step-by-step guide using natural clay and basic tools.
1. Gather Materials
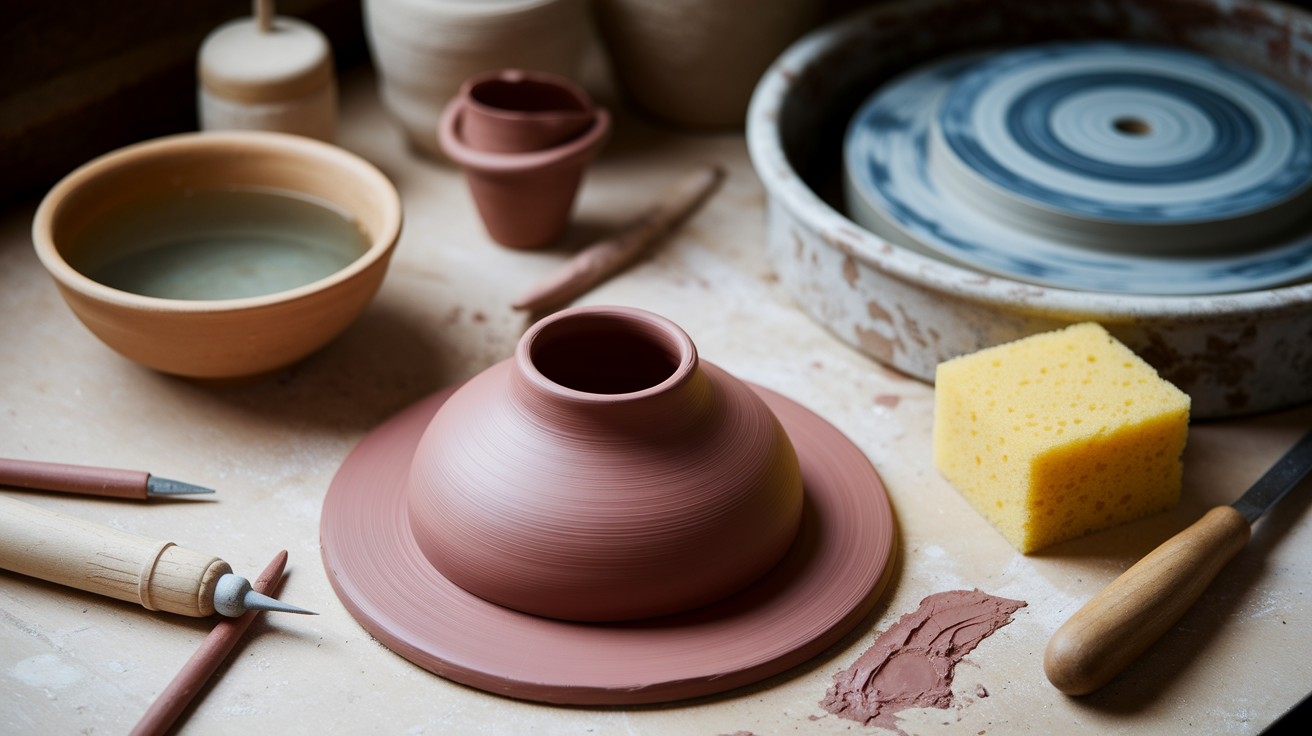
Red earthenware clay gives terracotta its signature color and porous quality. Proper materials ensure your pots will be durable and have that classic terracotta appearance.
- Get red earthenware clay, water, and basic tools
- Prepare a clean workspace and consider kiln access
- Optional: pottery wheel if using wheel-throwing technique
2. Wedge the Clay
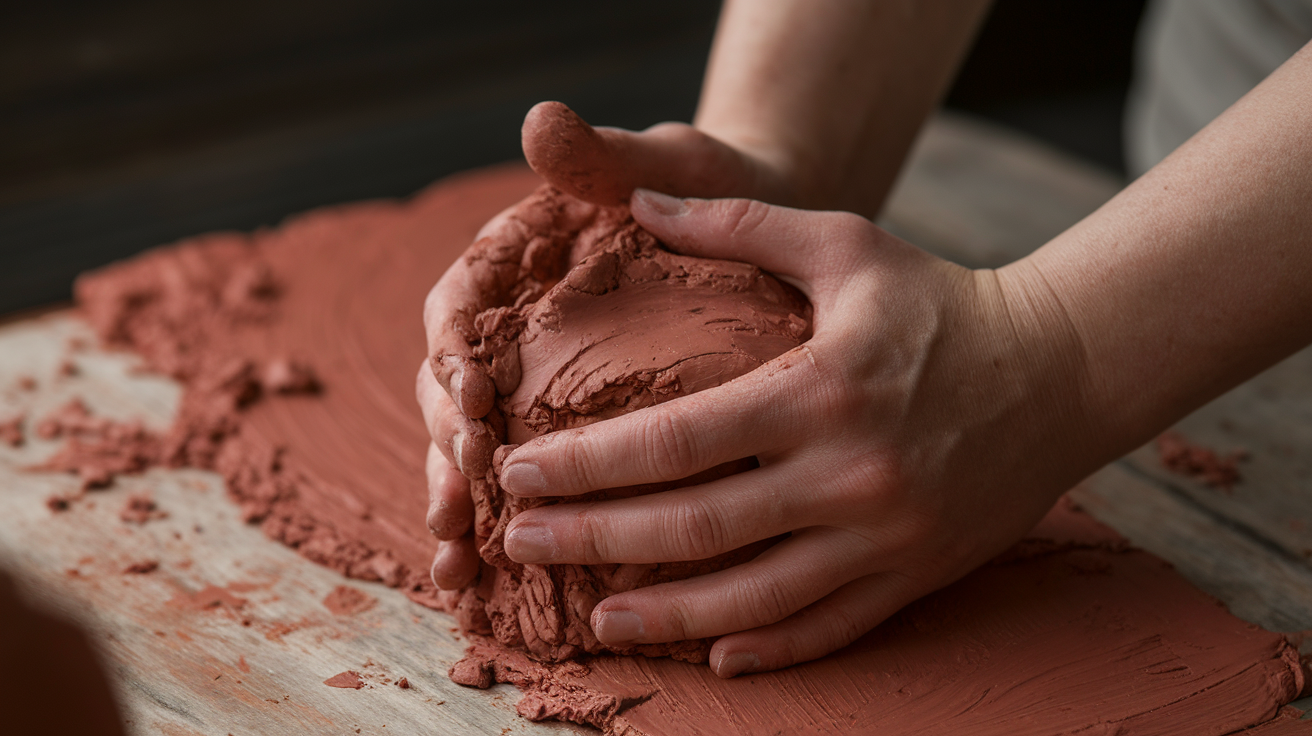
Wedging prepares the clay by removing air bubbles that could cause problems during firing. Think of this step as kneading bread dough – it creates uniform consistency and improves workability.
- Press and fold repeatedly to remove air bubbles
- Work on a flat surface until texture is even
- Proper wedging prevents cracks during firing
3. Shape the Pot

This creative stage changes raw clay into your desired pot form. Whether you prefer the meditative process of hand-building or the dynamic flow of wheel-throwing, this is where your vision takes shape.
- Choose hand-building (coil/pinch) or wheel techniques
- Keep hands and clay slightly damp for easier shaping
- Build walls gradually for even thickness
4. Smooth and Refine
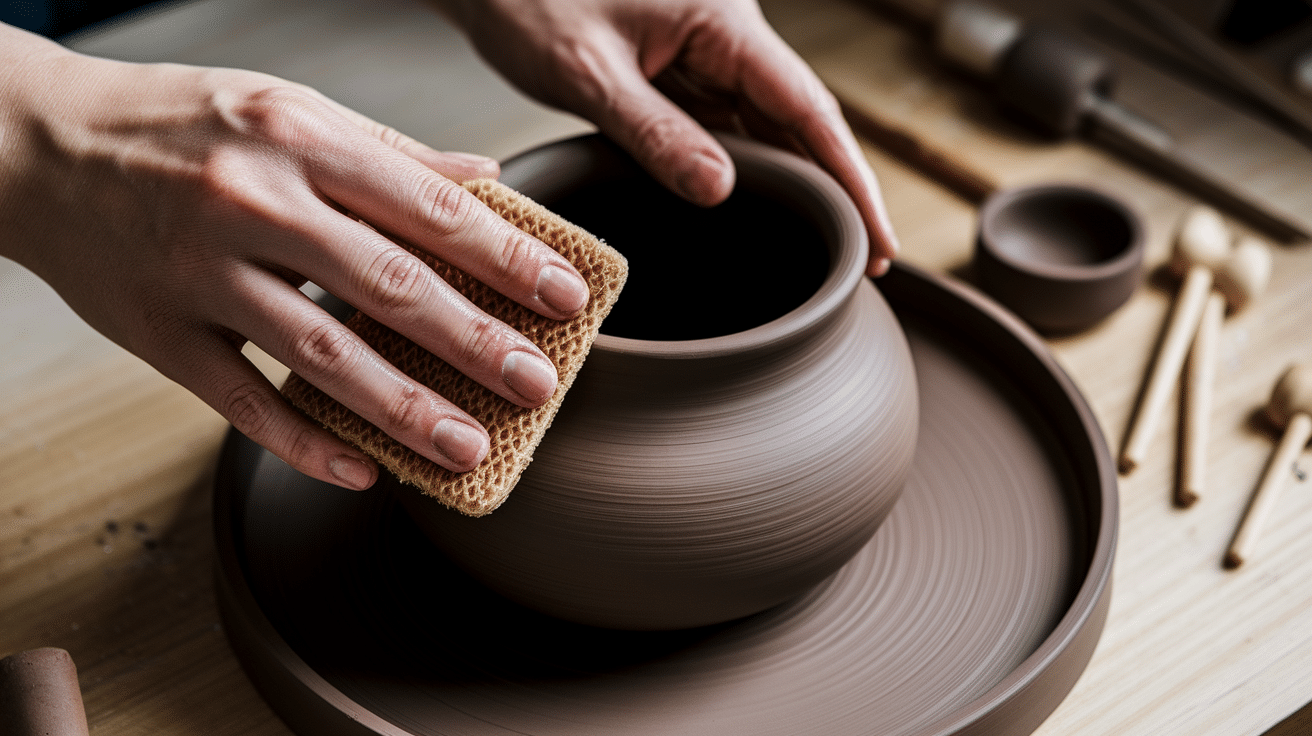
Refining creates a professional finish and strengthens your pot’s structure. This detailing phase allows you to add personality through texture or keep the surface classically smooth.
- Use fingers or damp sponge to create smooth surfaces
- Add textures or patterns with wooden/metal tools
- Check that base and walls are even
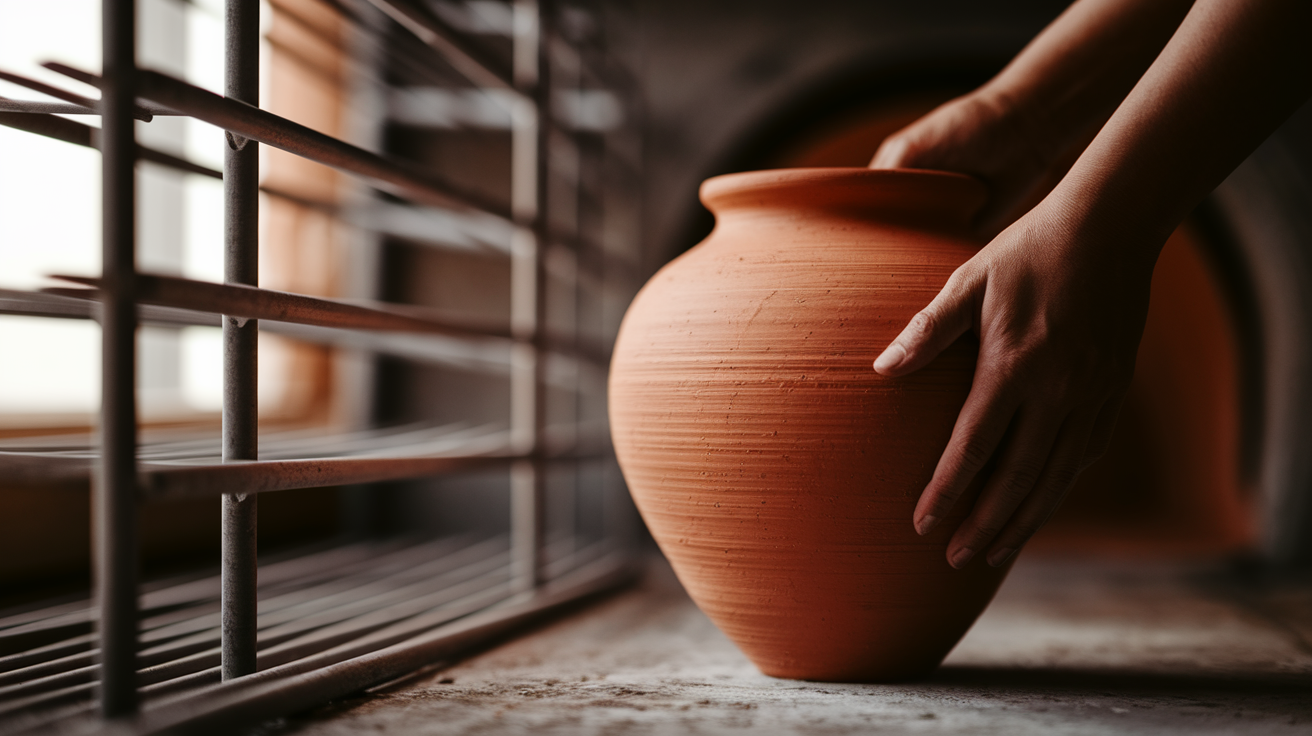
5. Dry the Pot
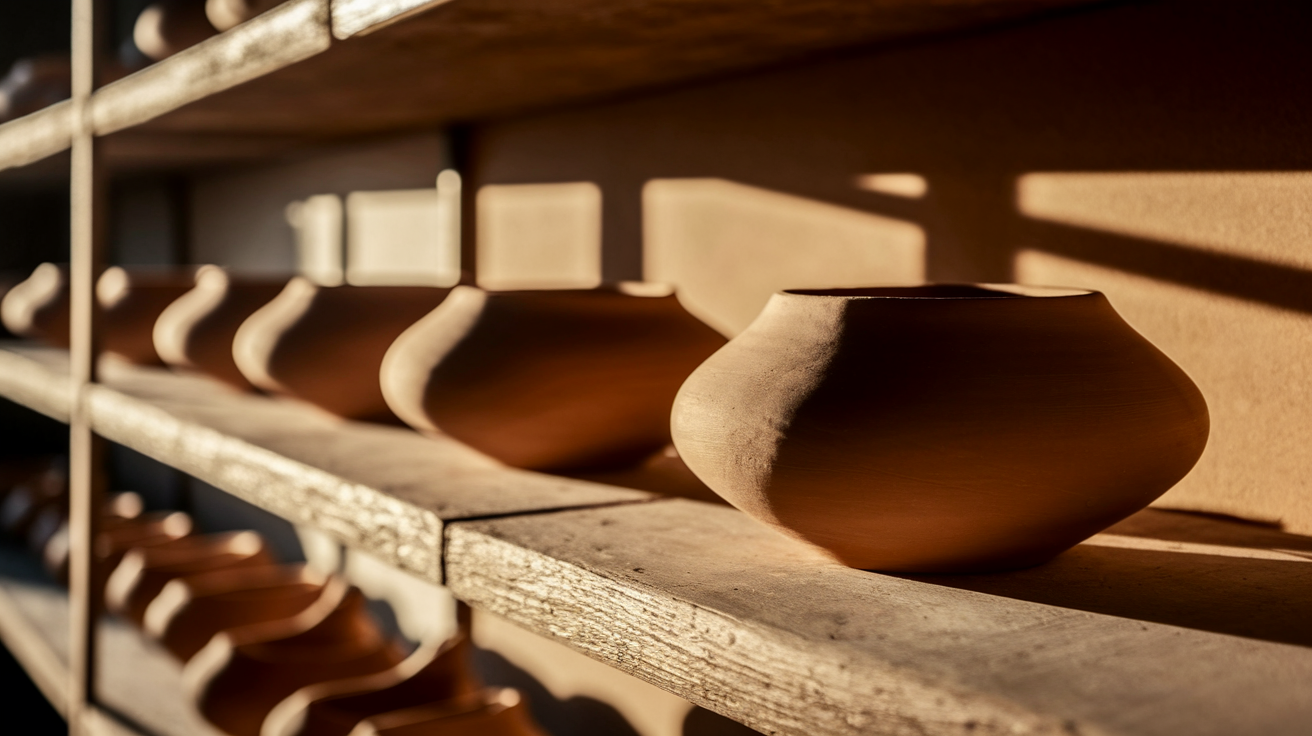
Proper drying prevents cracks and prepares the pot for firing. Patience during this phase pays off with fewer defects in your finished piece.
- Place in a shaded, well-ventilated area
- Avoid direct sunlight to prevent cracking
- Allow 1-2 days depending on size and humidity
6. Fire in The Kiln (optional)
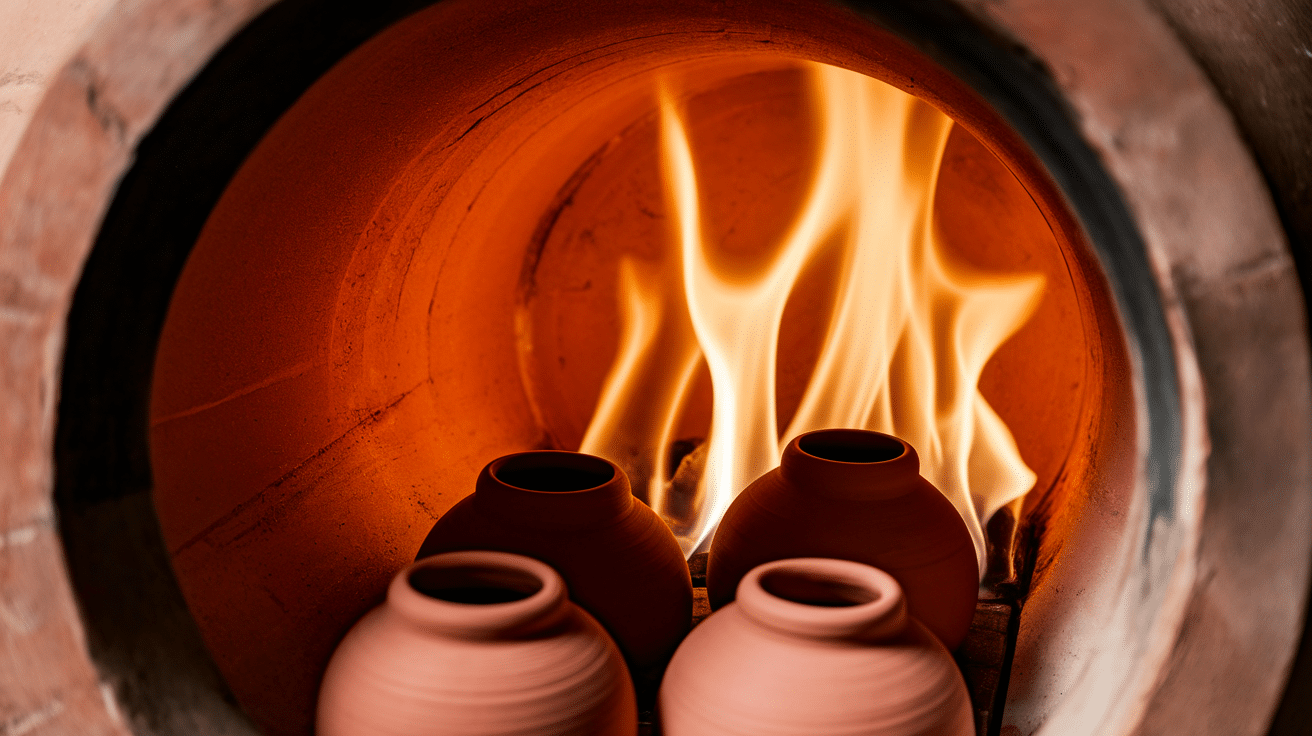
Firing coverts your soft clay into durable terracotta through heat. This ancient process chemically changes the clay, creating a permanent, waterproof structure.
- Ensure pot is completely dry before firing
- Fire at approximately 1000°C (1830°F)
- Follow proper kiln safety procedures
7. Cool and Finish
Patience during cooling ensures your pot doesn’t crack from thermal shock. The cooling process completes the transformation from malleable clay to finished terracotta.
- Allow pot to cool completely inside the kiln
- Once cool, your pot is ready to use or decorate
- Terracotta’s natural porosity makes it ideal for plants
Watch How It’s Done: Terracotta Pot Video Tutorial
See the complete pot-making process in action with expert techniques demonstrated step-by-step by Ingleton Pottery.
5 Ways to Use Terracotta Pots at Home
Here are five creative and practical ways to use terracotta pots to bring charm and function into your home.
1. Grow Indoor or Outdoor Plants
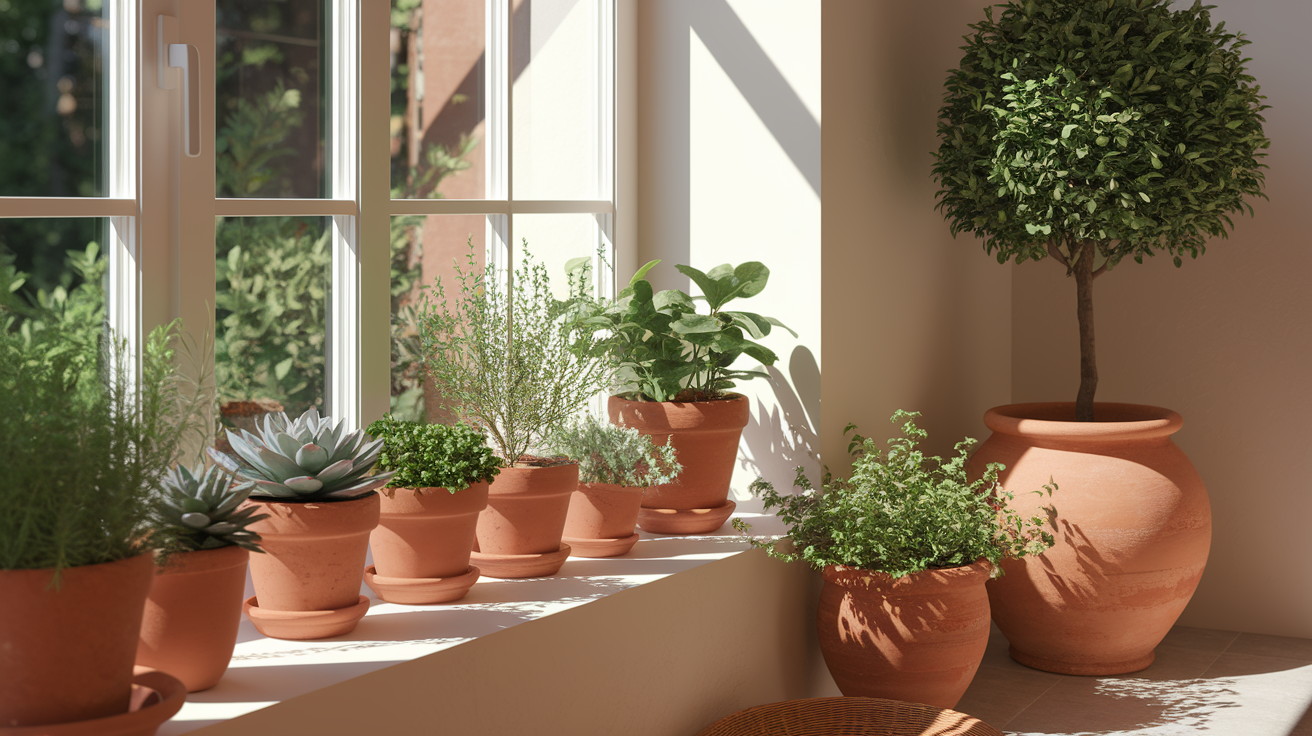
The most classic use of terracotta pots Is for growing plants. Their porous nature allows air and moisture to move through the soil, keeping roots healthy. They’re great for succulents, herbs, flowers, or even small trees.
Gardening Ideas: Use for potted herbs in the kitchen, grow succulents on windowsills, place large terracotta pots with trees on patios or add drainage trays for indoor use
2. Use as Rustic Kitchen Organizers
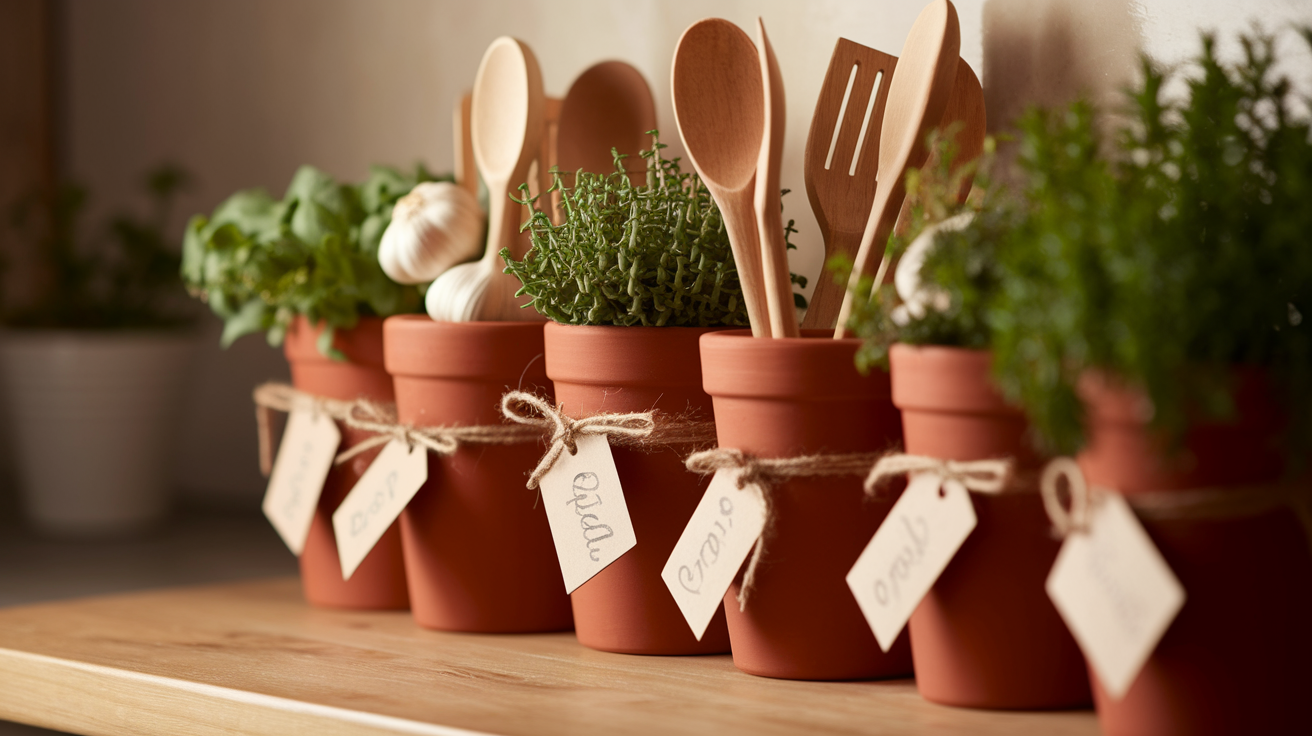
Terracotta pots Can bring a charming farmhouse feel to your kitchen. You Can use them to hold utensils, wooden spoons, garlic bulbs, or even rolled-up napkins.
Kitchen Storage Solutions: Store ladles and spoons near the stove, use small pots for garlic, onions, or fresh herbs or wrap pots with twine or paint labels for style
3. Create Candle Holders
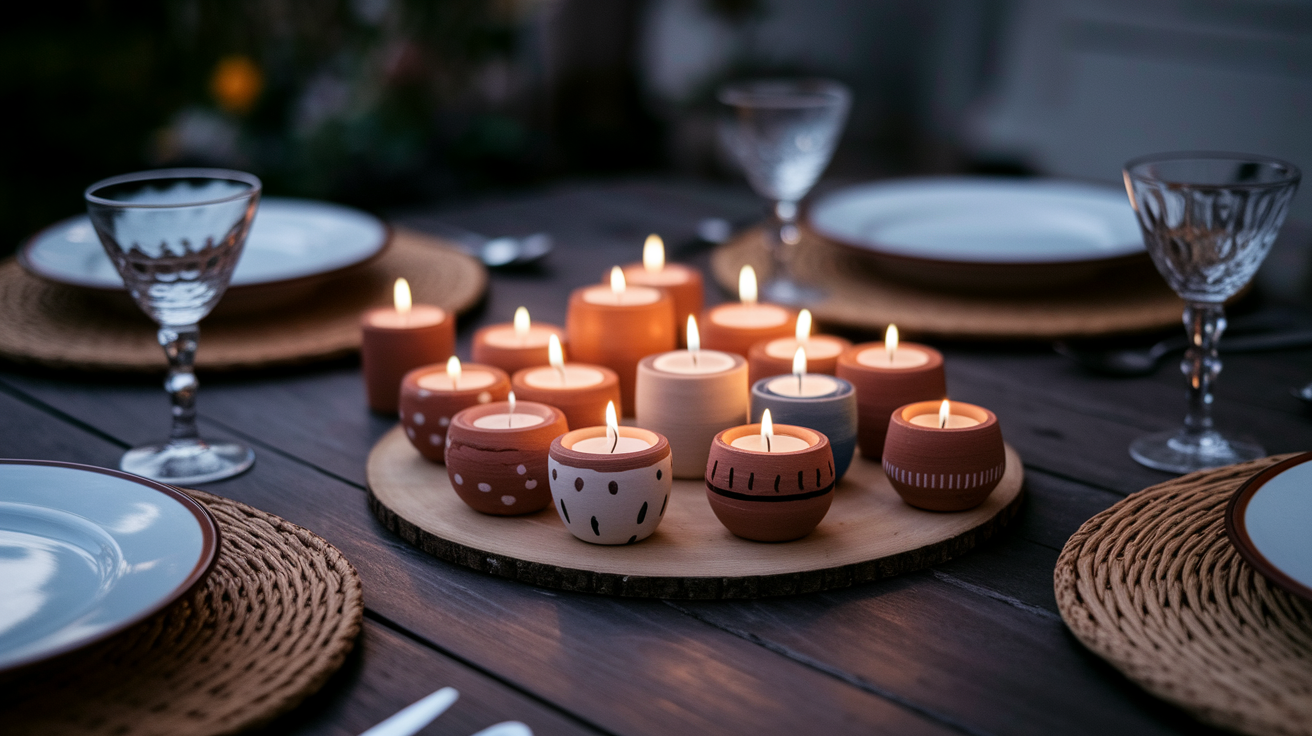
You Can turn small terracotta pots into cute and earthy candle holders. Just drop in A tealight or A homemade wax candle. It makes a lovely accent for dinner tables or outdoor nights.
Lighting Accents: Place tealights inside mini terracotta pots, paint or decorate the outside for flair or group a few together as a centerpiece.
4. Make Diy Planter Arrangements

Stack or group terracotta pots in creative ways for unique displays. You Can glue them into tiered shapes or mix sizes to build vertical gardens for patios or balconies.
Display Techniques: Create a tiered planter with large and small pots, stack sideways pots for a “spilled flower” effect or arrange various sizes on a plant stand.
5. Use for Bathroom Storage
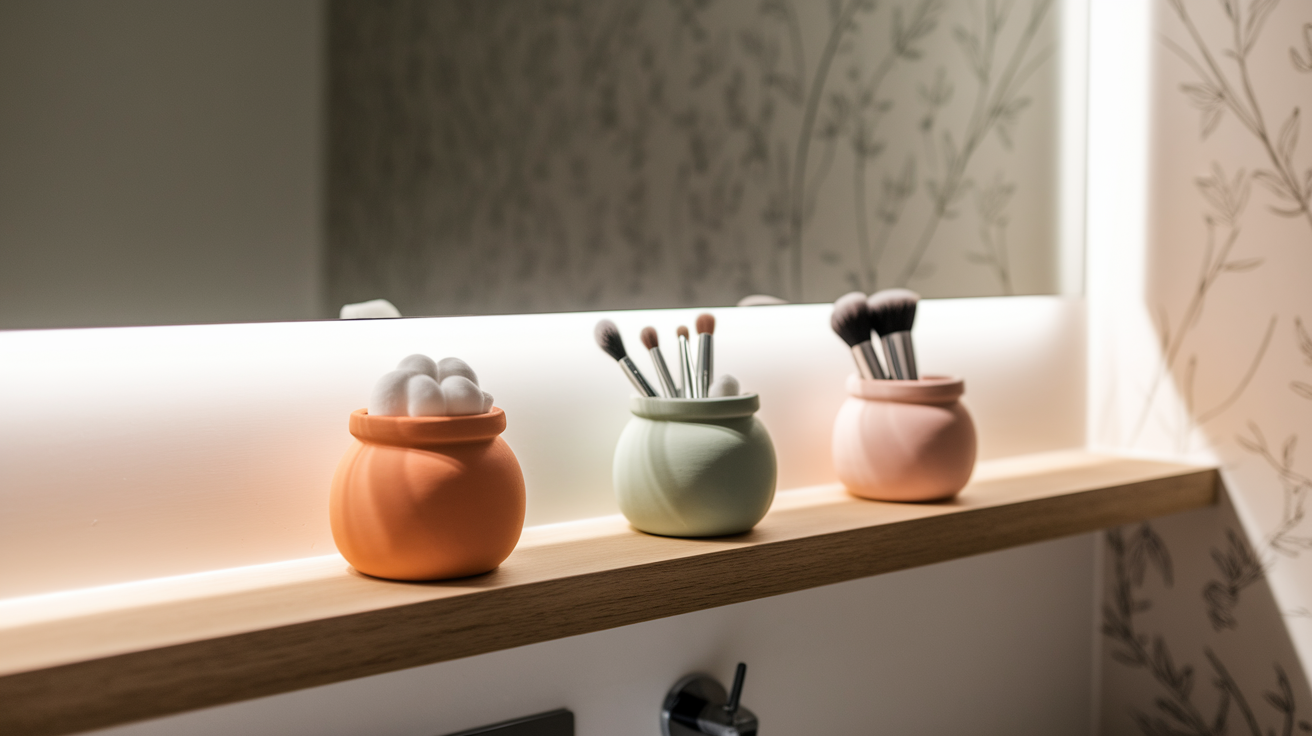
In bathrooms, terracotta pots add a natural, spa-like vibe. Use them to hold cotton balls, q-tips, makeup brushes, or bath salts. Just seal the inside if placing near moisture.
Bathroom Organization: Store small items on a bathroom shelf, add a lid or wrap in fabric for a clean look or we can also use matching painted pots for organization.
Bringing Your Terracotta Path Full Circle
Congratulations! You’ve now learned the basics of making your own terracotta pots. These handcrafted containers add a personal touch to any plant collection that store-bought pots simply cannot provide.
Remember that each small imperfection gives your pot character—the tiny fingerprints and slight irregularities show the story of your creative work.
The natural tones of your pots will develop a lovely patina over time. As your plants thrive, you’ll feel satisfied knowing you’ve created something functional and beautiful.
Ready to get your hands clay-covered? Grab your materials and start creating your first terracotta masterpiece today! Then, share your experience in the comments below. Can’t wait to see what you make!
