
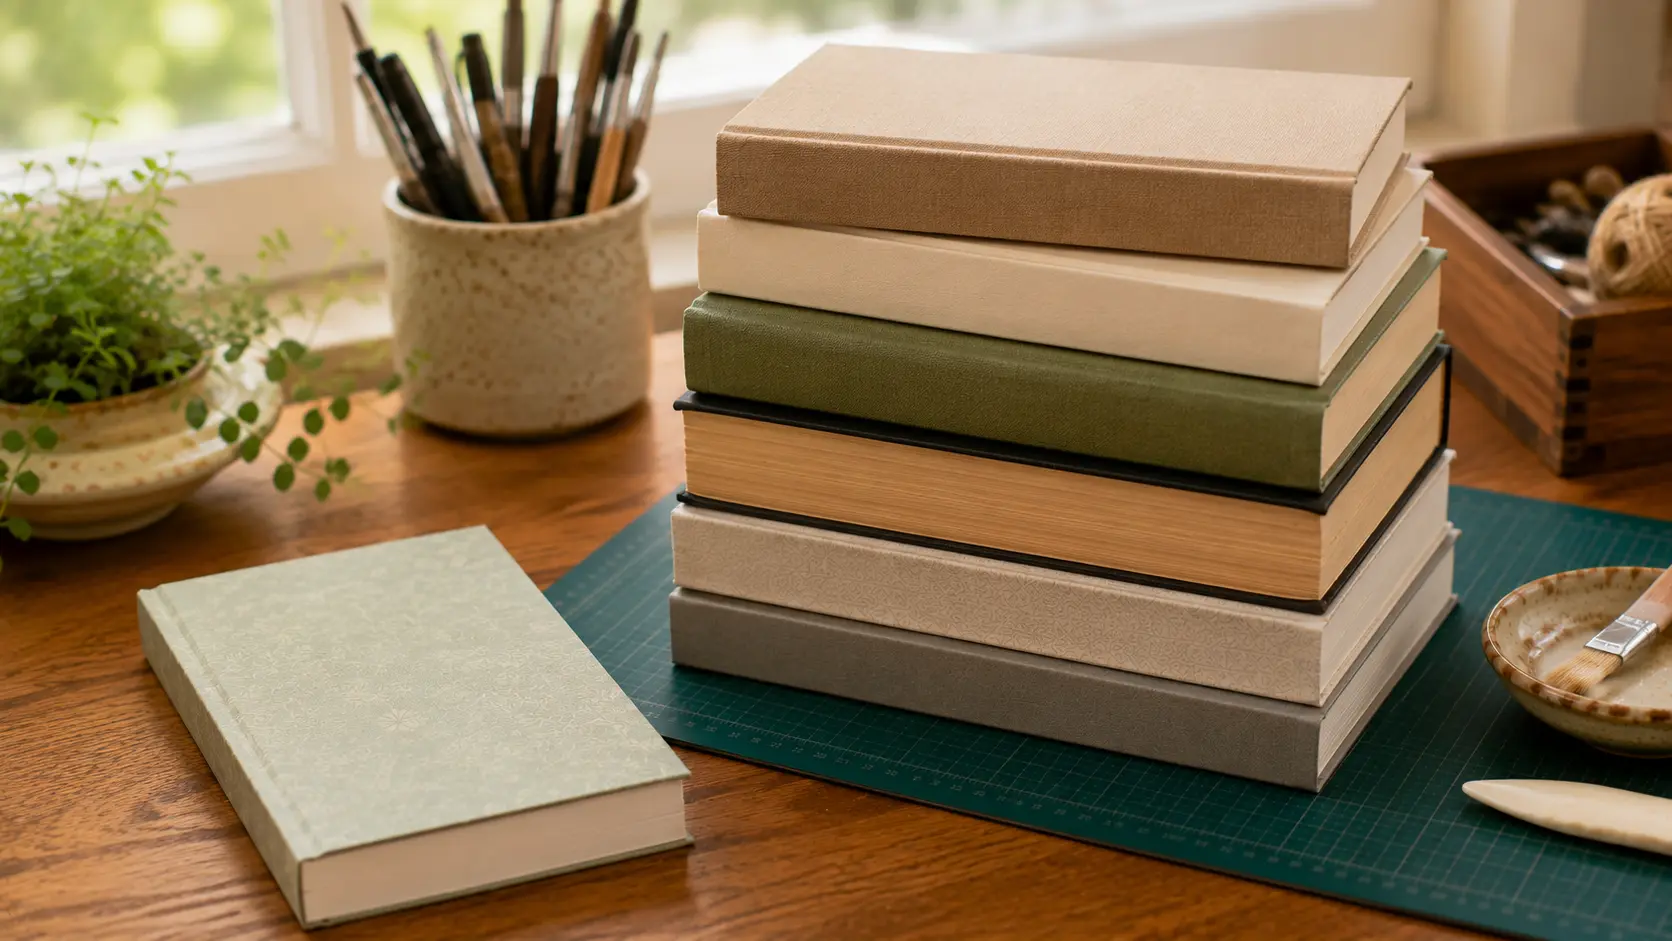
Binding a book at home sounds hard, but it is actually something anyone can do with a few basic supplies and a little practice.
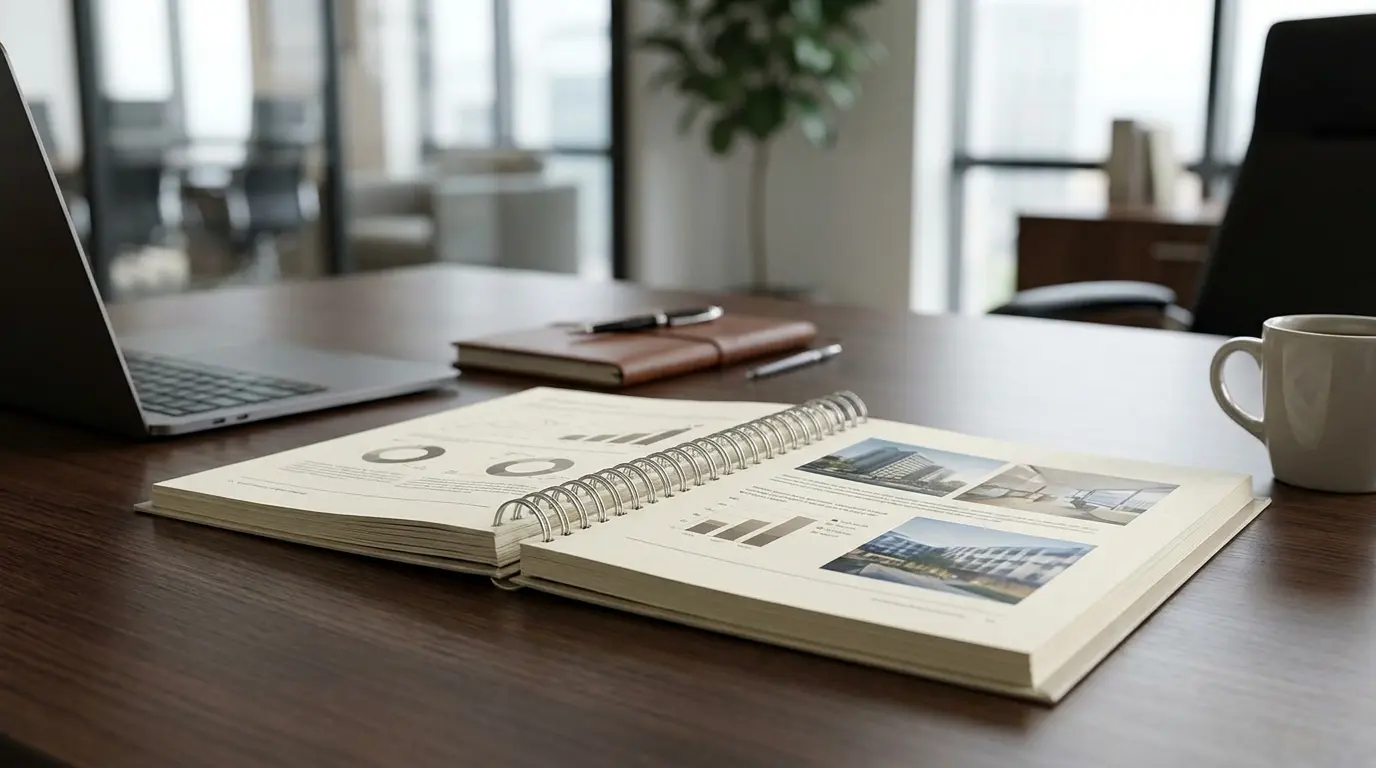
People bind books for all kinds of reasons, like making personal journals, printing manuscripts, creating planners, or putting together photo books.
There are many methods to choose from, and each one works better for certain projects. From perfect binding to saddle stitch, you will find the right fit here.
Read on to learn about the most popular binding methods and get a full step-by-step breakdown of perfect binding.
What is Book Binding?
Book binding is the process of holding loose pages together with a cover to form a finished book. The pages are grouped into a block, the spine holds them in place, and the cover wraps around the outside.
The spine is the most important part. It is what keeps everything together. Depending on the method you use, the spine can be held with glue, thread, wire, or staples.
DIY bookbinding is done by hand at home, while professional bookbinding is done with machines in large print shops. Both follow the same basic steps, just at different scales.
Tools and Materials Needed to Bind a Book
Before you start, gather your supplies. You do not need all of these for every method, but these are the most common ones.
Basic supplies you will need:
- Paper (regular printer paper works for most methods)
- Cover material (cardstock, cardboard, or thick paper)
- PVA glue or acid-free bookbinding adhesive (avoid white school glue, which dries brittle and cracks over time; a flexible, acid-free PVA holds the spine well and helps keep pages from yellowing)
- Bone folder (helps crease and fold paper cleanly)
- Ruler
- Craft knife or scissors
- Binder clips or clamps
- Cutting mat
Optional supplies for better results:
- Book press or heavy books
- Awl (for punching holes in paper)
- Waxed thread and needle
- Sandpaper (for roughing up the spine)
How to Bind a Book Using Perfect Binding
Perfect binding is one of the best methods to start with if you are new to bookbinding. It does not require any sewing or special machines.
You just need glue, some clamps, your pages, and a cover. The result looks clean, neat, and very close to what you see on a store-bought paperback book.
Follow these steps carefully, and you will have a finished book in just a few hours.
Step 1: Gather and Prepare Your Pages
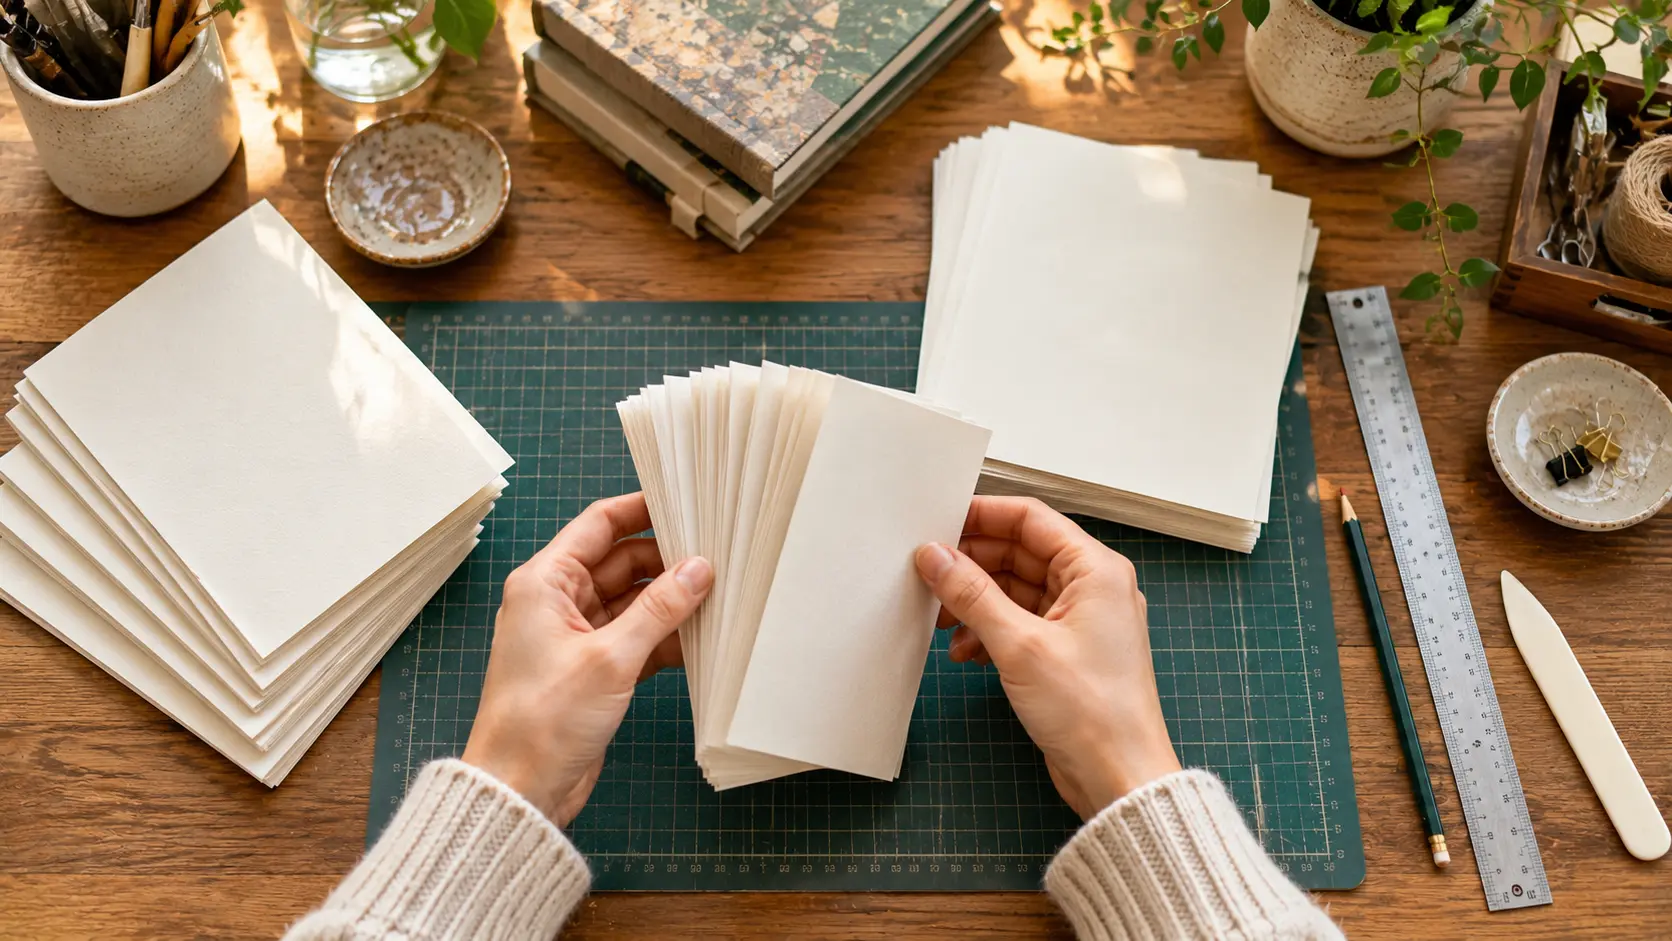
Print or write out your pages and make sure they are all the same size. Even small differences in size can make the finished book look uneven.
If your pages are double-sided, check that they are in the correct order. Also, look for any unwanted blank pages and remove them if necessary.
Give the stack one final review before moving on. Spending a few extra minutes here can save you from major mistakes later in the binding process.
Step 2: Align the Pages Into a Book Block
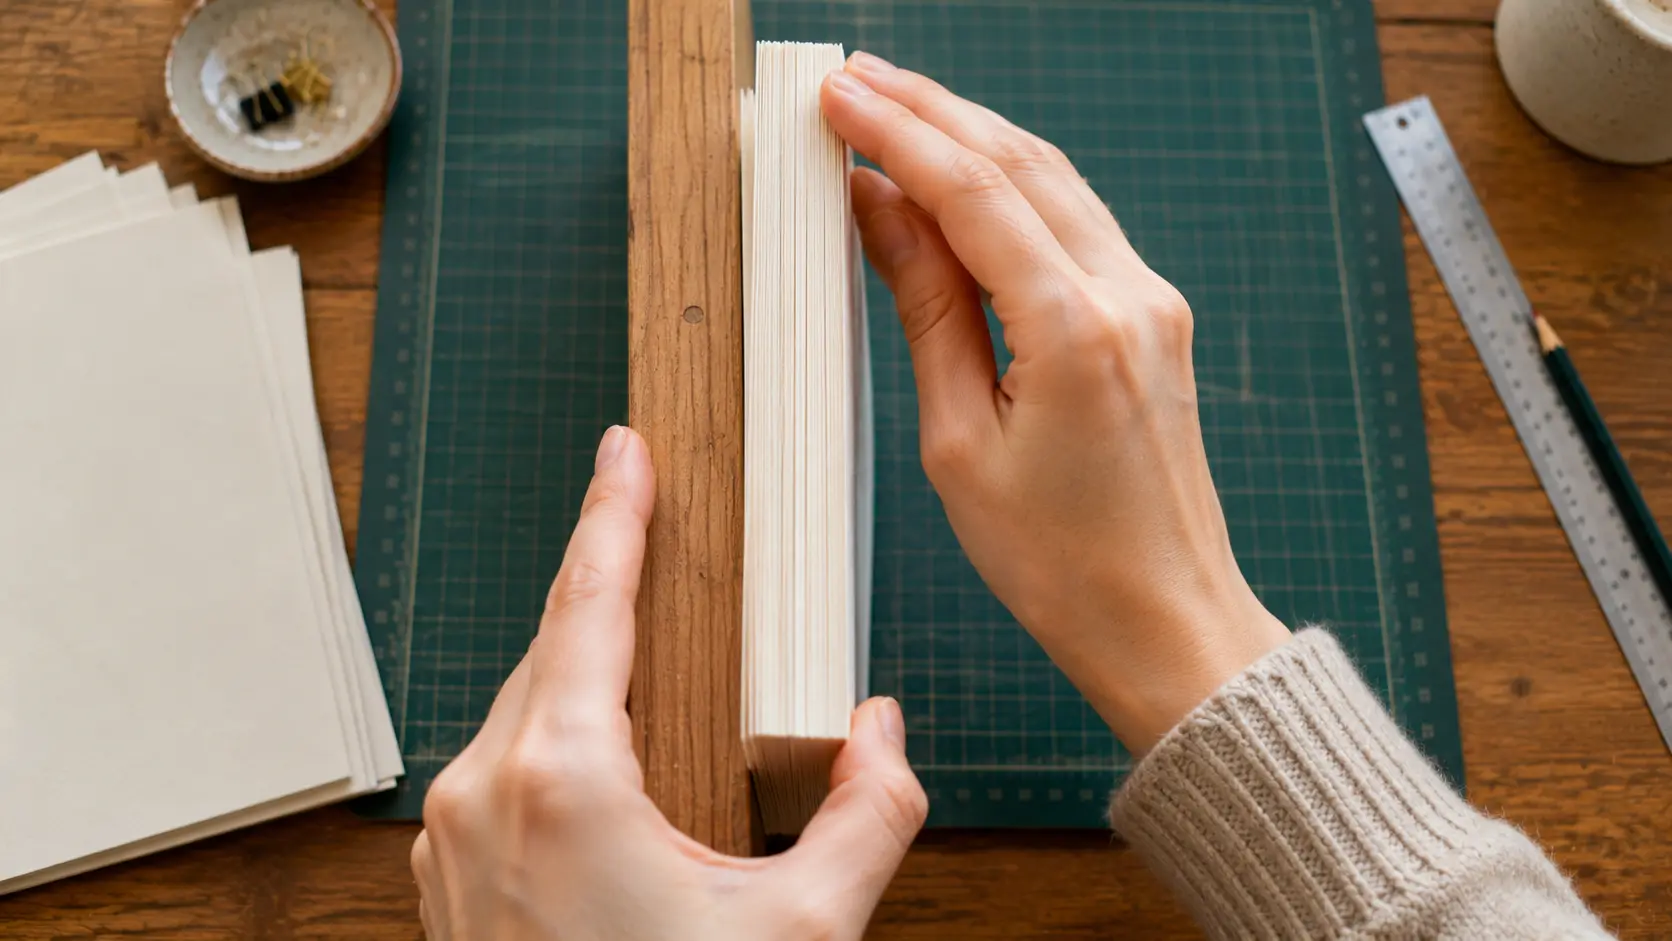
Stack all the pages into a neat pile, known as the book block. Tap the spine edge and bottom edge against a flat surface to align everything evenly.
The spine edge should be completely flat with no pages sticking out. Taking time here helps create a stronger and cleaner binding.
Check the alignment from multiple angles before continuing. A well-aligned book block will make the finished book look much more professional.
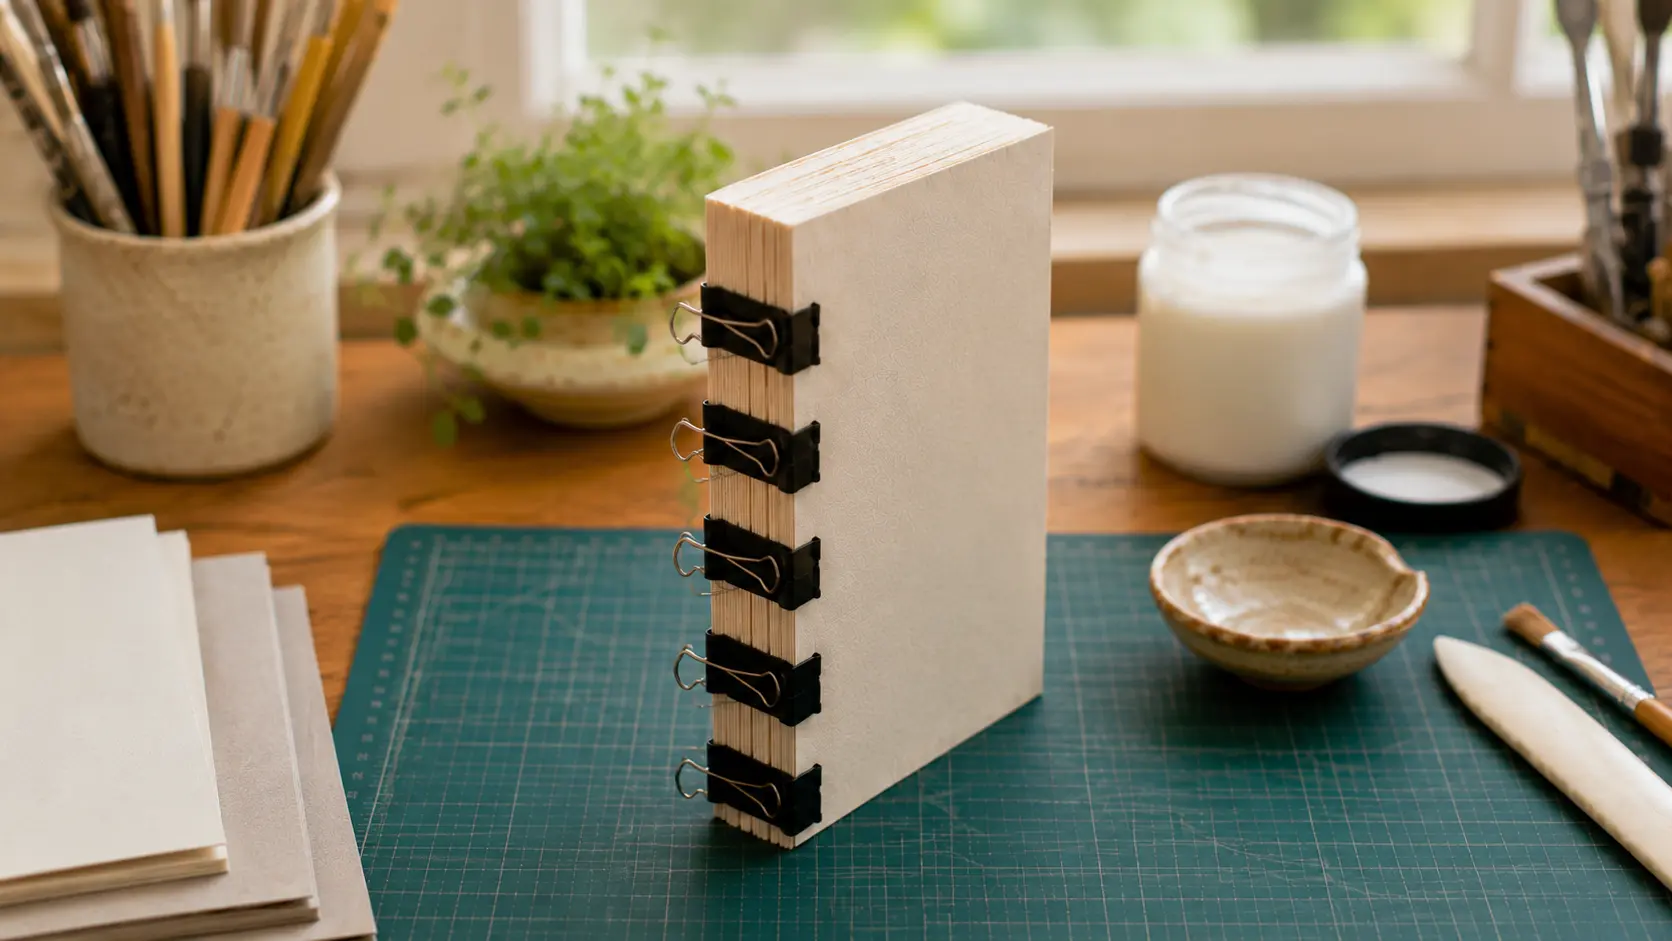
Step 3: Clamp the Spine Securely
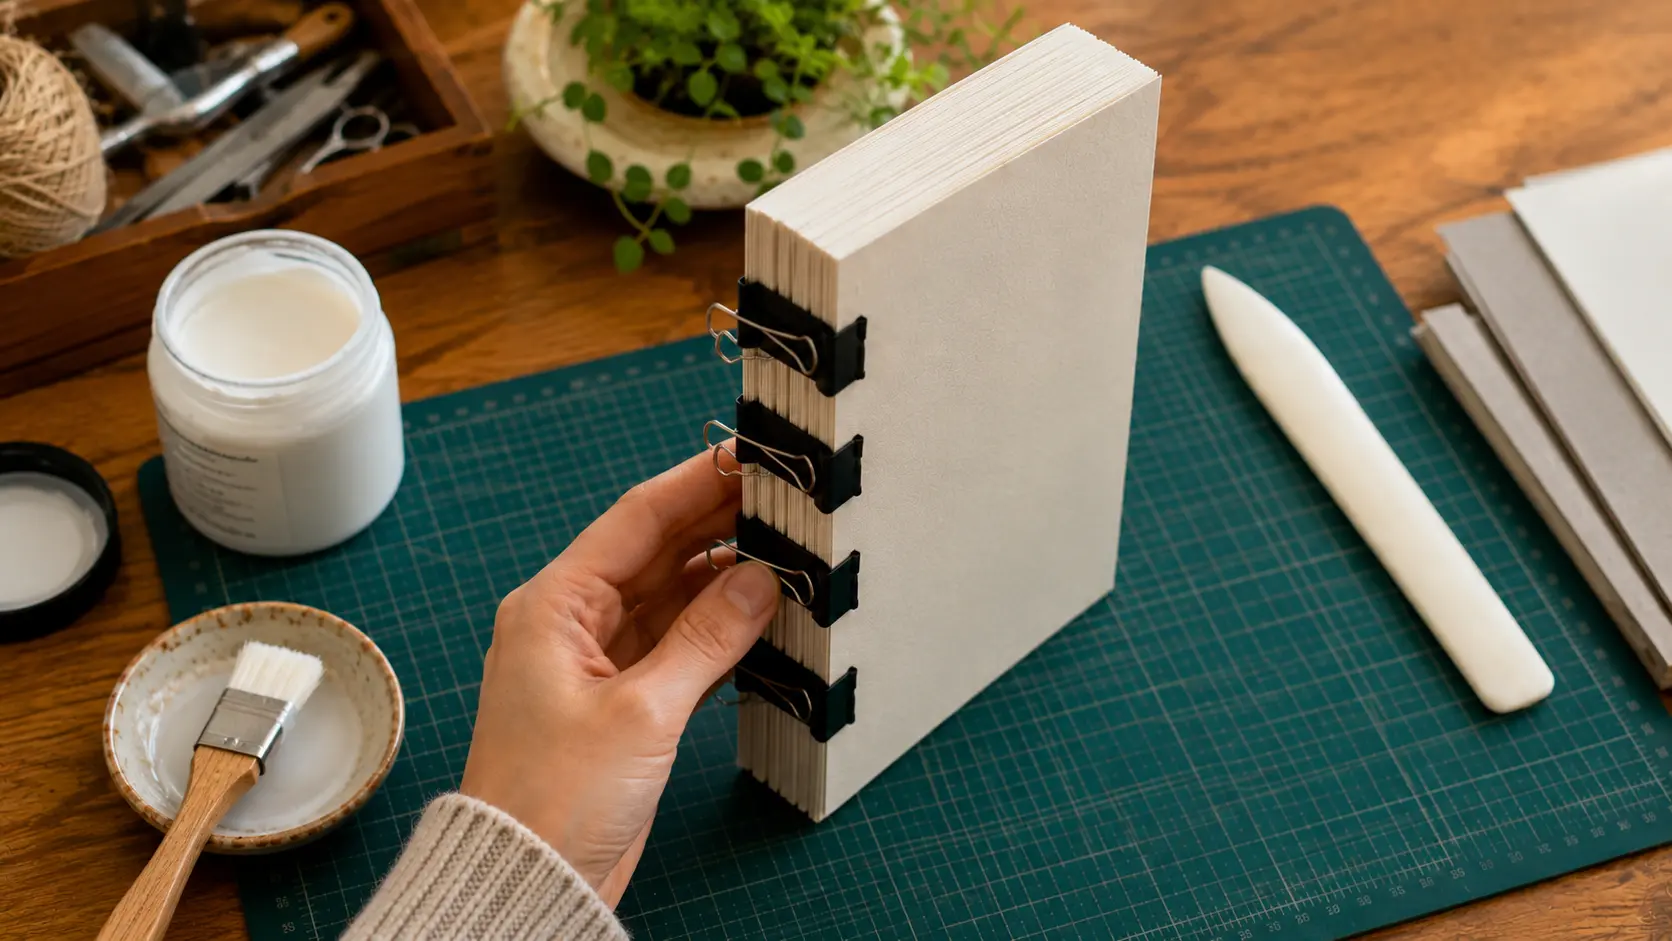
Use binder clips or clamps to hold the book block tightly together. Space them evenly along the spine to prevent the pages from shifting.
If you have a book press, use it for more even pressure. Once secured, stand the book block upright with the spine facing up.
Make sure the pages feel firm and stable before applying glue. Any movement at this stage can affect the strength of the final binding.
Step 4: Roughen the Spine Surface
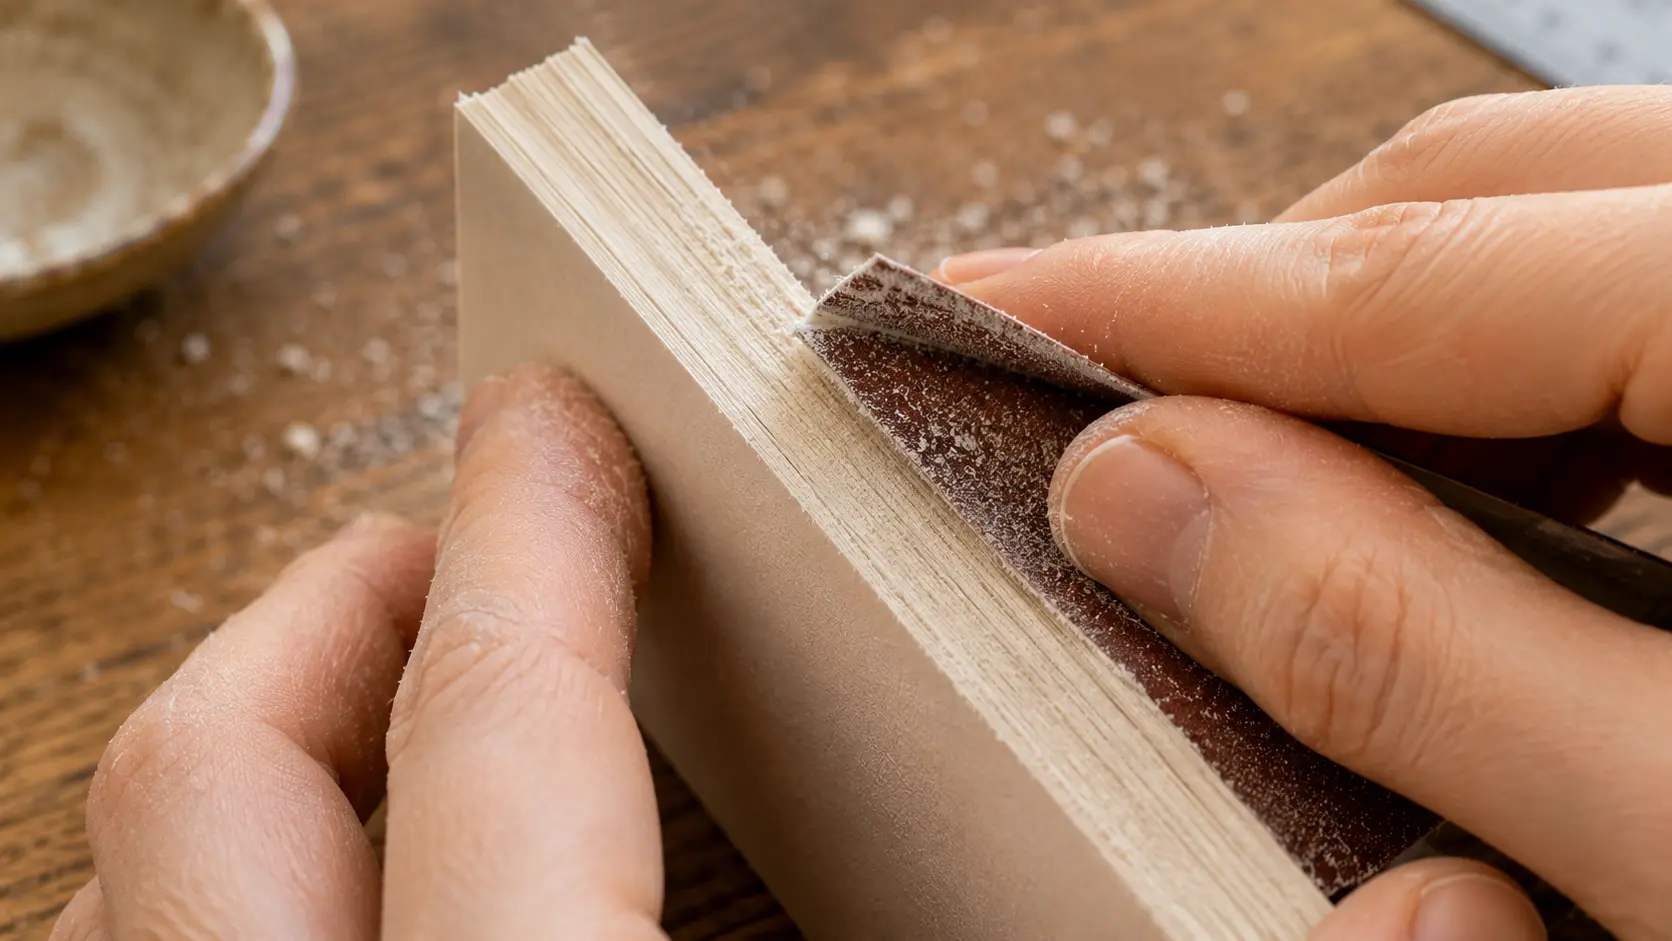
Lightly sand the spine with medium-grit sandpaper or score it with a craft knife. This creates tiny grooves that help the glue bond more effectively.
Be gentle and remove any paper dust before continuing.
Many beginners skip this step, but it can significantly improve the durability of the finished book. A slightly rough surface gives the adhesive a much stronger grip.
Step 5: Apply Bookbinding Glue
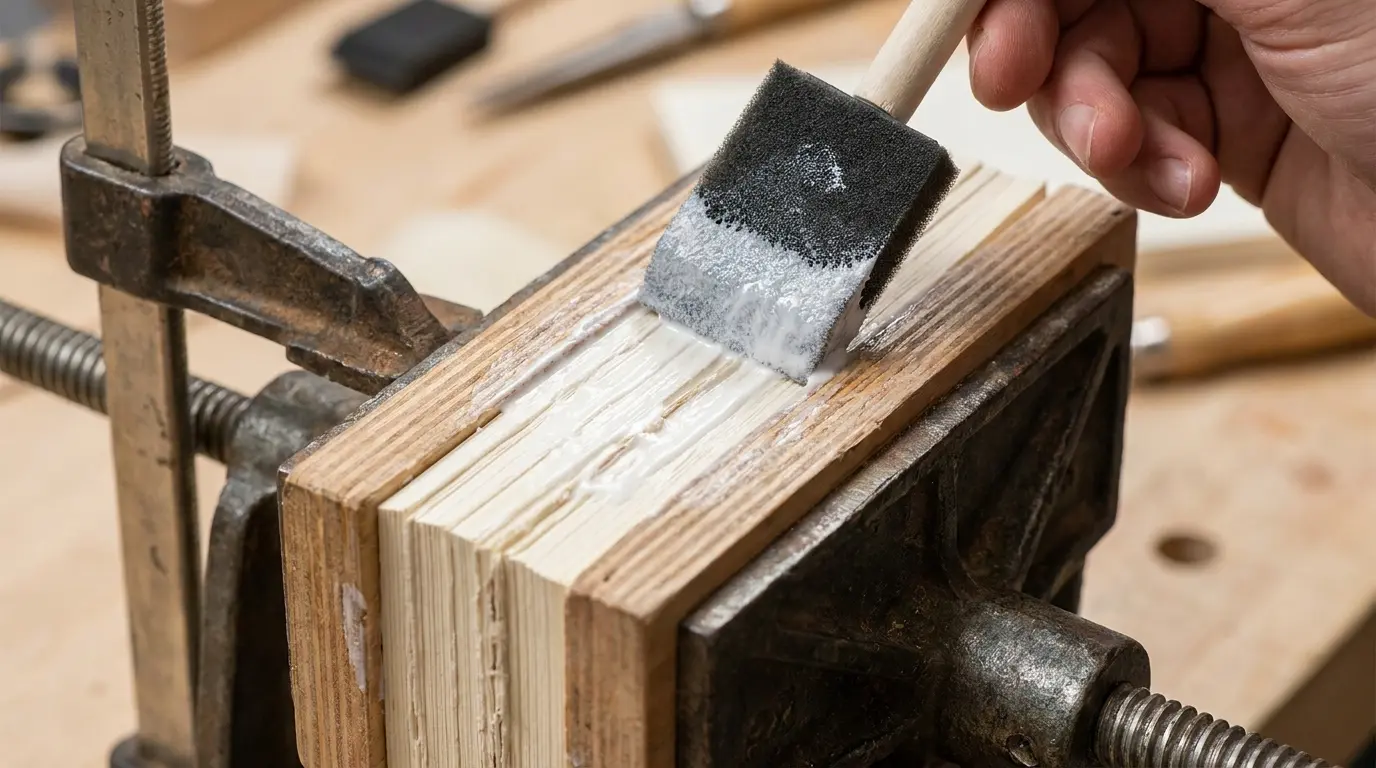
Using a brush or foam applicator, spread a thin layer of PVA glue across the spine. Work it slightly between the pages so every sheet is bonded.
Let the first coat become tacky for about five minutes, then apply a second thin coat. Avoid using too much glue, as thick layers dry slowly and can weaken the binding.
Try to keep the glue coverage even from top to bottom. Consistent application helps create a flexible and long-lasting spine.
Step 6: Allow the Glue to Dry
Leave the clamped book block upright for 30 to 60 minutes until the spine feels dry to the touch.
For full strength, keep it under pressure overnight, as complete curing can take up to 24 hours depending on humidity and temperature.
The spine should feel dry and firm before you attach the cover. Rushing this step can weaken the final binding.
Drying times may vary depending on humidity, temperature, and the amount of glue used. When in doubt, allow a little extra drying time.
Step 7: Create and Attach the Cover
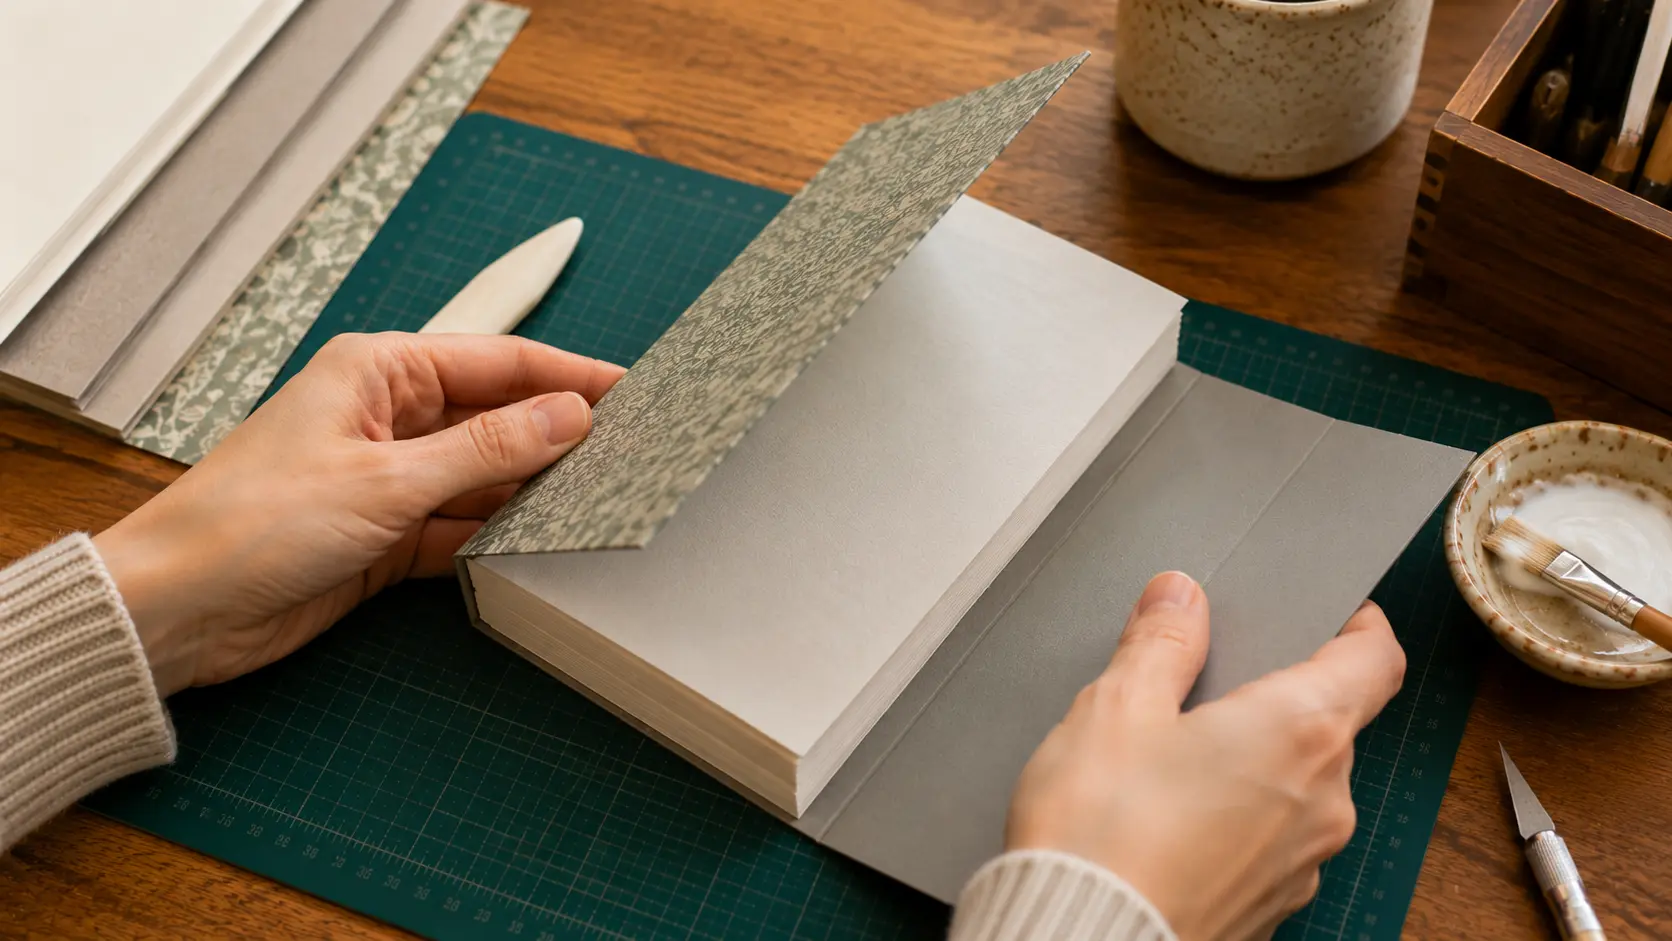
Cut the cover material to fit the height, width, and spine thickness of your book block, leaving a small overhang around the edges.
Score fold lines where the spine begins and ends. Once the spine glue is fully dry, apply a fresh layer of glue to the spine and carefully attach the cover, ensuring it is straight and centered.
Take a moment to double-check the positioning before the glue sets. A properly aligned cover improves both the appearance and durability of the book.
Step 8: Press and Finish the Book
Place the finished book under a stack of heavy books for at least one hour, or overnight for best results.
After drying, trim any uneven edges with a craft knife if needed. Open the book gently to test the binding and reinforce any loose spots with a small amount of glue.
This final pressing stage helps the cover and spine bond evenly. Once everything feels secure, your perfect-bound book is ready to use.
Tips for Professional-Looking Book Binding Results
The difference between a homemade book and one that looks professionally made often comes down to small details.
These simple tips can improve the appearance, durability, and overall quality of your finished book, regardless of the binding method you choose.
- Use quality paper and cover stock. Thin, cheap paper curls and tears more easily.
- Keep all edges square and aligned throughout the process.
- Always press the book flat while it dries to prevent warping.
- Test the binding by gently flexing the book before calling it finished.
- Choose a cover stock heavier than your inside pages, ideally 200-300 gsm, for a sturdy cover.
If you have leftover book pages or test sheets you don’t need, you can repurpose them into creative projects like DIY book page coaster, a great way to use every bit of your craft supplies.
By paying attention to these details, you can create a book that looks polished, feels sturdy, and stands up to regular use. Small improvements throughout the process often lead to the biggest results.
11 Popular Book Binding Methods
There is no single best method. The right one depends on your project, your skill level, and the tools you have. Here is a look at all 11 methods.
1. Perfect Binding
Perfect binding uses glue to hold all the pages together at the spine. The pages are stacked flat, the spine is roughed up, and glue is applied.
A cover is then wrapped around the outside. This is the same method used for paperback books and most magazines.
It is easy to do at home with PVA glue or bookbinding glue, and it gives a very clean, professional look. The downside is that it does not hold up as well as sewn bindings over time, and the pages cannot open completely flat.
Best for: Paperback books, notebooks, photo books, manuscripts.
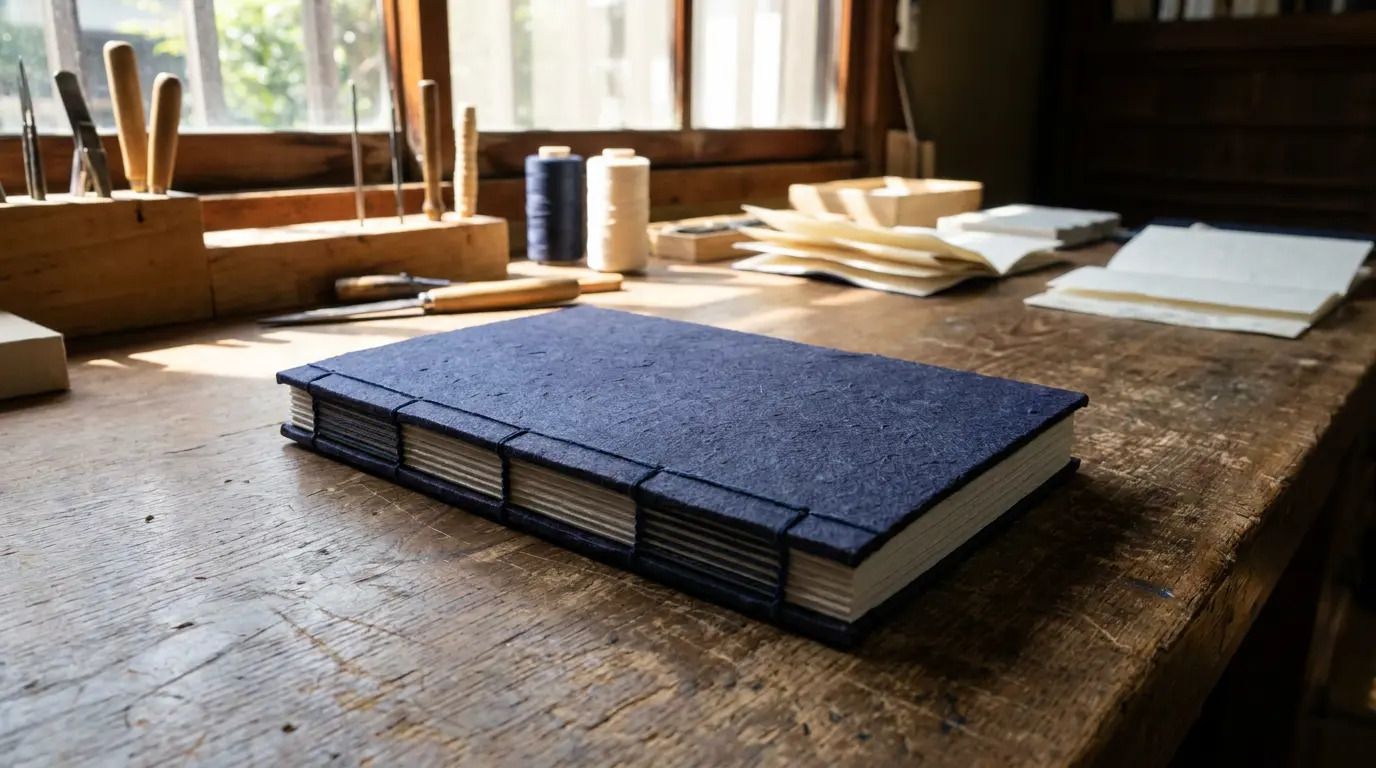
2. Hardcover (Case Binding)

Case binding is how hardcover books are made. The pages are first sewn together into a book block, then that block is glued into a hard cover made from thick boards and cloth or paper.
It takes more time and materials, but the result is very strong and long-lasting. This is a great option for special projects like journals you want to keep for years.
Many people also create hardcover books for display on shelves alongside their favorite collections. If you’re updating your reading space, these before-and-after bookcase makeover ideas may inspire you.
Best for: Hardcover journals, keepsake books, portfolios.
3. Saddle Stitch Binding
This method involves folding sheets of paper in half and stitching or stapling them through the fold.
It is one of the simplest methods out there and works well for thin booklets. You can do it with just a stapler or a needle and thread.
The main limitation is that it only works for thinner books since too many pages will make the outer sheets stick out awkwardly.
Best for: Zines, small booklets, event programs, chapbooks.
4. Spiral Binding
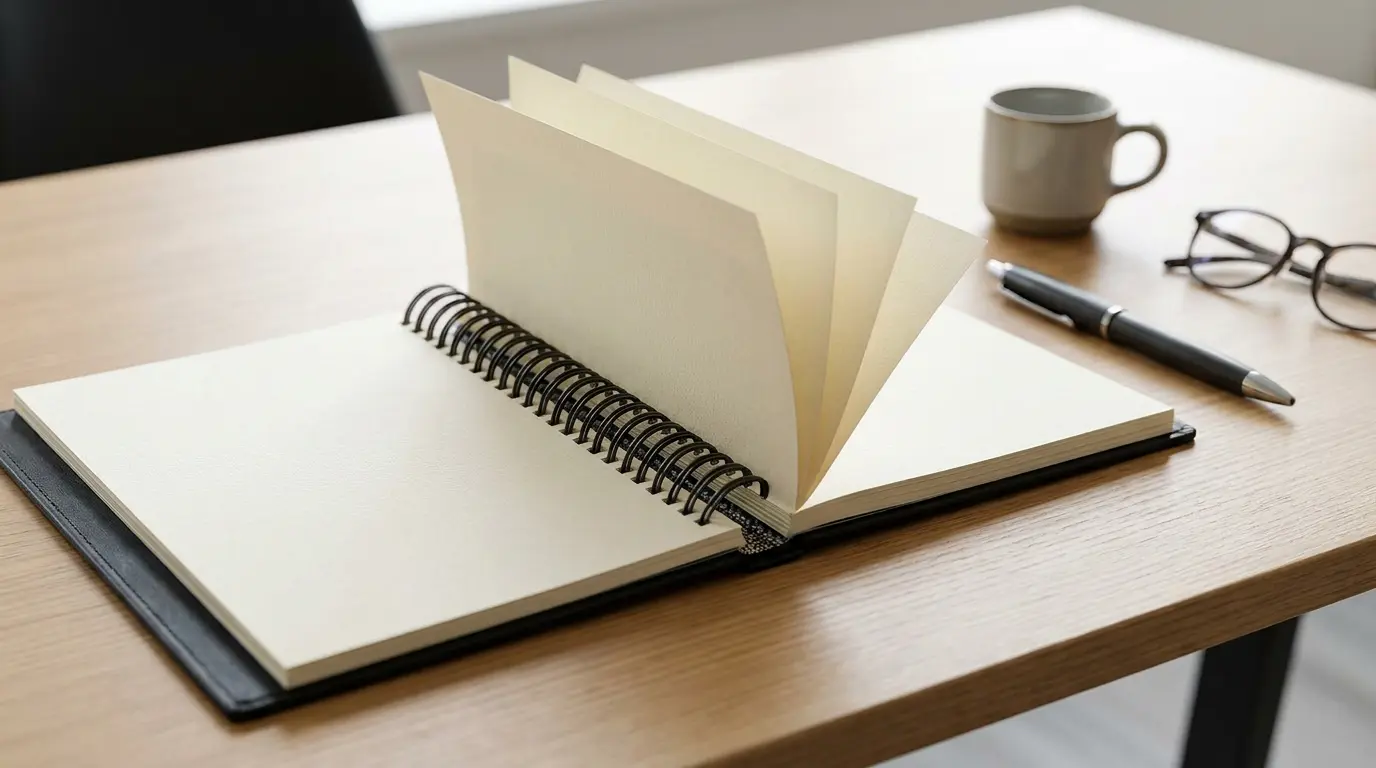
Spiral binding uses a coiled plastic or metal wire that loops through punched holes along the edge of the pages. The pages can flip all the way around, which makes it great for notebooks and workbooks.
You need a hole punch and a spiral coil to do this at home, but basic kits are affordable and easy to find.
Best for: Notebooks, planners, workbooks, study guides.
5. Wire-O Binding
Wire-O binding is similar to spiral binding, but it uses double-loop wire instead of a coil. It looks more polished and professional. The pages open flat, which is a big plus for reports and presentations.
The wire loops are available in different sizes, making it easy to bind both thin and thick documents.
Best for: Business reports, presentations, cookbooks.
6. Comb Binding
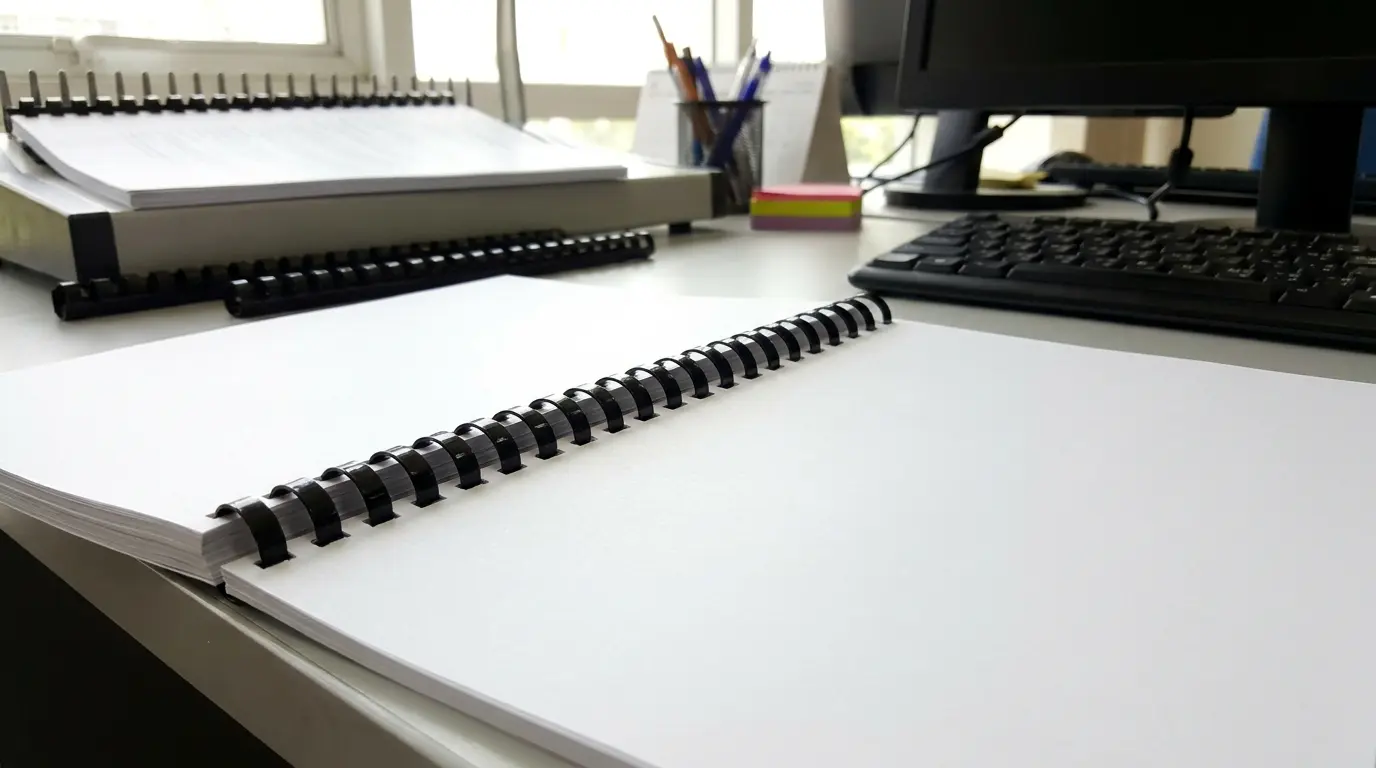
Comb binding uses a plastic comb with curved teeth that insert through rectangular holes punched along one edge of the pages.
The best part is that you can open the comb and add or remove pages later. This flexibility makes it a practical choice for documents that need regular revisions or updates.
Best for: Training manuals, school reports, and documents that need updates.
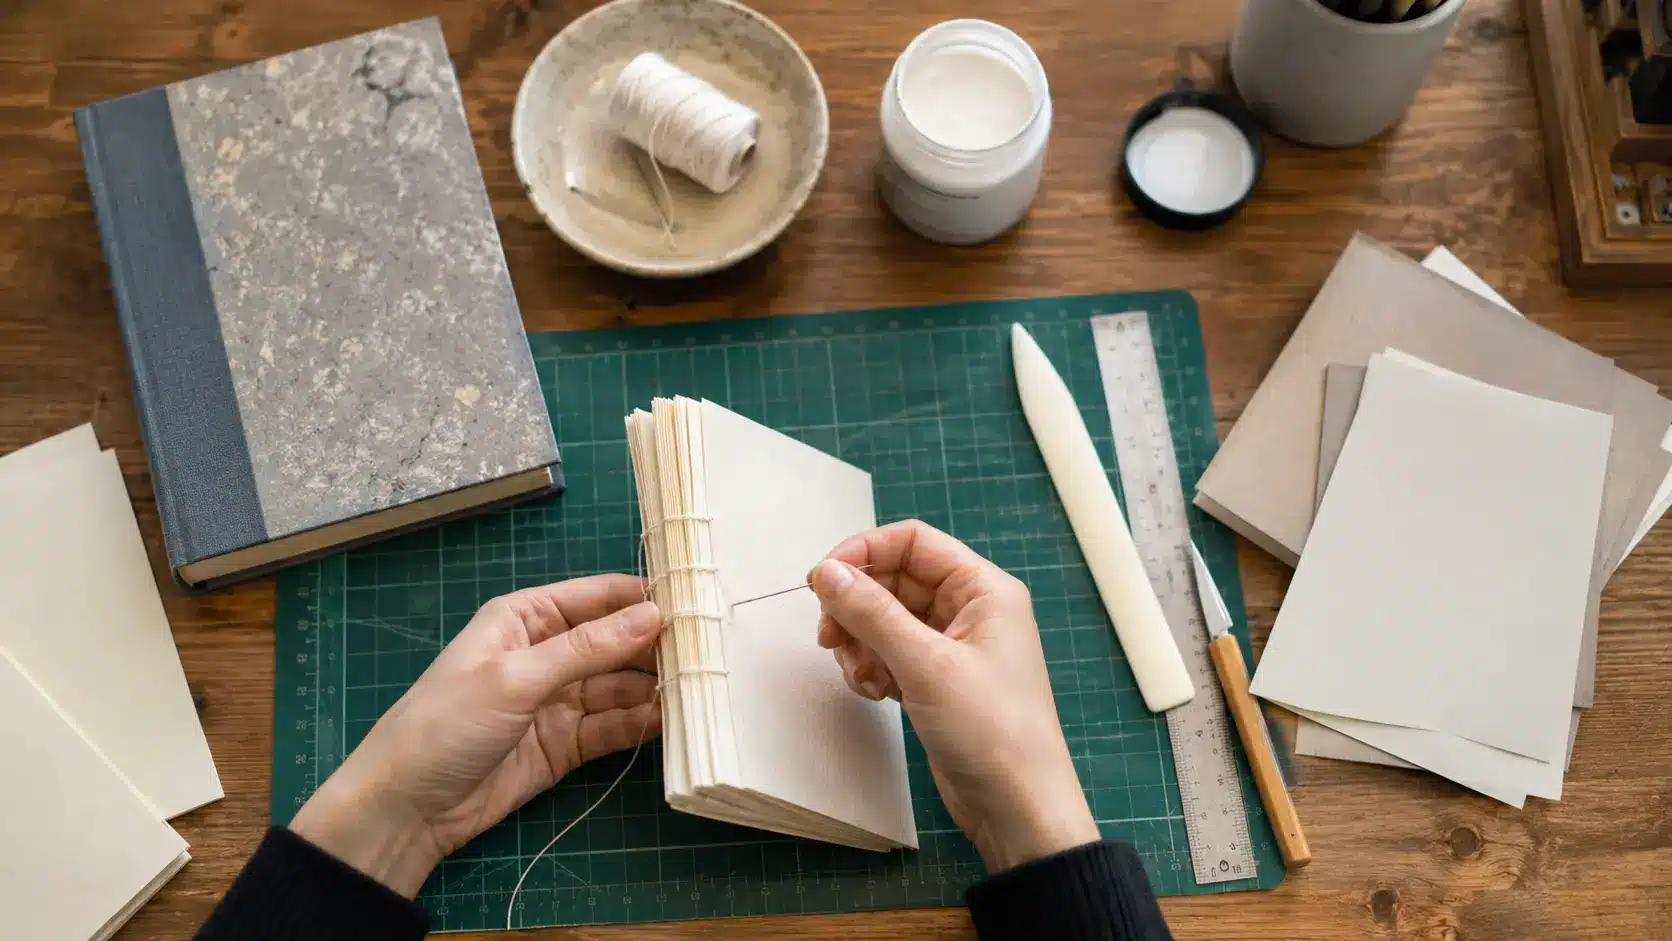
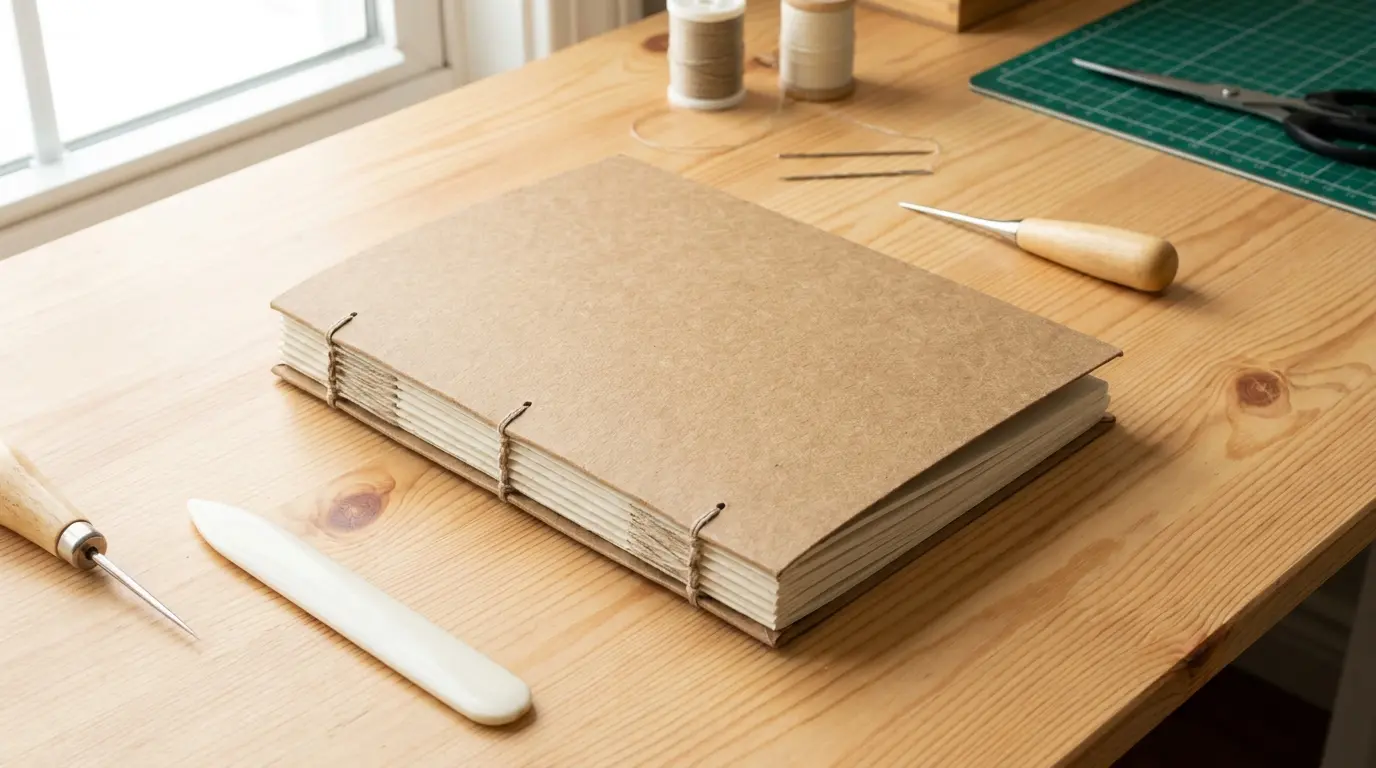
7. Japanese Stab Binding
Japanese stab binding is a decorative sewing technique in which thread is stitched through holes punched along the spine of a stack of pages. The stitching is visible on the outside and adds a very elegant, handmade look.
The book does not lie completely flat when opened, but it is durable and looks beautiful. It takes a bit of practice to get the stitching neat.
Many different stitching patterns can be used, allowing you to customize the design and appearance.
If you enjoy paper crafts and decorative handmade projects, you can also use leftover pages to create book page roses, which pair beautifully with handmade journals and gift books.
Best for: Handmade journals, photo albums, art books.
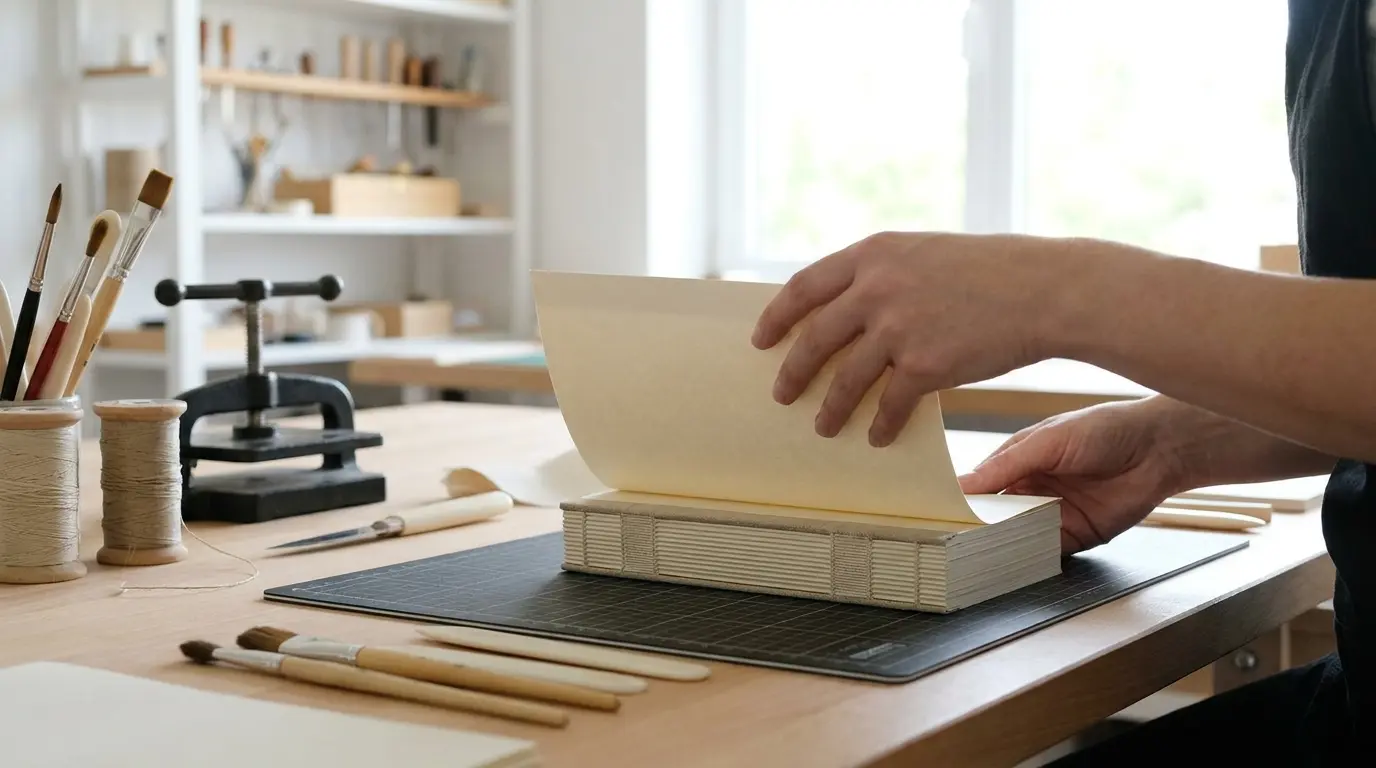
8. Coptic Stitch Binding

Coptic stitch is a sewing method that joins multiple groups of pages (called signatures) together with an exposed stitch along the spine.
The finished book lies completely flat when opened, which is great for sketchbooks or journals where you want to use both pages at once. No glue is needed, and the spine is left open, giving it a distinctive handcrafted look.
The exposed stitching can also become a decorative feature when different thread colors are used.
Best for: Sketchbooks, art journals, and diaries.
9. Singer Sewn Binding
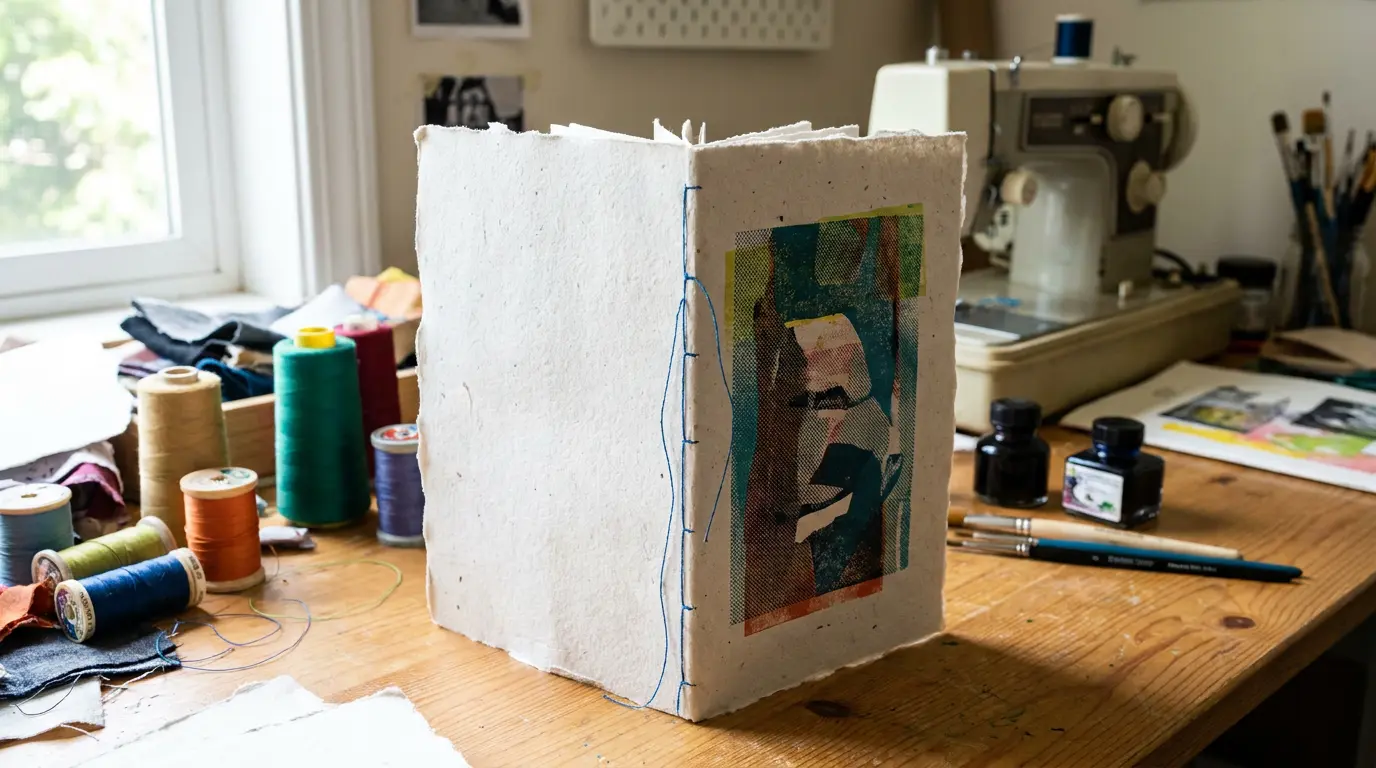
Singer sewn binding is done with a sewing machine, stitching straight through a stack of pages along the spine. It is quick and simple, and works well for thinner books or zines.
The stitch line is visible but adds a nice handmade detail. Because the process is fast, it is a popular choice for small-batch handmade publications.
Best for: Art books, zines, and small handmade notebooks.
10. Pamphlet Stitch Binding
Pamphlet stitch is the most beginner-friendly sewing method. You fold your pages in half, punch three or five holes along the fold of the spine, and sew through them with a simple running stitch.
It takes just a few minutes once you know how. Despite its simplicity, it creates a surprisingly strong binding for smaller projects.
Best for: Small notebooks, programs, booklets, and getting started with bookbinding.
11. Thermal Binding
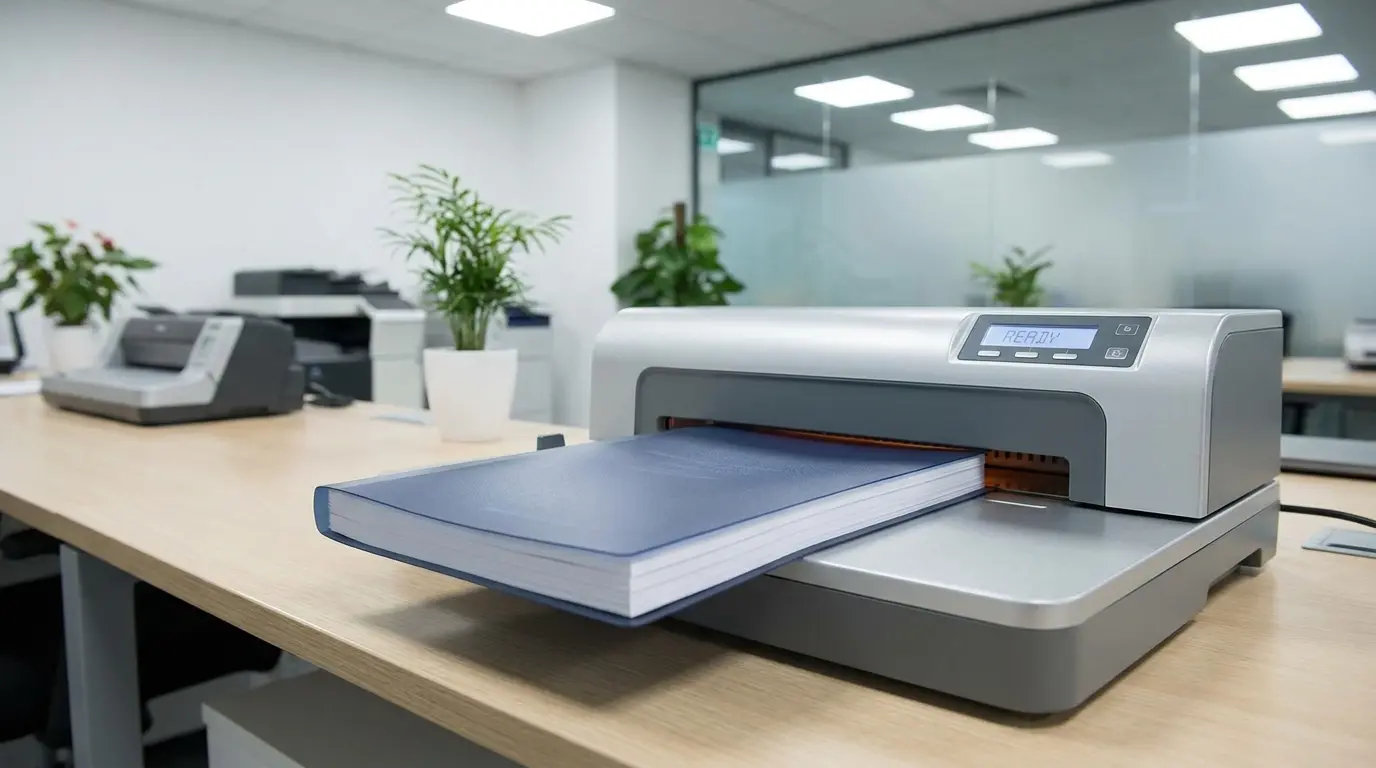
Thermal binding uses a special glue strip inside a pre-made cover. You place your pages into the cover, slide it into a thermal binding machine, and the heat melts the glue, binding everything together.
It is very fast and clean-looking. The finished result closely resembles a professionally printed report or paperback document.
Best for: Professional-looking reports, theses, documents.
Book Binding Methods Compared
Not sure which binding method to choose? Each technique has distinct strengths in cost, durability, appearance, and ease of use. The table below provides a quick side-by-side comparison to help you find the best option for your project.
| Binding Method | Difficulty | Cost | Durability | Best For |
|---|---|---|---|---|
| Perfect Binding | Easy | Low | Medium | Paperback books |
| Saddle Stitch | Easy | Low | Low | Booklets |
| Case Binding | Advanced | Medium | High | Hardcover books |
| Spiral Binding | Easy | Low | Medium | Workbooks |
| Wire-O Binding | Medium | Medium | Medium | Reports |
| Comb Binding | Easy | Low | Medium | Manuals |
| Japanese Stab | Medium | Low | High | Handmade books |
| Coptic Stitch | Medium | Low | High | Journals |
| Singer Sewn | Easy | Low | Medium | Art books |
| Pamphlet Stitch | Easy | Low | Medium | Small notebooks |
| Thermal Binding | Easy | Medium | Medium | Professional documents |
As you can see, every binding method has its own advantages. Beginners often start with perfect binding, saddle-stitch, or pamphlet-stitch.
While more advanced bookbinders may prefer case binding, Japanese stab binding, or Coptic stitch. Choose the method that best matches your budget, skill level, and the type of book you want to create.
Common Bookbinding Mistakes to Avoid
Even if you choose the right binding method, a few small mistakes can ruin the final result. Avoiding these common bookbinding errors will help you create a stronger, cleaner, and more professional-looking book.
- Using the wrong type of glue: Regular school glue or white craft glue is too weak for book binding. It will crack and peel over time. Use PVA glue or a proper bookbinding adhesive for a flexible, long-lasting hold.
- Not aligning pages properly: If your pages are not stacked neatly before you clamp them, the finished book will look messy, and the spine will not be even. Take your time with this step.
- Applying too much adhesive: Excess glue soaks into the pages, causing warping and wrinkling. Apply thin, even coats and let each one dry before adding the next.
- Skipping drying time: This is the most common mistake beginners make. Rushing the drying process weakens the binding. Give the glue enough time to cure fully before handling the book.
- Choosing an unsuitable binding method: A thick 200-page book will not work well with saddle stitch. A small greeting card booklet does not need case binding. Match the method to the size and purpose of your project.
Most bookbinding problems come down to rushing the process or overlooking small details. By using the right materials, carefully aligning your pages, and allowing enough drying time, you can avoid these issues and create a book that looks great and holds up over time.
Is Perfect Binding the Best Choice for DIY Bookbinding?
Perfect binding works well when you want a clean, professional result without having to learn any sewing techniques.
It is a great fit for notebooks, printed manuscripts, photo books, and any project where you have individual loose pages rather than folded signatures.
That said, it is not always the best option. If you want a book that lies completely flat when opened, Coptic stitch is better.
If you want something more durable, case binding is worth the extra effort. If you just need a quick, simple booklet, saddle-stitch or pamphlet-stitch will get the job done faster.
The right binding method is the one that fits your project and your skill level.
Conclusion
Book binding is a skill that gets easier every time you try it. Perfect binding is a great place to start because it is simple, affordable, and gives your finished book a clean, professional look.
Other methods, such as Coptic stitch, saddle stitch, and case binding, are worth trying once you get comfortable.
Pick the method that matches your project and your skill level, gather your supplies, and start with something small.
You do not need expensive tools or years of experience to make a book you are proud of. Just start, and the rest will follow.
Frequently Asked Questions
How Many Pages Can a Book Have Before Binding Becomes Difficult?
The page limit depends on the binding method and paper thickness. Most DIY binding techniques work best with fewer than 300 pages, while larger books may require professional equipment.
Can You Bind a Book with Regular Printer Paper?
Yes, standard printer paper works well for many DIY bookbinding projects. However, heavier paper often feels more durable and gives the finished book a higher-quality appearance.
How Long Does a Hand-Bound Book Last?
A well-made, hand-bound book can last for many years with proper care. Durability depends on the materials used, the binding method, and how frequently the book is handled.