

A roof that’s too flat can lead to floods, and one too steep can drain your wallet.
Roof pitch might seem like a small technical detail, but it has a major impact on your home’s safety, performance, and curb appeal. Choosing the wrong slope can lead to poor drainage, material failure, and costly repairs down the line.
In this comprehensive guide, you’ll learn what roof pitch is, why it matters, and how to measure it accurately, be it from the ground or the attic.
You’ll also find the minimum slope requirements for various roofing materials, tips for converting pitch to degrees, and expert advice on selecting the ideal pitch for your project, climate, and budget.
By the end, you’ll feel confident making decisions that protect your home and investment for years to come.
What is Roof Pitch and Why Does It Matter?
Roof pitch is simply the slope of your roof expressed as a ratio. This measurement indicates the vertical rise of your roof for every horizontal foot. A proper pitch ensures water flows off your roof instead of pooling, which can cause leaks and deterioration.
The pitch of your roof affects:
- How effectively does water drain from the surface
- How much snow your roof can handle
- The overall look of your home
- What materials can you use for roofing
- The cost of installation and maintenance
Roofs typically fall into three categories: low-slope (1:12 to 3:12), standard (4:12 to 9:12), and steep (10:12 and above). Each has specific benefits and limitations that make it suitable for different situations.
Minimum Roof Pitch by Roofing Material (with Measurements)
Different roofing materials have specific minimum pitch requirements. Using a material on a roof with too shallow a pitch can result in leaks, reduced lifespan, and voided warranties. Here are the common minimums:
Asphalt Shingles
- Minimum pitch: 2:12 (9.5 degrees)
- Ideal pitch: 4:12 (18.4 degrees) or steeper
- Why: Asphalt shingles need enough slope to let water flow properly. On slopes less than 4:12, special underlayment is required to prevent water infiltration.
Metal Roofing
- Standing seam panels:
- Minimum pitch: 1/4:12 (1.2 degrees)
- Ideal pitch: 3:12 (14 degrees) or steeper
- Exposed fastener panels:
- Minimum pitch: 3:12 (14 degrees)
- Why: Metal panels can work on very low slopes, but the type of seam matters. Standing seam systems have raised seams that help channel water, while exposed fastener systems need more slope to prevent leaks at the fasteners.
Clay or Concrete Tiles
- Minimum pitch: 4:12 (18.4 degrees)
- Ideal pitch: 6:12 (26.6 degrees)
- Why: Tiles are not completely waterproof and rely on sufficient slope to move water off quickly before it can seep under the tiles.
Slate Roofing
- Minimum pitch: 4:12 (18.4 degrees)
- Ideal pitch: 8:12 (33.7 degrees) or steeper
- Why: Natural slate performs best on steeper slopes that allow water to run off quickly and show off the beautiful texture of the material.
EPDM/TPO/PVC (Flat Roof Membranes)
- Minimum pitch: 1/4:12 (1.2 degrees)
- Ideal pitch: 1/2:12 (2.4 degrees)
- Why: These membranes are fully waterproof and designed specifically for low-slope applications, but still require some slope for proper drainage.
Wood Shingles and Shakes
- Minimum pitch: 3:12 (14 degrees)
- Ideal pitch: A 5:12 (22.6 degrees) or steeper
- Why: Wood needs good water runoff to prevent moisture absorption that leads to rot and mold growth.
How to Measure Roof Pitch Accurately
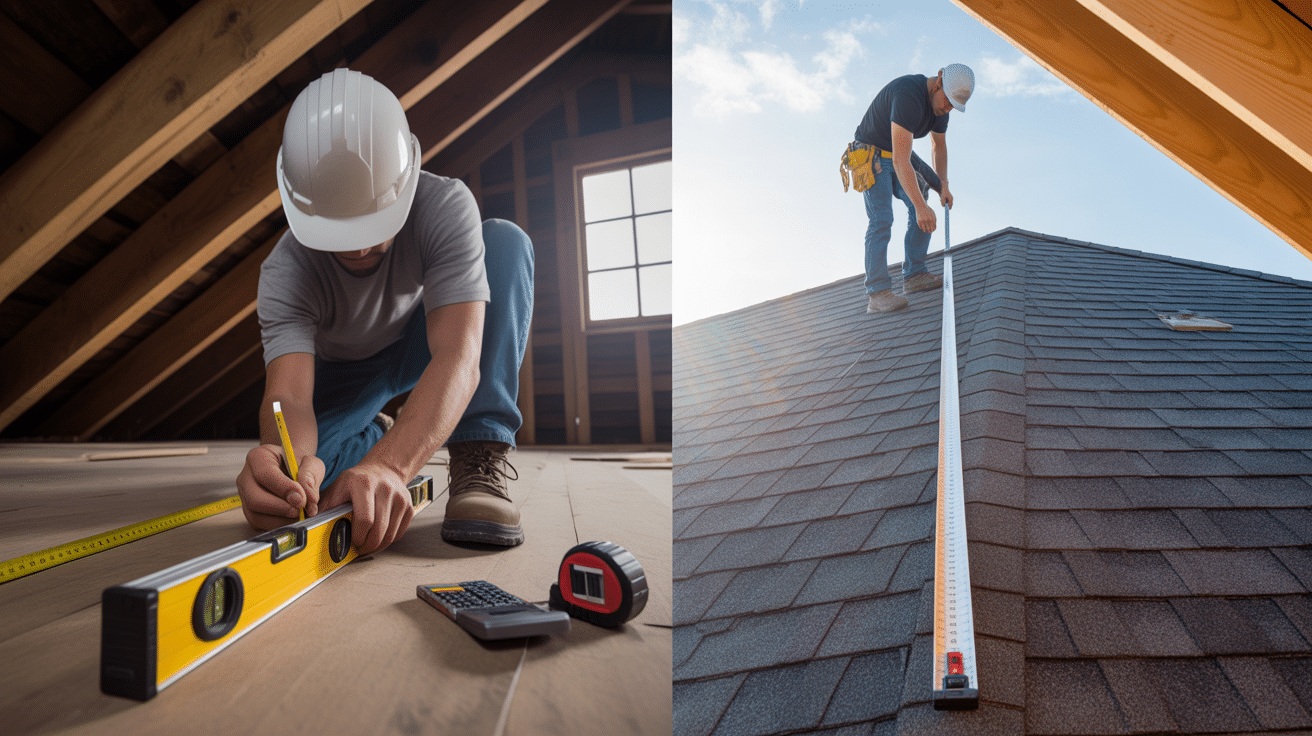
Once you know what materials work for which pitches, the next step is measuring your existing roof correctly. Knowing your roof’s exact pitch is important for repairs, additions, or material selection. Here’s how to measure it:
Tools You’ll Need:
- Level (12-24 inches long)
- Tape measure
- Pencil
- Calculator (or a smartphone app)
| Method | Steps |
|---|---|
| Attic (Interior) Method |
|
| Roof Surface (Exterior) Method |
|
For example, if your vertical measurement is 6 inches over a 12-inch horizontal span, your roof pitch is 6:12.
Roof Pitch Calculation: Inches per Foot to Degrees
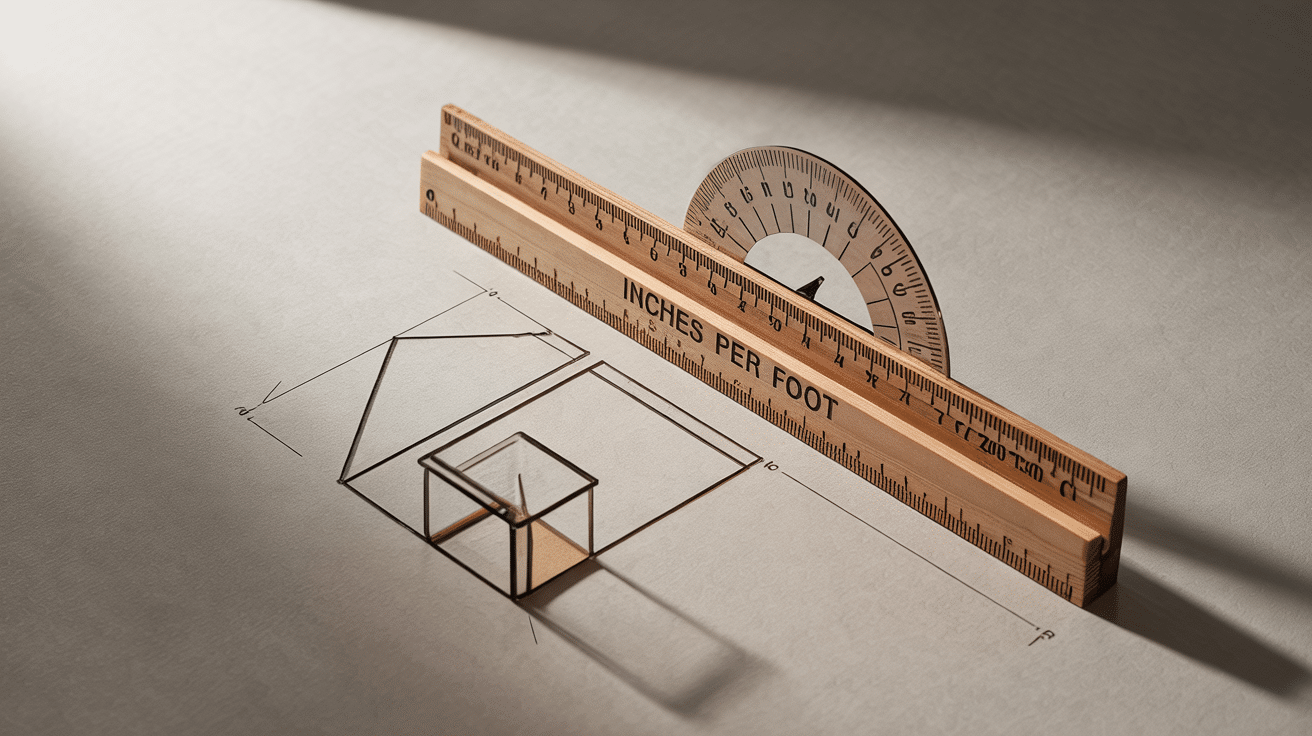
Roof pitch is commonly expressed as a ratio (rise:run), but sometimes you’ll need it in degrees. Here’s how to convert between the two:
Common Pitch Conversions:
| Pitch (Rise:Run) | Angle (Degrees) |
|---|---|
| 1:12 | 4.8° |
| 2:12 | 9.5° |
| 3:12 | 14.0° |
| 4:12 | 18.4° |
| 5:12 | 22.6° |
| 6:12 | 26.6° |
| 8:12 | 33.7° |
| 10:12 | 39.8° |
| 12:12 | 45.0° |
The Formula:
Angle in degrees = arctangent(rise/run)
Example: For a 4:12 pitch
- Calculation: arctangent(4/12) = 18.4 degrees
If math isn’t your strong point, many free online calculators can do this conversion for you.
Tips for Choosing the Right Roof Pitch for Your Project
Practical Factors
A steeper slope helps water flow off quickly. It also creates more space above your ceiling. Slopes of 4:12 to 6:12 are easier to work on safely. Each roofing material performs best at specific slopes, which affects the lifespan of your roof.
Style Factors
Classic homes often use slopes from 6:12-12:12. Modern homes tend toward flatter slopes of 1:12-4:12. Look at other homes nearby to find what fits your area.
Cost Factors
Lower slopes use less material but may need extra protection from water. Steeper slopes cost more to build but may require fewer repairs later. The right slope for your climate can reduce long-term costs.
Fit Factors
New roofs should work with existing ones. Your roof should also complement the other homes in the neighborhood for a consistent look.
Conclusion
Choosing the right roof pitch is crucial for ensuring proper drainage, optimal material performance, and long-term durability.
It also shapes the overall look of your home. By understanding pitch requirements, measuring accurately, and factoring in your climate and design, you set your project up for success.
If you’re unsure, speak with a roofing expert to avoid costly mistakes. Have a question or experience to share? Drop it in the comments, we’d love to hear from you.
Looking for more ideas? Check out our other DIY Project guides to create a space that’s uniquely yours.