
Creating beautiful origami flowers is only half the art – without a proper stem, your paper blooms lack the finishing touch that makes them look complete.
Making an origami flower stem might seem simple, but crafting one that’s both sturdy and visually pleasing requires attention to detail and proper technique.
The good news is that with a few basic supplies and some patience, you can create professional-looking stems for all your paper flowers.
In this guide, we’ll walk through five simple steps to create the perfect origami flower stem.
From rolling techniques to troubleshooting common issues, you’ll learn how to complete your paper flowers with stems that look great and stay firmly in place.
Step-by-Step Instructions for Origami Flower Stem
To make a strong and neat origami flower stem, it’s important to follow a step-by-step approach.
Take it one step at a time, and you’ll see how each fold and roll leads you closer to the final shape. Let’s begin with the first step.
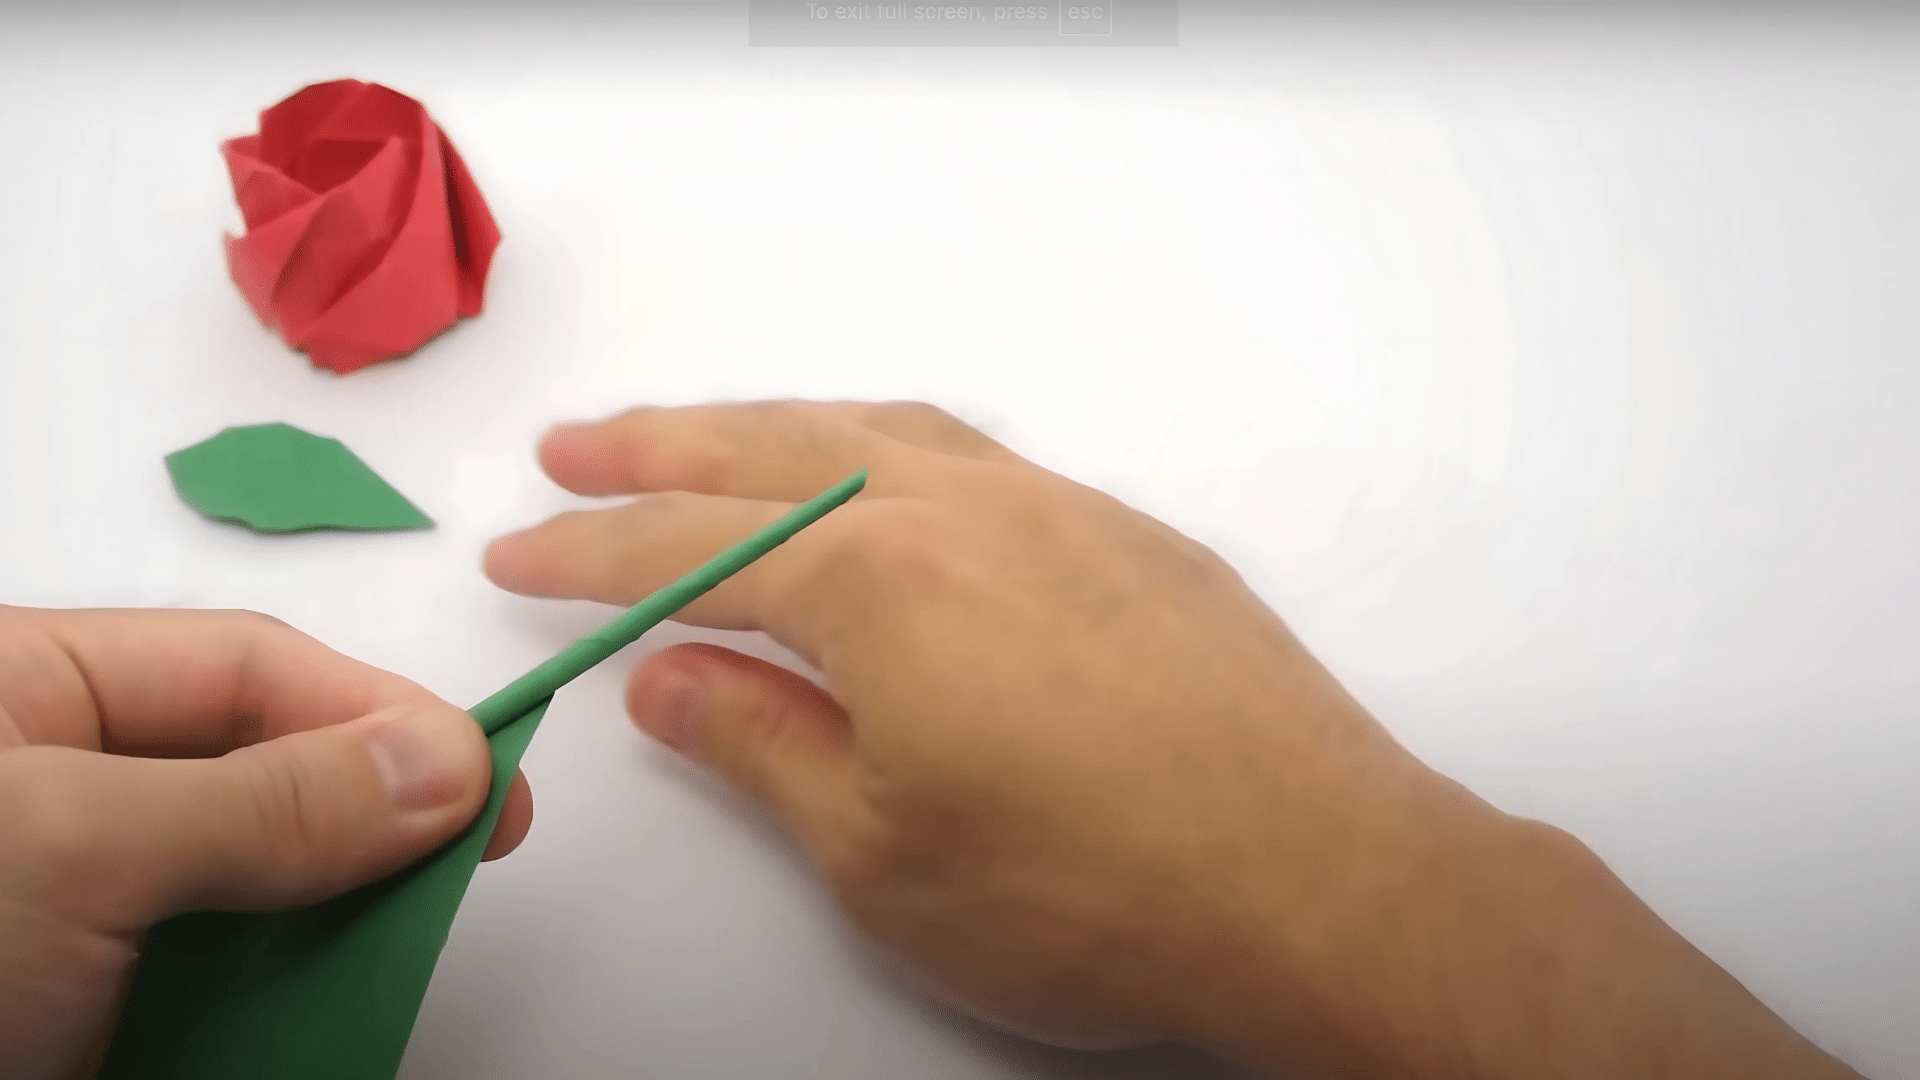
Step 1: Start by Rolling the Paper
Place a strip of green paper flat on the table. Start rolling it tightly from one short end. Try to keep the edges lined up neatly as you roll. Don’t rush—slow rolling gives better control.
If the roll starts getting uneven, stop for a moment and fix it before moving on. A neat beginning makes it much easier to finish nicely.
Helpful Tips: Use thin paper so rolling feels smooth and easy.
Step 2: Keep the Roll Tight
As you continue rolling, keep pressing the paper lightly but firmly. The tighter you roll, the stronger your stem will be. If the roll feels loose or the layers start to slide, unroll just a little and tighten it before moving forward.
Don’t worry if it’s not perfect the first time — practice helps a lot.
Helpful Tips: Always check with your fingers if the roll feels even.
Step 3: Attach the Leaf (Optional)
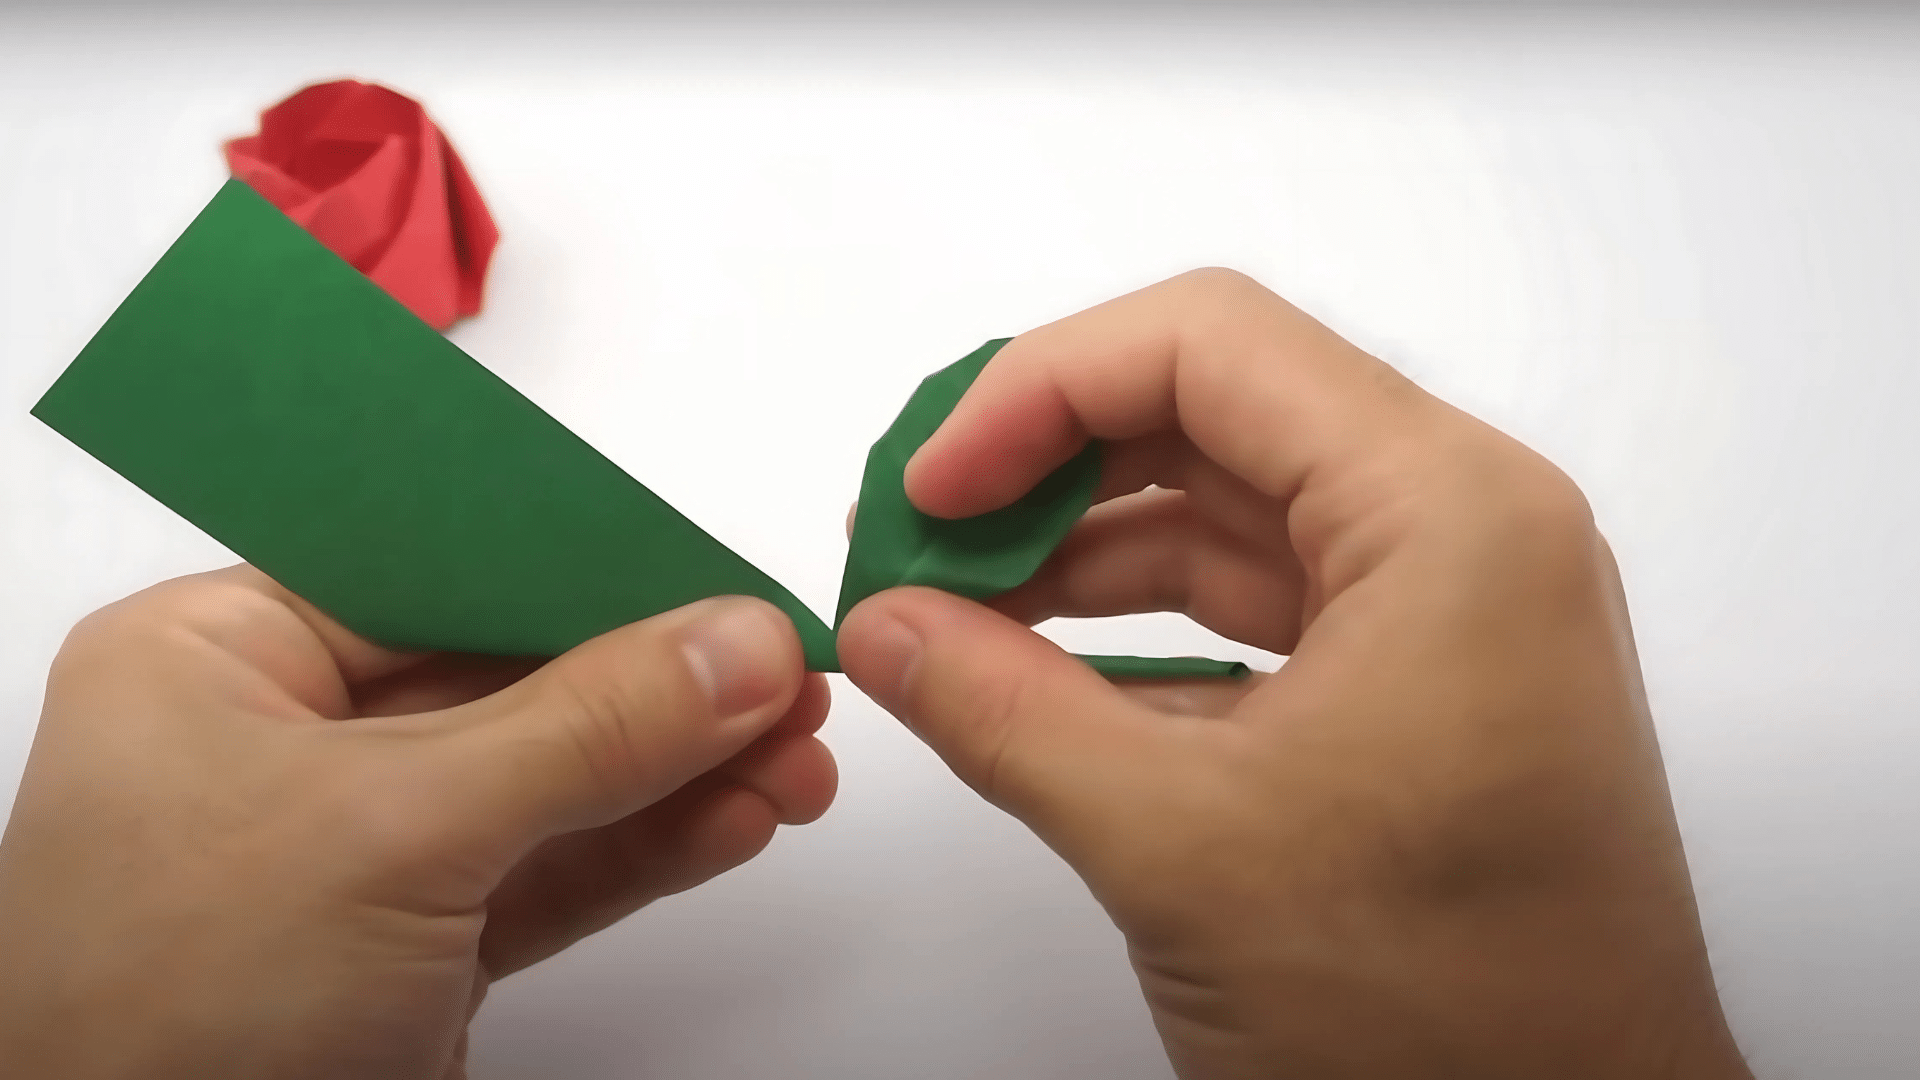
If you have a leaf ready, now’s the time to add it. Gently slide the leaf onto the stem or stick it by wrapping a small part around the stem.
Try to position the leaf about one-third down from the top so it looks balanced. Hold it in place for a few seconds so the paper remembers the shape and stays where you want it.
Helpful Tips: If the leaf slips while placing it, use a small dab of glue at the base to hold it.
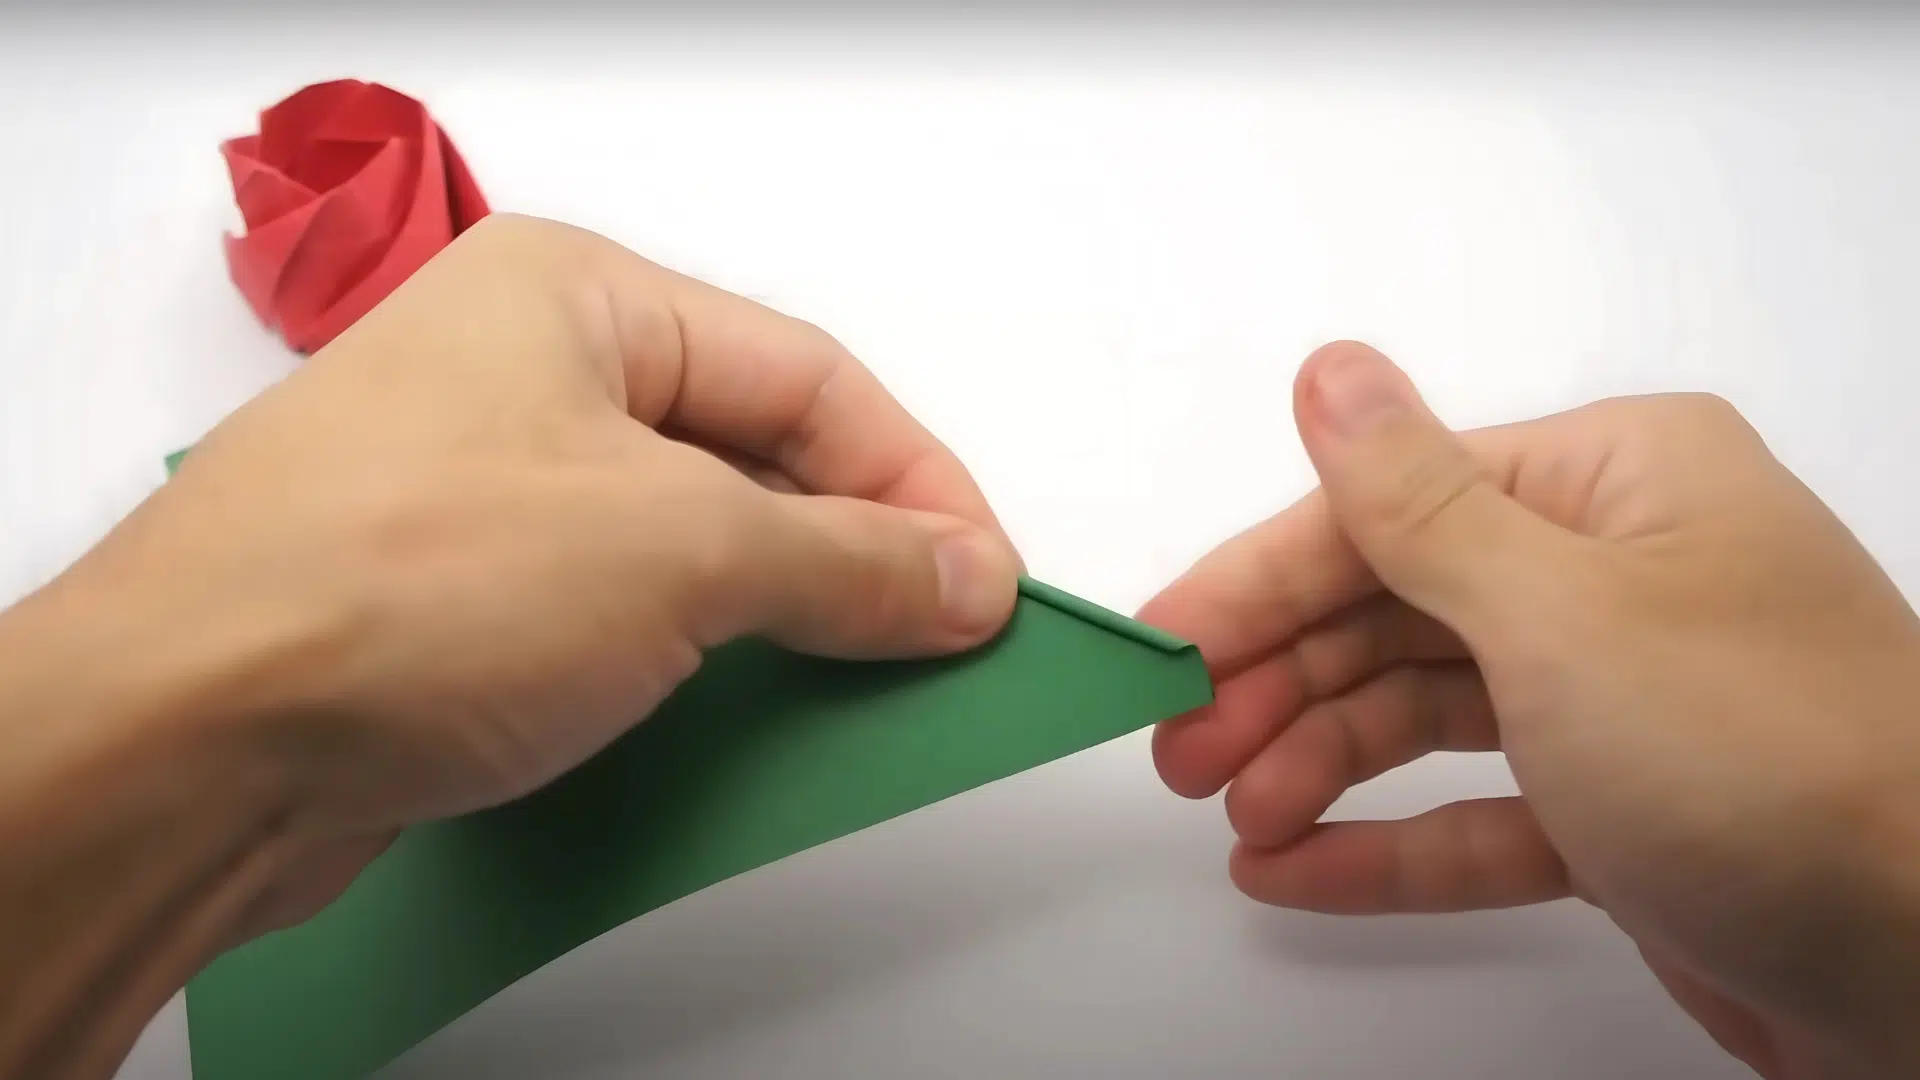
Step 4: Secure the End

When you get to the last part of the strip, press it down firmly with your fingers. If you think it might come loose, use a tiny bit of glue under the flap to hold it.
Be careful not to soak the paper with glue; a little goes a long way. Once the end is secure, roll the stem gently between your hands to make it smooth.
Helpful Tips: Press and hold the end for a few seconds if you’re not using glue — heat from your hands helps it stay put.
Step 5: Attach the Rose to the Stem
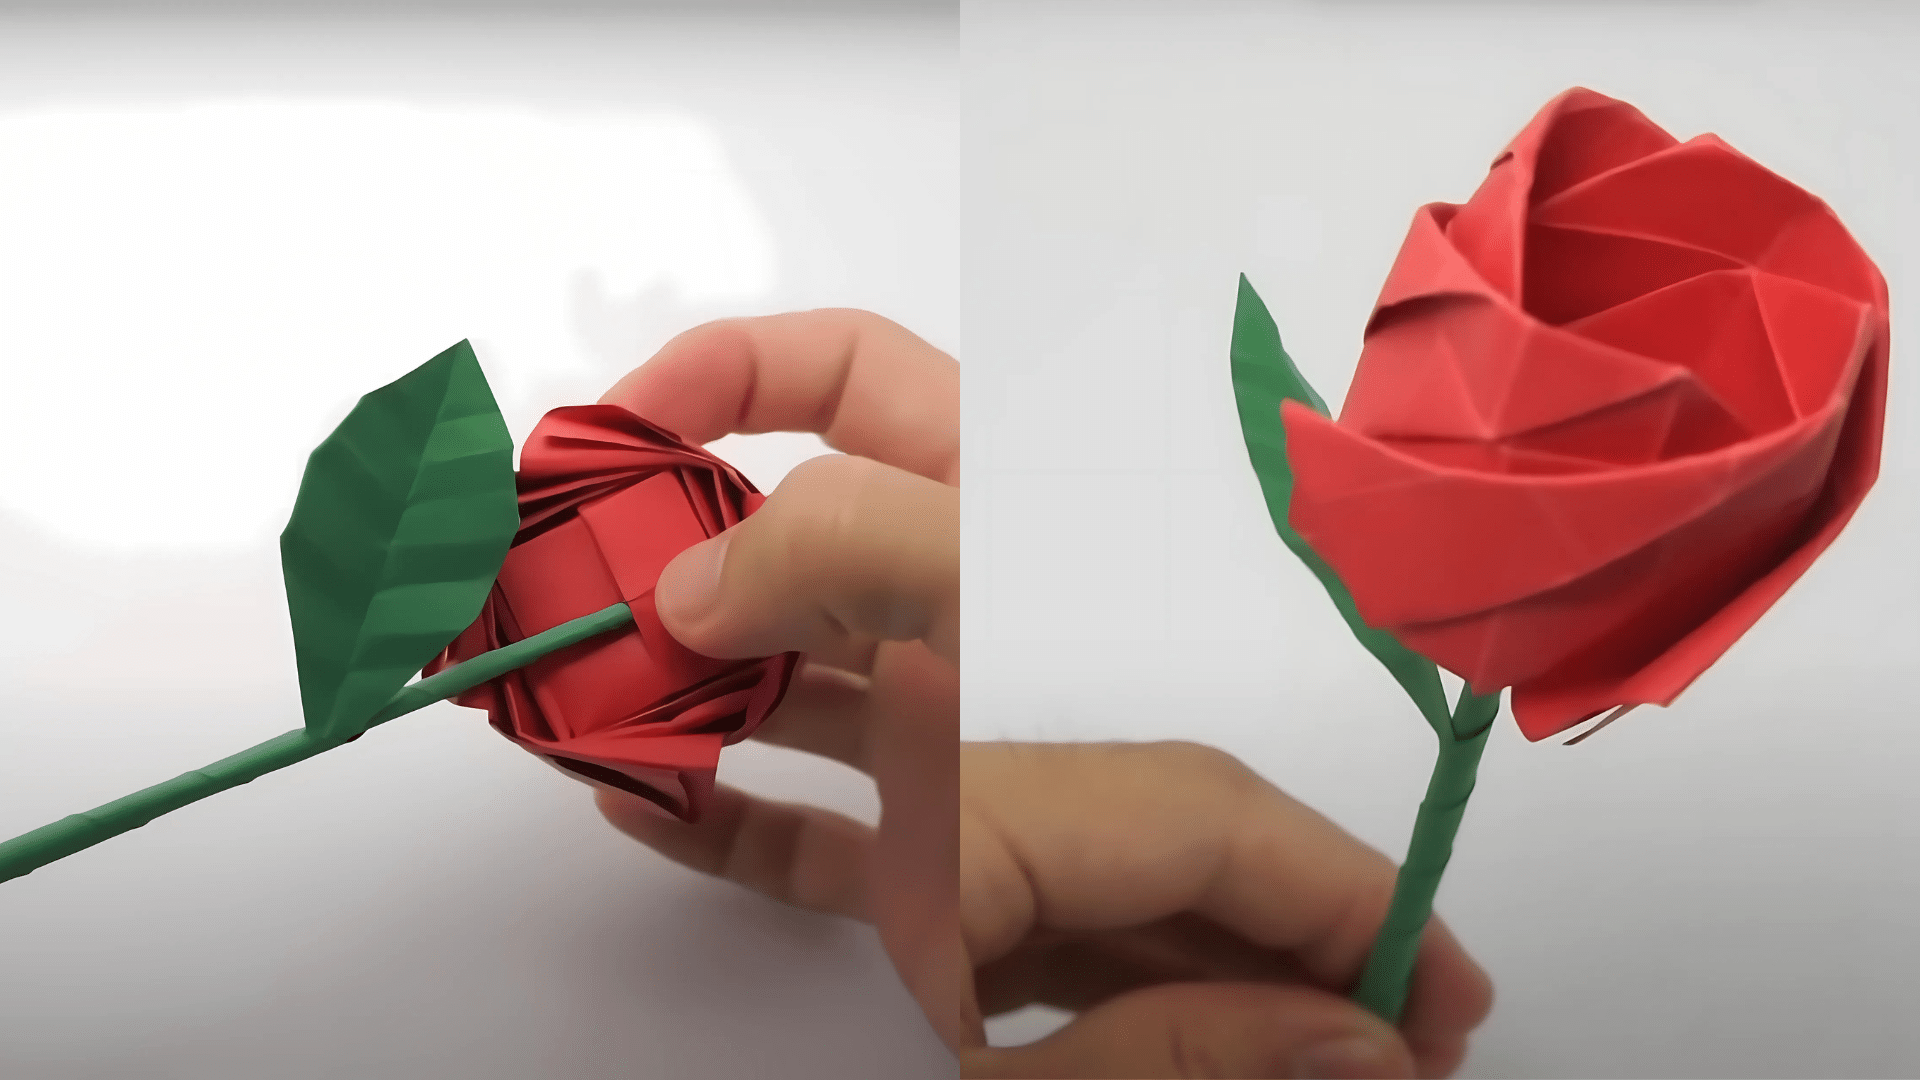
Now it’s time to connect the rose to your stem. Find the small hole or open space at the bottom of the origami rose. Carefully insert the top end of the stem into this hole.
Push it in gently until snug. If loose, fold or flatten the stem’s top for a better fit. A small drop of glue can also be added inside the rose base to keep it steady.
Helpful Tips: If the hole in the rose is too small, pinch the tip of the stem a little to make it narrower.
| And there you have it — a simple and neat way to make your own origami flower stem. Rolling the paper tightly, keeping it steady, and shaping it with care are the keys to making a strong stem. It’s okay if your first few tries aren’t perfect. Each time you practice, your stems will look better and feel stronger. Take your time, be patient with the folds, and enjoy seeing your flower come to life with its very own stem! |
Watch How It’s Done: DIY Origami Flower Stem Video Tutorial
For more information, check out this video tutorial by Origami with Jo Nakashima
Common Problems and Quick Fixes
Sometimes, even with careful hands, small problems can pop up when making an origami flower stem. Here are a few common troubles and easy ways to fix them:
1. The Stem Feels Too Weak: If your stem bends or feels floppy, it’s likely because the roll is too loose or the paper is too thin.
Quick Fix: Use thicker paper for the stem. Roll it tighter, pressing gently between your fingers. If needed, slide a toothpick or thin wire inside the stem for added strength.
2. The Flower Won’t Stay on the Stem: Sometimes the flower might slide off or feel like it’s going to fall.
Quick Fix: Flatten the top of the stem with your fingers before inserting it into the flower for a better grip. For extra security, add a small drop of glue inside the flower base.
3. The Paper Tears While Rolling: Rolling the paper too fast or too hard can sometimes cause little tears.
Quick Fix: Roll slowly and gently at first. If the paper feels too delicate, use a stronger sheet or practice with scrap paper.
4. The Stem Looks Uneven or Lumpy: If the stem looks crooked or feels bumpy, it usually means the rolling was uneven.
Quick Fix: Lay the finished stem flat on the table and roll it gently using your palm to smooth bumps and straighten it.
Recommended Origami Flowers to Pair with Your Stem
After making a nice origami stem, you might wonder what kind of flower would look good on top. Here are some easy and popular choices, along with why they fit so well:
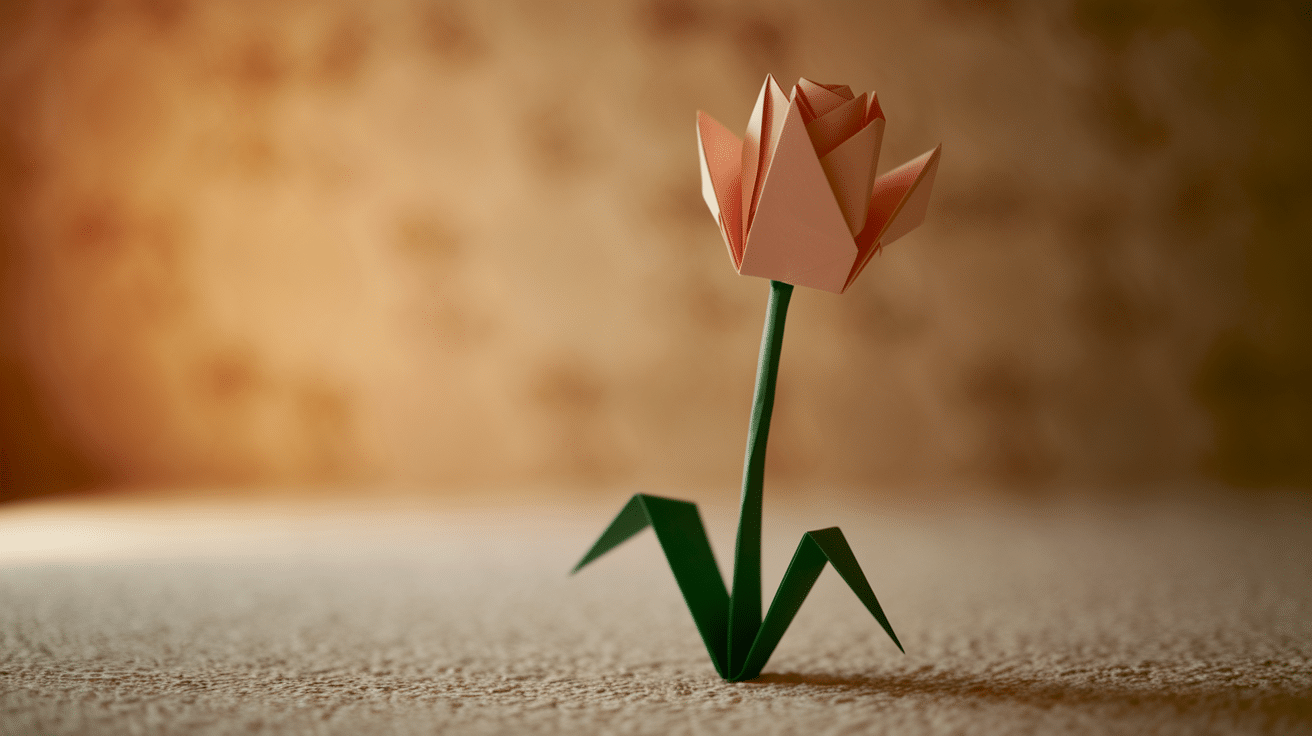
Origami Tulip

The origami tulip is one of the easiest flowers to make. It has a clean, bold shape and fits well onto a sturdy stem.
The tulip has a ready-made opening at the bottom, so you can slide the stem inside without needing to change anything.
Origami Rose
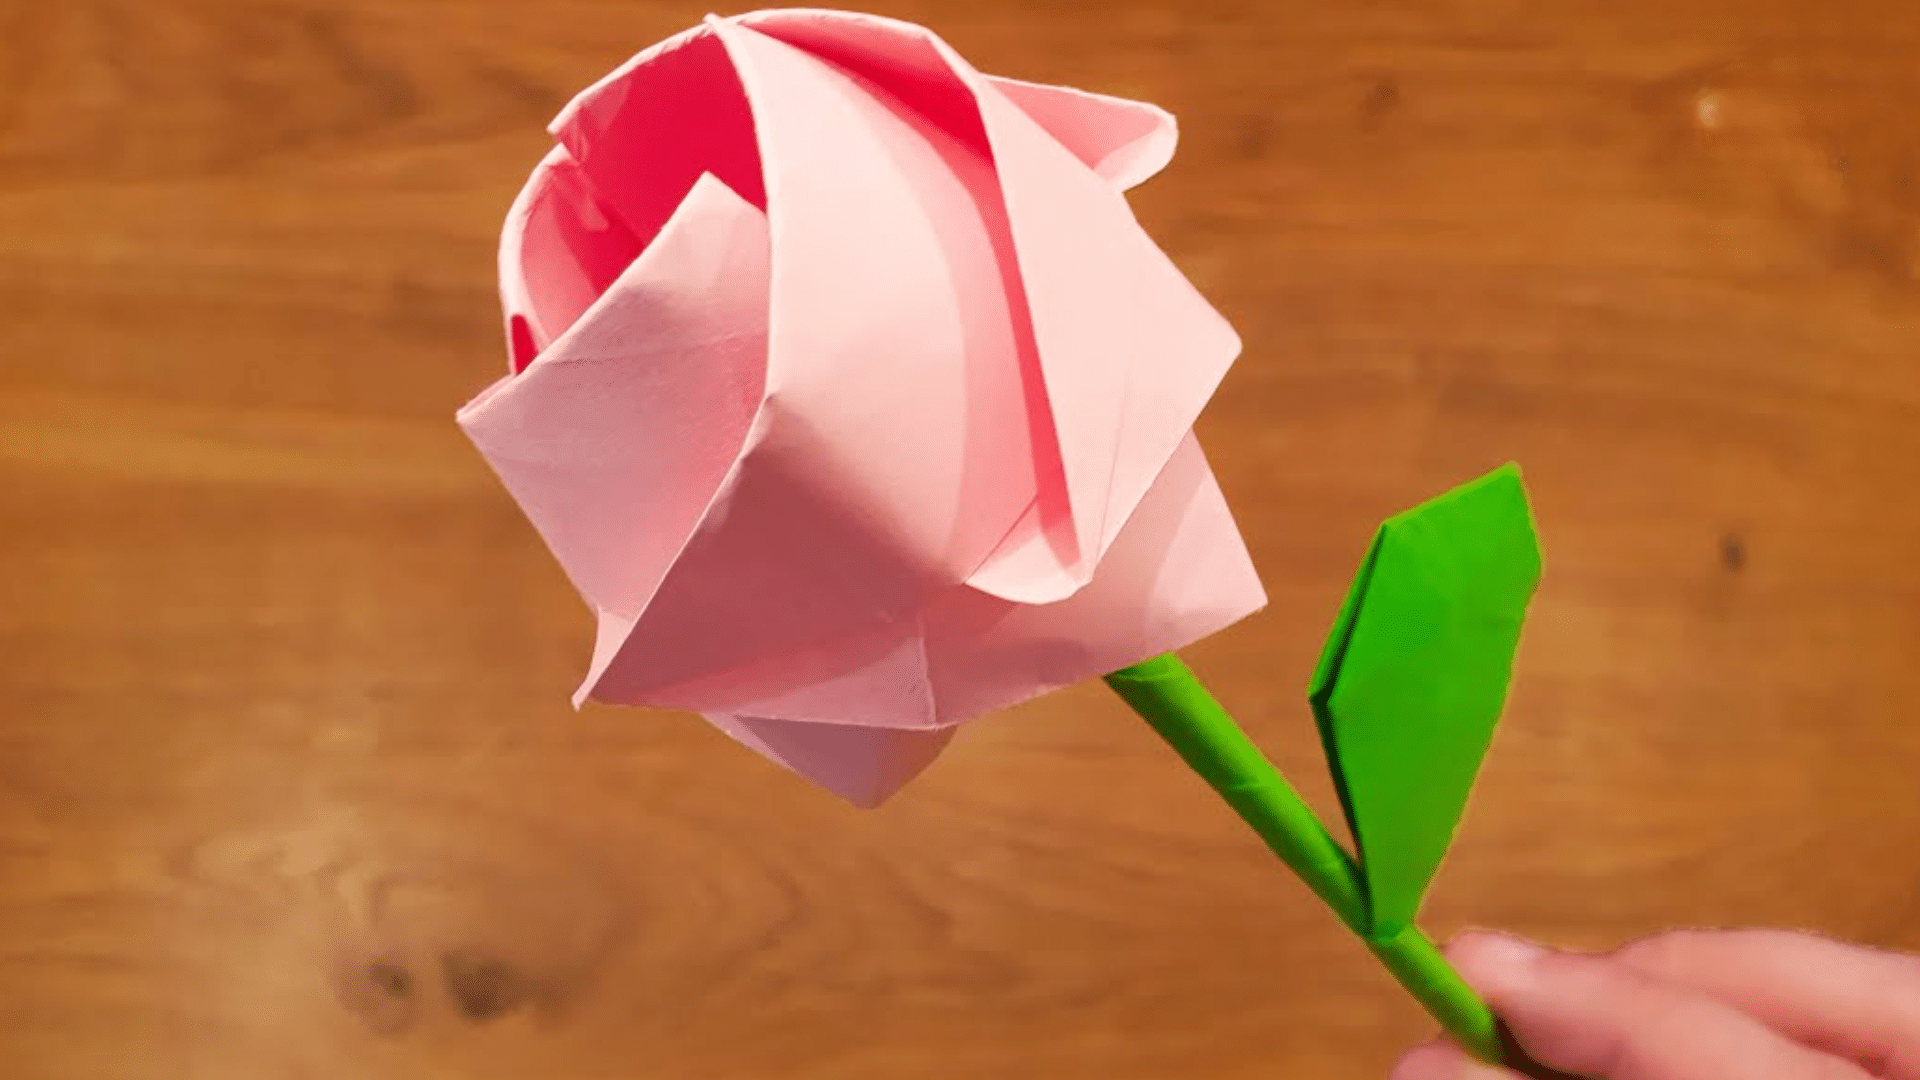
The rose is a favorite for many people. It has a soft, rounded shape and looks beautiful when paired with a well-rolled stem.
Most origami roses have a small hole underneath, and the petals are strong enough to hold the stem firmly once you press it in.
Origami Lily
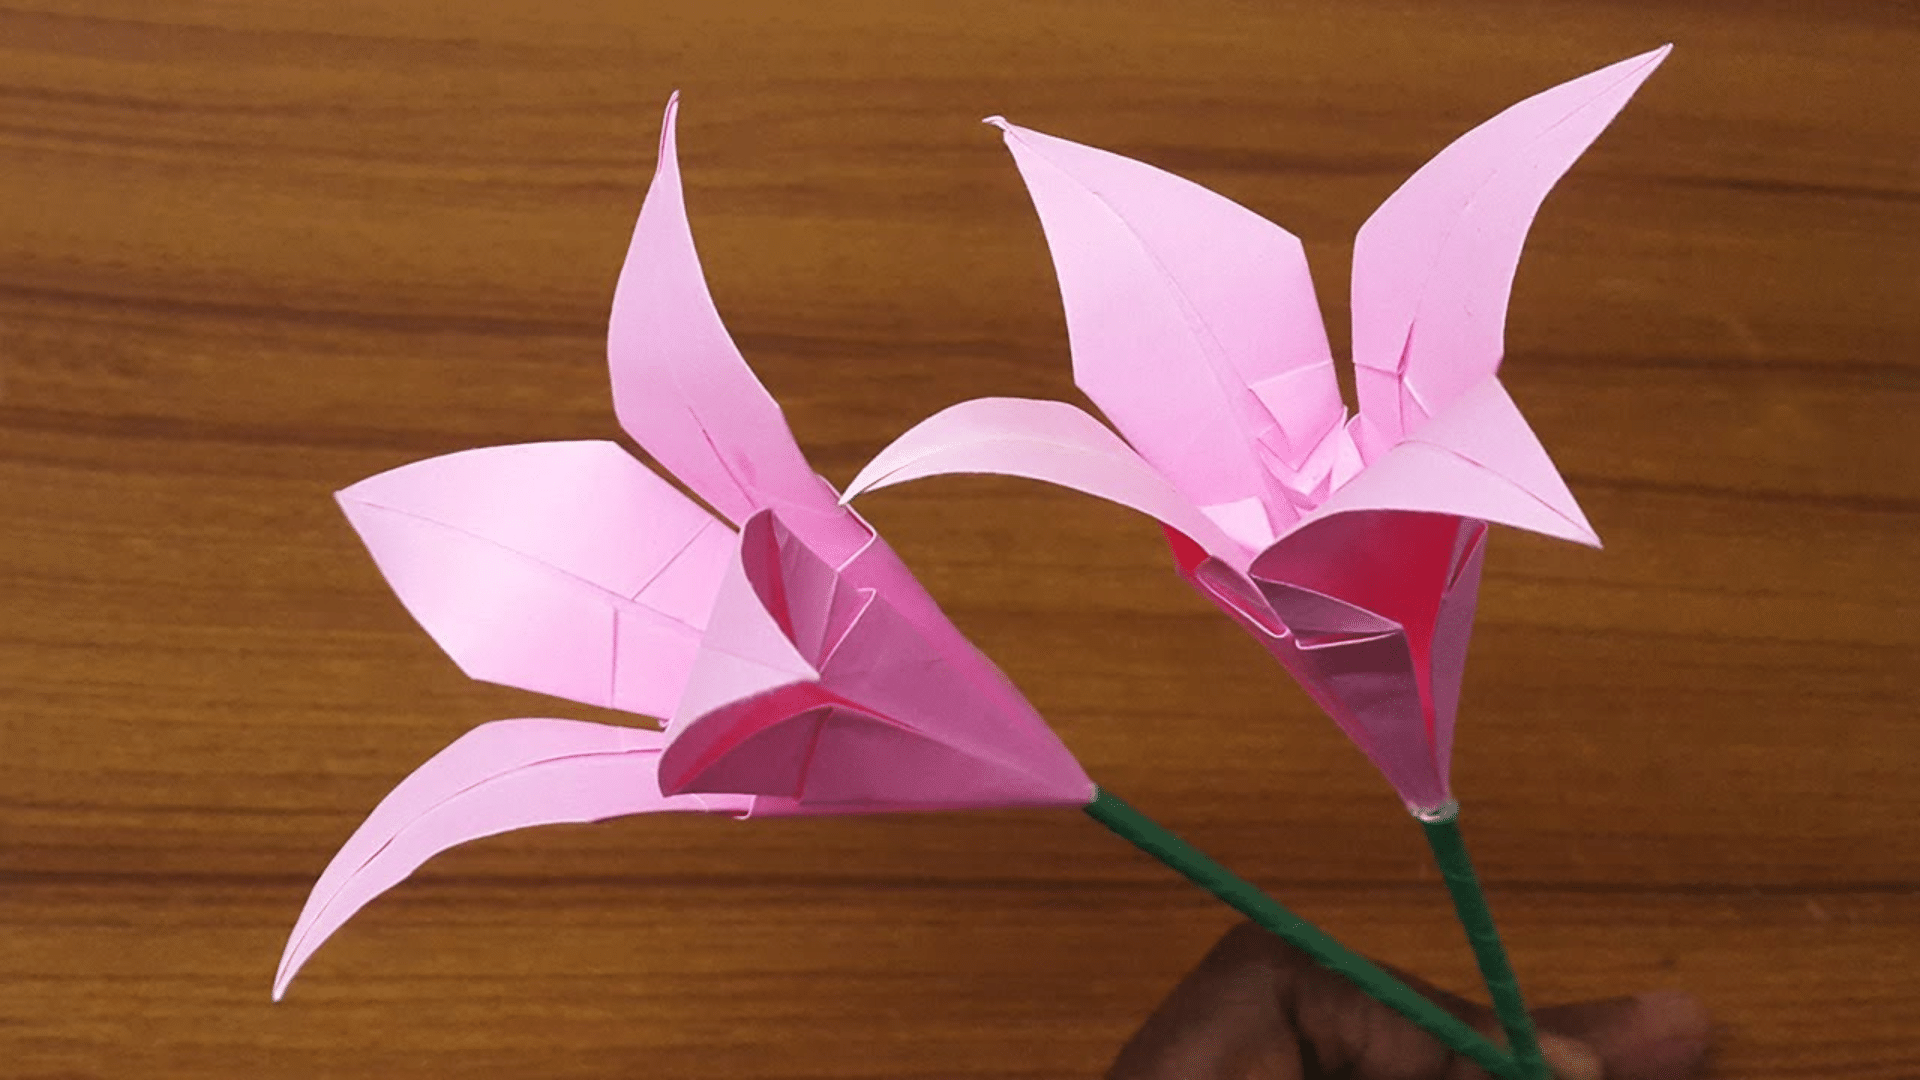
The origami lily has long, pointed petals and looks graceful on a paper stem. It usually needs a careful hand when attaching, because the flower base can be a little narrow.
The lily’s base is a little tight, but if you roll the tip of your stem slightly thinner, it fits in nicely without tearing the flower.
Conclusion
Making origami flower stems takes practice, but the results are worth it. Once you master the basics, you can create complete paper flowers for vases or larger arrangements.
Try pairing your newly made stems with different origami flowers to see which combinations you prefer. Tulips, roses, and lilies all attach differently and create unique finished pieces.
You might even find yourself creating entire bouquets once you’ve perfected your stem-making skills. These steps and tips prepare you to create origami flowers with sturdy, attractive stems that enhance your designs.
We’d love to see your finished origami flowers with stems! Share your experience in the comments below.