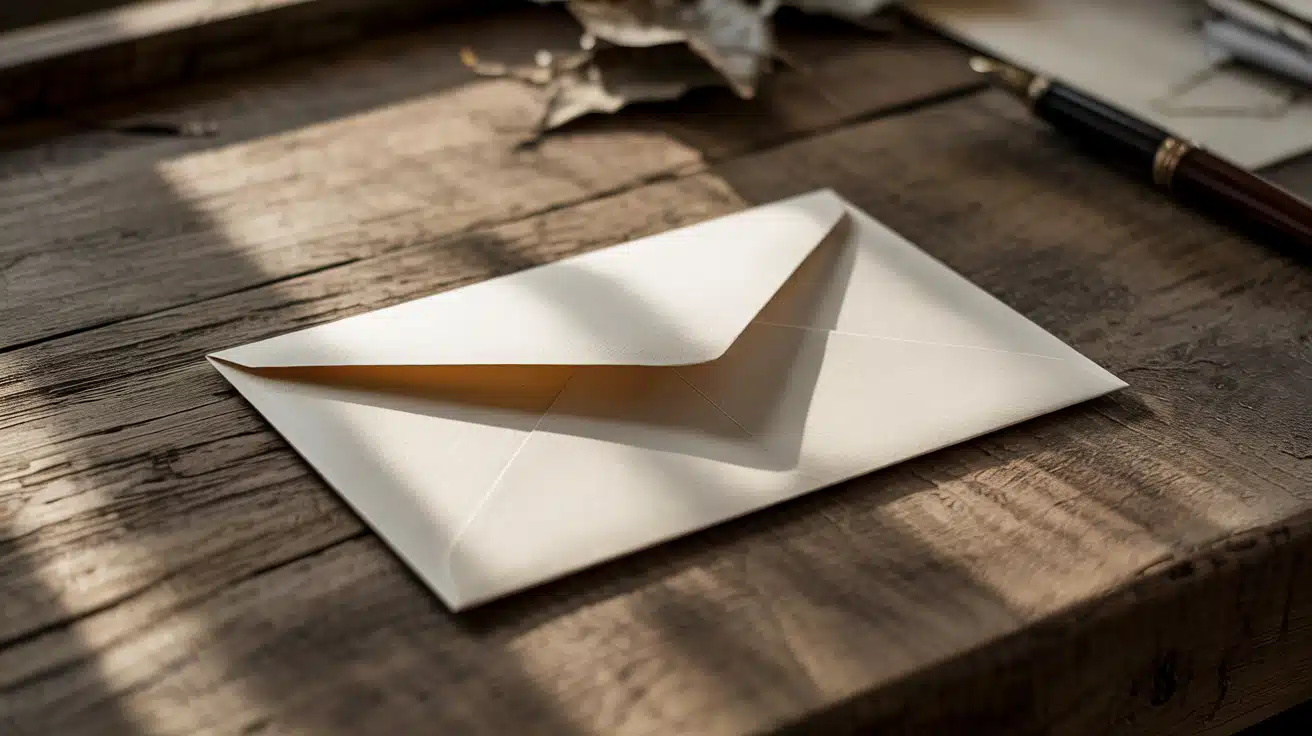

Need an envelope right now but don’t want to run to the store? The answer is sitting right on your desk.
A simple sheet of paper can be transformed into a useful envelope in minutes. Adding a personal touch to your letters with a handmade paper envelope. Plus, it’s good for the planet when you reuse paper.
Want to know a secret? Many people think making envelopes is hard. It’s not. You need paper and a few basic folds.
This guide will show you how to make a paper envelope quickly. No fancy tools needed. No complex steps to follow.
By the end, you’ll know how to turn regular paper into an envelope that works just as well as store-bought ones.
Ready to start folding? Let’s make an envelope!
Why Make Your Own Envelope? The Charm of DIY Simplicity
Making your own envelope has more benefits than you might think. It’s not just about having something to hold your letter.
- Adds a personal touch that makes your message feel special
- Solves the problem when you need an envelope right away
- Uses paper you already have, like old magazines or gift wrap
- Costs nothing, unlike buying envelopes at the store
- Takes just minutes to make, even if you’re new to paper folding
- Teaches kids a useful skill they can use for cards and notes
When you make your envelope, you show the recipient that you care enough to go the extra mile. That matters more than perfect edges or fancy designs.
Step-by-Step Instructions: How to Fold Your Paper Envelope
Follow these simple steps to make your own paper envelope in minutes. The process is easy but looks so good when finished.
Paper, Scissors, Fold & That’s All You Need!
Making a paper envelope is one of the simplest paper crafts you can try. You probably have everything you need already.
- One sheet of paper (square or rectangular)
- Scissors
- Glue or tape
- Ruler and pencil
The beauty of making your own envelope is how basic the supplies are. You can create one almost anywhere with just paper and your hands.
Step 1: Choose and Prepare Your Paper
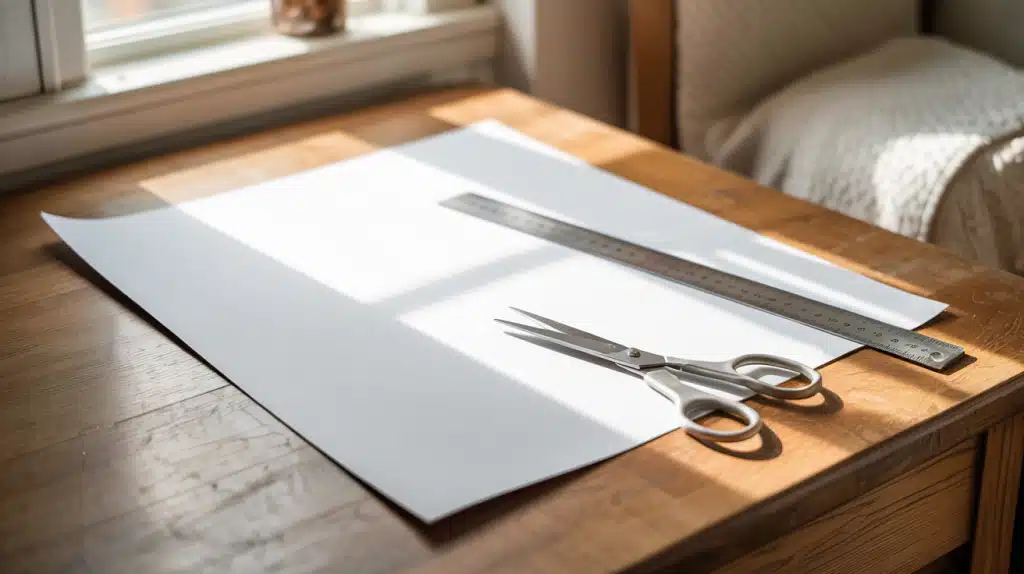
Pick any paper you like – plain white, colored, or patterned. If using old magazine pages, gift wrap, or scrapbooking paper, they work well too. For a square envelope, trim your rectangular paper to make it square.
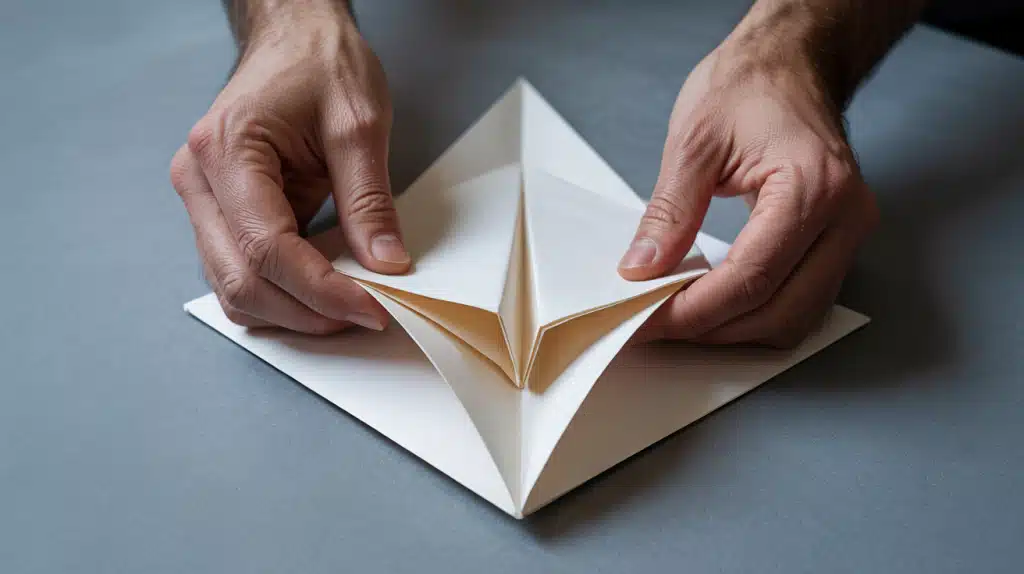
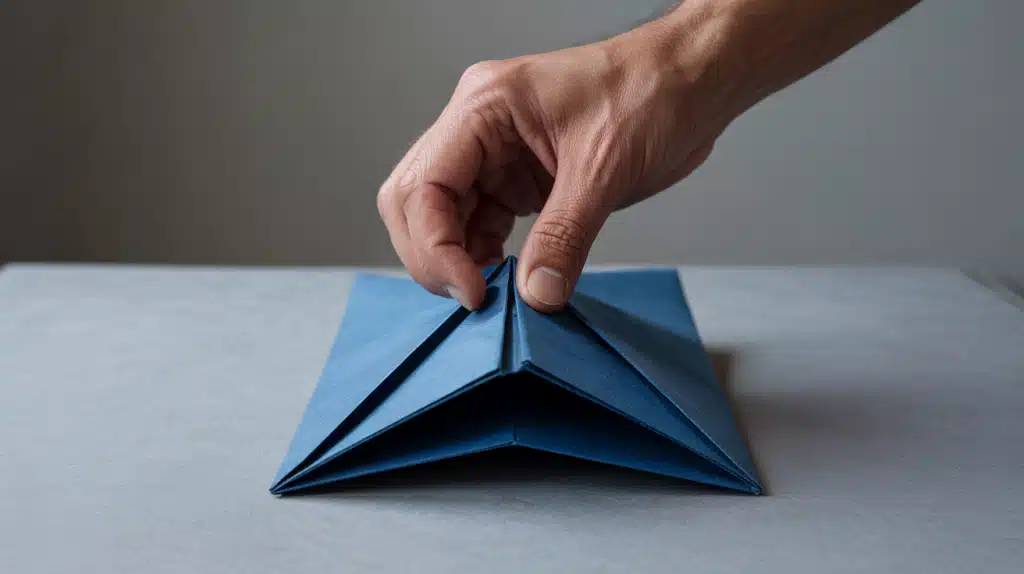
Step 2: Fold the Paper to Form a Triangle
Turn your paper so it looks like a diamond with one corner pointing up. Fold the bottom corner up to meet the top corner. Press along the fold to make a crisp edge. You now have a triangle shape.
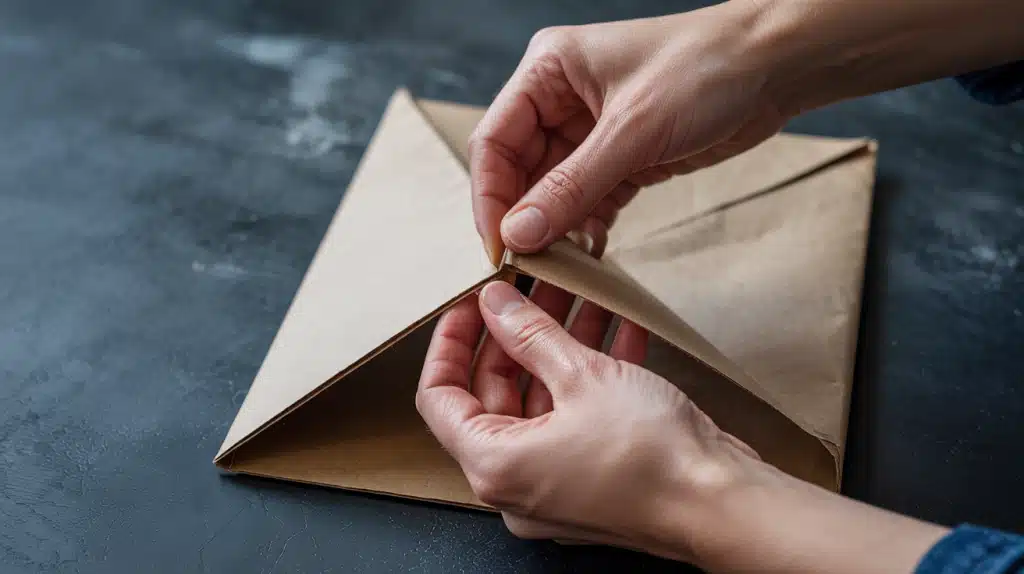
Step 3: Fold the Sides Inward
Take the left corner of your triangle and fold it toward the middle. Do the same with the right corner. These sides should overlap slightly at the center. The folds should be even on both sides.
Step 4: Create the Bottom Flap
Now fold the bottom corner (the point) up and over the side flaps you just created. This bottom flap forms the base of your envelope and helps hold everything together.
Step 5: Secure the Folds
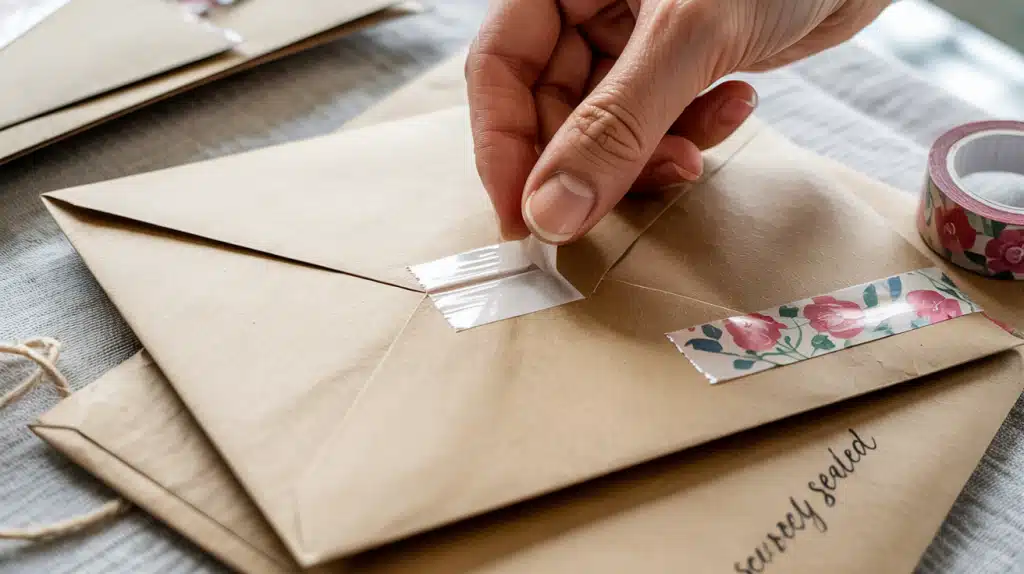
Add a small piece of tape or a dab of glue where the flaps meet to keep everything secure. This step is optional but helps if you’re mailing something important.
Step 6: Make the Top Flap
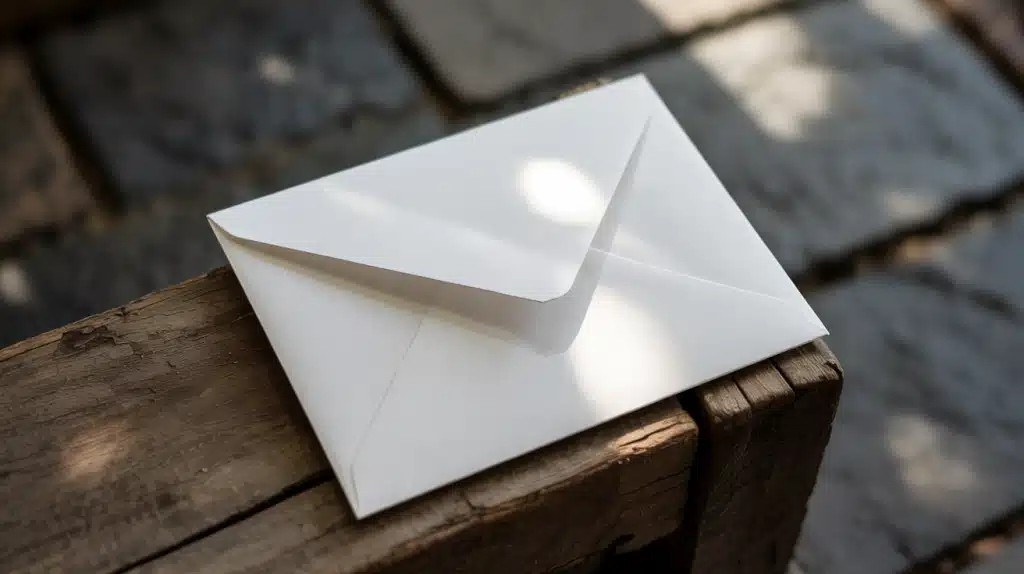
The remaining top corner becomes your closing flap. Fold it down over the front of your envelope. You can secure it with a sticker, tape, or small dab of glue when ready to send.
When and Where to Use Your DIY Envelope?
Handmade paper envelopes work perfectly in many situations. They add a personal touch that store-bought envelopes simply can’t match. Plus, they show you took extra time and care with your message.
- Gift cards and letters: A handmade envelope makes your thank-you note or birthday card feel more special and thoughtful.
- Wedding or party invitations: Custom envelopes can match your event theme and colors at a fraction of the cost of professional options.
- Scrapbooking and journaling: Small paper envelopes hold ticket stubs, pressed flowers, or other flat keepsakes in your memory books.
- Emergency use: When you need to mail something right away and have no store-bought envelopes, your paper-folding skills save the day.
These simple paper creations work well for most personal mail. Just keep in mind that very important documents might need standard envelopes for professional settings.
Style It Your Way: Easy DIY Envelope Decoration Ideas

Plain envelopes work fine, but decorated ones show extra thought and care. Here are simple ways to make your paper envelopes stand out:
- Rubber stamps: Add patterns or images to plain paper before folding
- Washi tape borders: Create colorful edges with decorative tape
- Hand-drawn designs: Simple doodles or patterns make each envelope unique
- Stickers: Use them to both decorate and seal your envelope
- Cut-out windows: Show a peek of what’s inside with a small opening
You can also try:
- Using patterned paper from the start
- Adding pressed flowers or leaves
- Writing the address in fancy lettering
- Using colored pencils for soft designs
The best part? Most of these ideas use items you probably already have at home.
5 Common Mistakes to Avoid
When making your own paper envelopes, watch out for these common errors that can affect how your final product looks and works.
1. Rushing through folds without aligning corners properly: Take your time with each fold. When corners don’t match up, your envelope looks messy and might not close right.
2. Using paper that’s too thick or stiff to fold neatly: Cardstock and heavy construction paper fight against folding. They create bulky, awkward envelopes that don’t seal well.
3. Choosing paper too small for what you need to mail: Always start with paper at least twice the size of what you’re putting inside. Small paper means tight fits or items poking through.
4. Pressing too hard when creasing, causing paper to tear: Gentle pressure works best. Paper can weaken along fold lines, especially at corners where tears often start. A good crease helps your envelope fold stay sharp.
5. Applying too much glue, making the envelope stick shut permanently: A tiny dab is enough. Too much glue might seal your envelope forever—the recipient will need to tear it open.
Origami Envelope Template: Another Easy Method
Looking for a different way to fold? An origami envelope offers another simple approach using square paper. This traditional folding paper method creates elegant results without any cutting or glue. Many find the origami envelope easier once they watch a video showing the basic folds. Start with craft paper or any square paper you have, and follow a simple template to guide your folds. This DIY paper technique works especially well for special occasions when you want something that looks more intricate than it really is.
Conclusion
Making a paper envelope is easier than most people think. With just a few folds, you’ve created something both useful and personal.
Now you can make envelopes anytime, anywhere. No more last-minute trips to the store when you need to send a card or letter.
Try making envelopes with different papers to see what you like best. Old maps, colorful magazine pages, or even children’s artwork can become special envelopes that stand out.
Remember to watch for those common mistakes—take your time with each fold and use the right paper size.
Have you made your own envelope yet? We’d love to see your creations! Share a photo in the comments below or tag us on social media.
What will you mail in your handmade envelope? The possibilities are endless!