Ever tried ombre painting but ended up with a mess? You’re not alone. Many home painters struggle to blend colors smoothly, turning what should be a simple project into hours of frustration.
What if you could learn a method that makes ombre walls foolproof? A technique that works every time, with minimal tools and basic skills?
This guide shows you how to create smooth, flawless color transitions on your walls. You’ll learn the exact steps pros use, from picking the right paint to mastering the brush techniques that make all the difference.
Ready to convert your room with a beautiful ombre effect that will impress everyone who sees it? Let’s get started with these simple steps that anyone can follow.
Why Choose Ombre Painting?
Ombre painting brings a soft, gradual shift of colors to your walls. This style fits both modern and classic homes. It makes rooms feel bigger and adds depth to flat walls. The best part? You can match it with your existing decor by picking colors that go well together.
Here’s why ombre walls might be right for you:
- Creates visual interest without bold patterns
- Works in any room, from bedrooms to living areas
- Allows for personal expression through color choices
- Costs about the same as regular painting
- Hides small wall flaws better than solid colors
- Can be subtle or bold based on your color picks
Step-by-Step Guide to Ombre Painting
Ombre painting is easier than it looks! With the right approach, you can achieve a beautiful gradient effect on walls, furniture, or accessories. Follow this step-by-step guide to create a stunning ombre design that adds a modern touch to any space.
1. Gather Your Painting Materials

Collect all your supplies before starting. You’ll need paint in two or three colors that work well together, a paint roller, several paint trays, a spray bottle with water, clean rags, painter’s tape, and a few brushes. For beginners, select colors from the same color family for easier blending.
2. Prepare Your Surface Properly

Clean your wall with mild soap and water. Fill any holes with spackle and sand when dry. Apply a coat of primer and let it dry fully. Place painter’s tape along edges and trim. A clean, smooth wall helps colors blend more evenly and makes the final look much better.
3. Apply Your Base Colors

Paint each section with its main color, allowing a small overlap where they’ll meet. Work in sections to keep the paint wet for blending. Use steady, even strokes in the same direction. Make sure you have enough paint on the roller for good coverage.
4. Create the Blended Effect

While paint remains wet, lightly mist water where colors meet. Use a clean roller or brush to blend with gentle strokes. Work back and forth across the meeting line until colors fade into each other. Add more paint as needed to smooth the transition.
5. Let It Dry and Check Your Work

Step back often to check your progress. Look for any spots that need more blending. Once you’re happy with the effect, let the wall dry completely. View it in different lighting to make sure the blend looks good at all times of day.
6. Apply Final Touches

After the wall dries, look for any areas that need touching up. Use a small brush for spot fixes. Some painters add a clear sealer for extra protection, but this is optional. Remove all tape once everything is fully dry to reveal clean edges.
Top Tips for Perfect Ombre Results
- Choose the Right Paint Finish: Matte or eggshell finishes work best for ombre walls. They hide blending marks better than glossy paints and create a softer look. The same finish for all colors ensures even blending across the wall.
- Practice Your Technique First: Try your ombre method on a large piece of cardboard before starting on your wall. This helps you get comfortable with how quickly the paint dries and how much pressure to use when blending. A test run saves time and paint in the long run.
- Work With a Helper: Ombre painting goes more smoothly with two people. One person can apply paint while the other starts blending. This keeps the paint wet longer and makes for smoother color shifts. Team up for better results.
- Keep Your Brushes Clean: Rinse brushes and rollers when switching between colors. Wipe excess water before using them again. Clean tools give you more control over where each color goes and prevent unwanted mixing that could muddy your design.
Convert Any Room: Ombre Ideas for a Fresh Look
Ombre painting adds a stylish gradient effect to any room, from walls to furniture and accessories. It’s a versatile technique that can create bold statements or subtle, calming transitions. Here are five creative ombre ideas to refresh your space.
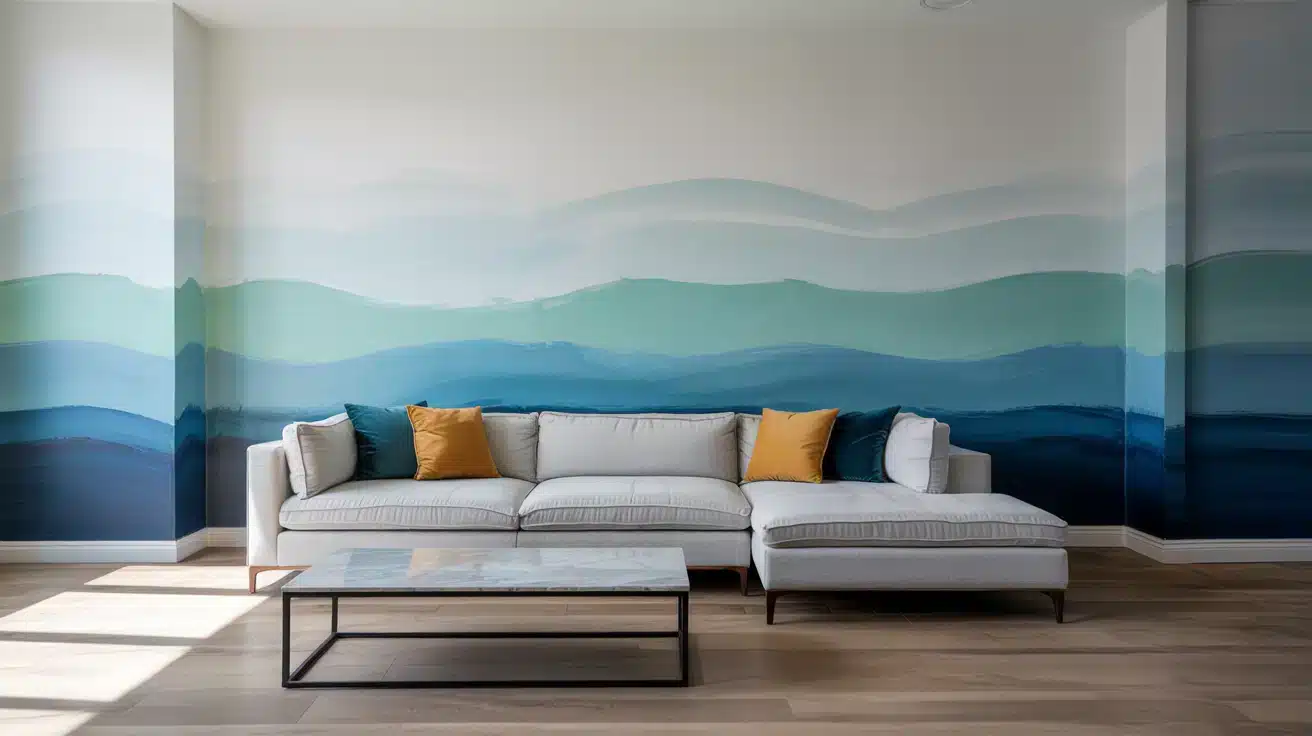
1. Ombre Walls for a Subtle Gradient Effect

Create soft, calm rooms with ombre walls. Pick colors that flow well together, such as light blue fading to white or beige changing to soft terracotta. This style adds depth to your walls without making the room feel busy. Most guests will notice something special about the room, but may not see right away that it’s the wall paint.
2. Ombre Accent Furniture

Update old furniture with ombre paint for a fresh look. Try this on chairs, dressers, or small tables to make them stand out. Bold color mixes like teal to coral add life to any room. This works best on wood pieces that you can sand and prime first. Small items let you try the ombre trend without changing your whole room.
3. Ombre Curtains for a Modern Twist

Ombre curtains bring style to windows with little effort. Match them to your room colors – perhaps deep green at the top that fades to light mint at the bottom. This works in bedrooms and living rooms alike. You can buy ready-made ombre curtains or dye plain ones yourself for a custom look.
4. Ombre Throw Pillows and Textiles

Add small pops of ombre with throw pillows and blankets. This is the easiest way to try the trend without much work. Mix different fabrics like velvet and linen to add more visual appeal. You can switch these items out when you want a change, making them perfect for those who like to update rooms often.
5. Ombre Walls with a Textured Finish

Combine ombre paint with wall textures for rich, high-end looks. Try faux stucco or add metallic paint to your ombre mix. This works well for accent walls in dining rooms, hallways, or main bedrooms. The texture catches light in ways flat paint can’t, making the color shifts more noticeable as the day goes on.
Common Ombre Painting Mistakes and How to Avoid Them
| Mistake | Why It Happens | How to Avoid It |
|---|---|---|
| Harsh color lines | Blending started after paint dried | Work in smaller sections and blend while wet |
| Muddy color mix | Too much blending or wrong colors | Choose colors from the same family; blend gently |
| Uneven texture | Using different paint types or finishes | Stick to one paint brand and finish for all colors |
| Patchy areas | Not enough paint or uneven application | Apply generous, even coats and maintain wet edges |
| Drips and runs | Too much water during blending | Mist lightly, not heavily; dab excess with a cloth |
| Faded middle section | Over-blending the transition area | Be gentle where colors meet; less is often more |
| Wall damage | Rough blending technique | Use soft tools and light pressure when working |
| Color doesn’t match vision | Poor test sample or lighting | Always make a test board and view in your room’s light |
Conclusion
Looking back at everything we’ve covered, ombre painting offers a simple way to add color flow to your rooms. We showed how to pick colors, prep walls, and blend shades for smooth results.
The key points to remember: start with good preparation, work while paint is wet, and blend with gentle strokes. By avoiding the common mistakes in our chart, your first ombre wall can look professional.
Even with a tight budget, our affordable options prove you don’t need expensive tools or materials for great results. The sample size approach alone can save you significant money.
Why not try a small accent wall first? Once you master the technique, you might find yourself wanting ombre effects throughout your home.
Frequently Asked Questions (FAQs)
How to Do an Ombre Effect?
Mix two colors you like. Start with one color at the top. Gradually blend in the second color as you move down. Use a damp brush for smooth transitions.
How Do You Paint Ombre?
Clean your wall. Paint the top color first. Apply the second color below. Blend where they meet with a damp sponge while still wet.