Do you want a kitchen island that adds charm without breaking the bank?
A shiplap kitchen island might be just what you need. Adding a shiplap island to your kitchen can make a huge difference in both function and style.
When looking at kitchen updates, the cost of most pre-made islands can be too high. Building one yourself is a smart option. This DIY approach saves money and allows for custom design to fit exact needs.
This blog will show you how to make your own shiplap kitchen island without spending too much. You’ll learn which materials work best, the tools you need, and the steps to put it all together. Ready to start? Let’s go!
Why Choose a Shiplap Kitchen Island?
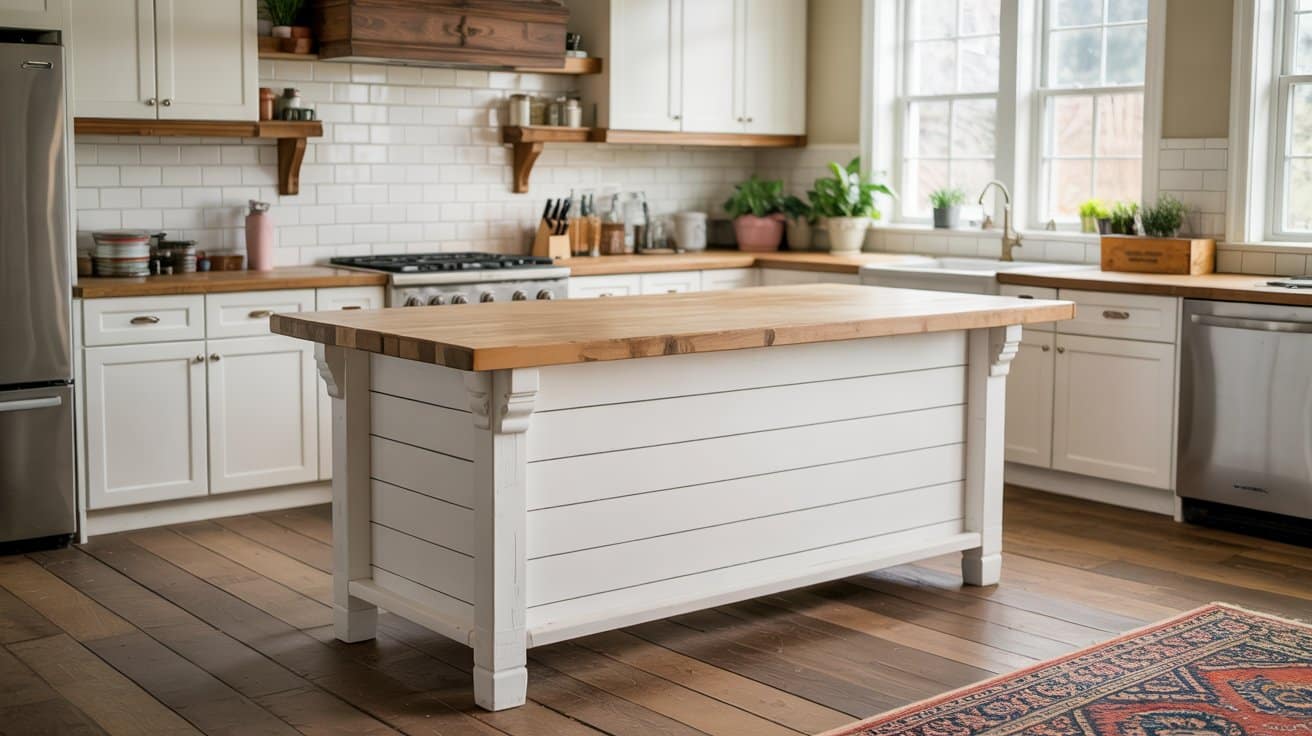
A shiplap kitchen island brings a warm, cozy feel to any kitchen. The wooden boards with their slight gaps create a simple, clean look that fits with many styles, from rustic to modern. A shiplap island adds both beauty and function to your space.
The main plus of a shiplap island is how it can change your kitchen without major work. Unlike full kitchen fixes, an island is a small project that makes a big impact. You get more counter space, extra storage, and a new focal point for your kitchen.
- Adds more work space for cooking and baking
- Gives you more storage for pots, pans, and tools
- Creates a spot for people to sit and chat while you cook
- Costs less than most other kitchen updates
Materials and Tools You’ll Need
| Materials | Tools |
|---|---|
| 8-foot shiplap boards | Saw |
| Plywood or MDF for the base | Hammer |
| 2×4 lumber for spacers | Drill |
| 18-gauge brad nails | Measuring tape |
| Liquid nails (glue) | Spring-loaded nail tapper |
| Trim pieces | Foam roller |
| Pink drywall filler | Sandpaper (220 grit) |
| Enamel or high gloss paint | Safety gloves |
| Screws | Safety goggles |
Step-by-Step Guide for Building Your Shiplap Kitchen Island
This section walks you through the entire process of creating your own shiplap kitchen island from scratch. Follow each step in order, from measuring your space to adding the final coat of paint, for a smooth and successful project.
Step 1: Measure and Plan
Take time to measure the space where your island will go. Think about how people will move around it and what size works for your kitchen. Decide on the height, width, and depth based on the room’s layout.
Make sure to leave at least 36 inches of space around all sides of the island for easy movement. A typical island is about 36 inches high, 24-30 inches deep, and 48-72 inches wide, but you can adjust to fit your needs.
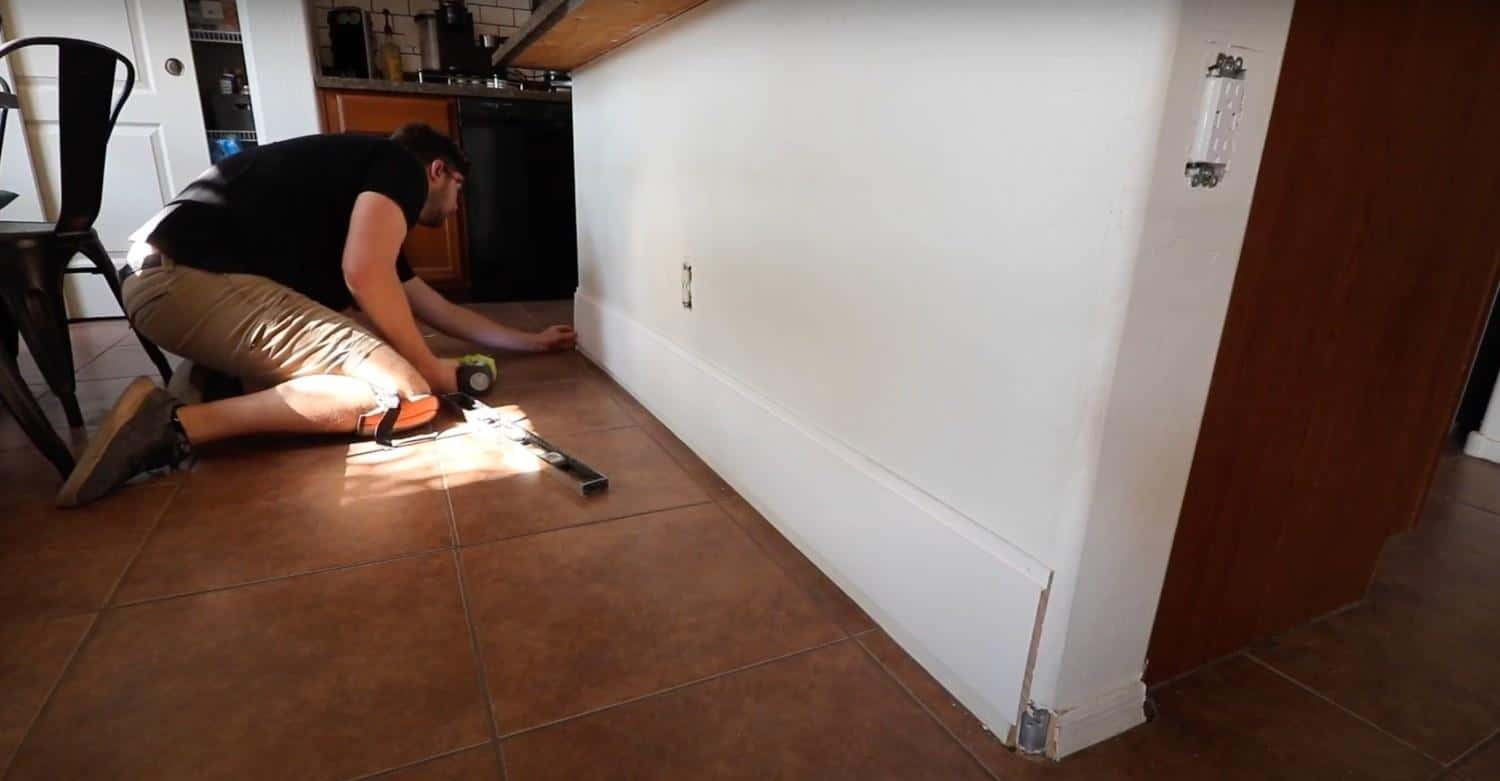
Step 2: Build the Base Frame
Start by removing any baseboards where the island will go. Construct the base of the island with plywood or MDF. Cut the pieces to size based on your plan and assemble them to form a box structure.
Use struts to support the first piece of wood for added strength. Make sure the base is level and sturdy, as it will support the weight of the countertop and items placed on the island.
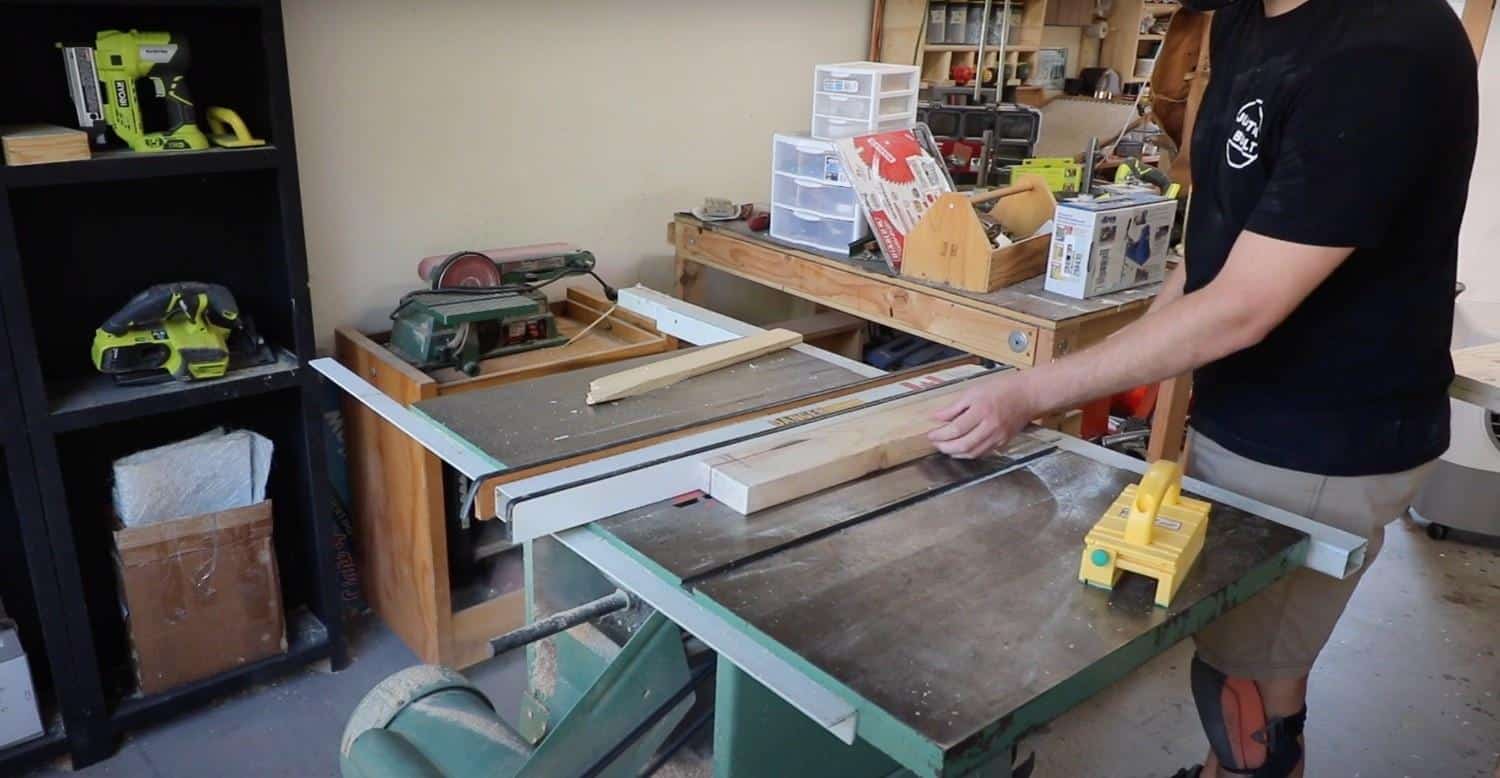
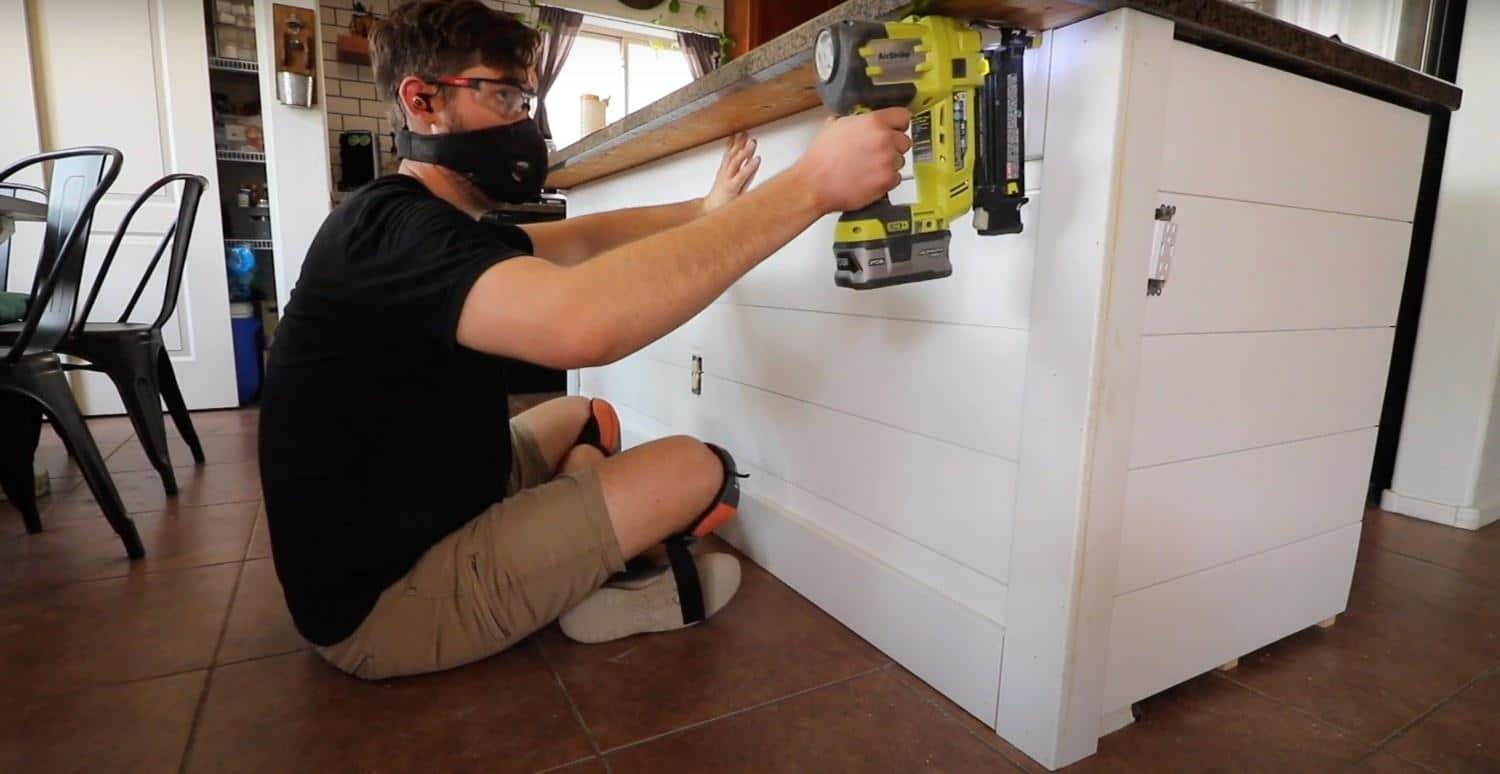
Step 3: Attach the Shiplap Boards
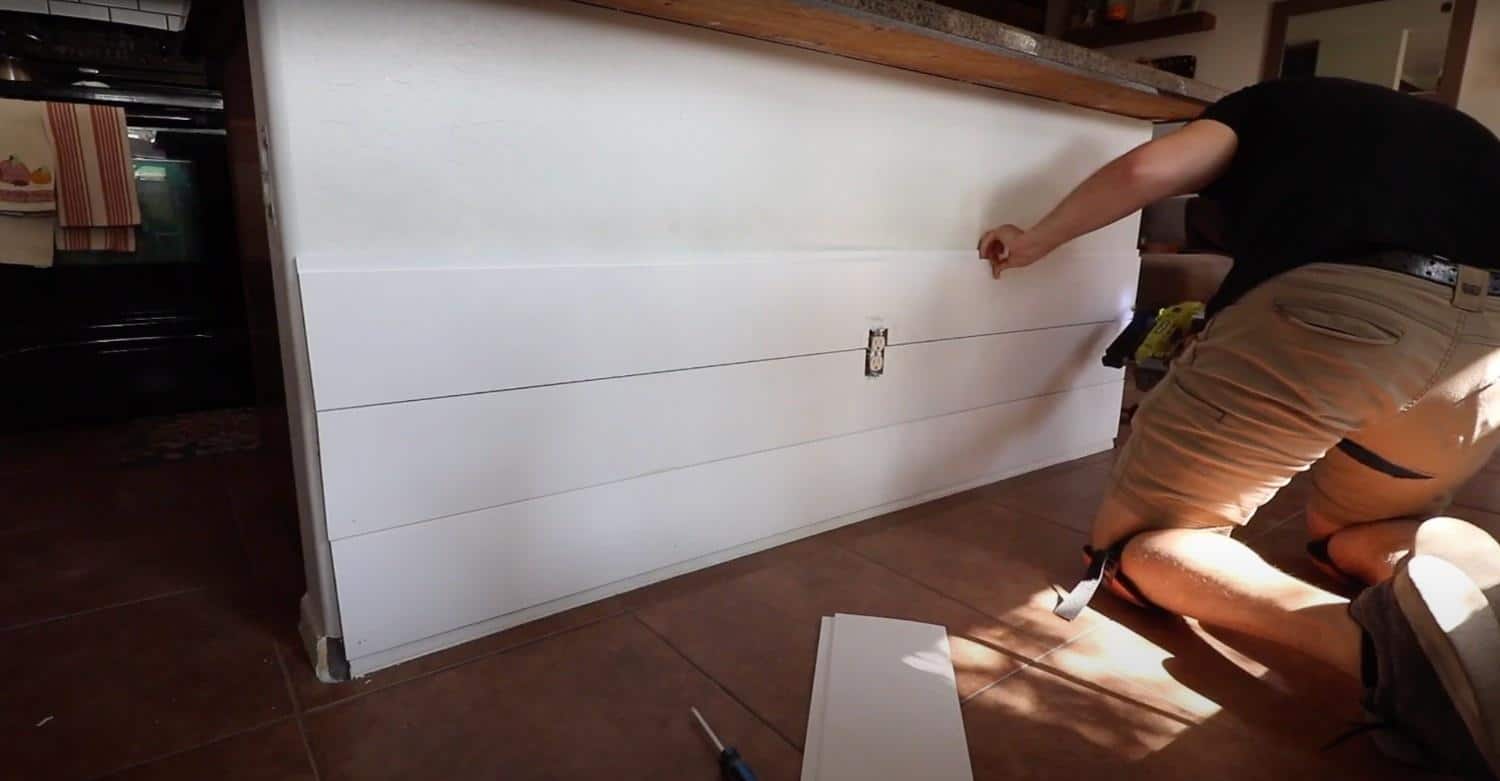
Cut the 8-foot shiplap boards to match the height of your island. Attach the boards to the base structure using 18-gauge brad nails. Start at one corner and work your way around.
Nail the boards into place, making sure the edges are aligned. Use a level to keep everything straight. If you have electrical outlets, use a scrap piece to mark their locations and cut the boards to fit around them.
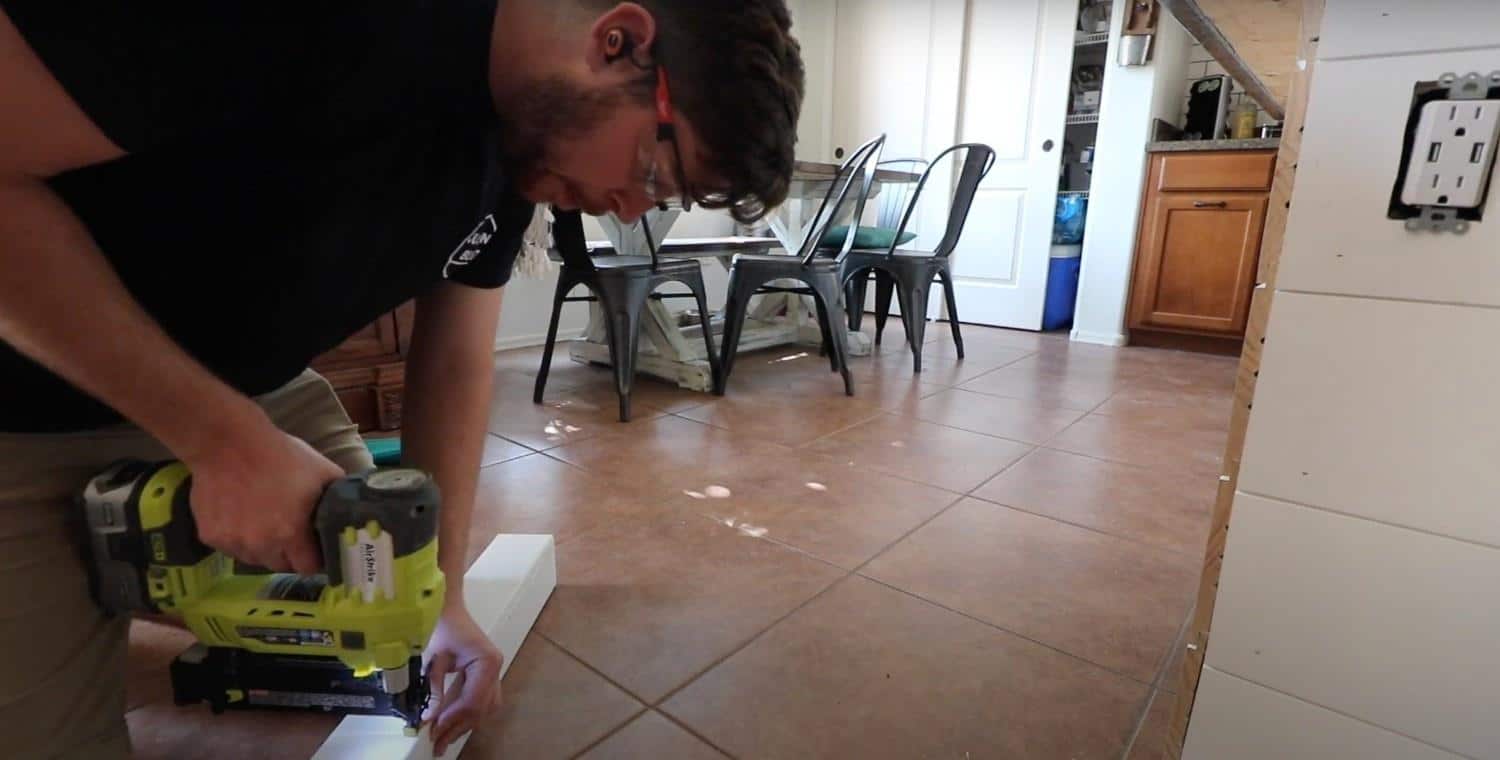
Step 4: Install the Edges and Trim
Install spacers (2×4s) for any areas that need to be recessed or to provide support for trim pieces. Use both liquid nails and brad nails to secure these spacers for a strong hold.
The spacers help create a clean finish and make sure trim pieces sit flush against the structure. Take your time with this step as it affects the final look of your island.
Step 5: Final Trimming
Cut trim pieces to size and install them around the edges and corners of your island. These pieces will cover any rough spots or seams where the shiplap boards meet.
Create corner brackets to cover rough edges for a finished look. Secure all trim pieces with brad nails and liquid nails for a strong bond. Make sure all the trim is level and aligned.
Step 6: Fill Nail Holes and Sand
Use pink drywall filler to fill in any visible nail holes or gaps in the wood. Let the filler dry fully before moving to the next step.
Sand the entire surface with light grit sandpaper (220) to create a smooth, clean finish. This step is key for a professional look, so take your time and be thorough.
Step 7: Paint the Island
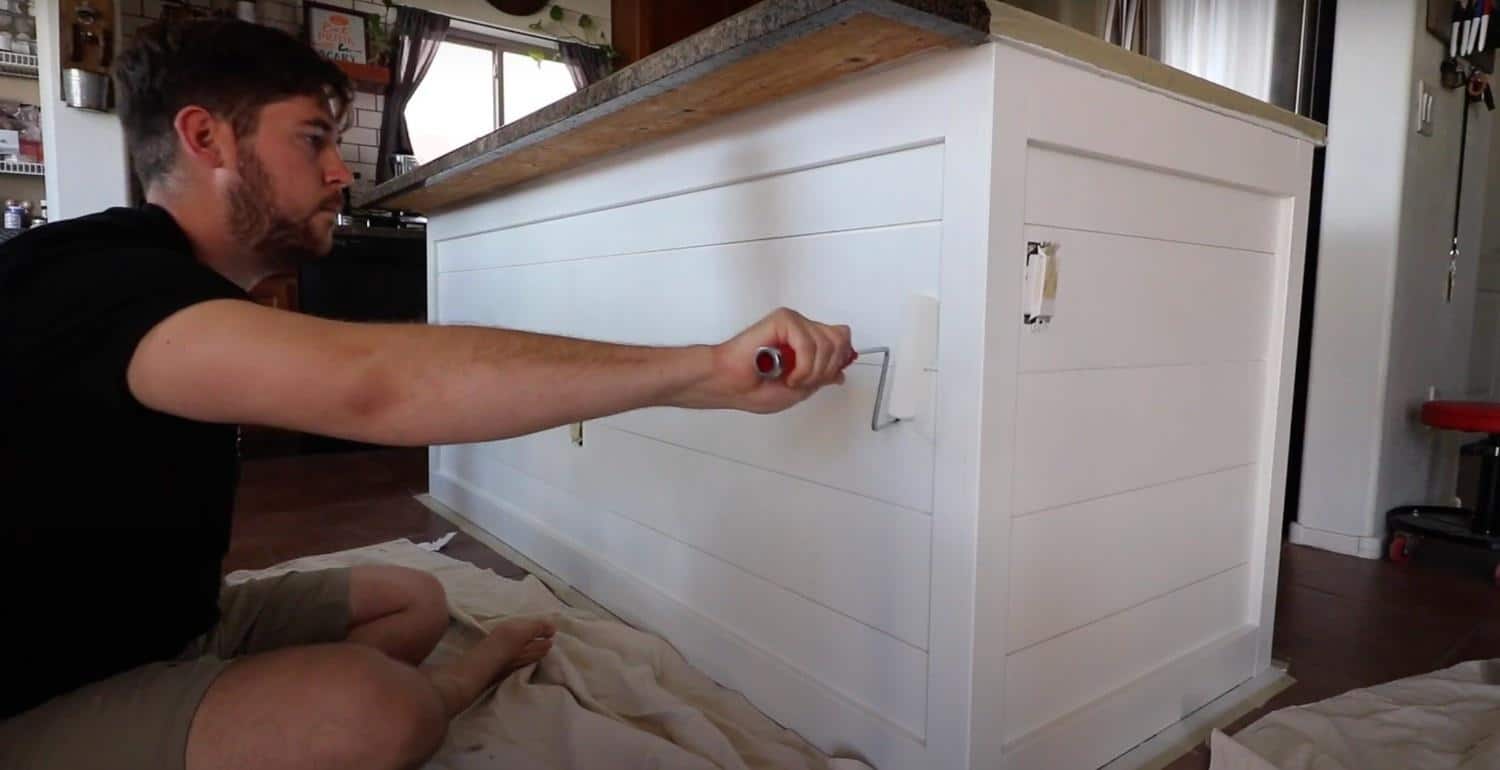
Apply a smooth, durable finish with enamel paint. Enamel paint is good for kitchens because it’s easy to clean and stands up to wear.
Use a foam roller for the best results. This helps avoid brush marks and gives a smooth finish. Apply at least two coats, letting each dry fully before adding the next.
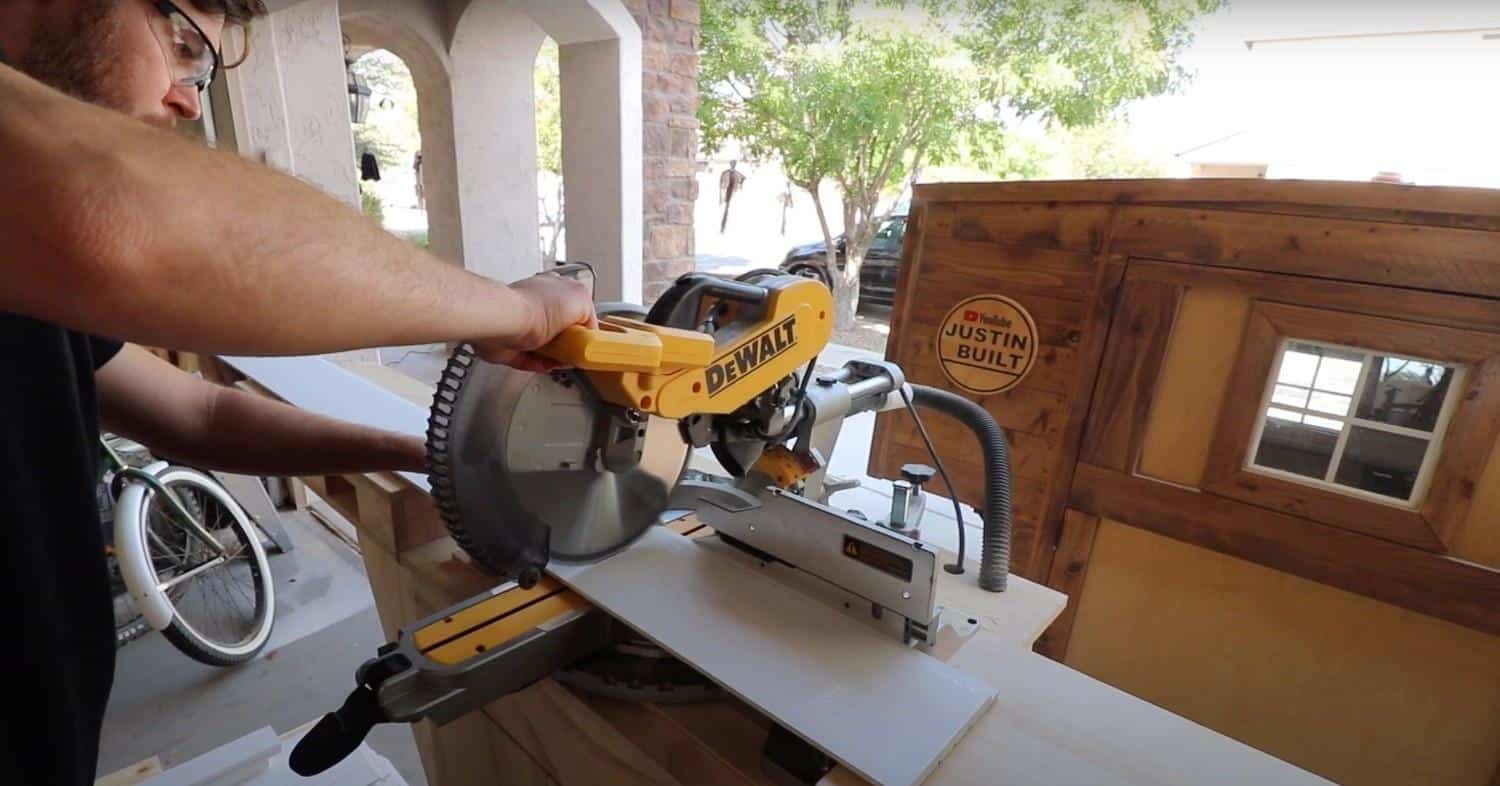
Video Tutorial
Check out the video for more insights on creating a stunning shiplap kitchen island for your home!
By – Justin Built
Final Touches: Styling Your Shiplap Kitchen Island
Once your island is built and painted, add some personal touches to make it yours. Consider adding handles, knobs, or other hardware that match your kitchen style.
For extra storage, you might want to add baskets, shelves, or even create hidden drawers if your design allows. Style the top with a few kitchen items like a fruit bowl, small plants, or cookbooks.
A well-styled island becomes the heart of your kitchen, so take some time to make it both useful and good-looking. Small details like a hanging towel bar or hooks for mugs can add both function and charm.
Tips for Keeping Your Costs Low
- Use reclaimed or leftover wood from other projects
- Look for sales on basic plywood for the base
- Shop for budget-friendly shiplap options at home stores
- Do all the work yourself instead of hiring help
- Check local buy/sell groups for used materials
- Use leftover paint from other projects
- Skip complex design features that require extra materials
- Borrow tools from friends instead of buying new ones
Common Mistakes to Avoid
- Not measuring the space and materials correctly
- Skipping the use of support studs or spacers
- Failing to secure boards and trim properly
- Not accounting for electrical outlets when placing boards
- Rushing through the sanding and finishing steps
- Using the wrong type of paint for a kitchen setting
- Making the island too big for your kitchen space
- Not checking that the structure is level as you build
Conclusion
Building a shiplap kitchen island on a budget is a doable task that can change how your kitchen looks and works. This project creates more useful space with extra room to cook and store items.
The key points to remember are to plan well, use simple materials, and take time with each step. Even small kitchens can fit an island if sized correctly. The shiplap style gives a clean, basic look that fits most homes.
There are many videos online that can help if you get stuck. Don’t worry if things aren’t perfect—most small flaws won’t be seen. The best part is the satisfaction of creating something useful with your own hands.
What kind of kitchen island would work in your space? Share your thoughts in the comments below.
Frequently Asked Questions
How Much Does It Cost to Shiplap a Kitchen Island?
A DIY shiplap kitchen island typically costs between $200-$600, depending on size, materials quality, and if you already own the necessary tools.
What Is Trending Instead of Shiplap?
Board and batten, vertical paneling, textured wallpaper, and tiled accent walls are gaining popularity as alternatives to shiplap in current home design trends.
Is Shiplap a Dying Trend?
Shiplap isn’t completely out, but it’s becoming less popular in urban and modern homes. It remains fitting in farmhouse, coastal, and rustic design styles.
