Do you need exact stair measurements before adding carpet?
Many homeowners skip this step and face costly mistakes later. Getting the right numbers isn’t just about avoiding wasted money—it’s about making your stairs more comfortable to walk on, safer for everyone in your home, and a perfect match for your interior style.
In this guide, you’ll learn which parts of each stair need measuring, how to handle different stair shapes, and the simple math that helps you buy just the right amount of carpet.
No guesswork, no excess waste, and no problems with fit. Ready to make your stair carpeting project go smoothly?
Let’s start measuring!
Must-Have Stair Measuring Tools
Before you begin taking measurements for your stair carpet, gather these basic tools to ensure accuracy:
| Tool | Purpose |
|---|---|
| Metal measuring tape (25 ft+) | Provides accurate, non-stretch measurements for stairs. |
| Notepad and pencil | Record each measurement clearly, noting stair number and part. |
| Calculator | Adds up all measurements and checks for errors. |
| Straight edge or level | Ensures horizontal measurements are straight across stair widths. |
| Digital laser measure(Optional) | Quickly measures hard-to-reach spots with precision. |
| Carpenter’s square(Optional) | Ensures 90-degree angle accuracy for precise results. |
| Camera or smartphone(Optional) | Captures images of complex or unusual stair shapes for reference. |
| Graph paper(Optional) | Helps sketch a layout of stairs and landings with correct dimensions. |
Having these tools ready before you start will save time and help you get the most accurate measurements for your carpet purchase.
Step by Step for How to Measure Stairs for Carpetting
Follow these detailed steps to get accurate measurements for carpeting your stairs and landings.
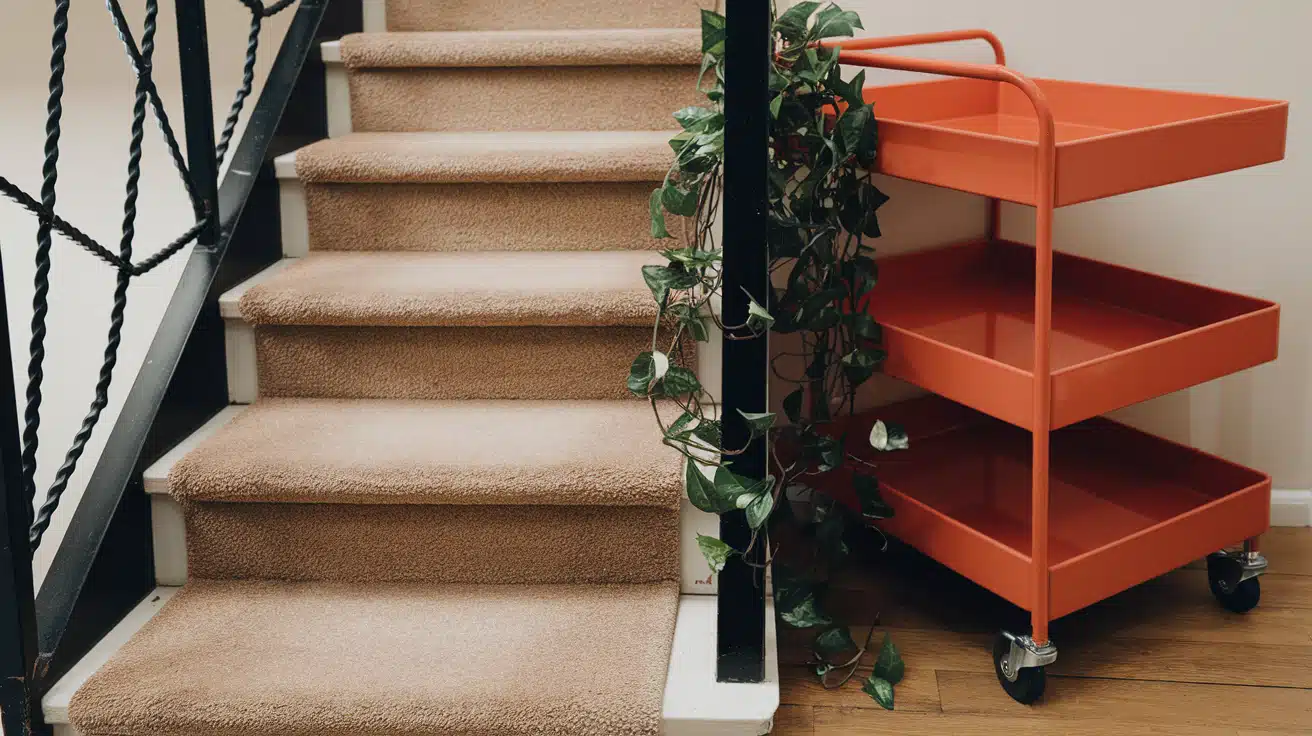
Step 1: How to Measure Straight Stairs for Carpet

Before purchasing carpet for your stairs, you need precise measurements of each component. Follow these steps to ensure you get the right amount of material.
Stair Width: The horizontal measurement from one side of the stair to the other.
- Measure from the left edge to the right edge of each step. Record the widest measurement to ensure your carpet fits all steps.
Tread Depth: The horizontal surface where you place your foot when climbing stairs.
- Measure the horizontal surface where you place your foot, from the front edge (including the nosing) to where it meets the riser.
Riser Height: The vertical portion between each step.
- Measure the vertical portion between steps, from the top of one tread to the top of the next tread below.
Stair Count: The total number of steps in your staircase.
- Count both treads (horizontal parts) and risers (vertical parts). A complete staircase typically has one more riser than treads.
Run Length Calculation: The total horizontal distance covered by your staircase.
- Multiply tread depth by a number of treads to find the total run length.
Sample Calculation with Tread, Riser, and WidthGiven measurements: Stair width: 36 inches Tread depth: 11 inches Riser height: 7 inches Number of steps: 12 (with 13 risers) Calculate the run length: Run length = Tread depth × Number of treads Run length = 11 inches × 12 = 132 inches Calculate the rise height: Rise height = Riser height × Number of risers Rise height = 7 inches × 13 = 91 inches Calculate the total carpet needed: Carpet area = Width × (Run length + Rise height) Carpet area = 36 inches × (132 inches + 91 inches) Carpet area = 36 inches × 223 inches Carpet area = 8,028 square inches (56 square feet) |
Tip: Allowance for trimming and fitting
Add 4-6 inches to the width and 6-8 inches to the length measurements to ensure enough material for proper installation and to account for any errors in cutting.
Step 2: How to Measure Landings and Half-Landings

Landings connect different sections of your staircase and require their own measurements. Treat these areas differently than the stairs themselves.
Measuring the Landing Area: Landings should be treated like small rooms with their own square footage.
-
Measure the full length and width of the landing with your tape measure, then multiply these numbers to find the total square footage needed. Always double-check your math to avoid ordering too little or too much carpet.
Drop-over Considerations: The carpet needs to extend over the edge of the landing to connect with the stairs.
-
Measure the vertical distance from the landing to the first step below and add 2-3 extra inches for secure wrapping around the edge. Multiply this height by the width of your stairs to calculate the additional carpet needed.
Edge Details: Landings may have special edges that require attention.
-
Note any unusual shapes, curves, or turns where the landing meets the stairs. Measure any decorative elements that might affect carpet placement and document these details for professional installation.
Sample landing calculationLanding dimensions: 36 inches × 36 inches = 1,296 square inches Drop-over measurement: 7-inch riser + 3 inches for wrapping = 10 inches Additional carpet needed for drop-over: 36 inches (width) × 10 inches = 360 square inches Total landing carpet: 1,296 + 360 = 1,656 square inches (11.5 square feet) |
How to Calculate Total Carpet Needed?

Once you’ve measured all your stairs and landings, you need to convert these numbers into the total carpet required for the job. This step is critical to avoid buying too much or too little material.
For Stairs
Getting the right amount of carpet for your stairs requires understanding both horizontal and vertical measurements to cover all visible surfaces.
1. Calculate run length: Run length = Tread depth × Number of treads
Example: 11 inches × 12 = 132 inches
2. Find rise height: Rise height = Riser height × Number of risers
Example: 7 inches × 13 = 91 inches
3. Determine stair carpet area: Stair carpet = Width × (Run length + Rise height)
Example: 36 inches × 223 inches = 56 square feet
For Landings
Landings need special attention when calculating carpet measurements since they function as small rooms connected to your staircase.
4. Calculate landing area: Landing area = Length × Width
Add drop-over allowance (Stair width × [Riser height + 3 inches])
Add Buffer
Including extra material beyond your exact measurements is essential for a successful installation that accounts for trimming and fitting.
5. Include extra for installation: Add 4-6 inches to width, 6-8 inches to length, and 10-15% extra for patterned carpet.
6. Get final total: Total needed = Stair carpet + Landing carpet + Buffer.
Convert to square yards (divide by 9) when ordering.
This method helps you order just the right amount of carpet, saving money while making sure you don’t run short during installation.
Measuring for Special Stair Types

Standard measurement methods work fine for straight staircases, but curved, spiral, and L-shaped designs need special attention to ensure your carpet fits perfectly.
Curved Stairs: Curved staircases change width throughout their design, requiring more detailed measurements than standard straight stairs.
Measure width at narrow and wide points, use flexible tape along the curve, and add 15-20% extra material to accommodate the curved shape.
Spiral Stairs: Spiral staircases have wedge-shaped treads arranged around a central pole, creating a compact vertical path.
Measure each tread’s narrow and wide ends separately, count total treads in a full rotation, and decide whether carpet will wrap around the central pole.
L-Shaped and Winder Stairs: L-shaped staircases feature a turn with special corner steps (winders) that change angle and width.
Measure straight sections first, then carefully record winder measurements at multiple points. Draw a simple diagram to visualize the complete layout.
Don’t Make these Stair Measuring Errors!
When measuring stairs for carpet, even small errors can lead to big problems during installation. Here are the most frequent mistakes and how to prevent them:
1. Forgetting to Measure Each Stair – Always measure each individual stair, as older homes often have slight variations in stair dimensions that can affect carpet fit and installation quality.
2. Not Accounting for the Nosing – Include the nosing in your tread measurements and allow extra material (2-3 inches) for wrapping around this curved edge to prevent gaps and slipping.
3. Ignoring Pattern Matching – Calculate additional material (10-15% more) for pattern alignment, especially on stairs where the design needs to flow naturally from step to step.
4. Using Cloth Measuring Tape – Always use a rigid metal tape measure instead of cloth tape, which can stretch and give false readings, particularly over longer distances.
5. Not Adding Extra for Waste – Add 10% extra material beyond your exact measurements to account for trimming, pattern matching, and unexpected installation challenges.
Final Steps for Stair Carpet Success
Taking proper measurements for your stair carpet saves both money and future headaches. With the right tools and these simple steps, you now have everything needed to get accurate numbers for your project.
Remember to measure each stair individually, account for special stair types, include extra material for waste, and avoid common measurement mistakes. These careful preparations will help you get a realistic cost estimate and ensure your carpet fits perfectly.
Before making a purchase, double-check all your measurements and consider asking a professional to verify them. A small investment in time now prevents costly corrections later.
Ready to move forward with confidence? Your next beautiful staircase is just a few measurements away!
