
Granular loss on your roof may seem like a minor problem, but if left untreated, it can lead to more significant issues.
When the protective granules on shingles start to shed, your roof becomes vulnerable to weather damage, UV rays, and leaks.
In this blog, we’ll explain how to identify granular loss, how to repair it effectively, and how to prevent it from recurring.
With these expert techniques, you can restore your roof’s durability and extend its lifespan, saving you from costly replacements down the road.
What is Granular Loss on a Roof?
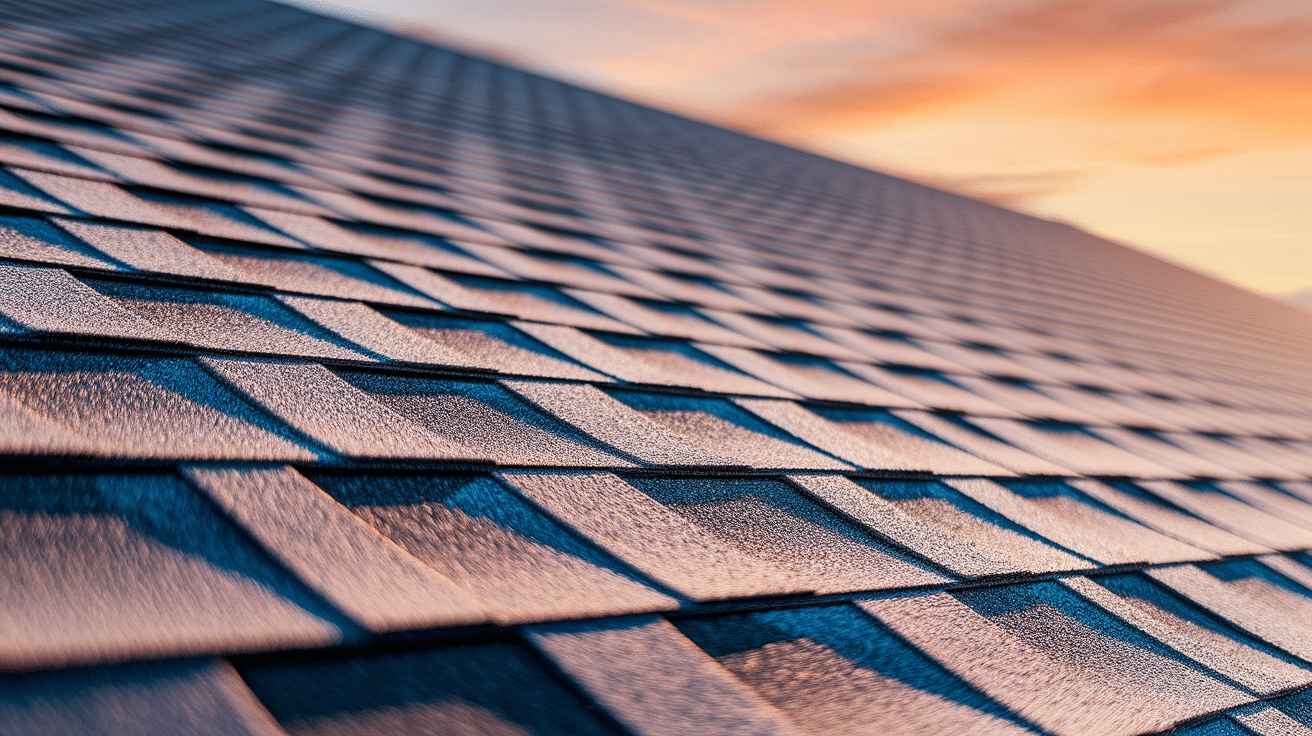
Roof granules are rock particles attached to asphalt shingles that shield your roof from weather damage. These small bits provide color and fire resistance while protecting the underlying materials from harmful elements.
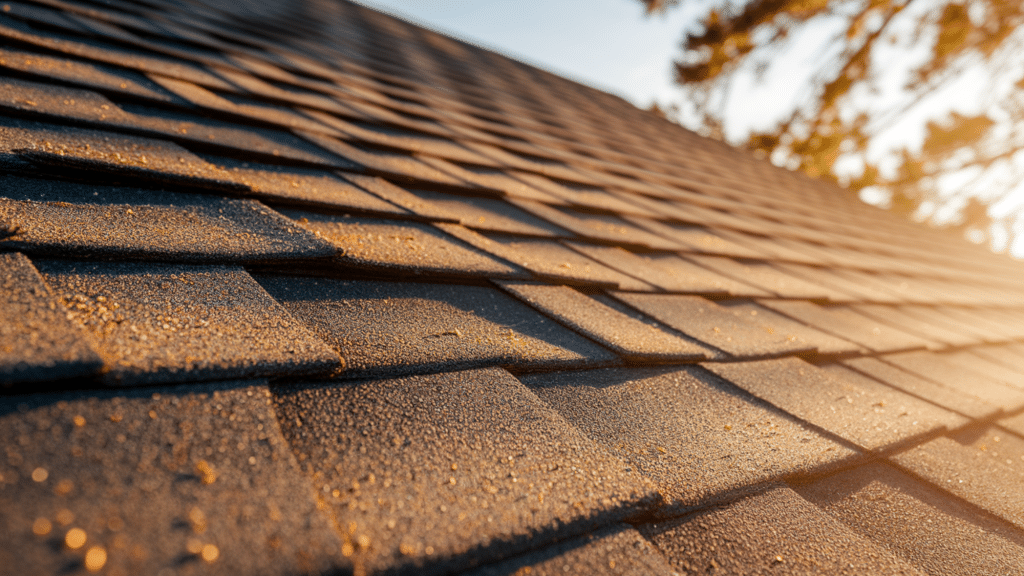
Granule loss occurs when these protective particles detach, resulting in dark spots on shingles. After rainfall, you may find loose granules in gutters or near downspouts, indicating that the outer layer of your roof is wearing away.
This exposure accelerates roof aging, as the asphalt loses its protective barrier. Without adequate granule coverage, your roof deteriorates more quickly and is more likely to leak.
Early detection through regular checks can prevent costly repairs later.
What Causes Granule Loss on a Roof?
Several factors contribute to the wearing away of protective particles from your shingles:
Age and natural wear: As roofs age, the bond between the particles and the shingle base weakens. Most asphalt roofs start showing signs of particle loss after 15-20 years of service.
Weather exposure: Harsh sunlight, heavy rain, hail, and strong winds all work to loosen and wash away the protective coating. Repeated freeze-thaw cycles in colder climates can speed up this process.
Poor installation: Incorrectly installed shingles may lose their surface particles more quickly, especially if they aren’t properly sealed or aligned.
Manufacturing flaws: Sometimes, shingles leave the factory with defects that make them more prone to early particle shedding.
Physical contact: Walking on your roof or falling branches can dislodge the protective surface from your shingles.
How to Identify Granule Loss on Your Roof
Catching particle shedding early can save you from costly repairs. Here’s how to check your roof:
- From the ground: Use binoculars to scan your roof for color inconsistencies, dark spots, or shiny areas that might indicate base material exposure.
- In your gutters: Check for small, dark particles that have washed off your roof. A significant amount of sediment in your gutters or around downspouts often signals ongoing surface loss.
- After storms: Examine your roof after heavy weather events when particle loss typically increases.
- Color changes: Look for sections that appear different in color or texture compared to the rest of the roof.
- Uneven surfaces: Warping or bubbling might indicate advanced deterioration beneath the surface.
If you’re uncomfortable with heights, consider hiring a professional roof inspector for a thorough assessment rather than risking personal safety.
Materials Required
Before you begin repairing granular loss on your roof, it’s important to gather all the necessary materials and tools. Here’s a list to help you get prepared.
| Material / Tool | Purpose / Use |
|---|---|
| Replacement shingles | To replace damaged or worn shingles |
| Roofing nails (hand or coil) | To securely fasten the new shingles |
| Roofing sealant/roof cement | To bond and seal the shingle tabs |
| Hammer or magnetic hatchet | To drive nails in place |
| Flat pry bar | To lift shingles and remove old nails |
| Utility knife | To trim shingles to the correct size if needed |
| Ladder with stabilizer | To safely access the roof and protect the gutter |
| Safety gear (gloves, shoes) | To ensure safe handling and movement on the roof |
| Magnetic nail sweeper (optional) | To pick up stray nails during cleanup |
Having all these materials ready before starting will help you complete the repair efficiently and avoid multiple trips to the hardware store.
How to Repair Granule Loss on the Roof
Roof shingles can lose their protective granules over time. This common problem needs quick attention.
1. Inspect the damaged area
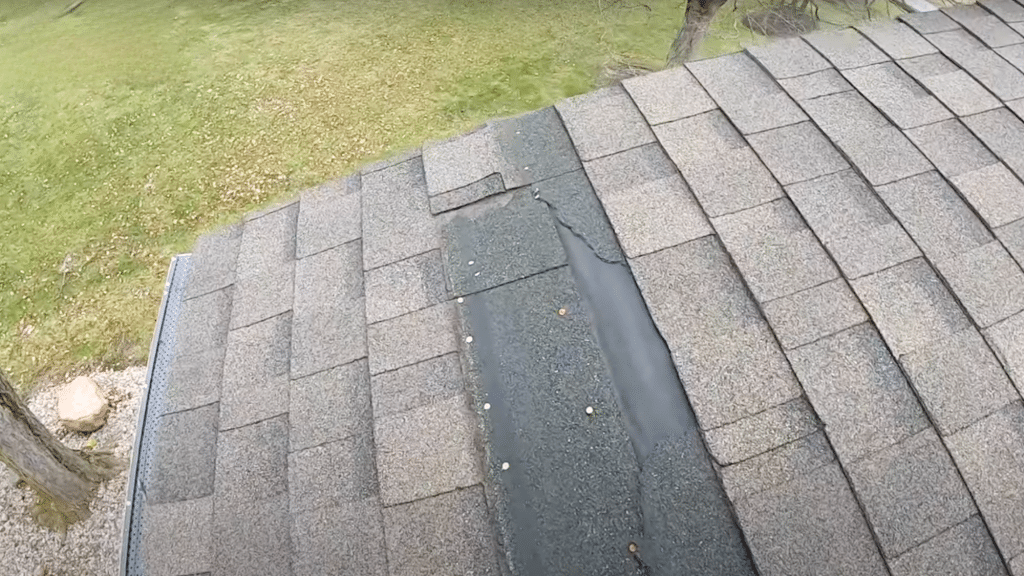
Look for bare spots where the protective coating has worn away, visible cracks, or loose nails protruding from shingles. Check the surrounding areas for similar damage patterns.
Use binoculars from ground level first to assess the extent of damage before climbing. Pay attention to shingles that appear curled, missing, or have lost their color consistency.
2. Remove the damaged shingle
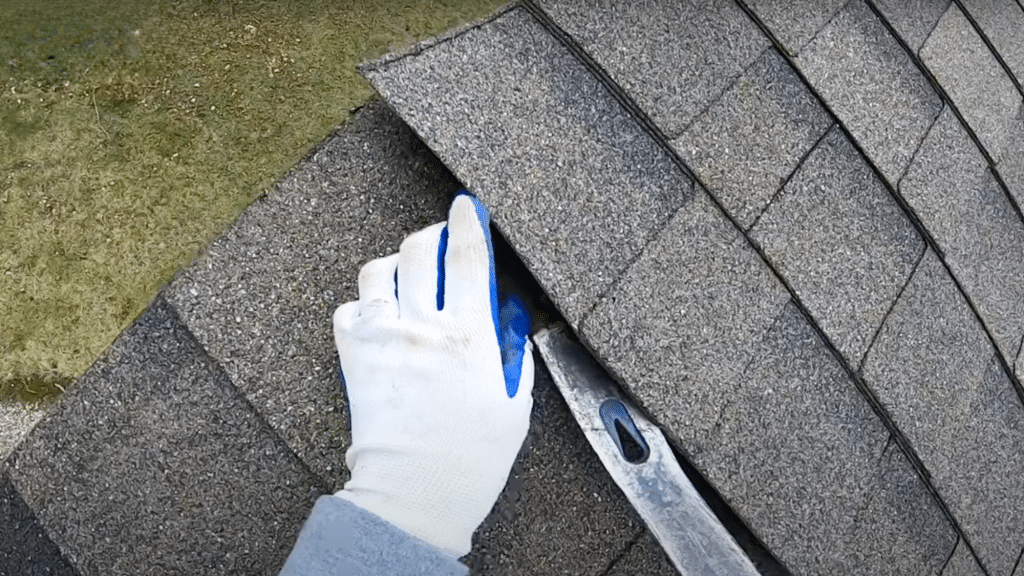
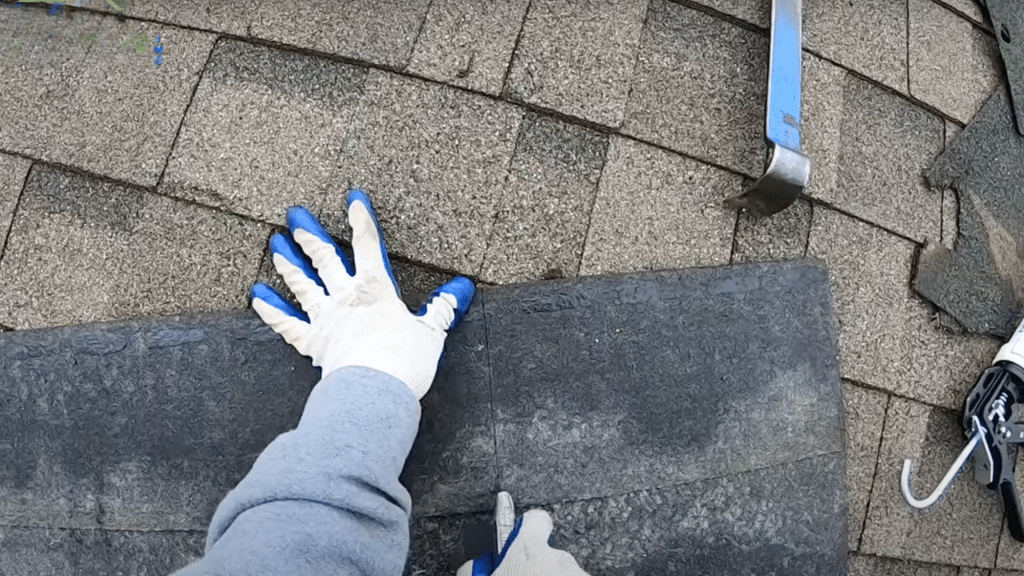
Carefully lift the shingle above the damaged one. Use a pry bar to remove nails, working slowly to avoid tearing surrounding materials. Work on warm days when shingles are more flexible.
Remove all old nails completely to prevent punctures in new materials. Keep the area clean as you work.
3. Prepare the replacement shingle
Measure and trim the new shingle to match existing dimensions. Mark nail placement points to align with the roof structure underneath.
Check that the replacement piece matches your roof’s color and style. Test-fit the shingle before final installation to ensure proper alignment with existing rows.
4. Install the new shingle
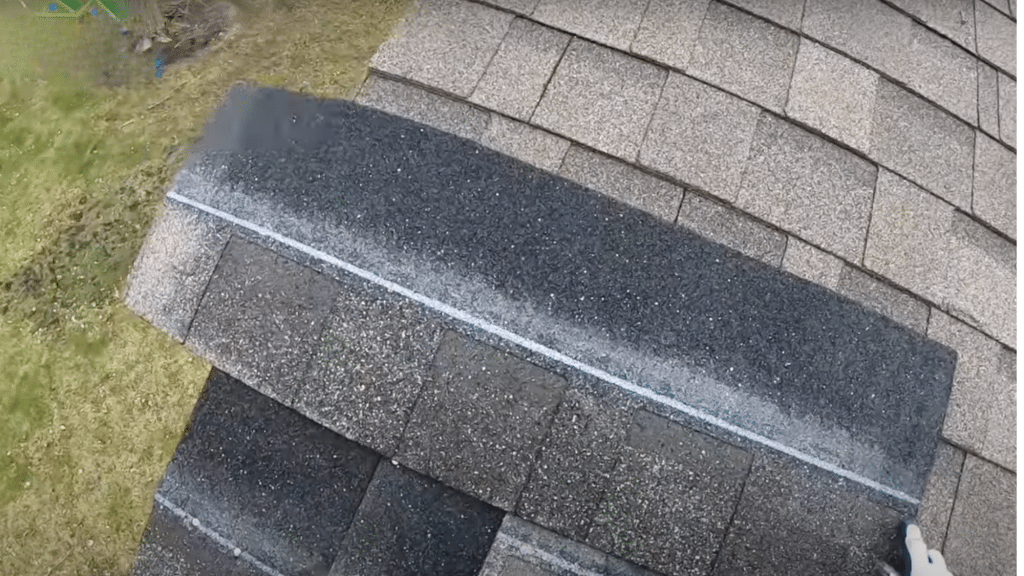
Position the replacement piece properly, ensuring the overlap matches the existing pattern. Drive nails through marked spots, avoiding over-hammering, which causes damage.
Use galvanized roofing nails that resist rust. Place nails in the designated nail line, typically 5-6 inches from the bottom edge of the shingle.
5. Seal the repair
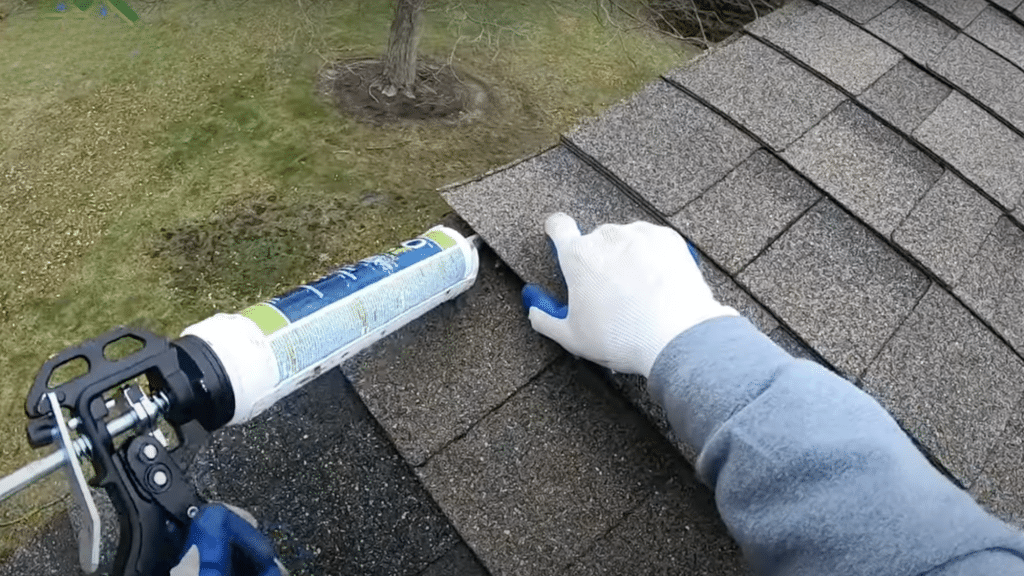
Apply roofing cement around nail heads and edges. Smooth sealant to create a weatherproof barrier against moisture infiltration. Use a putty knife to spread cement evenly.
Don’t overapply sealant, as excess can attract dirt and debris. Allow proper curing time before exposure to rain.
Video Tutorial
For more information, check out this video tutorial by Grand Roofing Inc.
Preventing Granule Loss in the Future
Protecting your roof from premature particle loss requires consistent attention:
- Regular cleaning: Remove debris that can trap moisture and speed up deterioration. Use a leaf blower or soft broom rather than pressure washers that might dislodge more particles.
- Trim overhanging branches: Trees that touch or hang over your roof can scrape away protective coatings when they move in the wind.
- Control moss and algae growth: These organisms hold moisture against shingles and can lift them. Consider zinc or copper strips along the roof peak that release protective compounds when it rains.
- Limit foot traffic: When maintenance requires roof access, use foam-soled shoes and walk carefully to minimize disturbance.
- Control attic temperature: Proper ventilation reduces heat buildup that can bake and deteriorate shingles from below.
These preventive measures can add years to your roof’s useful life and protect your investment.
Conclusion
Addressing granular loss on your roof doesn’t have to be daunting.
By identifying the issue early, performing repairs as needed, and taking preventive measures, you can significantly prolong your roof’s life and protect your home from damage.
Regular inspections and maintenance are key to staying ahead of potential problems.
If the damage is extensive, consult with a professional to ensure your roof is properly repaired. Don’t wait, act today to safeguard your roof!
Have you experienced granular loss on your roof? Share your thoughts and questions in the comments below. We’d love to hear about your experiences!
If repairing granular loss isn’t enough, you may want to know How Long it Takes to Replace a Roof to plan a complete upgrade.