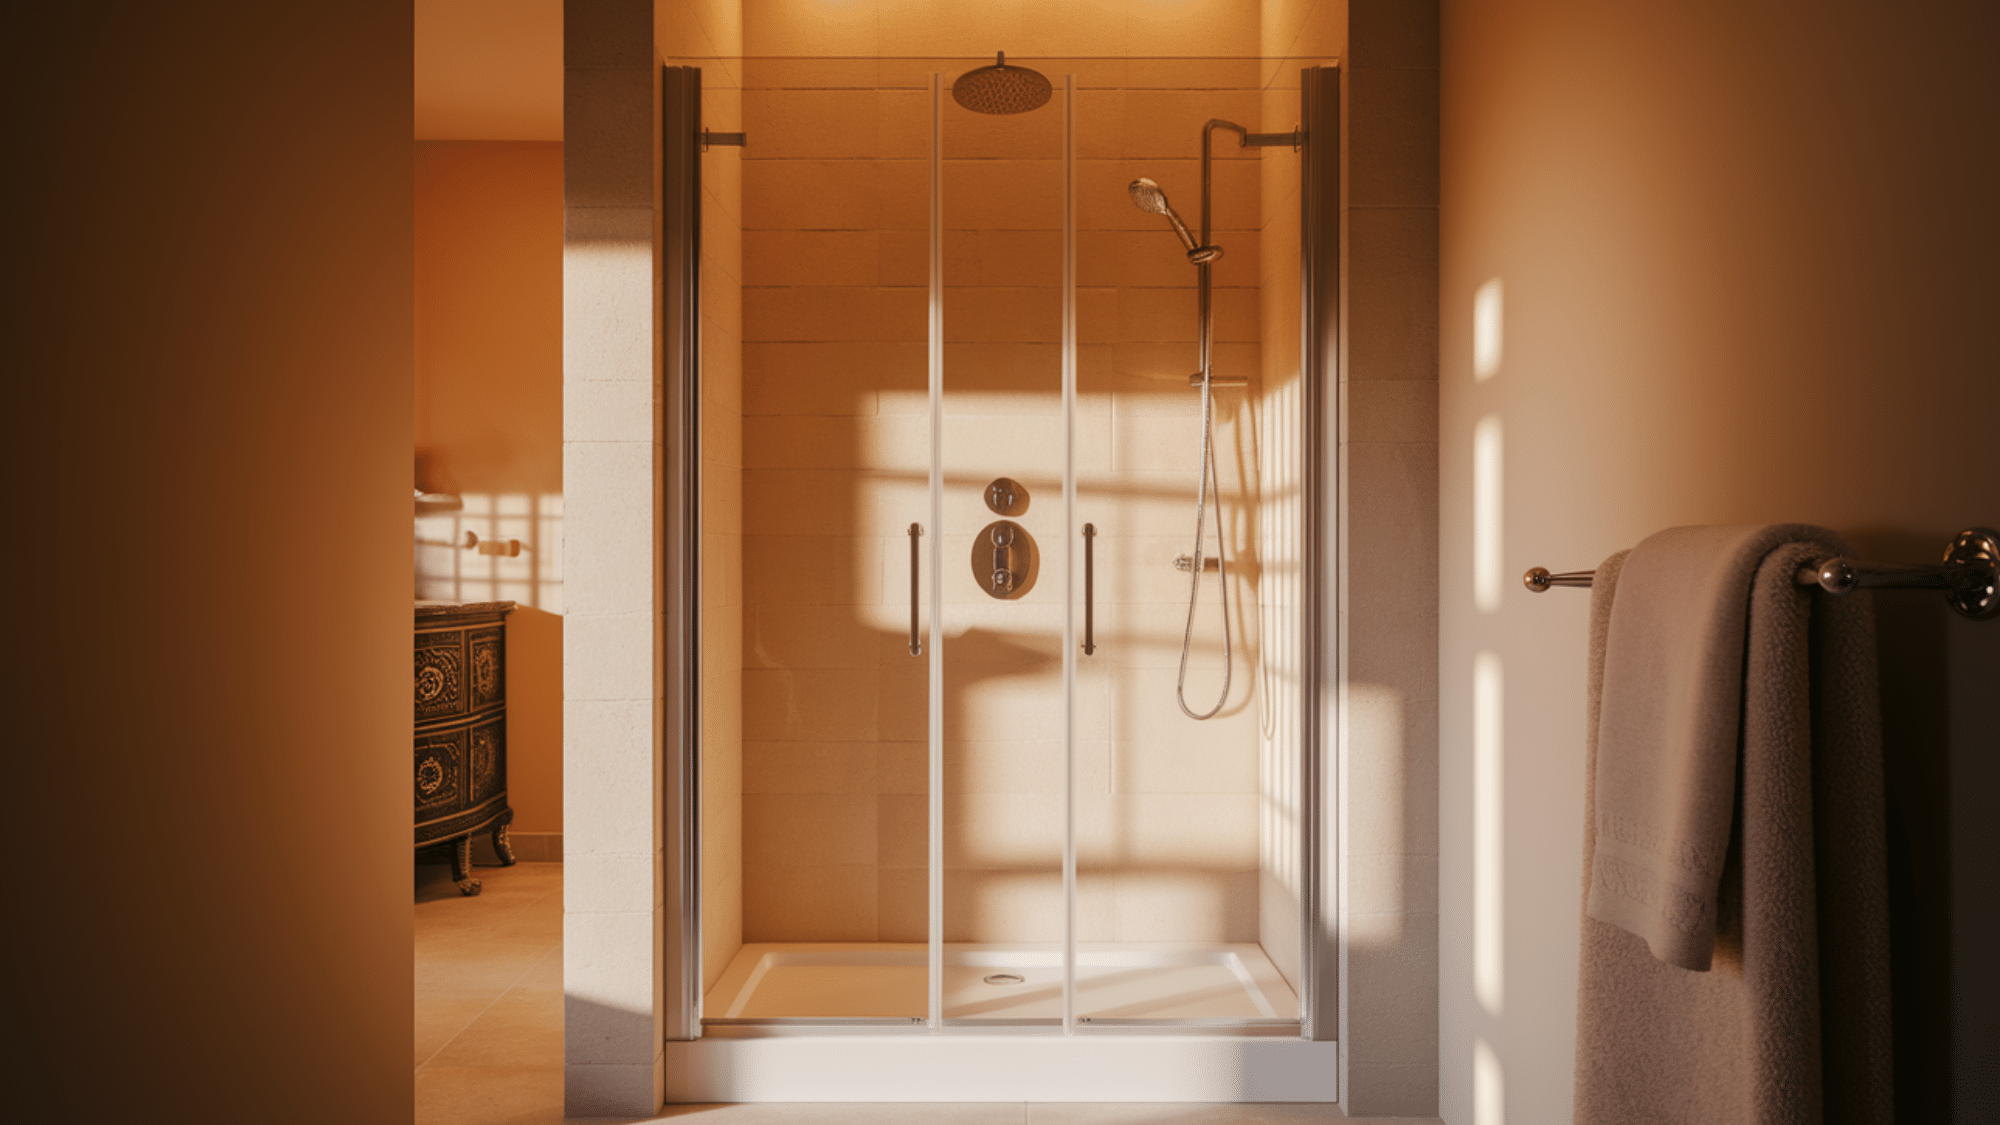

Standing in your cramped shower every morning, wishing you had just a few more inches of space?
Choosing the right shower size feels overwhelming for most homeowners planning a bathroom renovation. Install something too small, and you’ll feel cramped during your daily routine.
Selecting the perfect shower size becomes straightforward when you understand standard dimensions and key factors that matter most.
This comprehensive guide walks you through standard shower sizes, important considerations for your specific bathroom layout, plus a complete step-by-step installation process to help you balance comfort, functionality, and available space for your ideal shower.
What is a Standard Shower Size?
Standard shower sizes vary depending on the layout of your bathroom and the available space. The most common residential shower dimensions range from 32 inches by 32 inches for compact bathrooms to 48 inches by 48 inches for more spacious layouts.
Most Popular Standard Sizes:
- 36×36 inches – The industry standard for most homes, providing adequate space for comfortable showering
- 32×32 inches – Minimum recommended size for tight spaces or powder rooms
- 48×48 inches – Larger option for master bathrooms with ample room
- 40×72 inches – Rectangular format that works well in narrow bathroom layouts
The 36×36 inch dimension strikes the right balance between comfort and space efficiency. This size accommodates most adults comfortably while fitting into standard bathroom floor plans without overwhelming the room.
Factors to Consider When Choosing a Shower Size

Selecting the right shower size involves multiple factors that work together to determine what works best for your specific situation.
Bathroom Layout and Space. The total square footage of your bathroom determines the available shower dimensions. A shower should occupy no more than 30% of your bathroom space.
Personal Preferences and Comfort Needs. Consider how you use the shower space for daily routines. Features like benches or multiple shower heads require additional space planning.
Accessibility Considerations. Plan for current and future mobility requirements, including wheelchair access. Built-in seating and curbless designs require larger overall dimensions.
Shower Style Impact on Size. Corner showers work well in compact spaces at 32×32 to 38×38 inches. Walk-in designs need larger dimensions starting at 42×42 inches.
Budget Considerations. Larger showers increase material costs, including tiles, waterproofing, and plumbing systems. Well-designed showers add more resale value than cramped installations.
Materials Required
Building a shower requires specific materials to ensure proper waterproofing, durability, and functionality. This comprehensive list covers everything needed for a complete DIY shower installation.
Shower Base and Enclosure
This category includes the essential materials for constructing the base and enclosing the shower area, ensuring proper drainage and water resistance.
| Material | Purpose | Quantity Needed |
|---|---|---|
| Shower Pan | Provides the base for the shower to ensure proper drainage | 1 |
| Shower Walls (Panels or Tiles) | Forms the enclosure and water-resistant barrier | Sufficient for the wall area |
| Shower Doors or Curtain | Encloses the shower space, keeping water inside | 1 (if using doors) |
| Shower Drain | Ensures proper drainage of water | 1 |
Shower Fixtures and Plumbing
These materials are crucial for the plumbing system, ensuring a functional water supply, drainage, and regulation of temperature and flow.
| Material | Purpose | Quantity Needed |
|---|---|---|
| Showerhead | Water spray source | 1 |
| Shower Valve & Controls | Regulates water flow and temperature | 1 |
| Plumbing Pipes | Connects the shower to the water supply | Sufficient for installation |
Waterproofing and Support Materials
These materials help prevent water leakage and support the structural integrity of your shower, keeping moisture contained and your bathroom safe.
| Material | Purpose | Quantity Needed |
|---|---|---|
| Waterproof Membrane or Vapor Barrier | Prevents water leakage behind walls and floor | Sufficient for the area |
| Cement Backer Board | A stable, water-resistant base for tiling | Sufficient for the wall area |
| Shower Waterproof Paint or Sealant | Protects walls and floor from moisture | As required |
Finishing and Safety Materials
Used for finishing touches, these materials enhance the appearance, functionality, and safety of your shower area by filling gaps and providing necessary storage.
| Material | Purpose | Quantity Needed |
|---|---|---|
| Grout | Fills the gaps between tiles | Sufficient for all tile joints |
| Caulk | Seal gaps around edges and corners | 1 tube |
| Tile Adhesive or Mortar | For attaching tiles to walls and the floor | Sufficient for area coverage |
| Shower Bench (optional) | Provides seating inside the shower | 1 (optional) |
| Shower Niche or Shelving | For the storage of toiletries | 1 or more |
| Waterproof Tape | Seals areas prone to water leakage | As needed |
Miscellaneous Materials
This category encompasses additional materials for customization, including shower curtains, rods, and other optional components that enhance shower functionality and design.
| Material | Purpose | Quantity Needed |
|---|---|---|
| Shower Curtain Rod (if not using a door) | To hang a shower curtain for space-saving | 1 (if using curtain) |
| Shower Floor Tile or Flooring | Flooring for the shower area (non-slip preferred) | Sufficient for floor area |
Tools Required
- Measuring Tape: To measure shower space and wall dimensions accurately.
- Tile Cutter or Wet Saw: For cutting tiles to fit.
- Power Drill: To make holes for the showerhead, valves, and any wall fixtures.
- Screwdrivers: For fastening fixtures and screws.
- Level: Ensures all tiles and fixtures are aligned properly.
- Caulk Gun: For applying caulk around shower edges and joints.
- Notched Trowel: To apply tile adhesive or mortar evenly.
- Rubber Mallet: To gently tap tiles into place without damaging them.
- Shovel or Mortar Mixer: For mixing cement or mortar.
- Tile Spacers: To maintain even gaps between tiles.
- Wrench: For tightening plumbing connections.
- Utility Knife: For cutting through backer boards and other materials.
- Bucket: For mixing and carrying materials.
- Tile Sealer: To protect grout and tiles from moisture.
Step-by-Step Guide to Installing a Standard Shower
Ready to create your ideal shower space? Follow these practical steps to plan and design the perfect shower that fits your bathroom and meets your daily needs.
1. Assess the Available Space
Measure your bathroom carefully to determine available shower dimensions. Standard shower sizes range from 36 inches by 36 inches for smaller spaces to 48 inches by 48 inches for comfortable movement.
Consider larger options, up to 40×72 inches, if you want luxury features and have sufficient room.
2. Choose the Right Shower Style

Select the shower style that works best for your space and preferences:
- Enclosed Shower – Requires 36×36 inches minimum, works well in most bathrooms
- Walk-in Shower – Needs a larger space, starting at 48×48 inches for proper function
- Wet Room – Ideal for small bathrooms where the entire space becomes waterproof
- Corner Shower – Space-efficient at 36×36 inches, perfect for compact bathrooms
- Tub-Shower Combo – Standard 60-inch tub length determines the shower size
3. Plan for Accessibility

Consider current and future accessibility needs, including wheelchair access, grab bars, or built-in seating.
Plan larger dimensions now to accommodate these features later, especially if considering aging-in-place modifications for long-term use.
4. Determine Shower Door Requirements
Allow adequate space for shower doors to open freely without hitting other fixtures. Swinging doors require extra clearance, whereas sliding doors are more suitable for tight spaces near sinks or toilets.
5. Consider Storage Solutions
Plan built-in shelves or niches for shampoo, soap, and bathing essentials during the design phase.
Proper storage planning prevents cluttered spaces and maintains clean, organized shower areas for daily comfort.
6. Height and Reach Considerations
Position showerheads, controls, and storage based on user height and reach capabilities.
Ensure all fixtures remain accessible without causing strain, especially for the tallest family members who use the space regularly.
Video Tutorial
For more information, check out this video tutorial by Phoenix Home Remodeling.
How to Calculate the Ideal Shower Size for Your Bathroom
Finding your perfect shower size doesn’t require guesswork. With simple calculations based on your bathroom dimensions and user needs, you can determine the most comfortable shower size for your space.
The Shower Size Formula
A good starting point is to calculate your bathroom’s usable space and then apply the 30% rule for optimal sizing:
Basic Formula: (Bathroom Floor Area × 0.30) = Maximum Shower Area
For example:
- A 5×8 foot bathroom (40 sq ft) would calculate: 40 × 0.30 = 12 sq ft maximum shower area
- This translates to approximately 36×36 inches for optimal space balance
Recommended Sizes Based on Bathroom Dimensions
| Bathroom Size | Shower Size | Best Layout |
|---|---|---|
| 5×6 feet | 32×32 inches | Corner installation |
| 5×8 feet | 36×36 inches | Corner or alcove |
| 6×8 feet | 40×40 inches | Walk-in or alcove |
| 8×10 feet | 48×48 inches | Walk-in with seating |
| 10×12 feet+ | 60×36 inches | Spacious walk-in |
Space Planning Standards
The National Kitchen and Bath Association recommends:
- Minimum 32×32 inches for functional showering
- 36×36 inches for comfortable daily use
- 42×42 inches for luxury and accessibility features
For accessibility compliance, ensure that at least 30 inches of clear floor space is available outside the shower entrance for wheelchair users.
Testing Your Calculations
Before final installation, test your planned dimensions using painter’s tape to outline the shower footprint on your bathroom floor. Walk through your daily routine to ensure comfortable movement around other fixtures and adequate clearance for doors and storage.
Common Mistakes to Avoid When Choosing Shower Size
Learning from others’ mistakes helps you make more informed decisions about shower sizes and avoid costly renovation regrets.
- Underestimating Movement Space – Choosing minimum dimensions without considering comfortable turning and arm movement during daily use.
- Ignoring Door Clearance – Forgetting that shower doors require adequate swing space to avoid hitting other bathroom fixtures.
- Skipping Future Accessibility – Planning only for current needs, instead of considering potential mobility requirements or aging needs.
- Focusing Only on Price – Selecting the cheapest option without considering long-term comfort and usability needs.
Taking time to consider these factors during planning prevents expensive mistakes and ensures satisfaction with your final shower installation.
Conclusion
Choosing the right shower size strikes a balance between comfort, functionality, and available bathroom space. The standard 36×36 inch dimension suits most homes; however, specific needs may require different measurements based on layout, accessibility, and personal preferences.
Proper planning prevents costly mistakes and ensures daily satisfaction for years to come. Consider factors like door clearance, storage needs, and future accessibility requirements when making your final decision.
Ready to start your shower project? Use this guide as your reference, gather your materials, and take the first step toward creating your ideal shower space.
Share your renovation progress in the comments below.
Check out our guide on How to Measure Standard Island Height for Your Kitchen to ensure the perfect fit, just like choosing the right shower size for your bathroom!