
Are you looking for a fun DIY project for your kids? Kids can be bored easily and always need some stimulating activity to keep them entertained. In this blog post, we will be explaining to you how to make DIY paper squishies at home so that you have a fun activity planned the next time your kids are bored!We have curated a step-by-step tutorial for you and presented some great paper squishy ideas you can effortlessly try at home.
Who doesn’t love squishies? They are soft and adorable and come in a variety of colors and designs. People of all ages love squishies, and these paper squishies are even better because they are a great sustainable option, which allows you to recycle junk like plastic bags or old pillows to create something fun and enjoyable! Without getting much in detail, let’s get started. But, before a basic question to address…
Why are Paper Squishies a Great DIY Project Idea?
There are so many reasons why paper squishies are a great DIY idea! However, a few intriguing yet essential among them includes:
- The materials are very easy to find. Most of the materials can be found at home.
- This is a great way to teach kids about sustainability and recycling old products. You can use old pillows or toy stuffing, or plastic bags.
- This is also a great alternative to buying toys. Something handmade with love is sure to give more joy to children, especially if they participate in the process of making it.
- There is great scope for creativity. There are so many designs for you to try out. Kids making these paper squishies can let their creativity take charge, using different designs and colors. We have listed some great paper squishy ideas later on. You can check them out!
- If your child is bored with drawing, this can be one step further. Not only are they drawing, but their drawing turns into a 3-D squishy toy that they can play with!
- They are a great handmade gift. If your child wants to make something to gift a friend or sibling, this is a very sweet and thoughtful gift that even do not require many materials.
- Squishies are great stress relievers, so even adults with a creative knack can make them. If you love adorable things, then this is an idea you should try. Use it as a stress ball!
Materials Required
- Colored paper
- White paper
- Pencil and eraser
- Paint
- Colored markers
- Black marker
- Glue stick
- Scissors
- Black markers
- Transparent tape
- A bowl or plate for drawing a circle
- Stuffing such as stuffing from old pillows, paper towels, stuffing from old stuffed toys, old plastic bags
- Googly eyes (optional)
Once all your supplies are ready, you can start making your paper squishy with this step-by-step tutorial.
Step-By-Step Tutorial to Make Paper Squishy
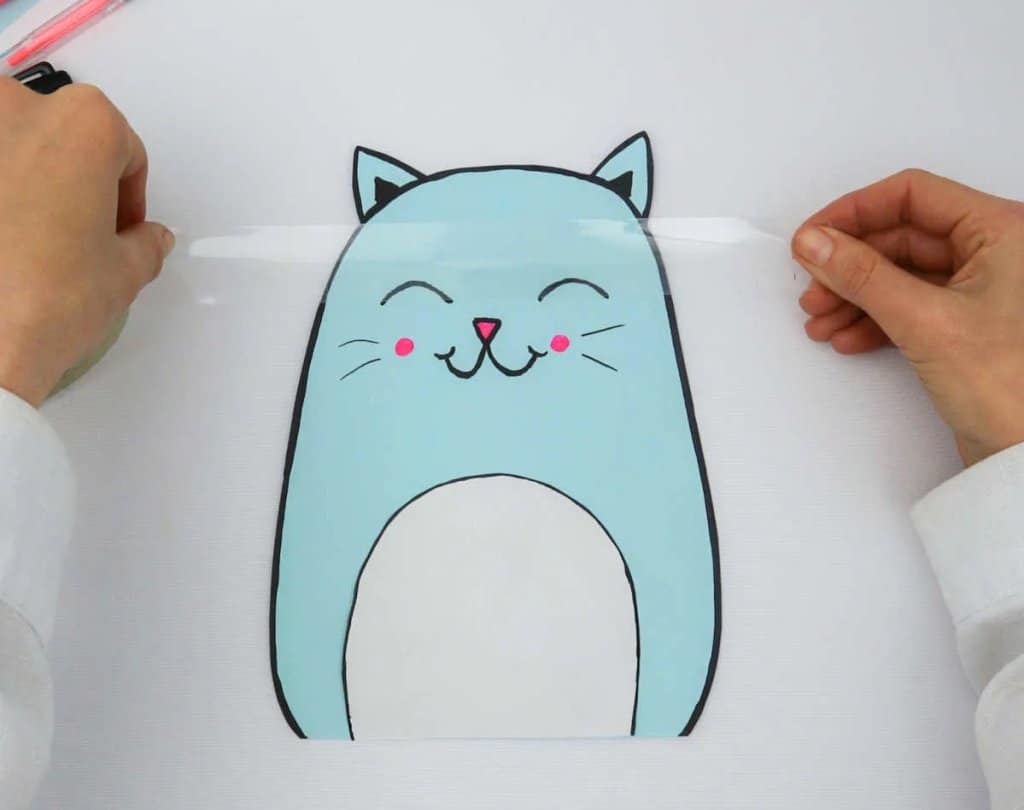
Step 1: Begin with Your Design
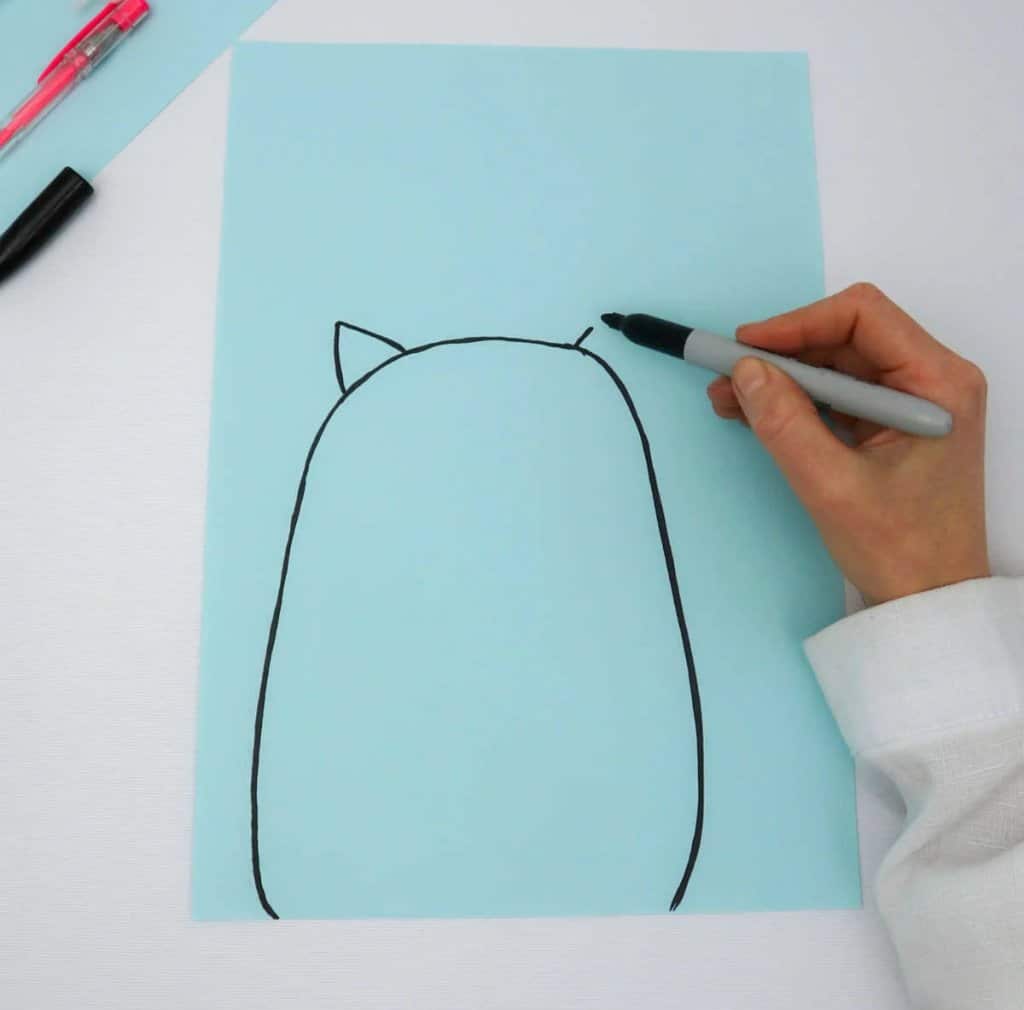
On a sheet of colored paper, begin tracing your design with a pencil. We use a pencil first to erase our mistakes. Once you have decided that your design is perfect, use a marker and trace over the pencil lines. Use different colored markers to draw the design’s different parts to make it colorful. You can also paint your design if you want to use different colors. Downloading options and printing the design option also comes in handy if you find that easier. The choice is yours. Your design is ready!
Step 2: Cut Your Design Out

Place another sheet of the same colored paper under your sheet with the drawing and cut the design along the outline of it. You can run your scissors along the outline carefully, leaving a little gap so you don’t damage the design. If this seems difficult, cut out the outline first, then place it on another sheet of colored paper for the back of your squishy and trace the outline with a pencil. You can then cut this second outline too. Viola! You will now have two identical outlines of your squishy design.
Step 3: Cut out the Body Parts
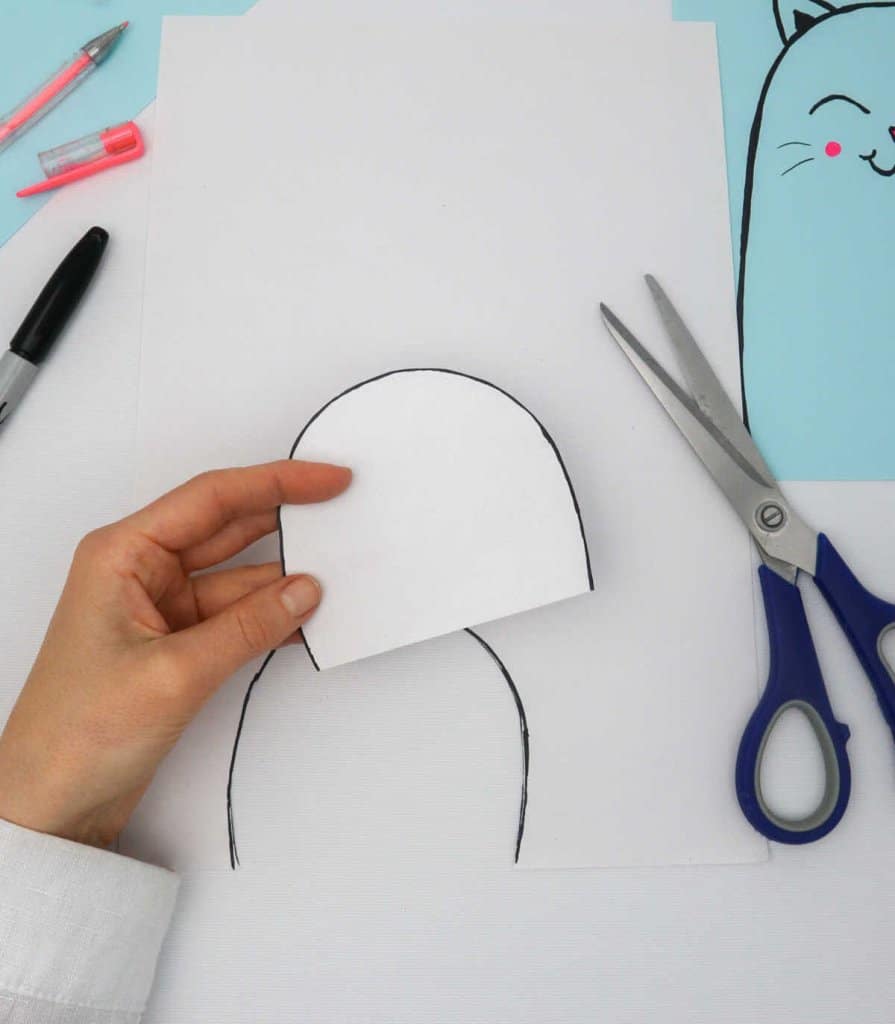
Take a sheet of white paper or any other color, and cut out parts for the ear and tummy. These should be in a contrasting color to make your squishy look brighter! For example, if you are using blue paper for your cat Squishy, you can cut out white paper for the belly and pink paper for the ears.
Step 4: Pasting Body Parts to Your Main Design
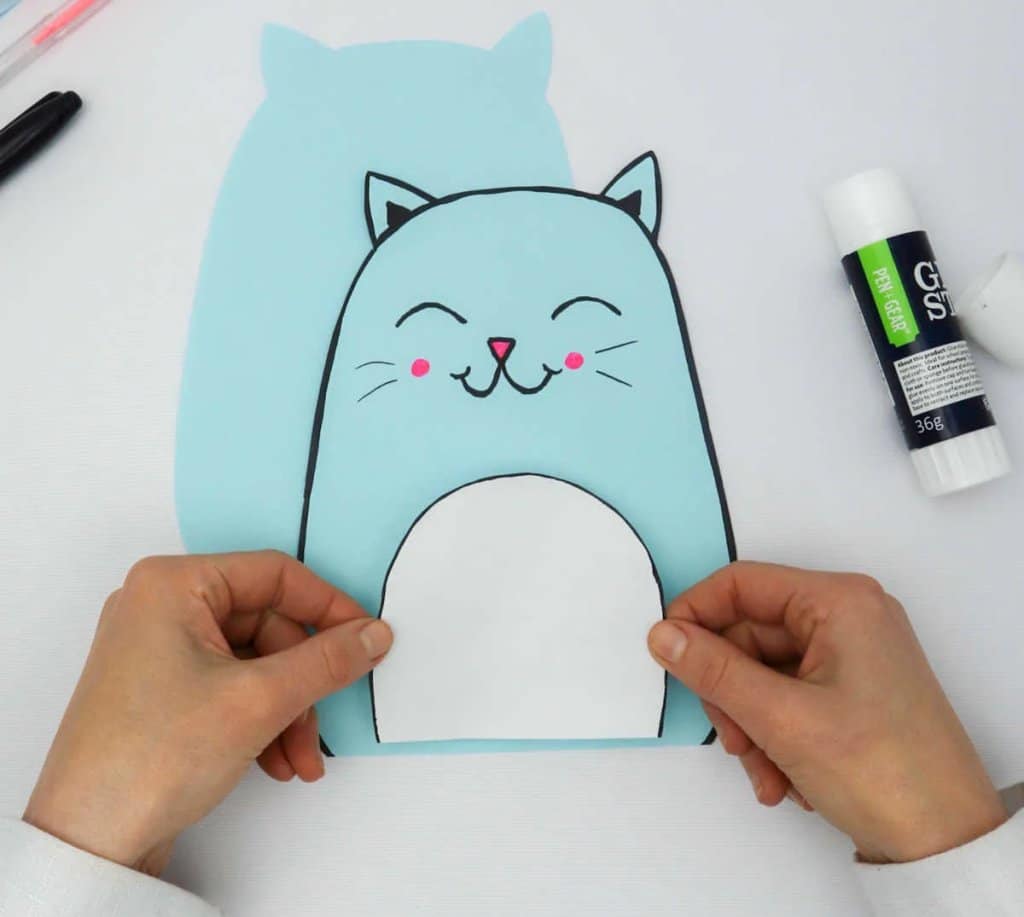
Now that you have your squishy’s tummy and ears ready use glue to stick it onto your main design. Do you have an adorable squishy animal-drawn and ready? Now we will attach the back and front cutouts.
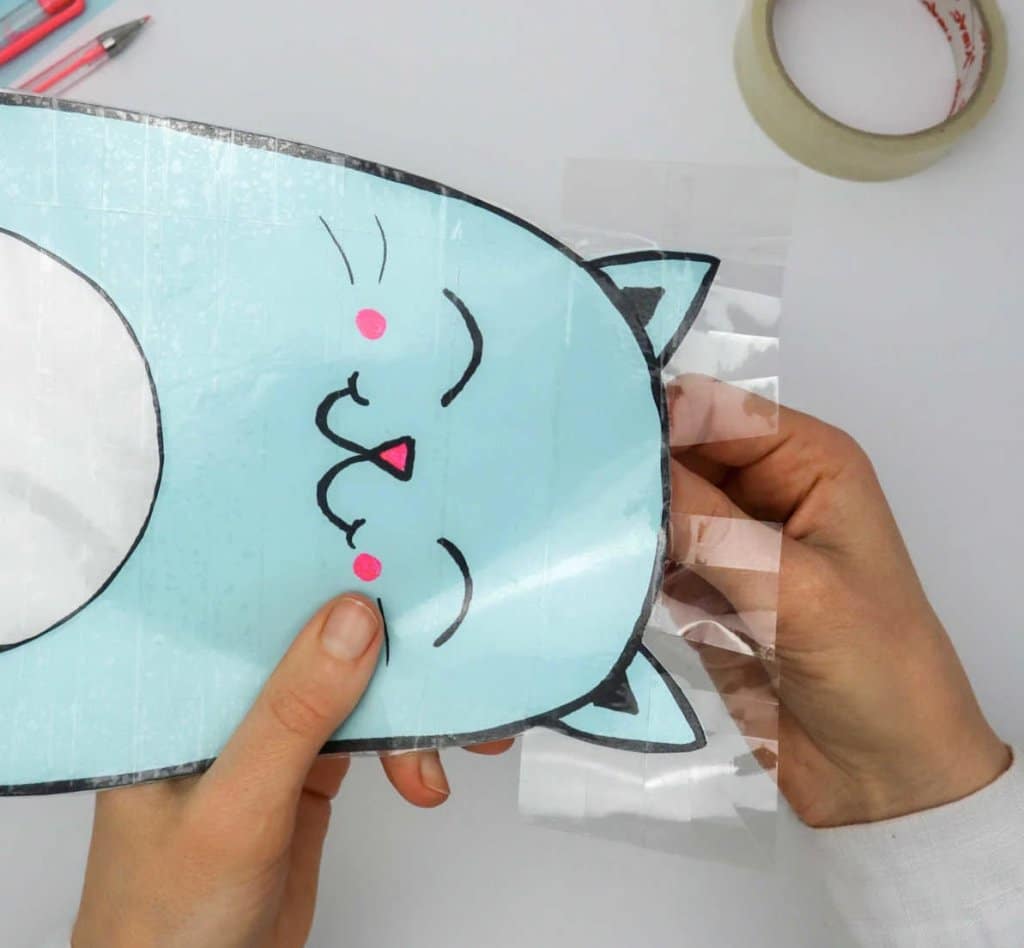
Step 5: Fix the Design with Tape
This step will take some time. Place your drawing, and underneath it, place the back cutout. Place it on a table or craft board and cut strips of tape to cover the design. You will place strips of tape from head to toe, making sure to leave no gaps between the strips of tape. This will give your squishy a glossy look and will save it from damage. This also attaches the back of the squishy to the front. As you put the tape on the design, smooth it over to remove any wrinkles or air bubbles.
Step 6: Repeat the Taping for the Back

When you are done, carefully lift the design and tuck the extra ends of the tape at the back of the design neatly. Now put some strips of tape on the back of the squishy, but make sure the strips are short and fit the back. Cut smaller strips because you cannot tuck the extra tape at the front. Leave the end of the design open so that you can fill in the stuffing. At the end of this step, you should have the front and back of your squishy taped together to form a little bag with space inside for the stuffing.
Step 7: Stuff Your Squishy Well

Now comes the fun part! You get to stuff the squishy! Grab your old pillow stuffing or toy stuffing, plastic bags, paper towels, or a bag of stuffing you bought, and fill it slowly and carefully at the bottom. You might want to put in a lot of stuffing for a softer squishy, but this can increase the chances of your squishy tearing. So, stuff your squishy just till it puffs up, and then stop. A tip here is to add a few drops of essential oil or some perfume to the stuffing and mix it around before stuffing it into the paper. You will have your very own scented paper squishies!
Step 8: Cover the Edges
Now it’s time to tape the ends shut. Cut as much tape as you need to cover the bottom of the design. Place one strip at the bottom edge of the front and neatly fold it to the back of the squishy and press down to remove any air bubbles. Now do the same thing at the back and fold the tape over to the front. Now your squishy is sealed! A tip here is to add toy eyes or googly eyes to make the paper squishy look more like a stuffed toy. Simply use glue to stick the googly eyes on the drawing where the eye is.
Your paper squishy is now ready to be played with. Remember, this is made of paper, so it needs to be treated gently. You can always customize the size. From tiny squishies to jumbo squishies, they are all adorable! Now we can look at some paper squishy ideas to try.
Paper Squishy Ideas to Try at Home
1. Emoji Squishy
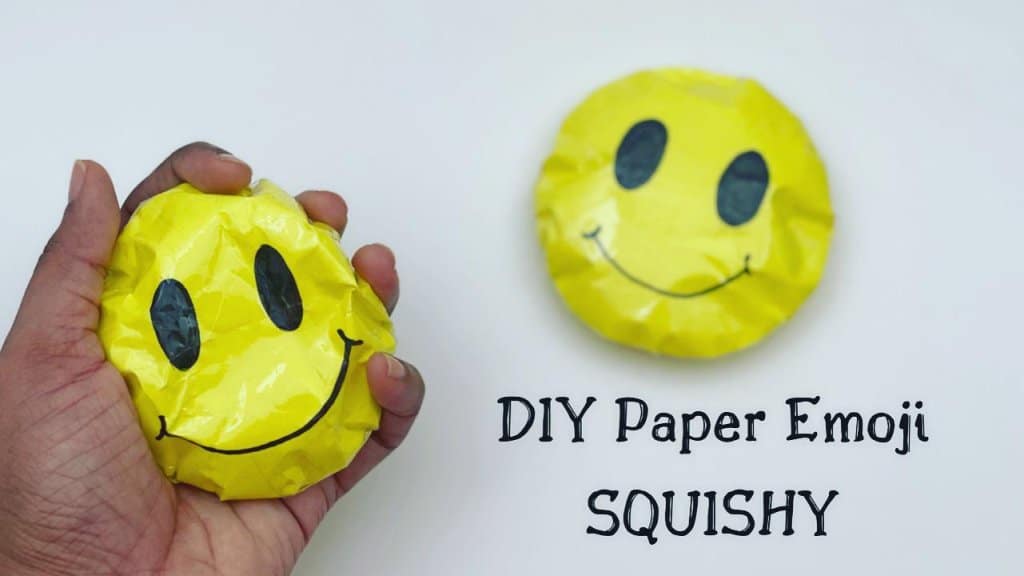
Who doesn’t love emojis? They have become a part of our daily lives and are lovable little characters. These are also really easy to make because they can be made with just one color of paper and a black marker. The shape is just a circle, so it is easier to cut. This is perfect for kids making squishies.
2. Panda Squishy
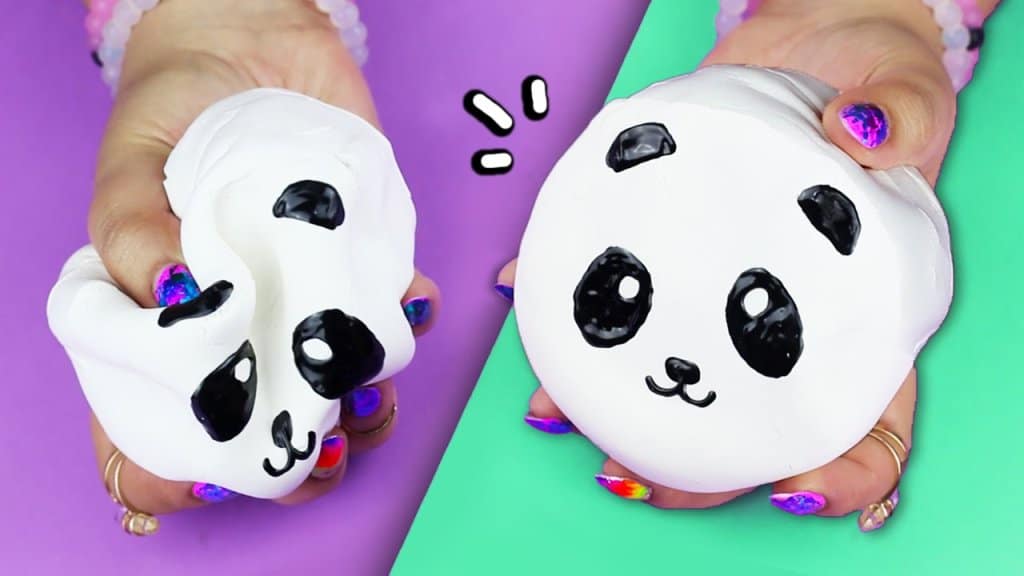
Pandas are the cutest animals, and they also make for great squishies. The shape is easy to draw and cut, and the colors are simple too. This should be a top choice among your paper squishy ideas.
3. Hello Kitty Squishy
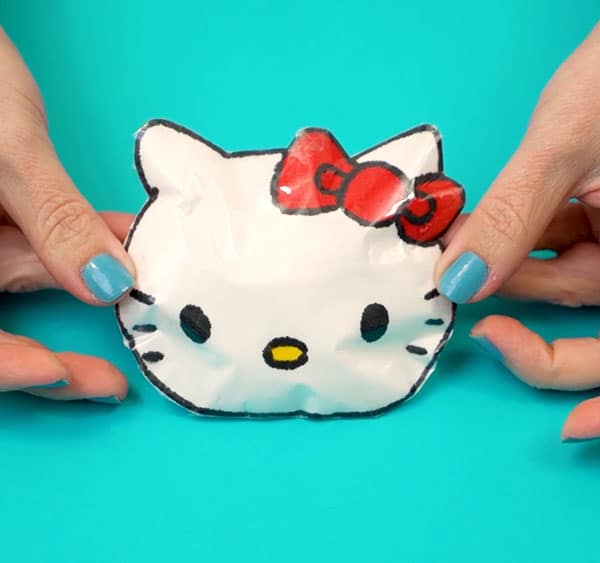
Hello Kitty is one of the cutest cartoon characters, and you can make an adorable paper squishy. The design is simple, and the colors can be customized in any way possible. This also makes one of the top choices as a home decorator.
4. Cactus Squishy
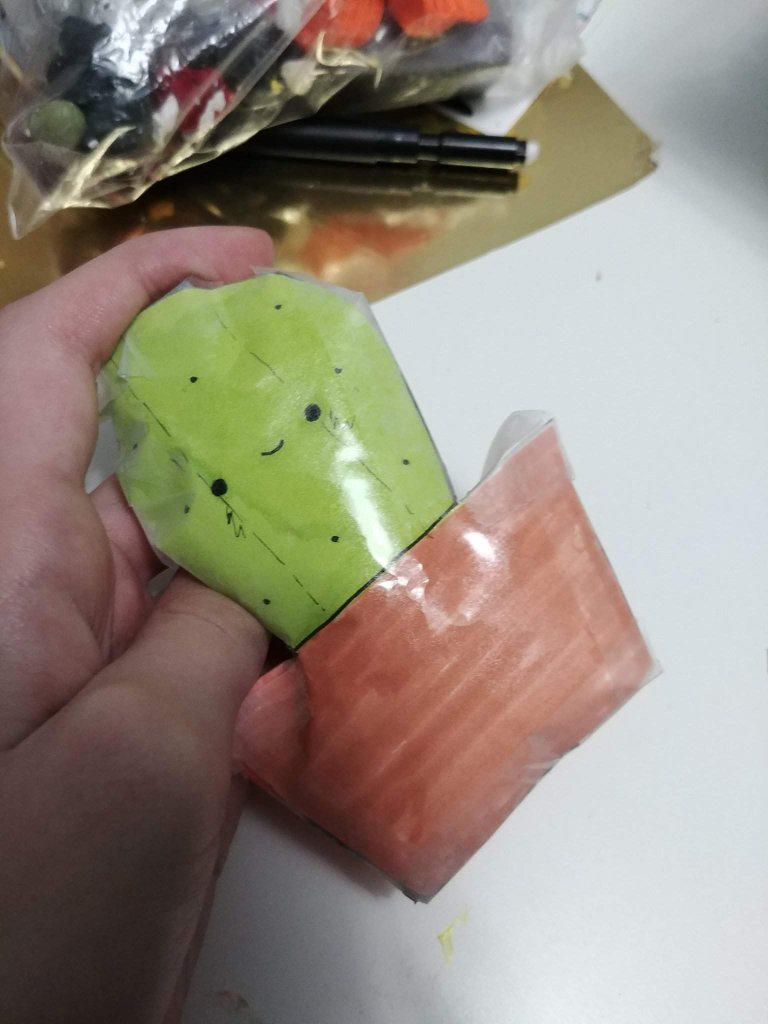
Cactus plants are adorable and make for a very cute squishy. These are extremely easy to draw and cut out and are a great option for kids making paper squishes. The best part about this idea is that it can be curated into a wide range of designs and can be enlisted as a series of decorative with plenty of options.
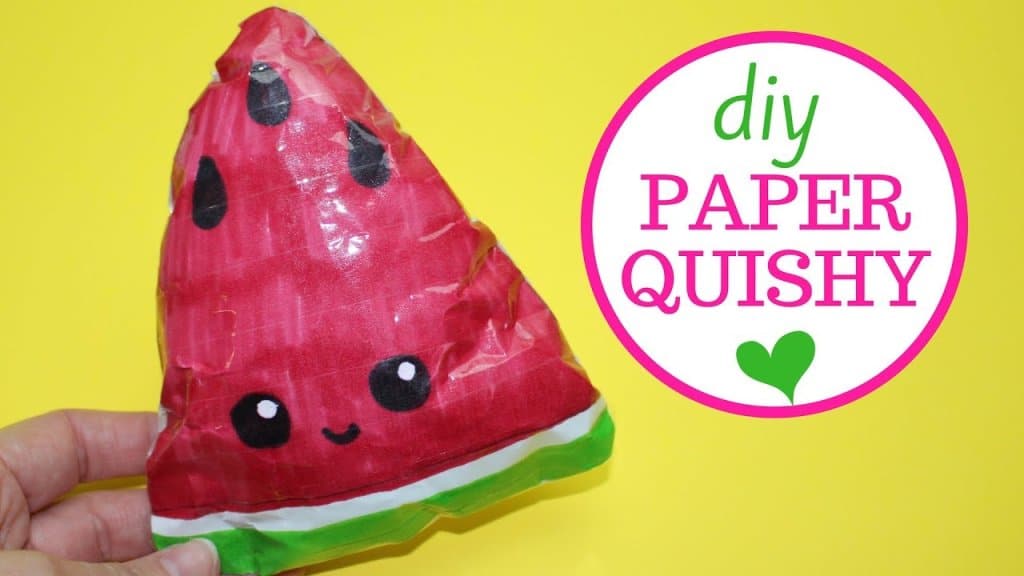
5. Fruit Squishy
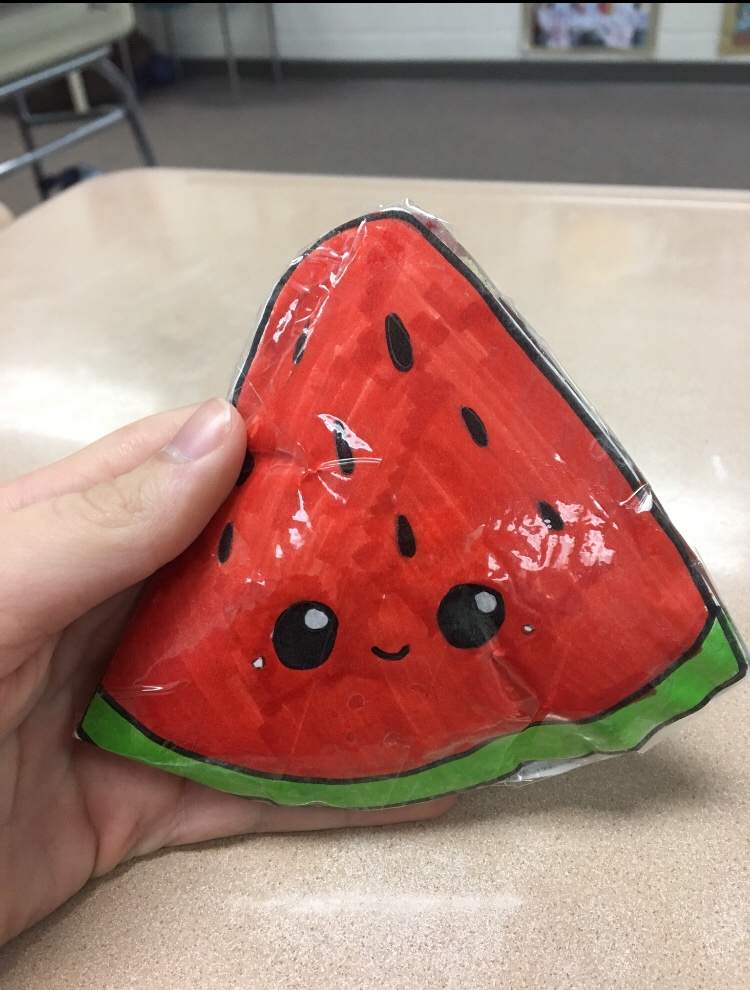
Kids usually hate fruits. But what if you made a fun paper squishy that looked like a fruit? This is sure to make them like their fruits a little more! This one is shaped like a watermelon slice. This is a very easy design, similar to the pizza. You can try other fruits too, like pineapples.
6. Santa Claus Squishy
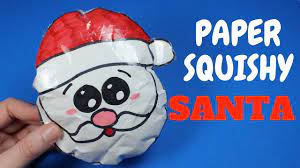
This is one of the best paper squishy ideas for the holiday season. Santa Claus is a favorite of kids and adults alike, making it a great decoration or gift. This can well be promoted as a top DIY activity for the kids during the major and prolonged festive season.
Conclusion
DIY projects are a great way to help kids get hands-on experience in making things using their own creativity and ideas. Kids love activities that make them feel independent. The best part about these squishies is that the end product is cute and fun to use and will be a part of your child’s life. With a little bit of your help, your child can make a toy for themselves and enjoy it. This is sure to make them feel confident and happy about their creativity.
Children these days are constantly occupied with their devices and barely live without their games and videos. It is very important to engage them in creative tasks that require them to be more involved. DIYs are a great activity for spending quality time with your children. After a successful attempt, they will enjoy the process more and want to try out more DIY crafts.
You will want to keep making more once you start making these adorable squishes. There are a number of easy paper squishy ideas for you to try, and some are easy enough for kids to make all by themselves.
Try out some of these exciting designs and make a bunch of squishies!
