
Looking for ways to attract birds to your garden? Nesting boxes might be the answer you need.
I’ve spent years watching birds use the nesting boxes in my yard. It’s truly special to see tiny eggs turn into baby birds that fly away weeks later. But birds won’t use just any box you put up.
This blog will show you exactly how to build nesting boxes that birds will want to call home. From choosing the right materials to proper placement, I’ll share all the tips and tricks I’ve learned.
By the end, you’ll know to create safe and cozy homes for your local bird population.
If you're interested in enhancing your garden with more DIY woodworking projects, check out this guide on creating a DIY farmhouse sign.
Understanding the Needs of Birds for Nesting Boxes
Birds look for homes that keep them and their babies safe from weather and predators. They need:
- Protection: Birds want boxes that shield them from rain, wind, and too much sun
- Safety: The box must keep cats, snakes, and other predators away from eggs and chicks
- Right Size: Each bird species needs specific dimensions – chickadees want small boxes while owls need much larger ones
- Clean Space: Birds prefer fresh, clean boxes without old nests or pests
When building a nesting box, consider the birds that live in your area. A box made for bluebirds won’t work for wrens or owls. Check local bird guides to learn which species visit your neighborhood throughout the year.
Choosing the Right Material for Nesting Boxes
The materials you use will affect how long your box lasts, how comfortable birds feel inside, and how successful they’ll be at raising their young. Here’s what you’ll need for building effective nesting boxes:
| Material | Recommendation | Purpose |
|---|---|---|
| Wood | Cedar or cypress (best), Pine or poplar (good), 3/4″ exterior plywood (acceptable) | Main box construction |
| Screws | 1 1/4″ galvanized or stainless steel | Weather-resistant fasteners |
| Drill | With various bit sizes | For screws, entrance, and ventilation holes |
| Saw | Hand saw or power saw | Cutting wood to the correct dimensions |
| Sandpaper | Medium grit | Smoothing rough edges to prevent bird injuries |
| Measuring tape | Standard | Ensuring correct box dimensions |
| Square | Carpenter’s square | Making precise, straight cuts |
| Pencil | For marking | Marking cutting lines and hole positions |
| Wire/mounting hardware | Heavy-gauge wire, brackets, or pole mounts | Secure installation options |
Wood Selection Tips
- Cedar or Cypress: These woods naturally resist decay and insects without harmful chemicals, and they cost more but last 10-15 years.
- Pine or Poplar: Less costly options that work well if you replace boxes every few years, as these softer woods may need more frequent maintenance.
- Plywood: Avoid thin plywood, as it warps easily. If using plywood, choose 3/4-inch exterior grade for better durability.
- Recycled Plastic: Lasts many years but may get too hot in summer without proper ventilation, so use only if made specifically for bird houses.
- Metal: Not recommended, as it can overheat in the sun and get too cold in winter, causing stress to birds.
Step-by-Step Guide to Building a Nesting Bird
These simple steps walk you through creating a comfortable bird nesting box from scratch. Follow these clear instructions to build a safe home that will attract local birds and help them raise their young successfully.
Step 1: Make a Plan
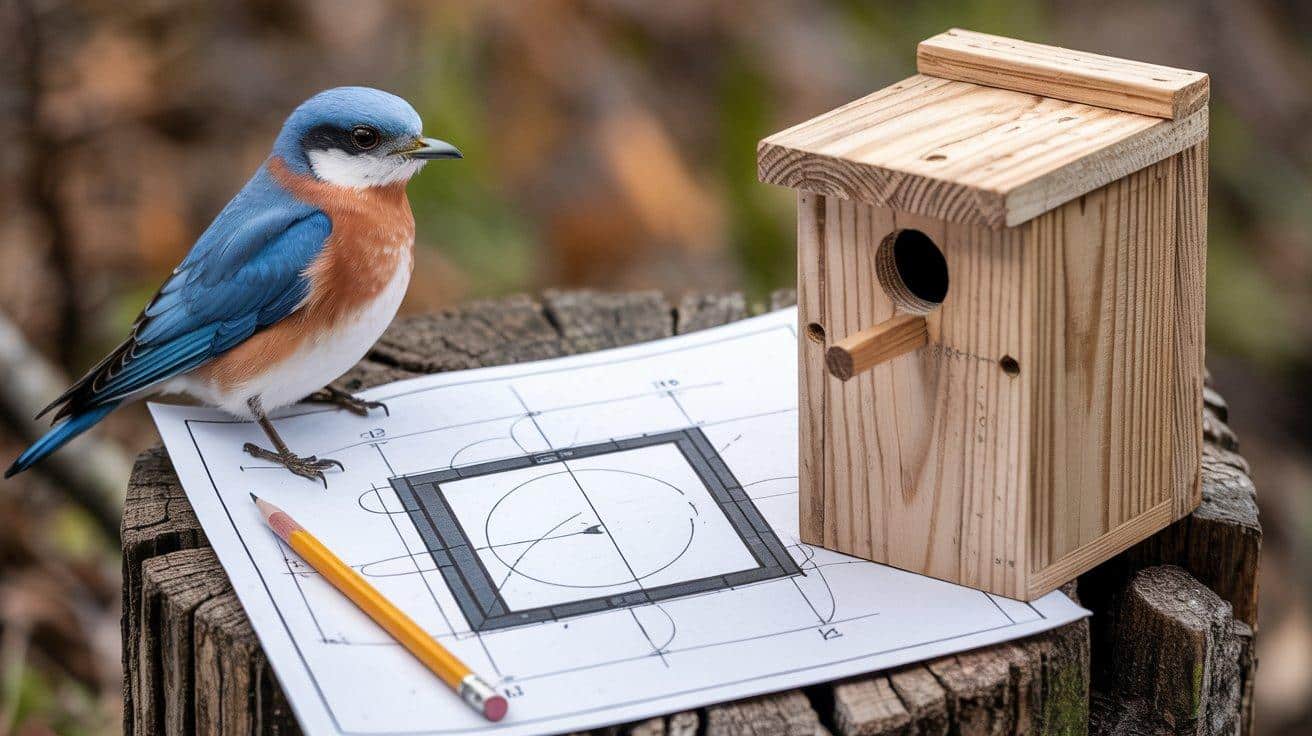
Begin by researching which bird species are native to your area. Each bird needs a specific box size and entrance hole diameter. For example, bluebirds need a 1½-inch hole, while chickadees prefer 1⅛ inches.
Once you’ve chosen your target bird, sketch your design on paper and list all materials needed.
Step 2: Cut the Wood
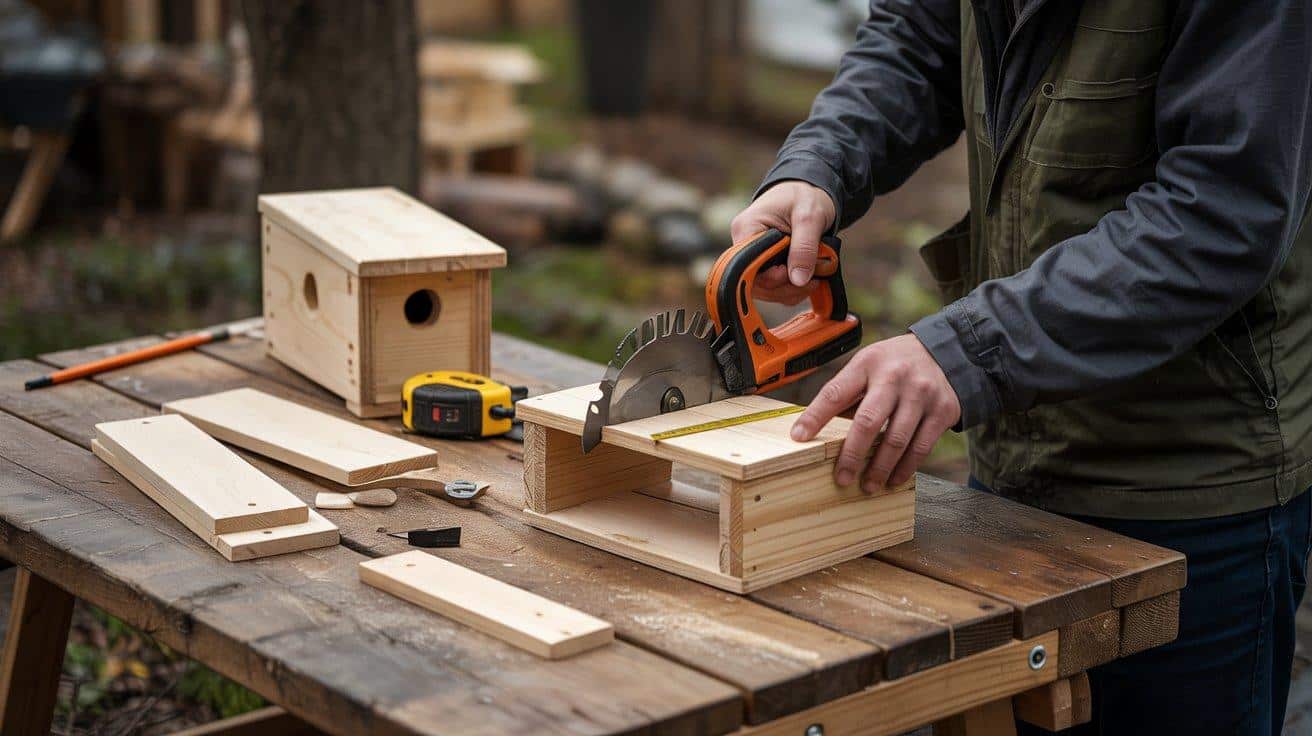
For a basic bluebird box, cut these pieces:
Front: 5 1/2″ x 8″
Back: A taller piece, 5 1/2″ x 11″ (the extra height is for mounting)
Sides: Two pieces 5 1/2″ x 8″ with the top back corner cut at an angle for roof slope
Bottom: 4″ x 4″ (slightly smaller than inside dimensions to allow drainage)
Roof: 6 1/2″ x 8″
Step 3: Drill the Entrance Hole
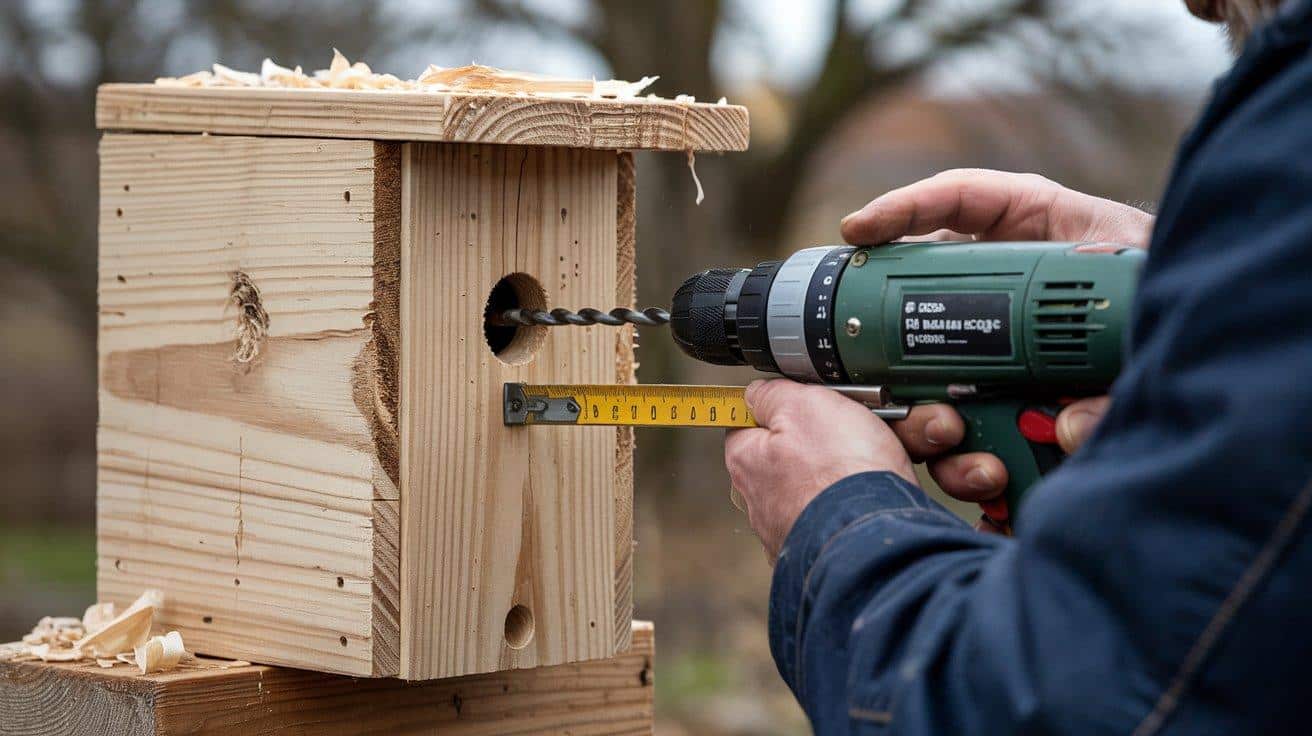
On the front panel, measure and mark a point centered horizontally and 6 inches from the bottom edge. This places the hole high enough to keep nestlings safe from predators reaching in.
Using a hole saw attachment on your drill, cut a perfectly round hole sized for your target species. Sand the hole edges until smooth.
Step 4: Drill Drainage and Ventilation
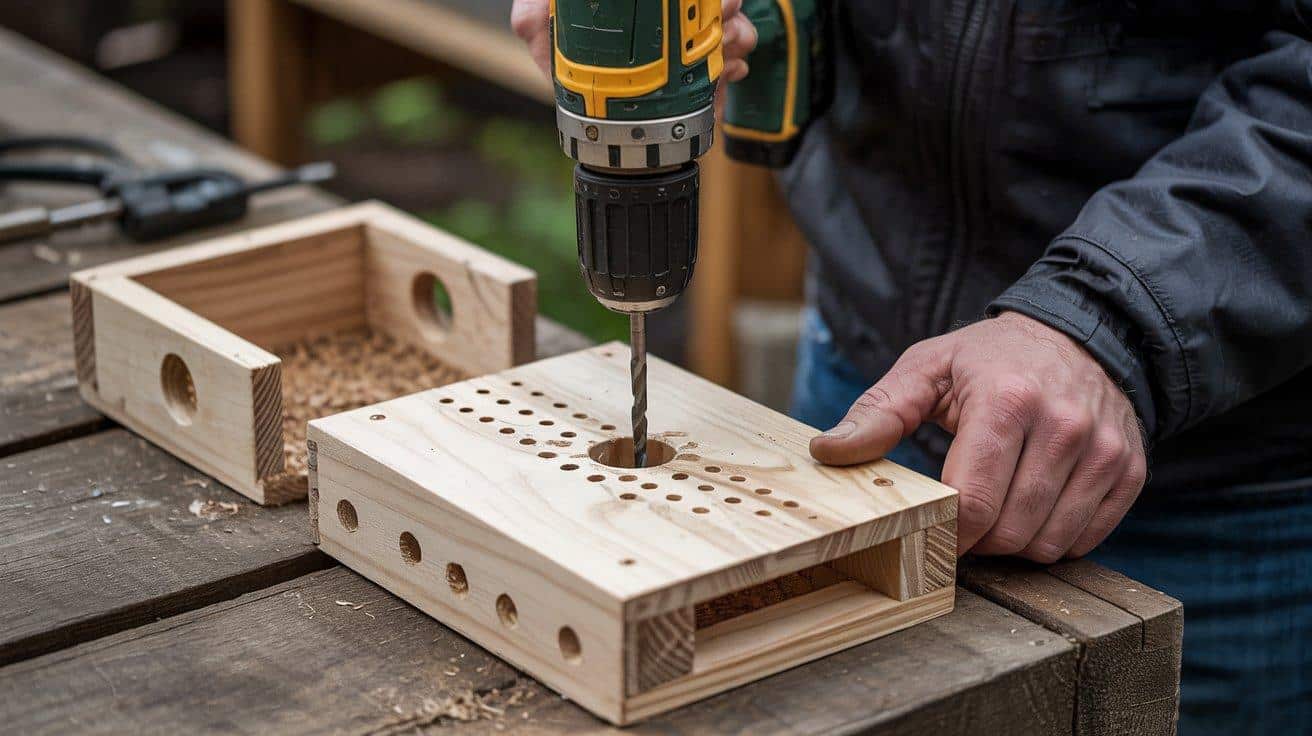
Proper airflow and water drainage are crucial for bird health. Drill four ¼-inch holes in the floor piece, placing them near the corners. These allow moisture to escape.
Add two ⅛-inch ventilation holes near the top of each side panel, about ½ inch from the top edge and 1 inch from the back. These provide air circulation without creating drafts.
Step 5: Assemble the Box
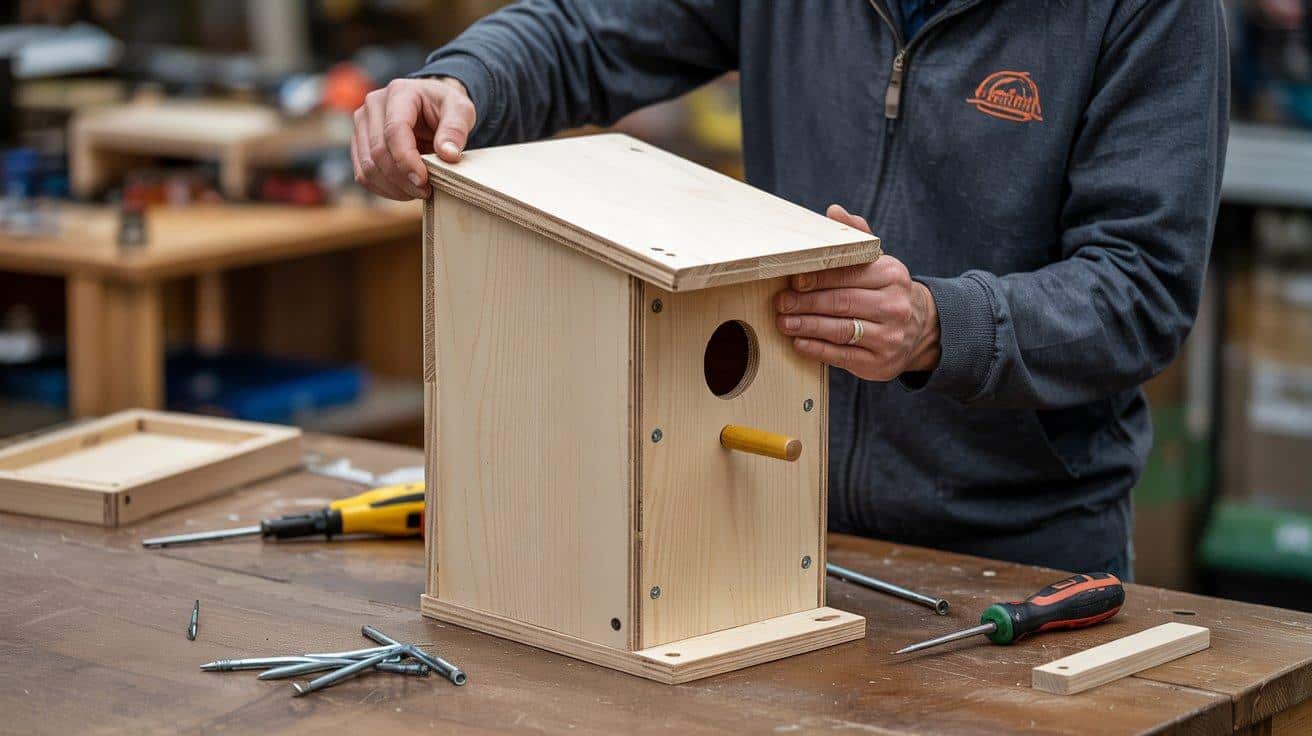
Attach the sides to the front piece with screws. Then attach the back piece. Slide in the floor (don’t fix it permanently – it should be removable for cleaning). Finally, attach the roof.
Step 6: Add an Access Panel
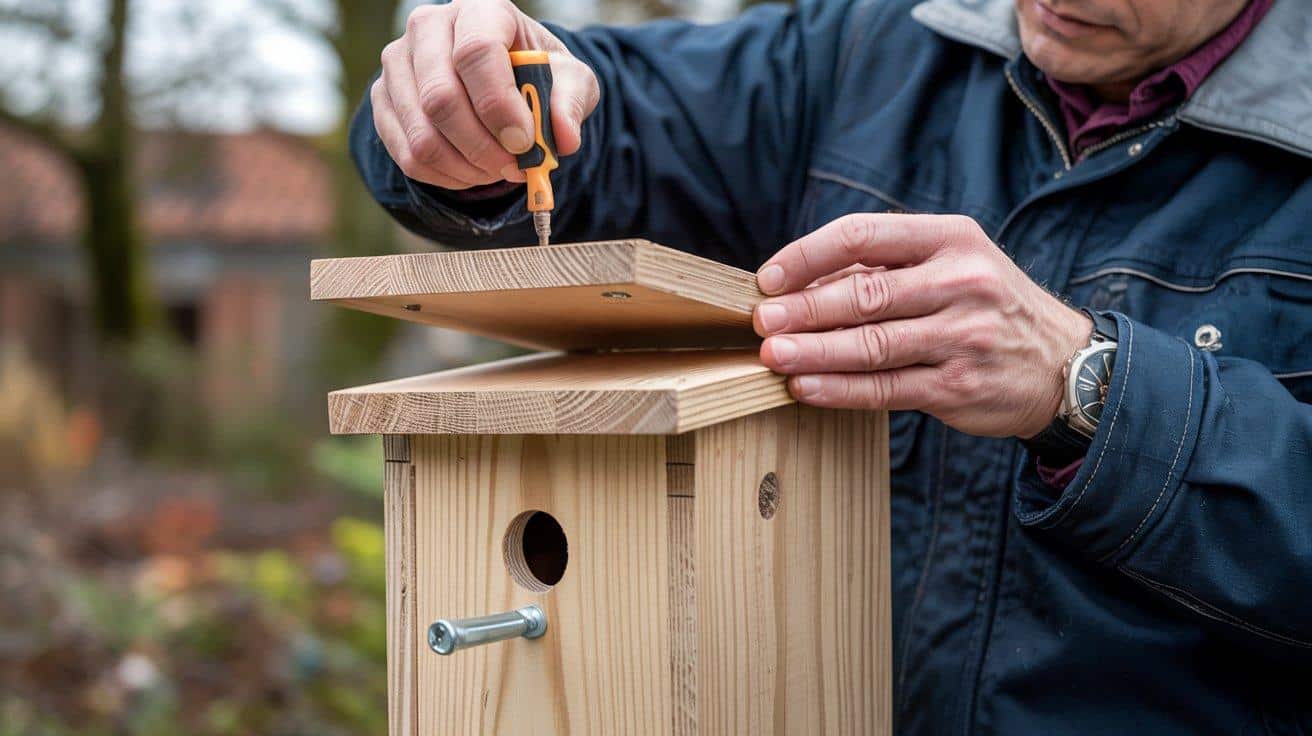
Create a way to clean and monitor the box. The easiest method is to attach the roof with a hinge at the back edge, allowing it to lift up.
Alternatively, make one side panel removable by using a pivot screw at the bottom and a hook-and-eye latch at the top.
Whichever method you choose, ensure it can be securely closed to protect against predators but easily opened for maintenance.
Step 7: Prepare for Mounting
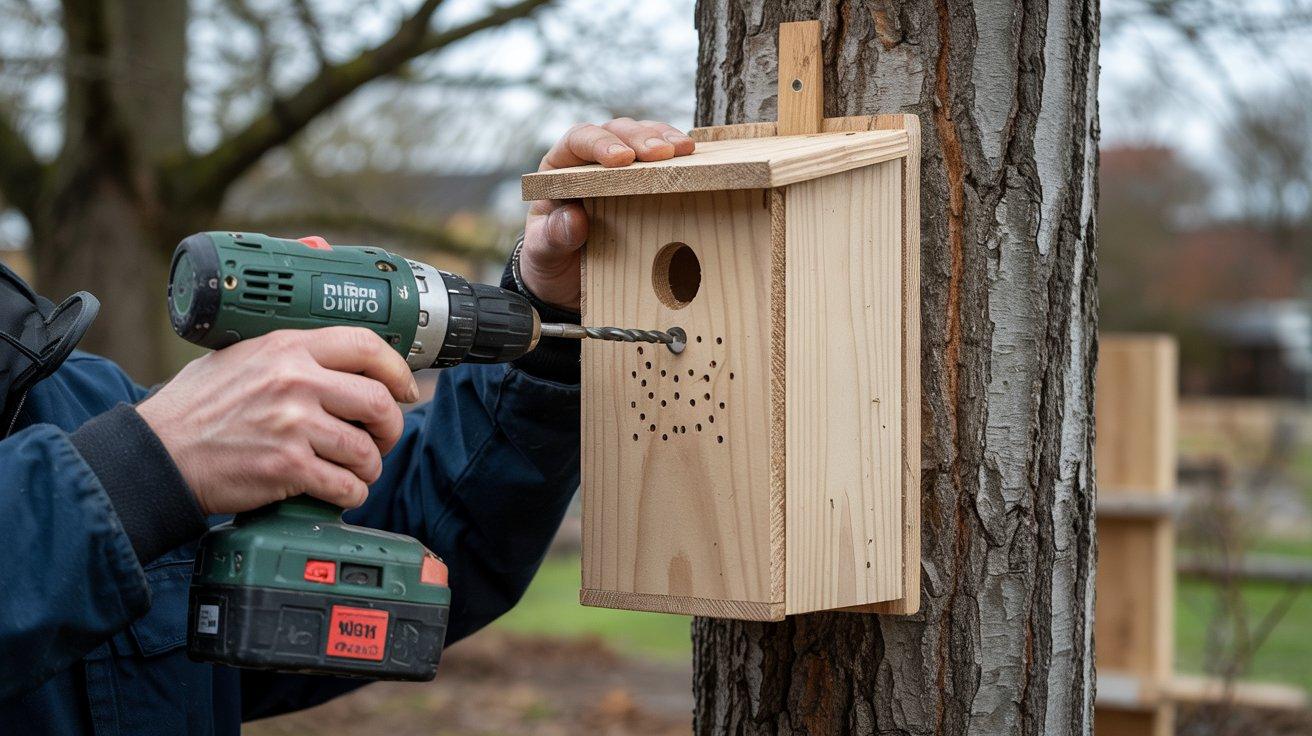
Position the nesting box against the tree at chest height. Use a cordless drill to create pilot holes through the back panel into the tree trunk.
Secure the box by driving screws through these holes, ensuring the box is level and firmly attached.
Step 8: Finish the Exterior
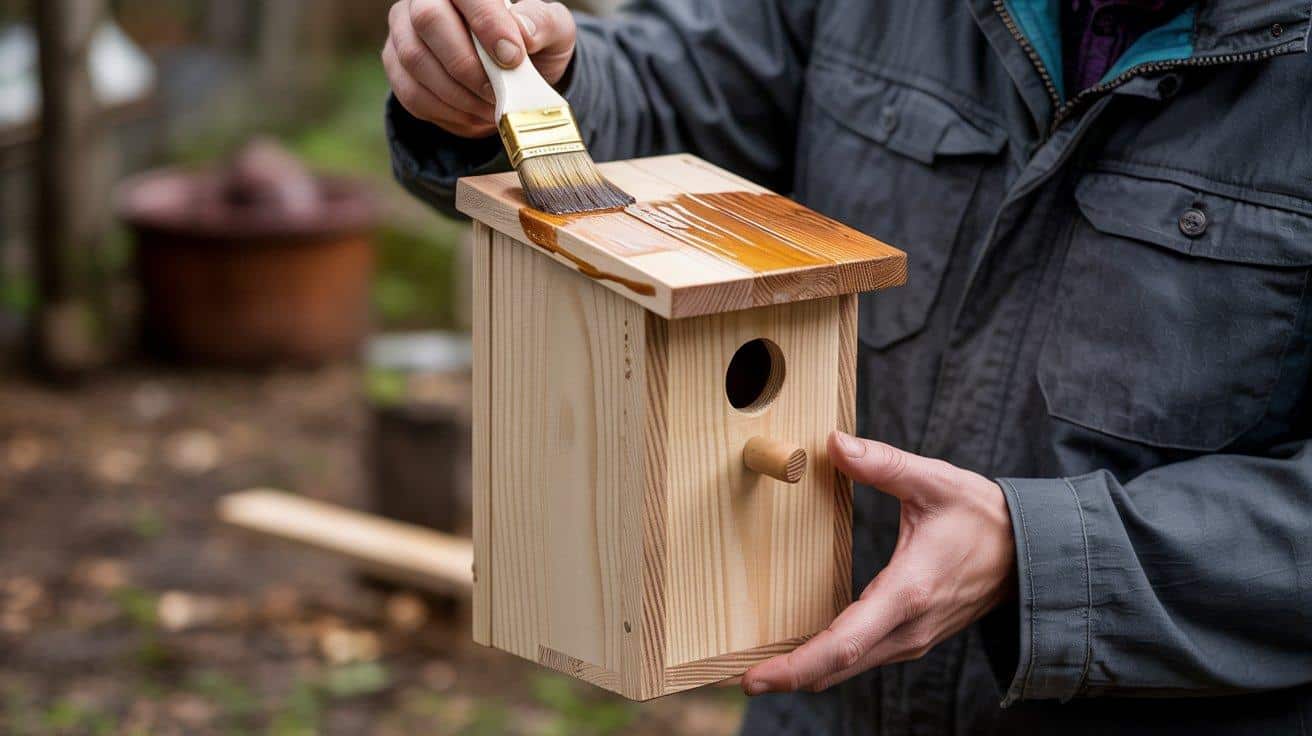
To help your box last longer without harming birds, leave the inside completely natural and untreated. For the exterior, you can apply a thin coat of raw linseed oil as a preservative.
Never use paint, stain, or treated wood where birds can touch or peck. Allow any finish to dry completely for at least 48 hours before installing the box. This ensures no fumes remain that could harm birds.
Safe Wood Choices for Bird Nesting Boxes
- Never use pressure-treated lumber, painted, or stained wood for the inside of nesting boxes, as the chemicals can harm birds.
- The chemicals in treated wood can harm birds and their babies, so stick with natural materials.
- If you must treat the wood, use raw linseed oil on exterior surfaces only, and let it dry completely.
- Let any treatments dry completely before mounting the box, as fumes can be harmful.
- Choose wood that’s at least 3/4″ thick to provide proper insulation, which helps regulate temperature.
- Rough-sawn lumber provides a better grip for birds than smooth-planed wood, making it easier for nestlings to climb.
Designing the Opening for the Nesting Box
Entrance Hole Size
The entrance hole is perhaps the most important part of your nesting box. It must be just right – too large and predators or bigger birds can get in; too small and your target birds can’t enter.
Common hole sizes:
- 1 to 11/8 inches – chickadees, nuthatches, and wrens
- 11/2 inches – bluebirds, tree swallows, and titmice
- 2 to 3 inches – larger birds like wood ducks and screech owls
Position of the Hole
Place the entrance hole near the top of the front panel, at least 6 inches above the floor. This gives baby birds a safe distance from any predators reaching in.
Make sure the hole has smooth edges to prevent injury to birds as they enter and exit. For added protection, you can position the hole under a small roof overhang to keep rain from blowing in.
Ideal Placement of the Nesting Box
Height and Location
Most small bird boxes should be 5-15 feet off the ground. Place boxes where birds have a clear flight path to the entrance with no branches right in front.
Face the box away from prevailing winds and storms. Put boxes up by late winter so birds can find them when they start house-hunting in early spring.
Avoiding Predators
Mount boxes on metal poles with predator guards – smooth cylinders that stop climbing animals. Keep boxes away from places where cats might hide and pounce.
If using trees, choose ones without low branches that would give easy access to predators. Space multiple boxes at least 25 feet apart to reduce bird-to-bird conflict.
Sun and Wind Protection
Find spots that get morning sun but afternoon shade. Too much hot sun can make the inside of the box too warm for baby birds. In hot climates, east-facing locations work best.
Make sure the entrance doesn’t face the direction of strong storms or winds in your area. Trees provide good shelter, but avoid dense woods where predators hide.
Maintenance and Seasonal Care
- Clean boxes once a year after nesting season (fall or winter) by removing old nests and debris
- Wear gloves and a mask when cleaning to protect yourself from mites and droppings.
- Check for cracks, loose parts, or water damage each year before spring
- Repair or replace damaged boxes before birds return for nesting season
- Never clean or disturb boxes while birds are actively nesting
- If a box isn’t used for two years, try moving it to a new location
- Take photos or notes about which birds use your boxes for future reference
- Remove wasp nests or other pests during the off-season
Conclusion
Building nesting boxes offers a way to help local birds while adding joy to your outdoor space. With the right design, materials, and placement, you can create homes that birds will return to year after year.
The most important things to remember are using safe materials, sizing the entrance hole for your target birds, and placing boxes where they’re safe from predators and harsh weather. A little thought now means more baby birds later.
What birds would you like to attract to your yard? Start with one simple box and learn as you go.
The first time you spot a bird carrying nesting material into your handmade home, you’ll understand why so many people find this hobby so rewarding.
Frequently Asked Questions
When Is the Best Time to Put up A Nesting Box?
Install boxes in late winter (January-February), before nesting season begins. This gives birds time to find and get comfortable with their new homes.
How Do I Stop Predators from Reaching the Eggs?
Use metal predator guards below boxes, position entrance holes away from perching spots, and keep boxes high enough that ground animals can’t reach them.
How Often Should I Clean out Bird Nesting Boxes?
Clean boxes once annually after nesting season ends (fall or early winter). Wear gloves, remove old nests, and let boxes dry completely before closing.
