Finding out water damage on your wood floor can be concerning. Those once-beautiful planks may now appear swollen, warped, or discolored – but don’t rush to call a professional just yet.
With the right approach and materials, fixing water-damaged wood flooring is a project many homeowners can handle themselves.
Water damage occurs for various reasons – from minor spills left unattended to major plumbing issues or flooding.
This guide walks you through the step-by-step process of repairing swollen wood floors, from gathering the necessary materials to installing replacement boards.
Materials Required
These are the materials you’ll need to successfully repair your water-damaged wood floor. Make sure to have everything ready before you begin!
| Materials | Purpose |
|---|---|
| Floor Repair Kit | To repair small scratches (markers, crayons, or putty). |
| Fine-Grit Sandpaper | To sand down the area after filling in deeper scratches. |
| Varnish | To apply a finish over the filled scratch. |
| Putty Knife | To remove damaged boards or scrape off old glue. |
| Circular Saw | For cutting out damaged boards (if necessary). |
| Utility Knife | To trim a portion of the tongue on the new boards. |
| Glue | To attach the new board to the existing floor. |
| Hammer | To tap the new board into place. |
| Weights | To hold the new board in place while the glue sets. |
| Molding/Finishing Nails | To reattach the molding after the repair. |
How to Fix Water-Damaged Wood Floors: A Step-by-Step Guide
Water damage on wood floors is a common issue, and while it can seem overwhelming, fixing it is something you can do yourself.
Whether the damage is from a small spill or a larger flood, you can restore your wood floors by following a few simple steps.
Here’s a clear and easy-to-understand guide to help you repair your water-damaged swollen wood floors.
Step 1: Ensure the Floor is Completely Dry
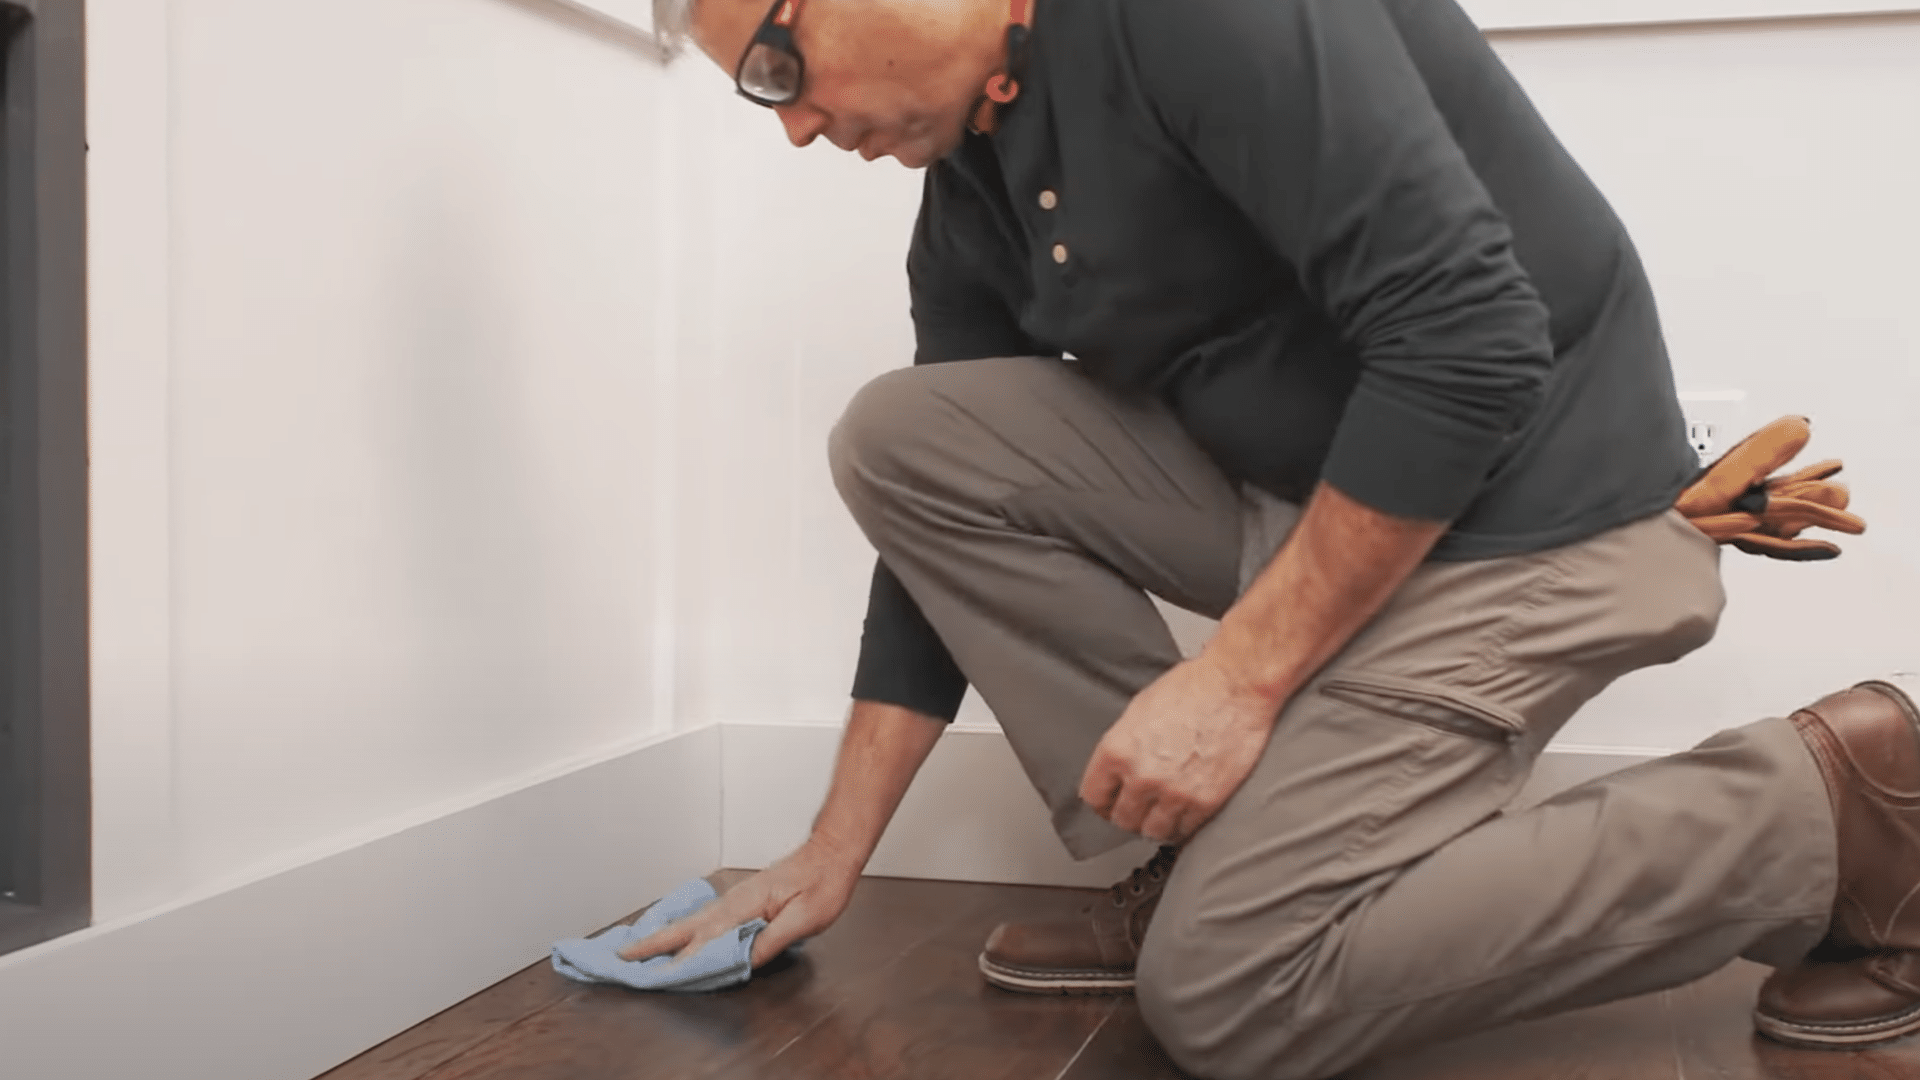
Before starting any repairs, the first thing you need to do is make sure the affected area is completely dry. Moisture is what caused the swelling in the first place, and you don’t want to work on wet wood. Here’s what you should do:
Helpful Tips:
- Blot up excess water: Use towels to soak up as much water as possible. Press the towels down firmly on the wet spots to soak up the water.
- Use fans and a dehumidifier: Place a fan in the room to help dry the area faster. If you have a dehumidifier, use it to pull out moisture from the air. This will help your floor dry evenly.
- Leave it to dry: Let the area dry for at least 24 hours. If the floor is still damp after a day, give it more time to dry. The more thoroughly it’s dried, the better the outcome will be.
Step 2: Remove the Damaged Boards
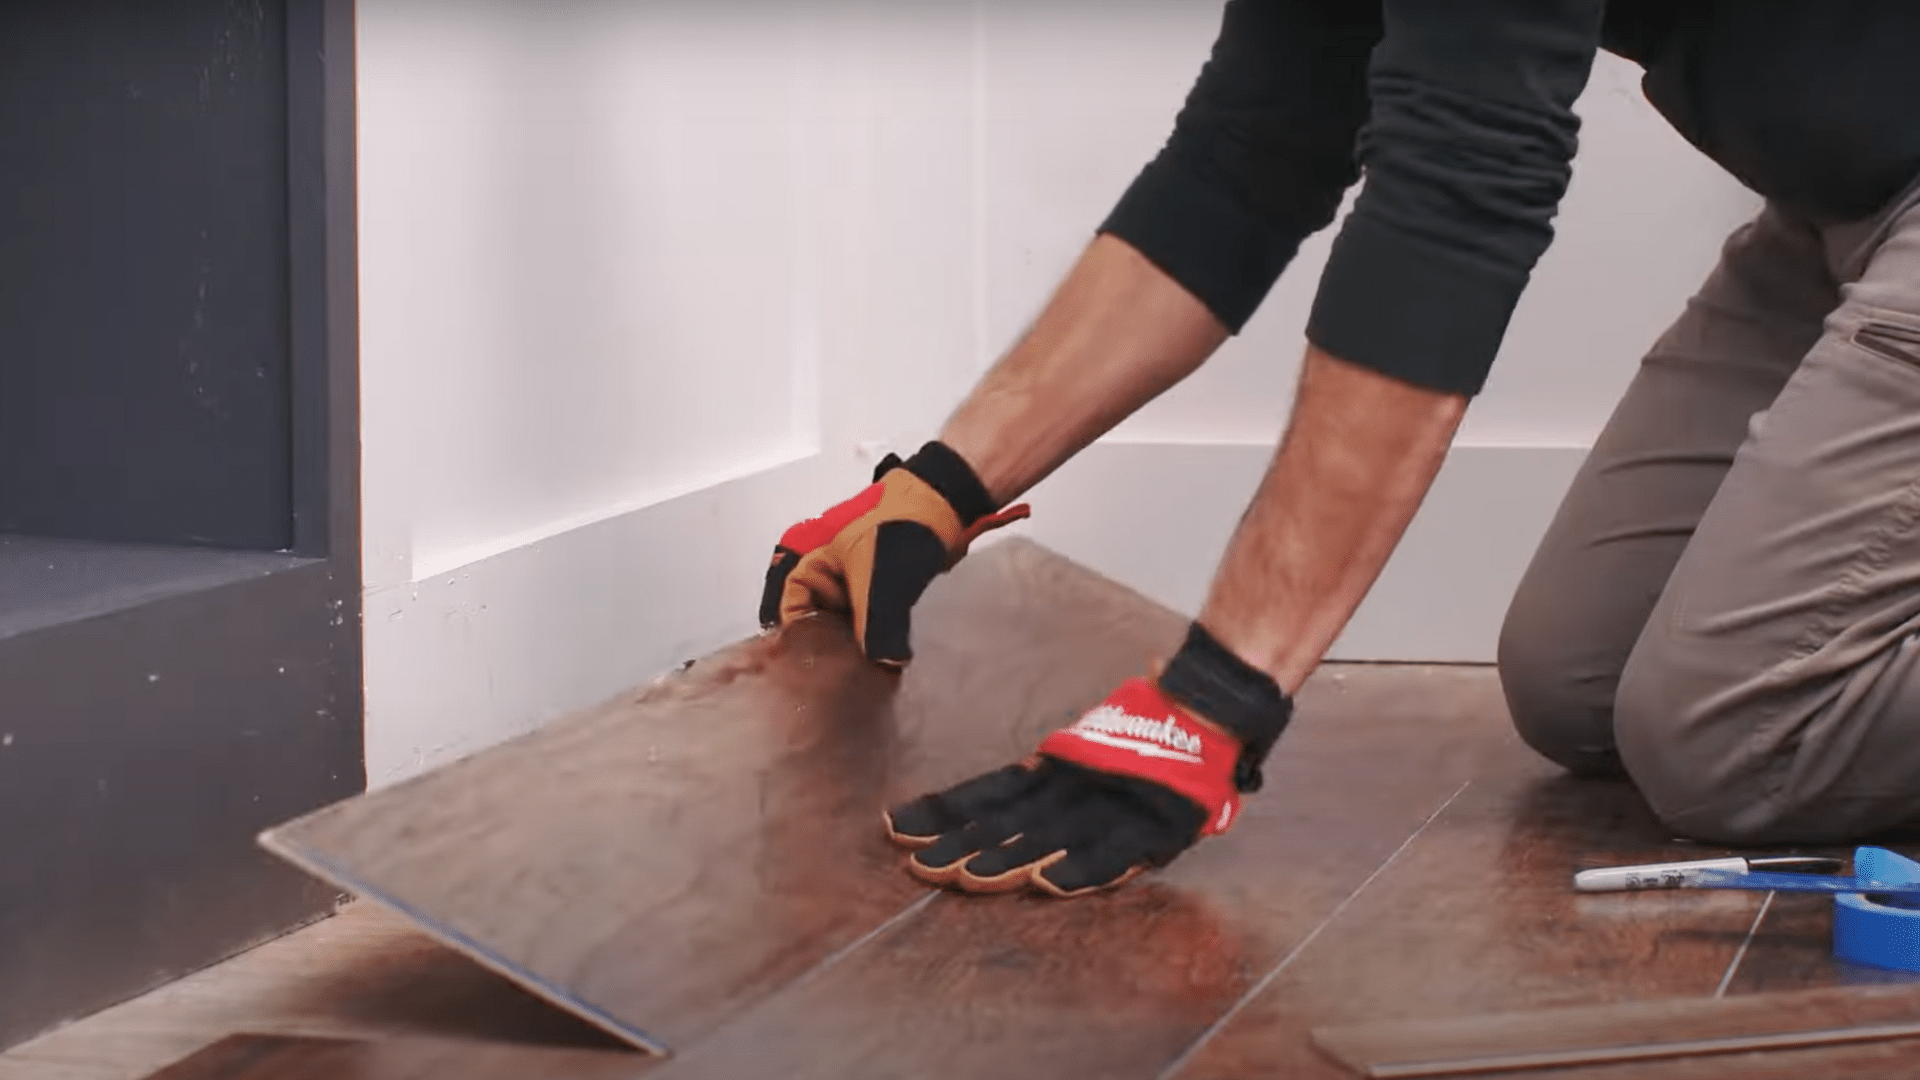
Once the floor is dry, the next step is to remove the damaged boards. Most laminate floors are installed using a tongue-and-groove system, where the boards click into each other. This makes removing them easier. Follow these steps:
Helpful Tips:
- Use a putty knife or pry bar: To remove the molding without damaging the wall, gently insert a putty knife or pry bar between the molding and the wall, carefully pulling it off. A plastic pry tool is preferable to avoid damaging the molding.
- Work from the edges: Start from the edge of the floor closest to the wall and carefully work your way toward the center. This helps to avoid damaging the rest of the floorboards while removing the affected ones.
- Label the boards: If you’re planning to reuse some of the laminate boards, label them so you know which side faces up, which will help when reinstalling.
Step 3: Cut Out the Damaged Boards (If Necessary)
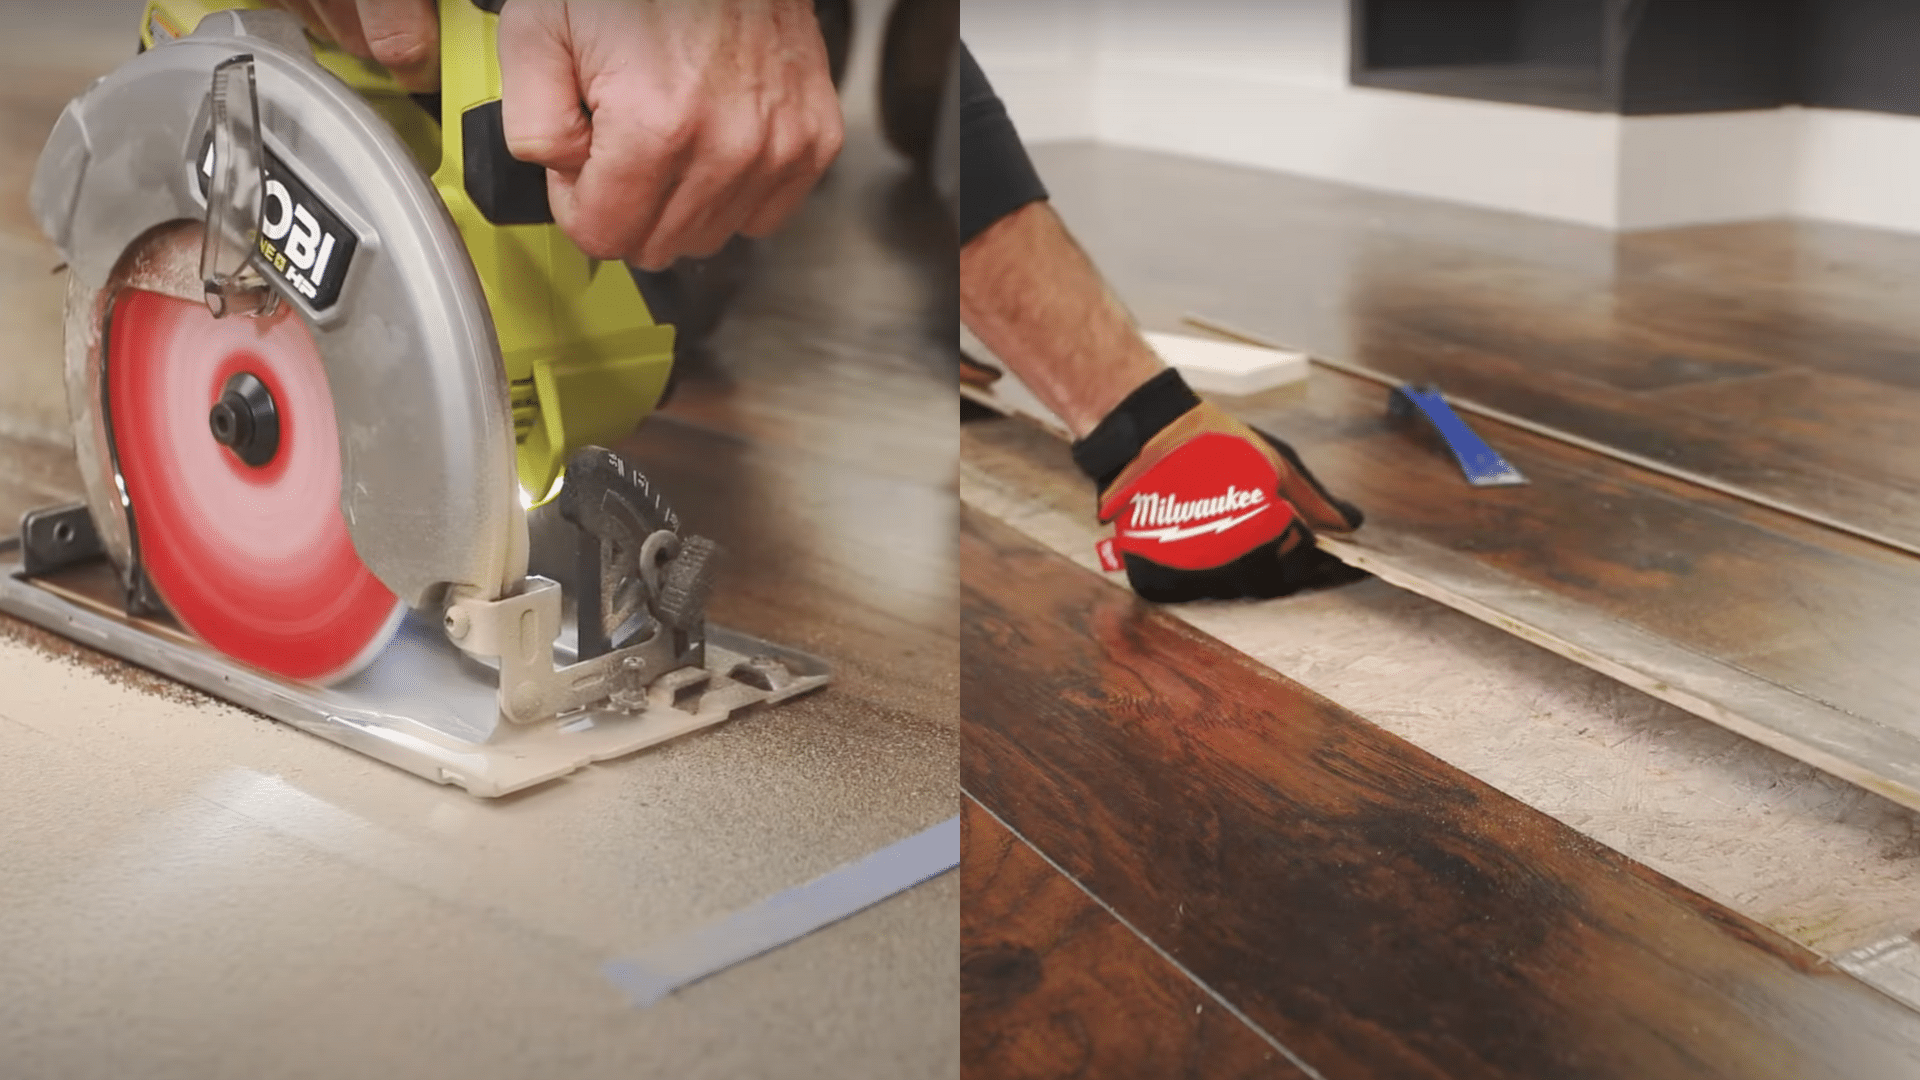
If the water damage is further from the wall, you’ll need to cut the boards out to make room for new ones. Here’s how to do it:
Helpful Tips:
- Measure carefully: Before cutting, measure the damaged area and mark where the cut needs to be made. Use a square or a straightedge to ensure your cut is straight.
- Set the saw depth: Make sure your circular saw is set to the thickness of the laminate boards to avoid cutting into the subfloor.
- Use a guide: If you’re cutting multiple pieces, use a guide to ensure all your cuts are consistent and clean.
- Take your time: Cutting laminate can create a lot of dust, so take your time and wear safety goggles and a mask for protection.
Step 4: Install the New Boards
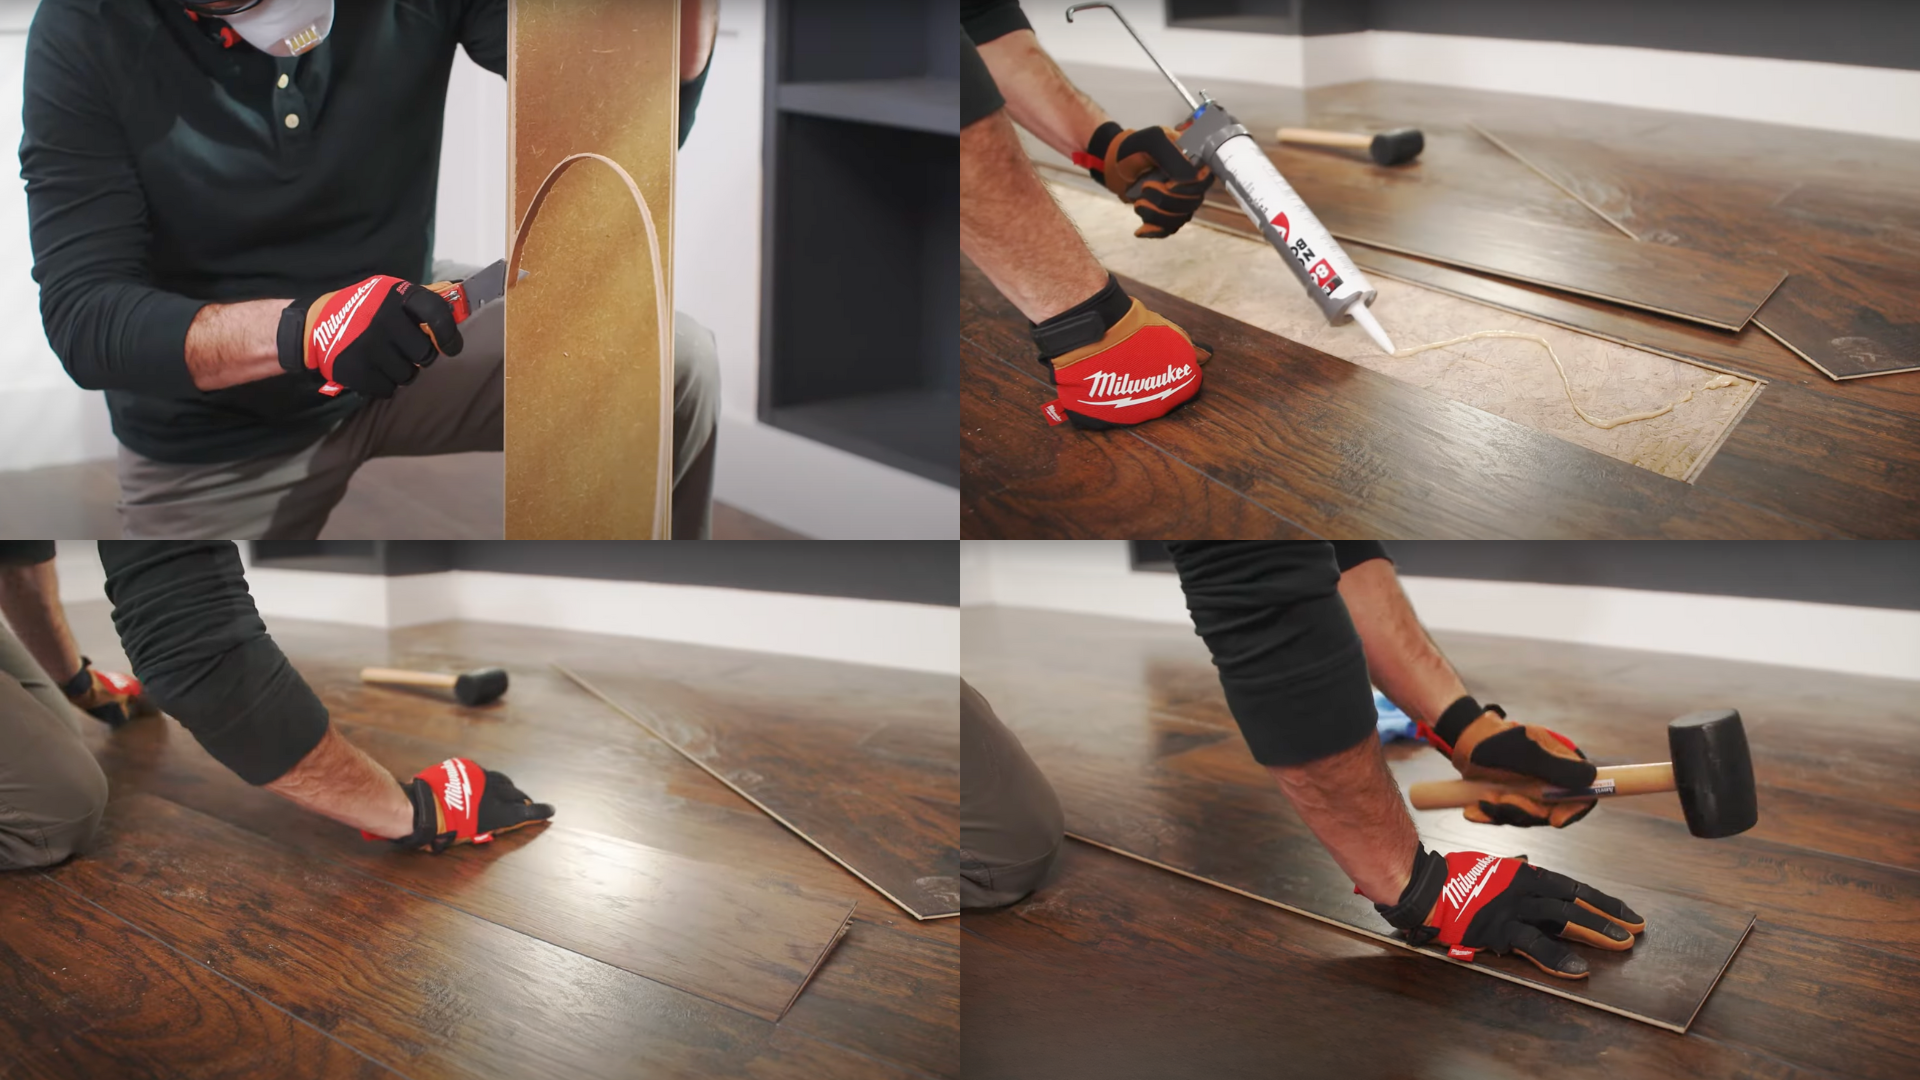
Now that the damaged boards are removed, it’s time to install the new ones. Here’s how to do it:
Helpful Tips:
- Cut the new boards to size: Measure the gap and cut the new boards to fit. If needed, use a utility knife to trim the tongue of the new board for a perfect fit.
- Apply glue carefully: When applying glue, don’t overdo it. Use a small bead along the edges where the new board meets the existing flooring. Too much glue can create a mess.
- Tap gently with a hammer: When securing the new board, use a rubber mallet to tap it into place gently. This will prevent damage to the surface of the board.
- Check for gaps: After tapping the new board into place, double-check for any gaps between the boards. If there are any, tap them again gently until the boards are tightly locked.
Step 5: Wait for the Glue to Cure
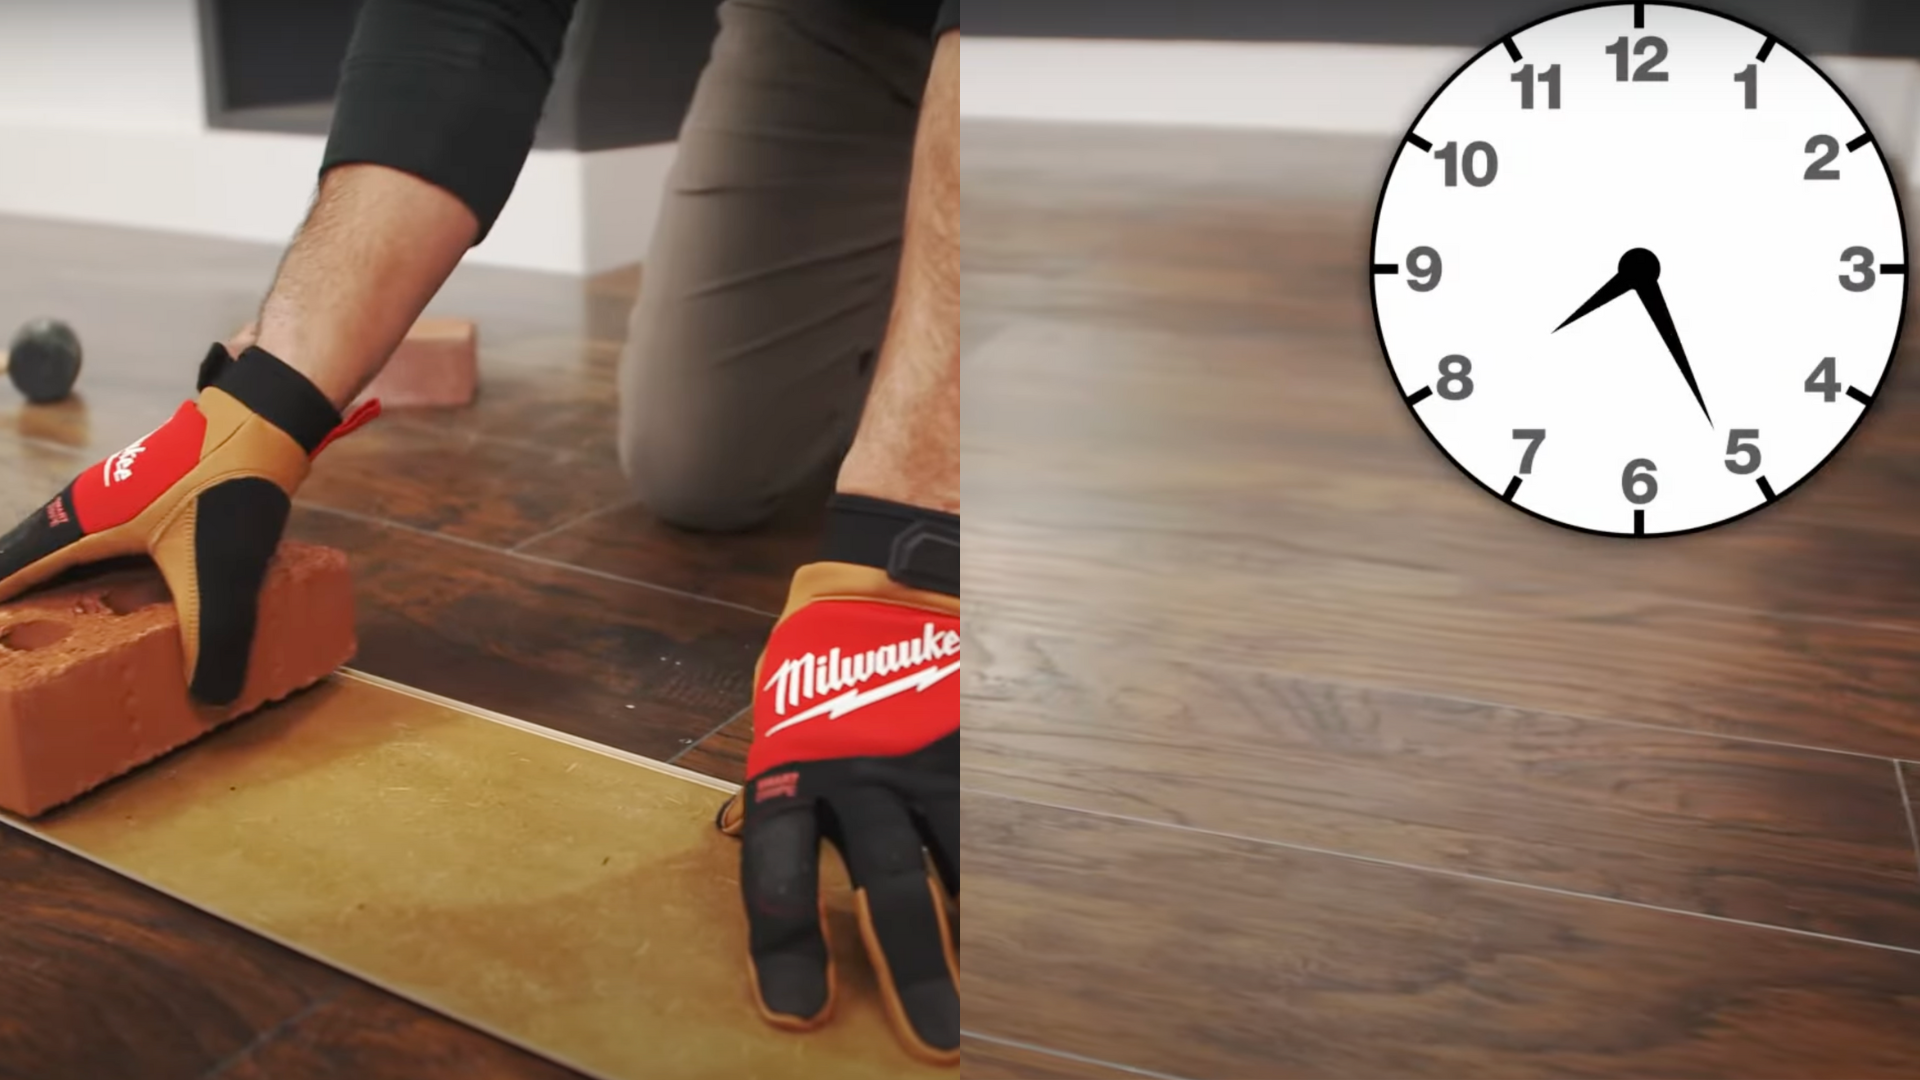
Once the new board is in place, leave it undisturbed for about 24 hours. This gives the glue enough time to fully cure and bond the new board to the floor. Avoid walking on the floor during this time to ensure a solid fix.
Helpful Tips:
- Use weights: If the board isn’t sitting flat, place a heavy object like a bag of rice or a book on top of it to keep it pressed down while the glue sets.
- Avoid rushing: Allowing the glue to dry completely will ensure a secure, long-lasting repair. Don’t rush this step.
|
And that’s it! You’ve successfully repaired your water-damaged swollen wood floor. By following these easy steps—drying the area, removing the damaged boards, installing new ones, and allowing the glue to set—you’ve brought your floor back to life. Now all you have to do is sit back, relax, and enjoy your newly restored floor. You’ve saved time and money by handling the repair yourself, and your floor should be as good as new. Great job, and remember, with the right care, your wood floors will stay beautiful for years to come! |
How to Prevent Future Water Damage on Wood Floors
Now that you’ve successfully repaired your water-damaged wood floor, it’s essential to take steps to prevent it from happening again.
By being proactive and implementing some simple practices, you can protect your floors from future water damage and keep them looking great for years to come.
Start by keeping an eye on any potential sources of water, such as leaky pipes or appliances. Fixing leaks immediately will stop water from seeping into the floor and causing damage.
Additionally, it’s a good idea to place rugs or mats in high-risk areas, like near sinks, dishwashers, or doorways, to catch spills before they reach your floor.
Here are some key tips to keep in mind:
- Fix leaks promptly: Address any plumbing or appliance issues as soon as they arise to avoid water damage.
- Use rugs and mats: Place them near sinks, dishwashers, or entryways to catch water before it touches your floors.
- Seal the wood: Apply a protective sealant to help create a water-resistant barrier.
By taking these simple actions, you can ensure that your wood floors remain safe from future water damage and stay beautiful for a long time.
Conclusion
Repairing water-damaged wood floors might seem like a major task at first, but breaking it down into manageable steps makes it quite achievable for most homeowners.
By following this process of thorough drying, careful removal of damaged sections, and proper installation of new boards, you’ve given your floor a second life at a fraction of the cost of full replacement.
Regular sealing of your wood floors also provides an additional protective barrier against moisture.
If you encounter more extensive damage in the future, or if the affected area is particularly large, don’t hesitate to consult a professional. For now, take pride in your DIY success and enjoy your restored wood floor.