
Are you tired of the mess in your workshop or kitchen? I know how frustrating it is when tools or dishes pile up with nowhere to put them.
I spent years building cabinets and found two methods that work for any skill level. The basic version utilizes pocket holes for quick assembly, while the traditional approach employs dados and face frames for a finished appearance.
By following my step-by-step guide, you’ll learn how to cut plywood properly, join pieces securely, and create professional-looking doors that fit perfectly.
I’ll show you exactly which tools make the job easier and share tips to avoid common mistakes that waste time and materials.
Ready to build cabinets that look good and solve your storage problems?
What Makes Custom Cabinets Worth It
Measurements matter most. Take precise measurements of your space, including irregularities in walls and floors, before you consider designs or materials.
Function first, form second. Before making any design decisions, determine exactly how you’ll use the cabinets and what you’ll store.
Quality materials pay off. Invest in the best materials you can afford; solid hardwoods, quality plywood, and reliable hardware will outlast cheaper alternatives by years.
Plan for real-life usage. Design with your daily habits in mind, consider how you naturally move through the space, and what you reach for most often.
Customization is the point. Don’t replicate standard sizes just because; take advantage of your ability to tailor every dimension to your specific needs.
Tools and skills determine complexity. Be honest about your woodworking capabilities and design projects that match your skill level and available tools.
Planning Your DIY Wall Cabinet Project
- Purpose Determines Design – When starting a wall cabinet project, your first step should be to think about where you’ll use these cabinets. Will they hang in your kitchen to store dishes? Or do you need them in your workshop to keep tools organized? Maybe they’ll go to your bathroom for toiletries?
- Location Matters- The location matters because it affects how you build them. Kitchen cabinets need to look good and work well. Workshop cabinets prioritize function over aesthetics. Bathroom cabinets must handle humidity.
- Measure Twice, Cut Once – Take accurate measurements of your wall space. Note the width, height, and depth available to you. Don’t forget to check for obstacles, such as light switches, outlets, or pipes, that might get in the way.
- Storage Needs- Consider what you’ll store inside. Tall items need taller cabinets. Heavy items need stronger shelves and mounting. Also, consider how often you’ll need to access these items.
- Skill Level Assessment – Your skill level and the tools you use also play a role. Basic shop cabinets use simpler techniques like pocket screws. Traditional kitchen-style cabinets require more woodworking skills and specialized tools.
- Budget Planning- Set a budget for your project. Plywood quality varies greatly in price. Hardware, such as hinges and pulls, can range from basic to elaborate. Decide what makes sense for your needs and wallet.
Step-by-Step Process for Building Wall Cabinets
Building wall cabinets requires careful planning and precise execution. Whether you’re making shop cabinets with basic construction or traditional kitchen-style cabinets, these steps will guide you through the entire process.
Gather Your Tools and Materials
| Tools | Materials |
|---|---|
| Table saw | 3/4-inch plywood |
| Pocket hole jig | 1/2-inch plywood |
| Clamps | 1/4-inch plywood |
| Drill/driver | Pre-surfaced maple |
| Circular/track saw | Pocket screws |
| Crosscut sled | Wood glue |
| Shelf pin jig | European-style hinges |
| Door hinge jig | Door pulls/handles |
| Miter saw | Iron-on edge banding |
| Edge banding trimmer | Plastic shelf clips |
Step 1: Break Down and Cut Plywood
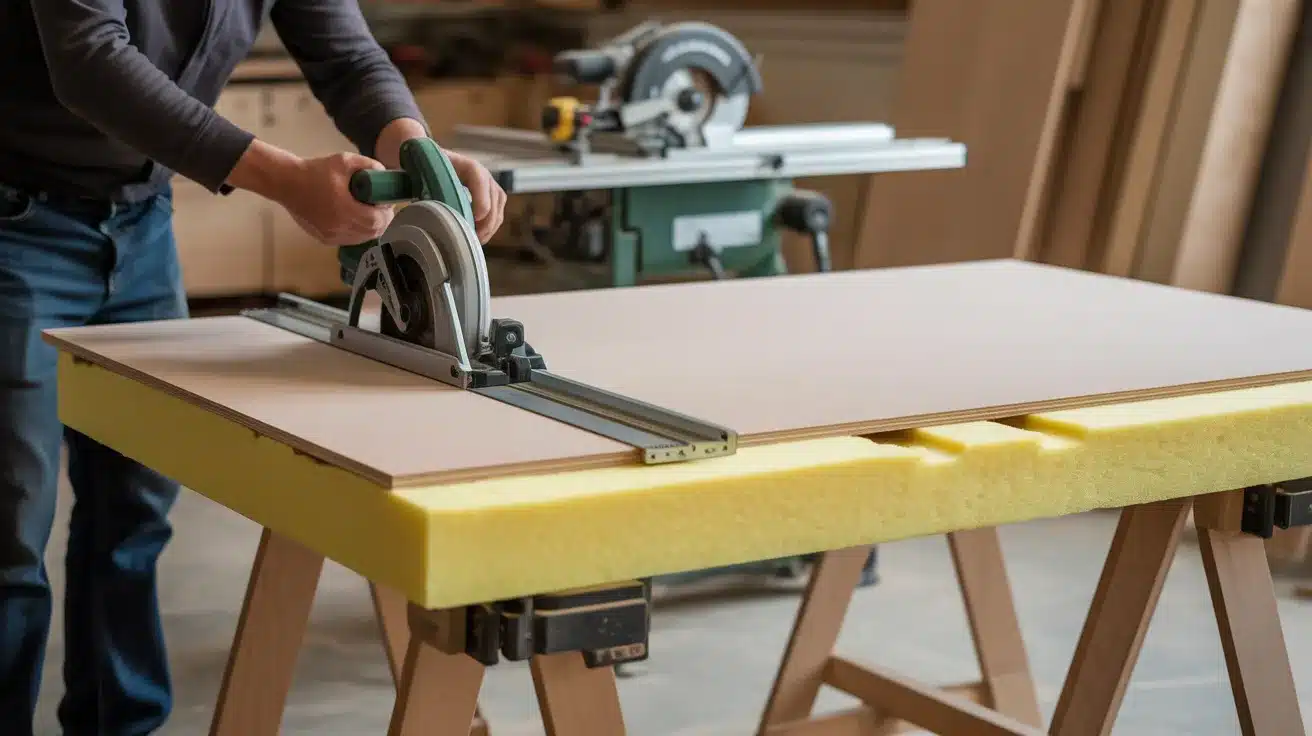
Start by cutting large plywood sheets into smaller, workable pieces with a track saw. This makes handling easier and safer. Place the plywood on a foam insulation board, positioned atop a work stand for added comfort.
Once broken down, move the parts to the table saw to cut them to their final dimensions. Ensure that you remove the factory edges first for clean, square parts. Cut the sides, tops, bottoms, and shelves according to the measurements in your cabinet plan.
Pro Tip: Use a foam insulation board on a work surface like a Centipede holder to cut plywood at a comfortable height instead of on the floor. This reduces back strain and gives you better control.
Step 2: Prepare Cabinet Sides
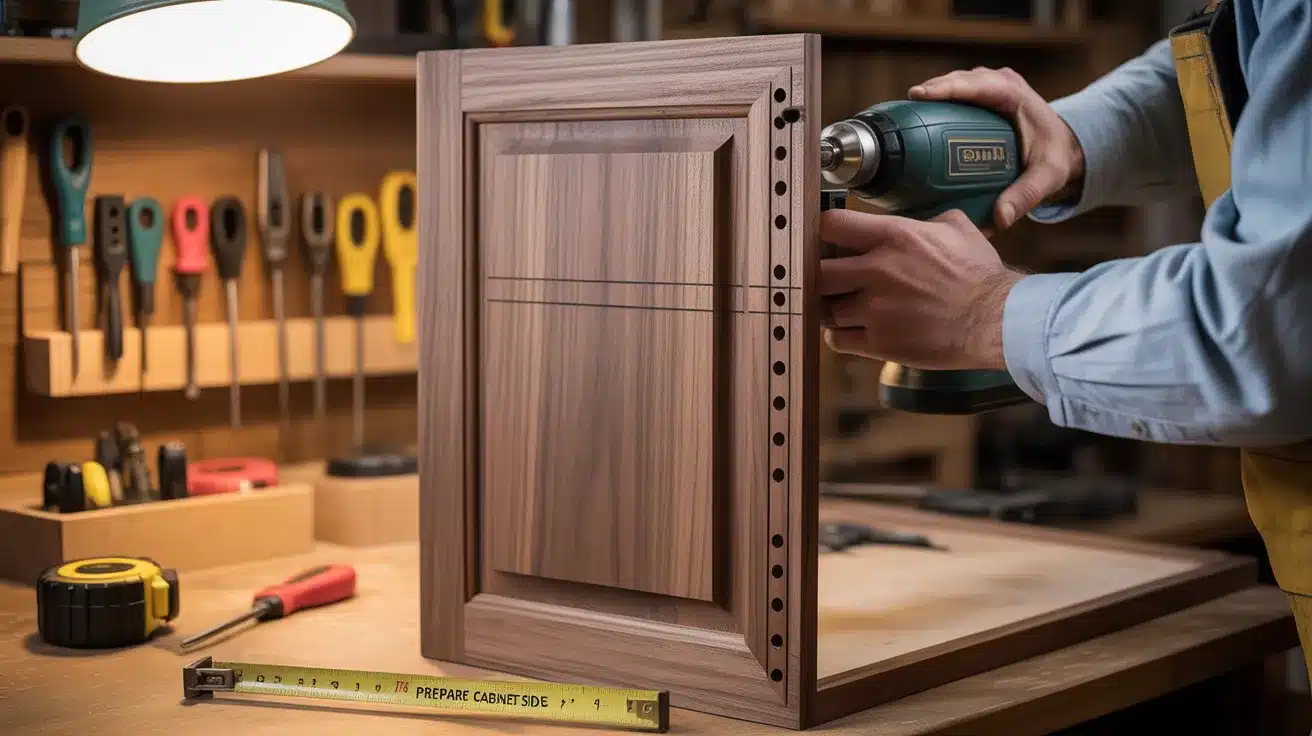
For basic cabinets, mark the locations of pocket holes on the sides, tops, and bottoms, then drill them using a pocket hole jig. Cut a rabbet along the back edge of each side to house the back panel.
For traditional cabinets, create precise dados for the top and bottom panels and a groove for the back panel. Mark the bottom edge to maintain proper orientation during assembly.
Pro Tip: When cutting dados for plywood, use specialized undersized plywood router bits (¼” and ¾”) that match actual plywood thickness for tight-fitting joints without additional adjustments.
Step 3: Assemble Cabinet Carcass
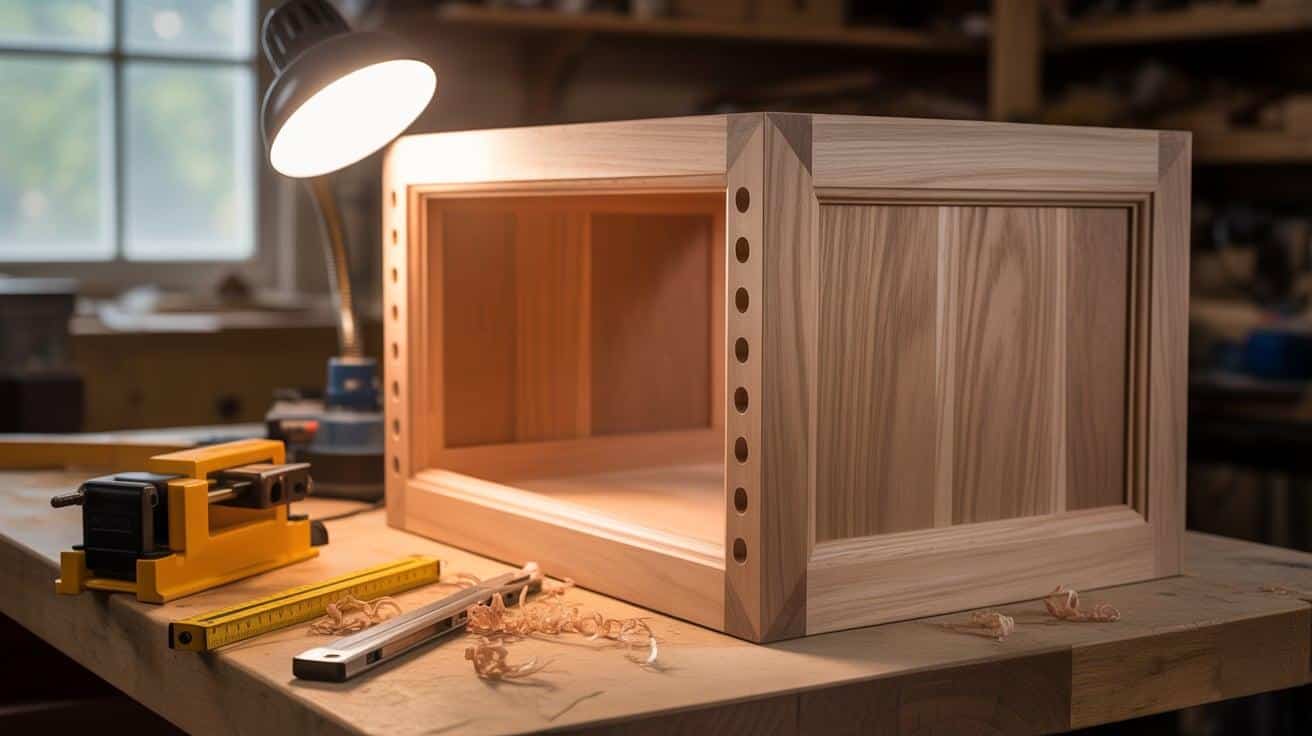
For basic cabinets, position the bottom panel flush with the sides and secure with pocket screws. Repeat this process with the top panel, ensuring the cabinet remains square.
Add glue to the rabbets and slide in the back panel, then countersink and screw it in place. For traditional cabinets, slide the panels into their corresponding dados and grooves. Add nailers and secure them with pocket screws for additional strength.
Pro Tip: Always assemble cabinets face down on a flat surface to ensure the front edges remain perfectly aligned. This helps achieve a flush fit when attaching the face frame later.
Step 4: Combine Cabinets (Optional)
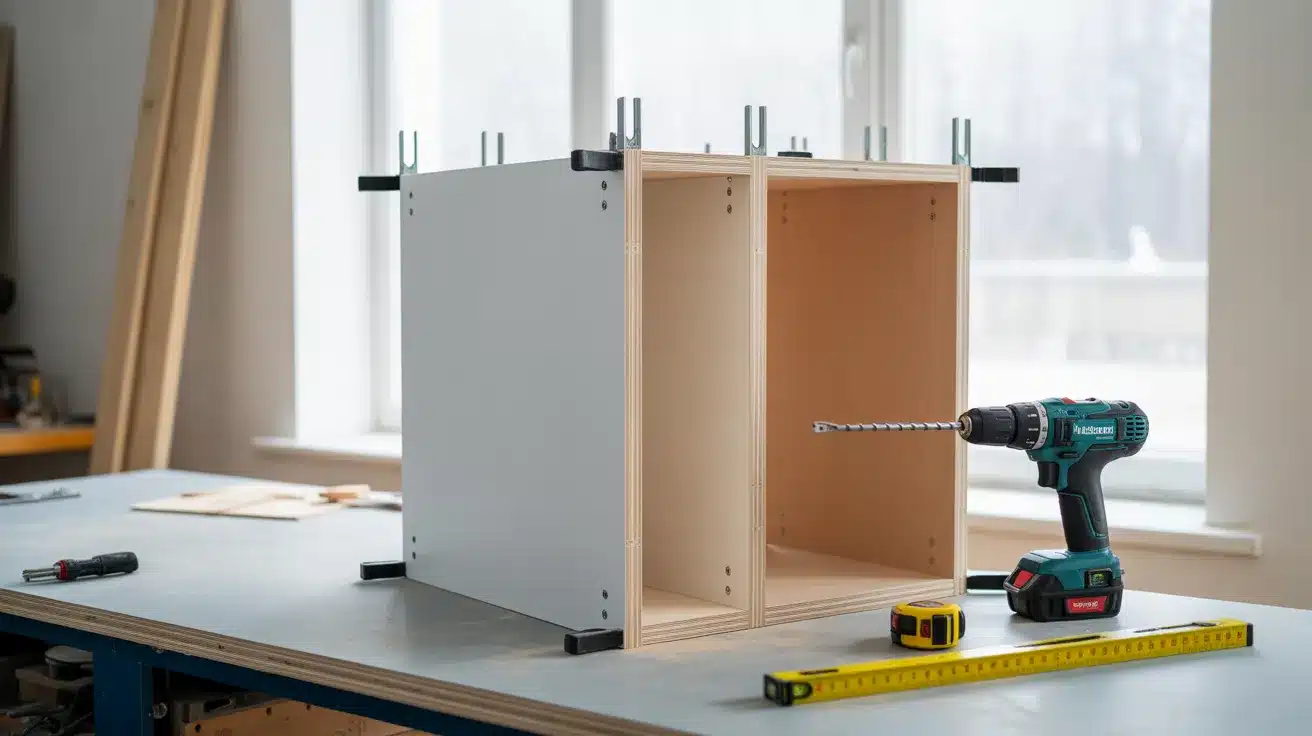
When creating larger units, position different-sized cabinets side by side with edges aligned. Securely clamp them to prevent movement during attachment. Drive screws above and below the top and bottom panels where they won’t be visible from inside the cabinets.
Double-check the overall dimensions of the combined unit before proceeding to face frame construction. This step creates a unified look while maintaining the strength of each cabinet.
Pro Tip: When joining multiple cabinets, measure the total width carefully after assembly to ensure your face frame measurements are accurate. Small variations can cause alignment issues
Step 5: Build and Attach Face Frames
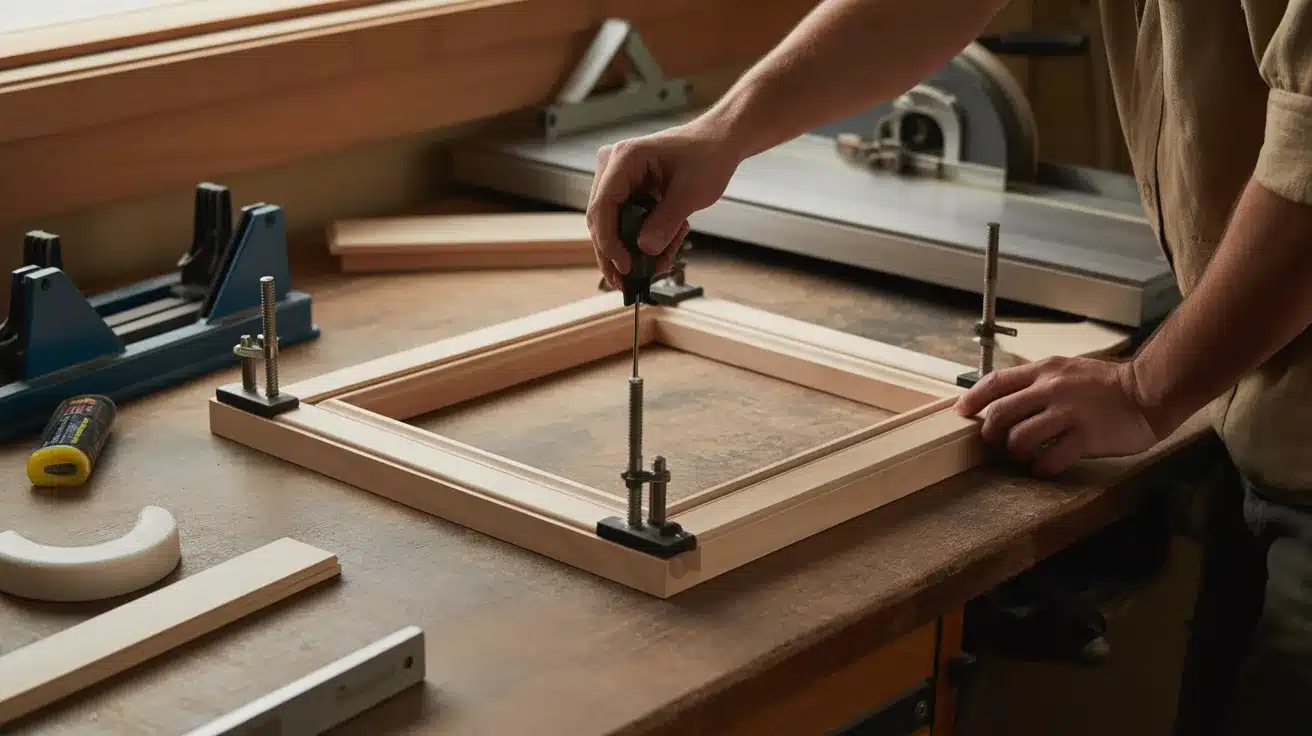
Cut pre-surfaced maple to width on the table saw and to length using a crosscut sled. Batch out pocket holes in the rail ends using the pocket cutting machine.
Assemble the face frame with pocket screws, ensuring corners stay square. Sand the completed frame to 180 grit for a smooth finish. Apply glue to the cabinet face and attach the frame, securing it with multiple clamps until it is fully dry.
Pro Tip: When making face frames with pocket screws, use a shallow pocket hole angle (less than 15 degrees) to avoid “pocket hole creep” where the joint shifts as you drive in the screw.
Step 6: Create Frame and Panel Doors

Cut door frame parts (stiles and rails) from pre-surfaced maple to 2 inches in width and appropriate lengths. Cut centered grooves in all frame parts using a table saw. Create tongues on the ends of rails to fit into the stile grooves.
Cut half-inch plywood panels and form rabbets around all four edges to fit into the frame grooves. Assemble with glue only at the rail-to-stile joints, clamp them overnight, and then trim them flush.
Pro Tip: When assembling doors, only add glue to the rail-to-stile joints, not around the panel. This allows the panel to float and move with seasonal humidity changes, preventing door warping.
Step 7: Install Hardware and Shelves
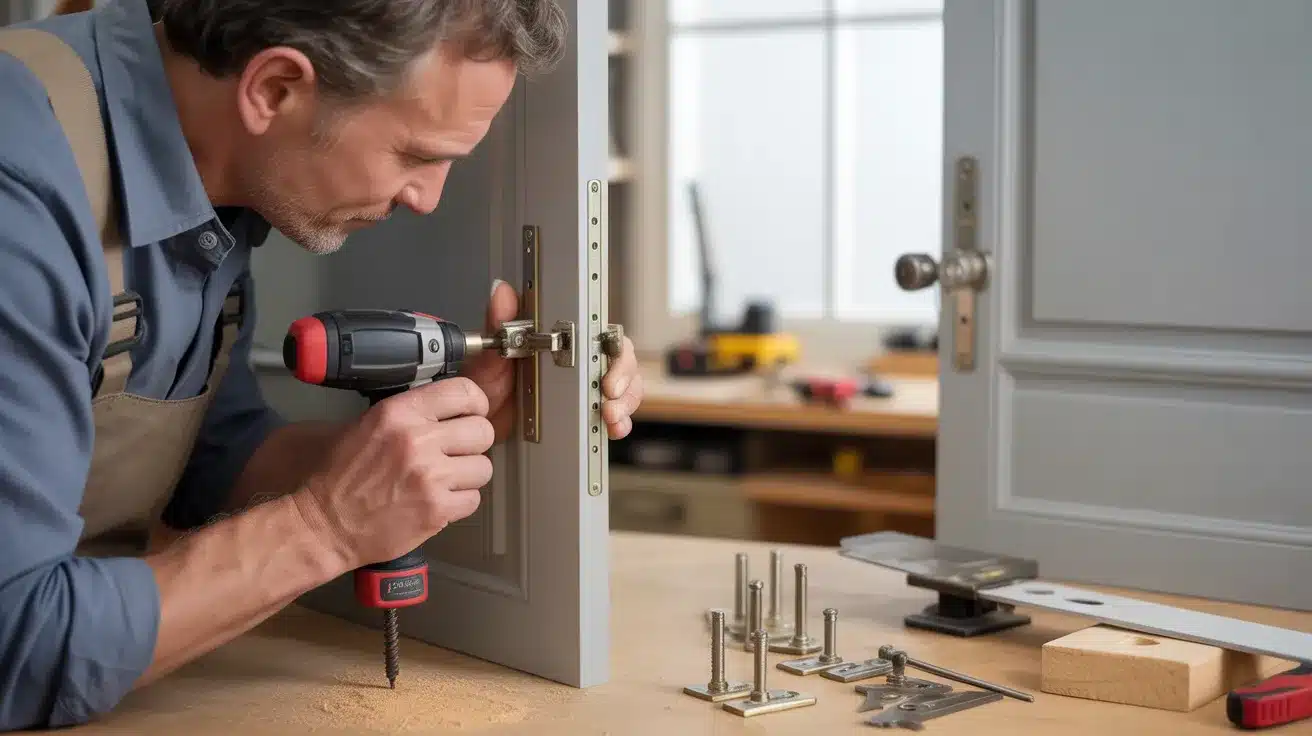
Use a door hinge jig to create precise pockets for European-style hinges. Mount hinges to the face frame first, then attach doors and make adjustments for proper alignment.
Use a door hardware jig to drill holes for pulls at consistent locations. Apply iron-on edge banding to the front edges of the shelves, trim the excess with a double-edged trimmer, and sand the edges smooth. Insert plastic shelf clips into the holes on the shelf, and then place the shelves at the desired heights.
Pro Tip: Create a consistent reveal around cabinet doors by using a scrap piece of wood as a spacer when mounting the hinges. This ensures uniform gaps and professional-looking results.
Video Tutorial
I’d like to acknowledge MWA Woodworks for the insightful video, which served as a key reference in compiling this guide.
Common Pitfalls to Avoid When Building DIY Wall Cabinets
- Even small errors can lead to big problems when building DIY wall cabinets. Here are some common pitfalls to be aware of.
- Taking shortcuts during the planning phase often leads to wasted materials and time. Spend extra time measuring your space and thinking through each step before making your first cut.
- Once filled, wall cabinets carry a significant weight. Failing to locate and attach to wall studs can lead to dangerous collapses. Always use a stud finder and proper mounting hardware rated for the expected load.
- Wood expands and contracts in response to changes in humidity. Failing to account for this natural movement can cause doors to stick or panels to crack. Instead of gluing all edges, allow panels to float in their frames.
- While simpler cabinets can work without face frames, these structural elements add strength and style. They hide plywood edges and provide solid mounting points for hinges and hardware.
- Crooked or misaligned doors instantly make cabinets look homemade. Use proper spacers and jigs when installing hinges, and take time to make fine adjustments after mounting.
Conclusion
Building your wall cabinets saves money and provides storage that fits your exact needs. The techniques shared in this guide are applicable to both workshop storage and home cabinets.
Remember to measure twice before cutting, use proper support when working with plywood, and take time to align doors carefully. These small steps make a big difference in the final result.
For beginners, start with the basic pocket hole method to gain confidence. As your skills grow, try the traditional approach with dados and face frames.
With patience and the right tools, you can create cabinets that will serve you well for years. What will you store in your new cabinets?
