Keeping chickens at home can go wrong without a good chicken run. Many first-time chicken owners struggle with making safe, functional spaces for their birds.
Building a chicken run doesn’t need to be hard. With basic tools and materials, you can create a secure area where your chickens will thrive and stay protected from predators.
Your efforts will pay off with healthier chickens, better egg production, and fewer worries about your flock’s safety. A well-built chicken run means happy chickens and a simpler life for you.
Ready to build the perfect chicken run? This guide will show you exactly how to construct a chicken run that works, step by step, with tips to make the process easy.
Building a Safe and Healthy Chicken Run
- Chicken Run: An enclosed outdoor space attached to a coop where chickens can exercise, forage, and get fresh air while remaining safe from predators.
- Ideal Location: A spot with partial sun and shade, good drainage to prevent muddy conditions, and distance from areas where predators might hide or nest.
- Local Regulations: Rules set by your city or county that may limit the number of chickens you can keep, require permits, or specify the distance coops must be from property lines.
- Space Requirements: The minimum area needed per chicken (8-10 square feet) to ensure healthy birds and prevent stress behaviors.
- Run Design: The layout and structure of your enclosure, which may be simple (attached pen) or complex (sectioned areas with different features).
- Predator-Proofing: Methods to secure your run, including buried wire mesh (12+ inches deep), overhead protection, and sturdy entry points to keep chickens safe.
- Ventilation: Proper airflow throughout the run to reduce odors and help maintain chicken health.
- Access Points: Doorways and gates large enough for humans to enter with cleaning tools and supplies.
Materials and Tools Required
Material Required
| Material | Purpose |
|---|---|
| 2×4 Lumber | For framing the structure |
| Hardware Cloth/Metal Mesh | To enclose the run and keep predators out |
| Staples | To temporarily tack hardware cloth in place |
| Wood Straps | To secure hardware cloth by sandwiching it between wood |
| Screws | To fasten components together securely |
| Paint/Stain | To protect the wood from weather and decay |
| Metal Sheets | For reinforcing the bottom of the run to prevent digging predators |
| Automatic Chicken Door (with light sensor) | To control access in and out of the chicken run automatically |
Tools Required
| Tool | Purpose |
|---|---|
| Jack | To move the coop if needed |
| Paintbrushes | For applying paint or stain to wood |
| Staple Gun | To attach hardware cloth temporarily to the frame |
| Drill/Screwdriver | For drilling holes and driving screws to assemble the run |
| Level | To ensure the structure is even and properly aligned |
| Ground Staples | To secure hardware cloth to the ground and prevent digging predators |
Step-by-Step Guide to Building a Predator-Proof Chicken Run
Follow this detailed guide to build a safe, strong chicken run that will keep your flock protected from foxes, raccoons, and other threats.
Step 1: Planning and Positioning

Good chicken run planning starts with the right location. Think about your yard layout and how the run fits with your current setup. A well-placed run makes life easier for you and safer for your chickens.
- Choose a spot with some shade and sun throughout the day
- Measure the area to make sure you have 8-10 square feet per chicken
- Check local rules about chicken structures before building
- Pick a location with good drainage to prevent muddy conditions
Keep in Mind: Your run should allow easy access for cleaning and feeding. A run that’s hard to reach becomes hard to maintain.
Step 2: Build the Frame
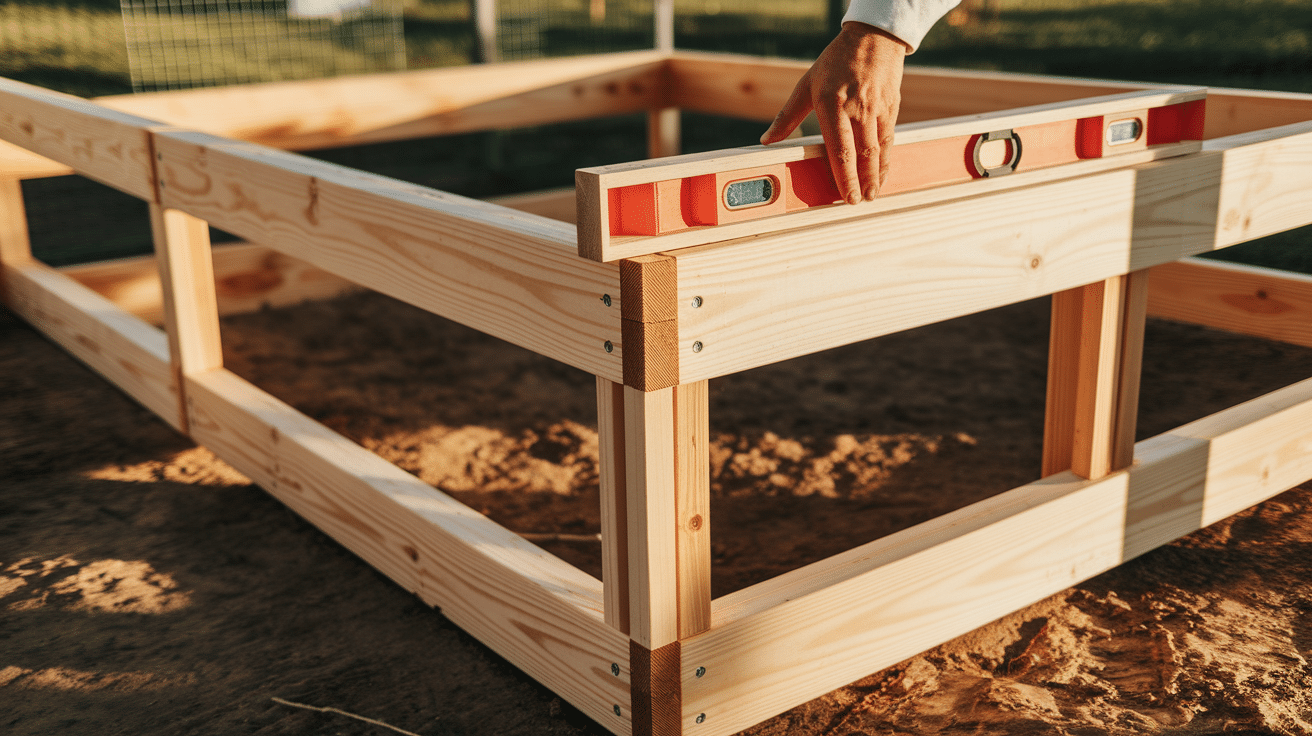
The frame is the backbone of your chicken run. A strong, square frame means your run will last for years. Take your time with this step to get it right.
- Use pressure-treated 2×4 lumber for ground contact areas
- Set corner posts first and make sure they’re firmly planted
- Use a level to check that top beams are straight as you attach them
- Add cross beams for extra support every 4-6 feet
Keep in Mind: The height of your run should allow you to stand inside comfortably for maintenance tasks.
Step 3: Secure the Bottom Perimeter

Most predators try to dig under chicken runs. A secure bottom edge stops digging animals from getting to your flock. This step is key for true predator-proofing.
- Attach metal flashing or hardware cloth to the bottom 12 inches of the frame
- Bend hardware cloth in an “L” shape to extend outward along the ground
- Fill gaps where the frame doesn’t meet the ground by framing out these spots
- Use gravel or pavers along the outside edge for added protection
Keep in Mind: Water flow is important – make sure your bottom barrier doesn’t create pooling water inside the run.
Step 4: Install Hardware Cloth
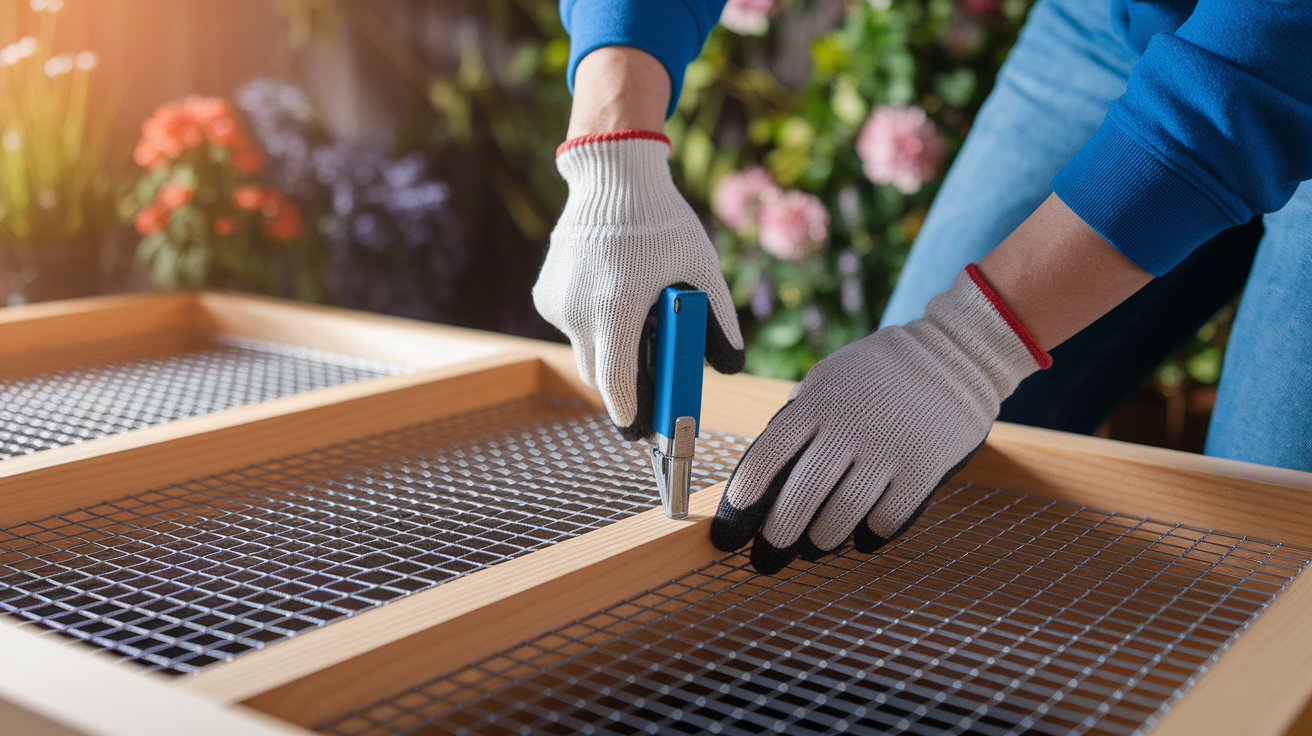
Hardware cloth is much better than chicken wire for predator protection. This strong wire mesh stops raccoons from reaching through and tearing at your chickens.
- Use 1/2-inch hardware cloth rather than chicken wire for true security
- Roll out and cut hardware cloth to fit each section
- Secure it with staples at 3-inch gaps to hold it temporarily
- Sandwich all edges between two pieces of wood and screw together firmly
Keep in Mind: Cut hardware cloth with heavy-duty snips and wear gloves – the cut edges are very sharp.
Step 5: Add Extra Ground Protection
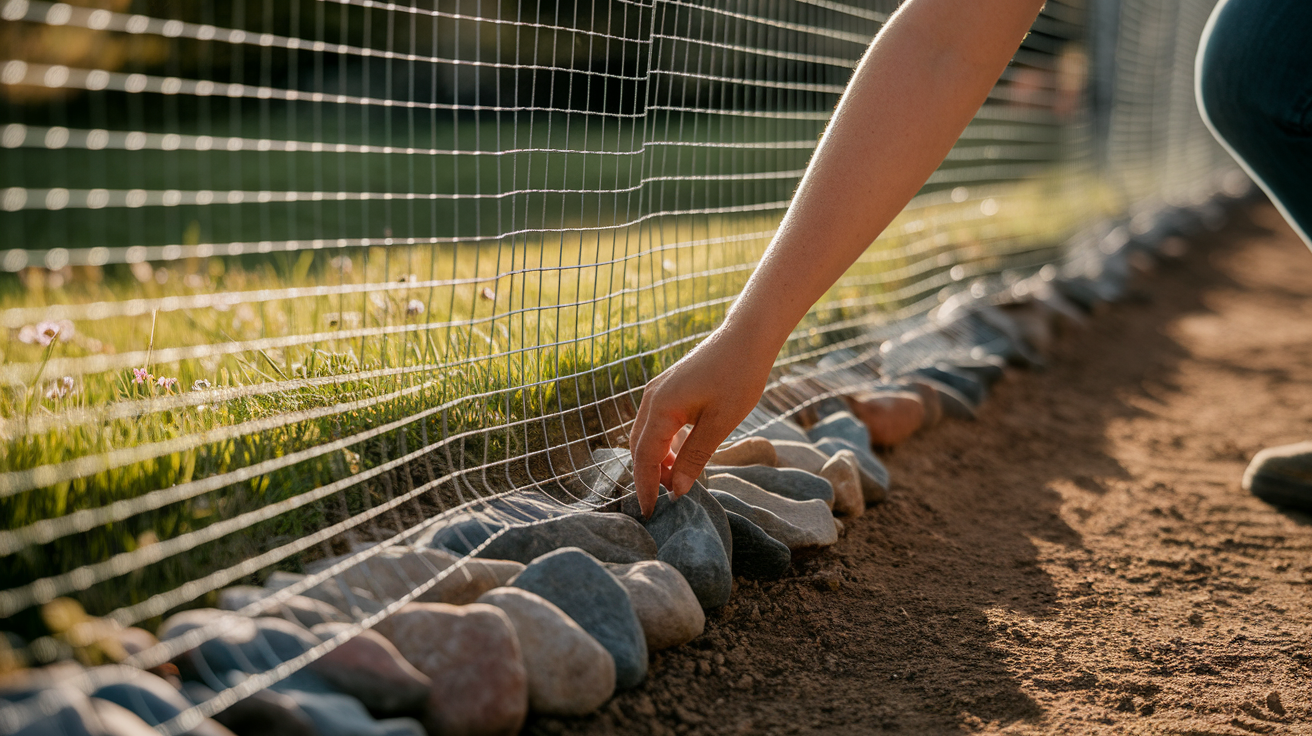
Persistent predators might still try to dig at the edges of your run. Extra ground measures add another layer of safety for your chickens.
- Extend hardware cloth 12-18 inches outward from the run’s edge
- Secure this “apron” to the ground with landscape staples every few inches
- Place rocks or bricks along the edge for extra weight
- In high-risk areas, consider burying hardware cloth 6-12 inches deep
Keep in Mind: This ground barrier needs checking every few months as soil shifts and erosion occurs.
Step 6: Build and Install the Door
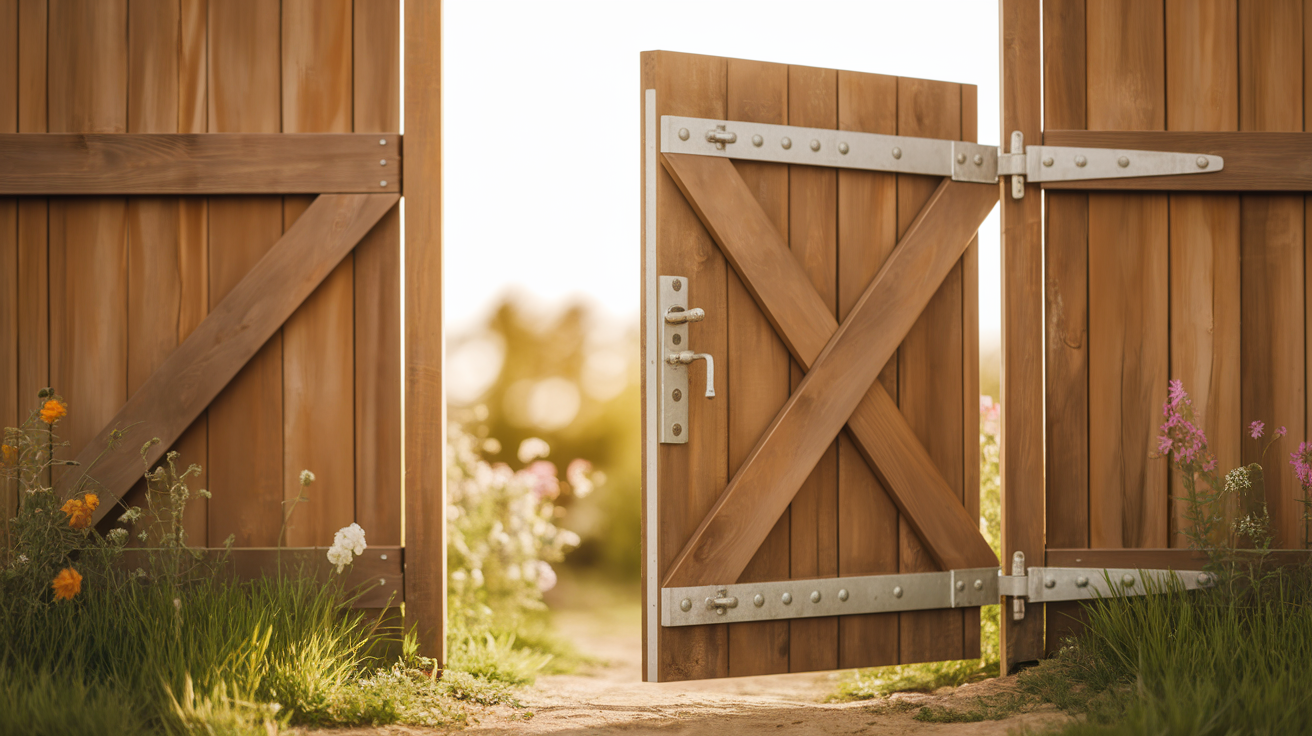
A good door makes or breaks your chicken run’s security. The door should be solid, easy to use, and most importantly, predator-proof even if you forget to latch it.
- Build a door frame slightly smaller than the opening
- Add diagonal bracing to prevent the door from sagging over time
- Use at least two hinges and a secure latch that cannot be pushed open
- Ensure the door swings freely and closes fully without gaps
Keep in Mind: A self-closing spring or a second backup latch can save your flock if you forget to secure the main latch.
Step 7: Install Automatic Chicken Door

An automatic door adds comfort and safety. This lets chickens out in the morning and locks them up at night, even when you’re not home.
- Mount the automatic door on a flat, stable surface of the coop
- Ensure the track for the door is clean and free of obstacles
- Program the light sensor to close after all chickens are inside at dusk
- Test the door for several days before relying on it fully
Keep in Mind: Battery-powered doors need regular battery checks – put this on your monthly task list.
Step 8: Finishing Touches
The final details make your chicken run more useful and help it last longer. These touches turn a good run into a great one.
- Apply water-resistant stain or paint to all wooden parts
- Add roosts at different heights for chicken comfort
- Install feeding and watering stations that stay clean and are easy to refill
- Walk the perimeter and check for any gaps or weak spots
Keep in Mind: Take photos of your finished run to reference if repairs are needed later.
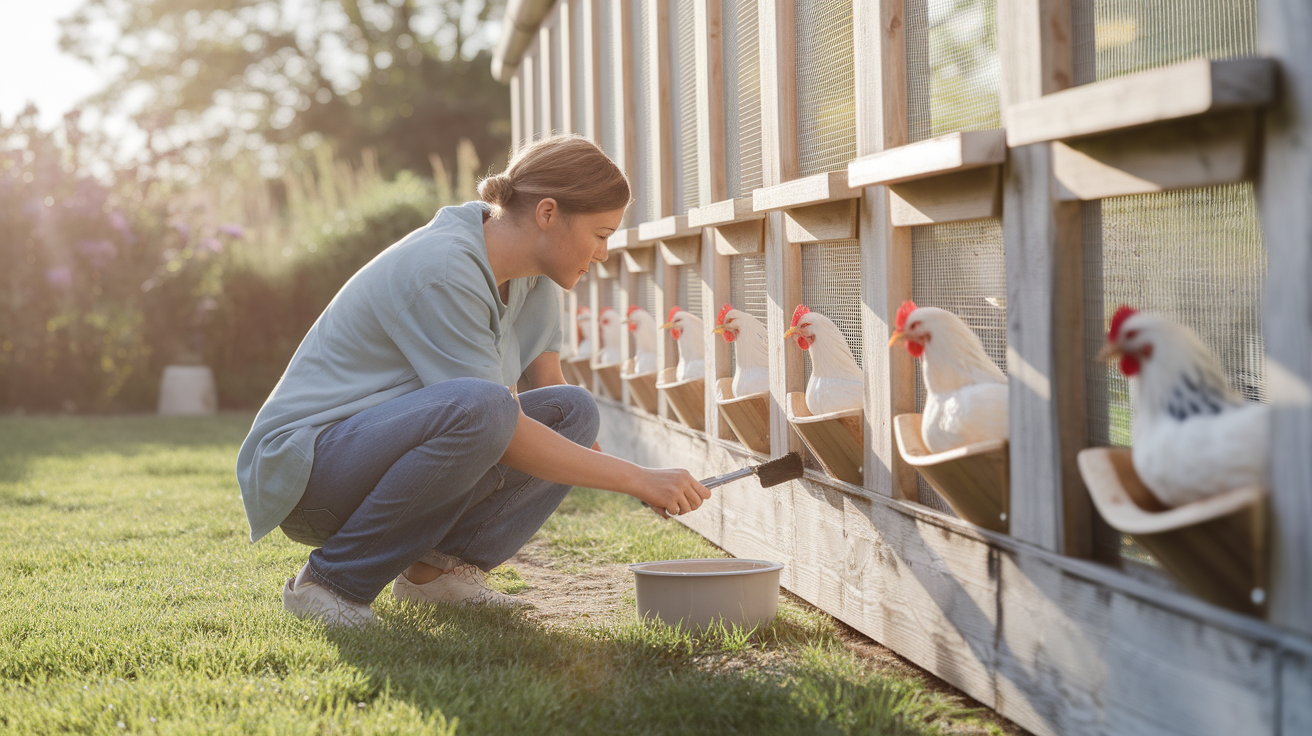
Maintenance and Safety Tips
- Check hardware cloth monthly for holes, tears, or loose spots – even small gaps can let in small predators like weasels that can kill your entire flock in one night.
- Clean the chicken run floor every 1-2 weeks to remove droppings and wet bedding that can cause health issues and attract flies, rats, and other pests.
- Inspect the perimeter after storms by walking the entire boundary looking for fallen branches, damaged fencing, or washouts under the fence line that might create entry points.
- Test door latches and locks regularly to make sure they close fully and cannot be pushed open by raccoons, which are known for their ability to manipulate simple latches.
- Keep the area around the run clear of tall grass, brush piles, and debris that provide hiding spots for predators – maintain a 3-foot clear zone around the entire structure.
5 Common Mistakes to Avoid When Building a Chicken Run
1. Using chicken wire instead of hardware cloth – Chicken wire keeps chickens in but fails to keep predators out as raccoons can reach through it and tear it with their hands, and many predators can bite through it easily.
2. Building directly on grass without a barrier – This lets predators dig under walls and also creates muddy, unhealthy conditions as chicken droppings build up over time with no way to clean effectively.
3. Making the door too small for human access – A door that’s too narrow makes cleaning difficult, leads to poor maintenance, and increases the chance you’ll avoid regular coop care due to the hassle of entry.
4. Failing to extend protection overhead – Open-top runs invite hawks, owls, and climbing predators to help themselves to your chickens, while a secure top with hardware cloth or a solid roof solves this problem.
5. Not planning for weather extremes – Runs without weather protection subject chickens to harsh sun, heavy rain, or snow, leading to stress and health problems that could be prevented with simple roof sections or windbreaks.
Final Thoughts
Building a chicken run takes planning, good materials, and careful work. When done right, your efforts pay off with healthy birds and peace of mind.
Remember that the main goal is keeping your flock safe while giving them space to act like chickens. A well-built run stops predators and creates a good home for your birds.
Take time to maintain what you’ve built. Quick fixes to small problems prevent bigger issues later on. Check your run often for weak spots or damage.
Your chickens will thank you with eggs, pest control, and hours of fun watching them scratch and peck. The work you put in now means years of happy chicken keeping ahead.
Ready to get started? Your flock is waiting!
