
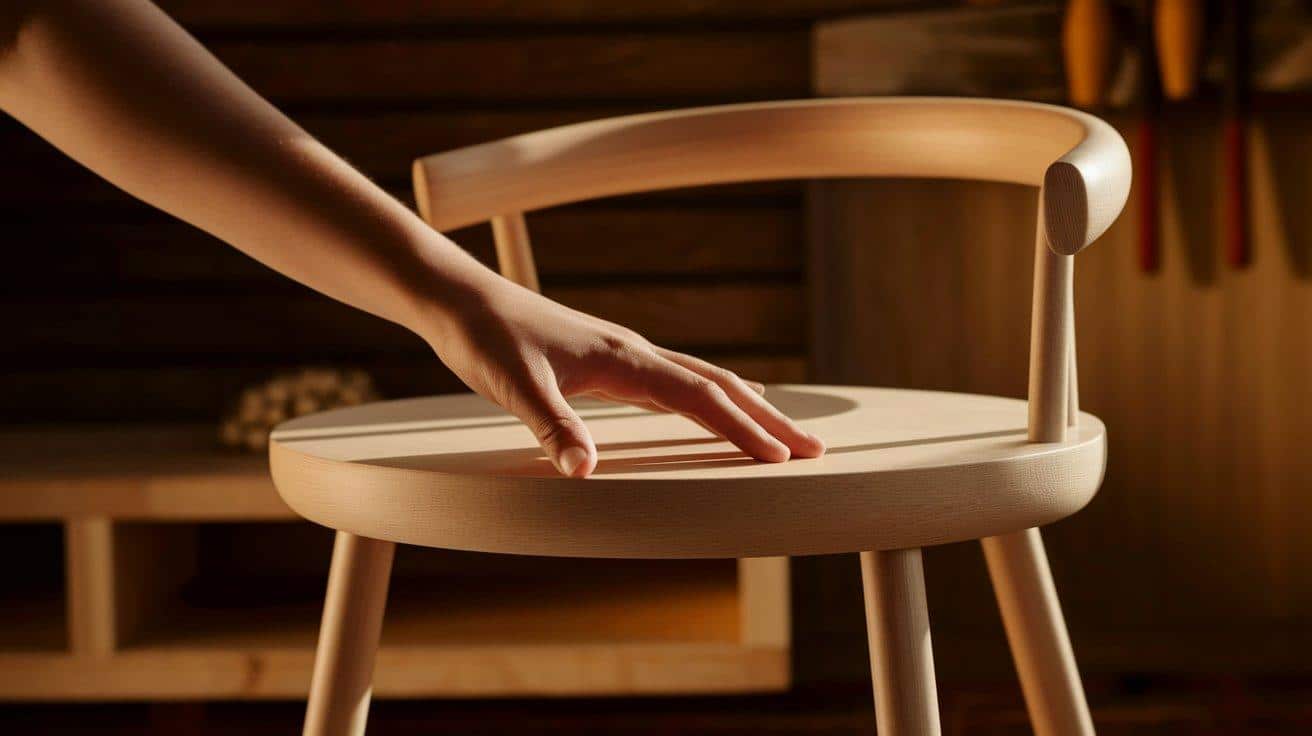
Are you tired of searching for the perfect bar stools that fit your space and style?
I faced the same issue, which led me to build my own. Making DIY bar stools isn’t just about saving money—it’s about creating something that fits your exact needs.
In this blog, I’ll walk you through each step of building sturdy, good-looking bar stools from scratch. You don’t need to be a woodworking expert to follow along.
With basic tools and some patience, you can make bar stools that will impress your friends and family.
By the end of this blog, you’ll have the know-how to create custom seating that matches your kitchen island or home bar perfectly. Let’s get started with this hands-on project!
Why DIY Bar Stools?
Building your own bar stools offers clear benefits over store-bought options. The cost savings are notable—homemade stools typically cost 30-50% less than retail versions. When I made mine, I spent about $40 per stool, compared to $100+ for similar store-bought ones.
Customization is a major advantage. You can set the exact height, choose woods that match your home, and pick finishes you love.
The personal satisfaction matters too. When guests notice your stools, you’ll feel proud knowing you built them yourself. This connection to your furniture adds real value.
Key Benefits of Making Your Own Bar Stools
- Cost savings – Save up to half the cost of retail stools
- Perfect fit – Create the exact height for your specific counter
- Material control – Select woods that match your home
- Skill building – Learn useful woodworking techniques
- Personal touch – Add unique details that reflect your style
- Repair friendly – Easier to fix what you’ve built yourself
- Waste reduction – Use leftover materials from other projects
Materials and Tools You’ll Need
Here’s what you’ll need to gather before starting your bar stool project:
| Materials | Tools |
|---|---|
| 8′ length of 2×4 lumber (4 pieces) | Miter saw or circular saw |
| 4′ length of 1×12 lumber (1 piece) | Drill with various bits |
| Wood glue | Sander (orbital preferred) |
| 2½” wood screws | Measuring tape |
| 1¼” pocket hole screws | Square |
| Wood finish of choice | Clamps (at least 4) |
| 220, 320, and 400 grit sandpaper | Pocket hole jig |
| Wood plugs (optional) | Safety glasses and hearing protection |
The total cost of materials should be between $35-50 per stool, depending on your choice of wood and finish. I suggest buying materials for one stool first as a test run before making multiple.
Best Wood Types for DIY Bar Stools
The wood you select affects both the look and durability of your bar stools. Here are some top options to consider:
1. Oak- Oak is a top choice for its strength and notable grain pattern. It takes stain well and can handle daily use for many years. The downside is its higher price point compared to other woods.
2.Pine- Pine offers a budget-friendly option that’s easy to work with. It’s lighter in weight but softer, meaning it may show wear sooner than hardwoods. It’s ideal for beginners or when cost is a main concern.
3. Maple- Maple provides excellent durability with a clean, subtle grain. It’s harder to work with, but it creates very solid furniture. It tends to accept light to medium stains better than dark ones.
4. Walnut- Walnut gives a rich, dark color naturally without staining. It’s more costly but offers a high-end look. The wood is stable and works well with both modern and classic designs.
Factors to consider:
- Hardness and durability
- Cost and availability
- How it matches your existing furniture
- Ease of working with the wood
Step-by-Step Instructions for Building Bar Stools
Now that we have our materials ready, let’s walk through the building process from start to finish. These nine steps will take you from raw lumber to finished bar stools you’ll be proud to show off.
Step 1: Design and Planning
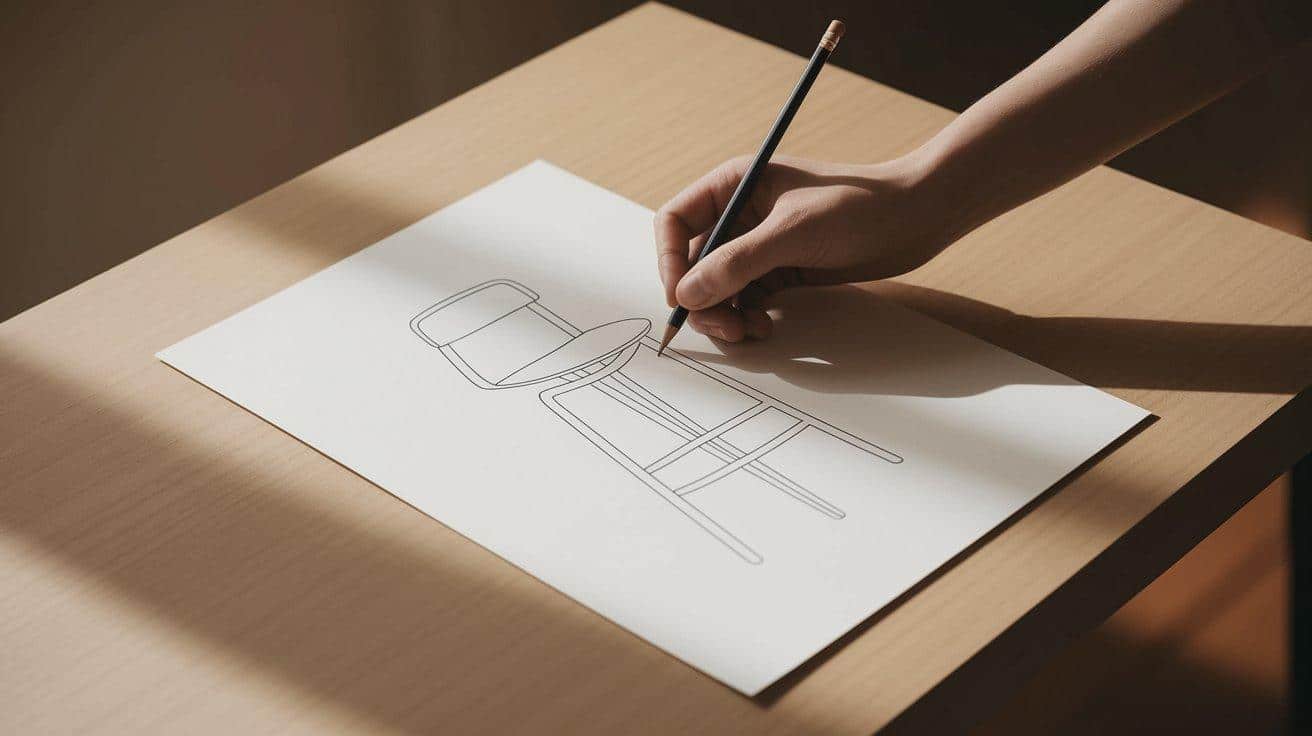
Start with a simple sketch on paper. For this project, we’ll build stools with back support using oak for a natural look. Plan for a slight angle on the backrest for comfort rather than a 90-degree angle.
Quick tips:
- Standard bar stool height: 30 inches
- Counter height: 24-26 inches
- A cut list is included in the description below
Step 2: Cutting and Preparing the Wood
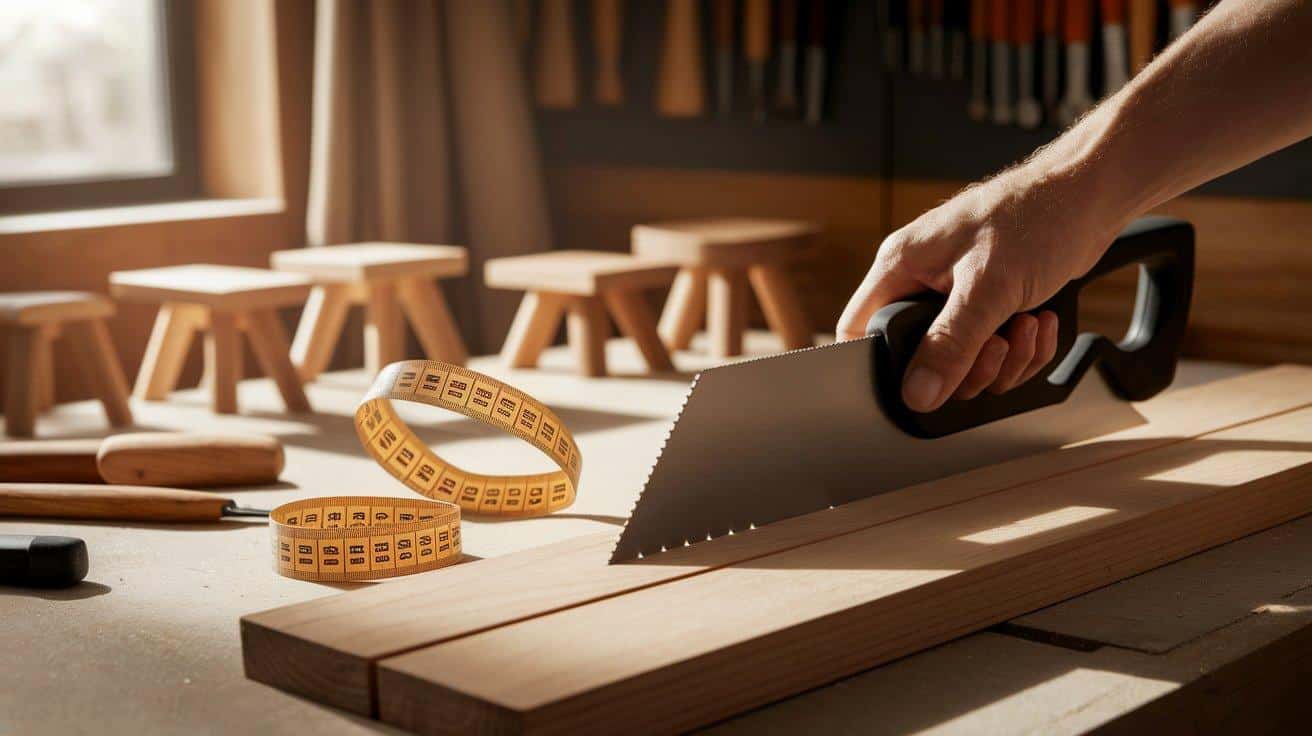
Cut all wood pieces to size, making back legs longer to support the backrest. For this project, we’re using oak scrap wood, which gives a natural look while being sturdy enough for daily use.
Wood preparation notes:
- Cut back legs with extra length for backrest support
- Cut front legs to standard height
- When using scrap wood, you may need to laminate the legs for proper thickness
- For seats, cut blanks to your desired size (typically 14-16 inches square)
Step 3: Laminating and Gluing the Legs
When working with scrap wood, you’ll often need to laminate pieces for proper leg thickness. Use waterproof glue like Titebond III since these stools will likely be in a kitchen environment.
Gluing technique:
- Arrange pieces with grain direction matching
- Apply glue to all joining surfaces
- Maximize your clamps by gluing multiple legs at once
- Ensure plenty of squeeze-out for strong joints
- Wipe excess glue with a damp cloth
Step 4: Assembling the Frame
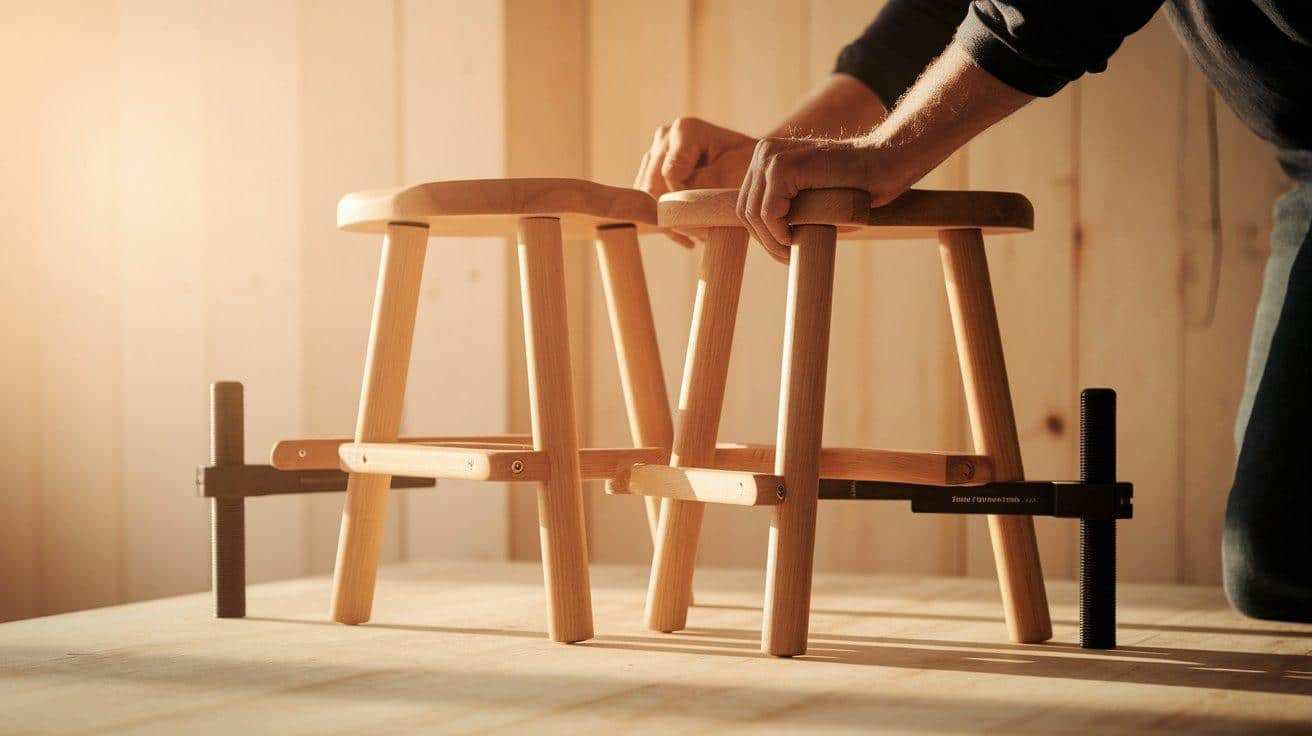
Use pocket holes for an easy and strong assembly process. Build the two side frames first, then connect them with cross pieces using bar clamps to keep everything aligned.
Assembly tips:
- Use fine thread pocket hole screws for hardwoods like oak
- Drive screws slowly to prevent splitting
- Use 1-2-3 blocks to keep everything square
- Use bar clamps to hold pieces together during assembly
- Install the sides first, then add cross pieces
Step 5: Adding the Leg Rest and Support
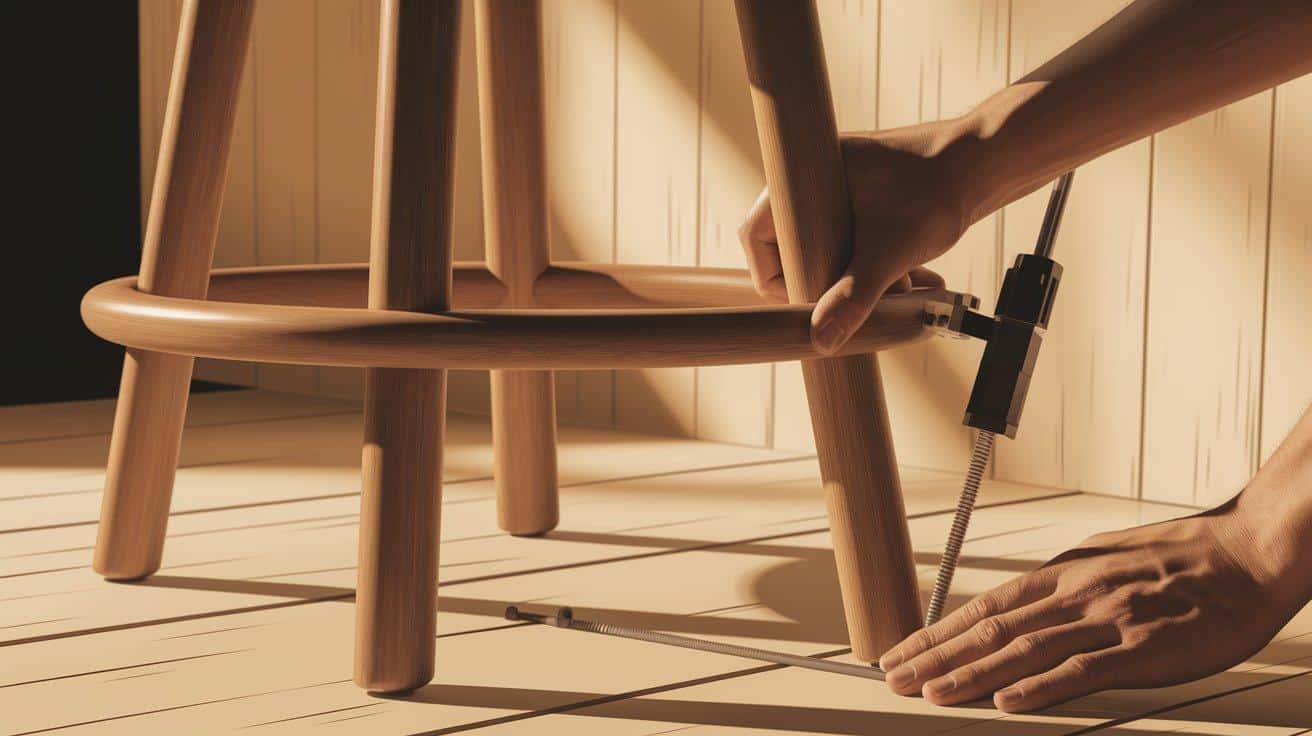
Position the leg rest about 6 inches from the floor for comfort and stability. This height works well for most people, but can be adjusted based on your preference.
Attachment methods:
- Pre-drill pocket holes in the leg rest pieces
- Use bar clamps to hold pieces in position
- Drive screws slowly into hardwood
- Check alignment before final tightening
Step 6: Sanding and Routing for a Smooth Finish
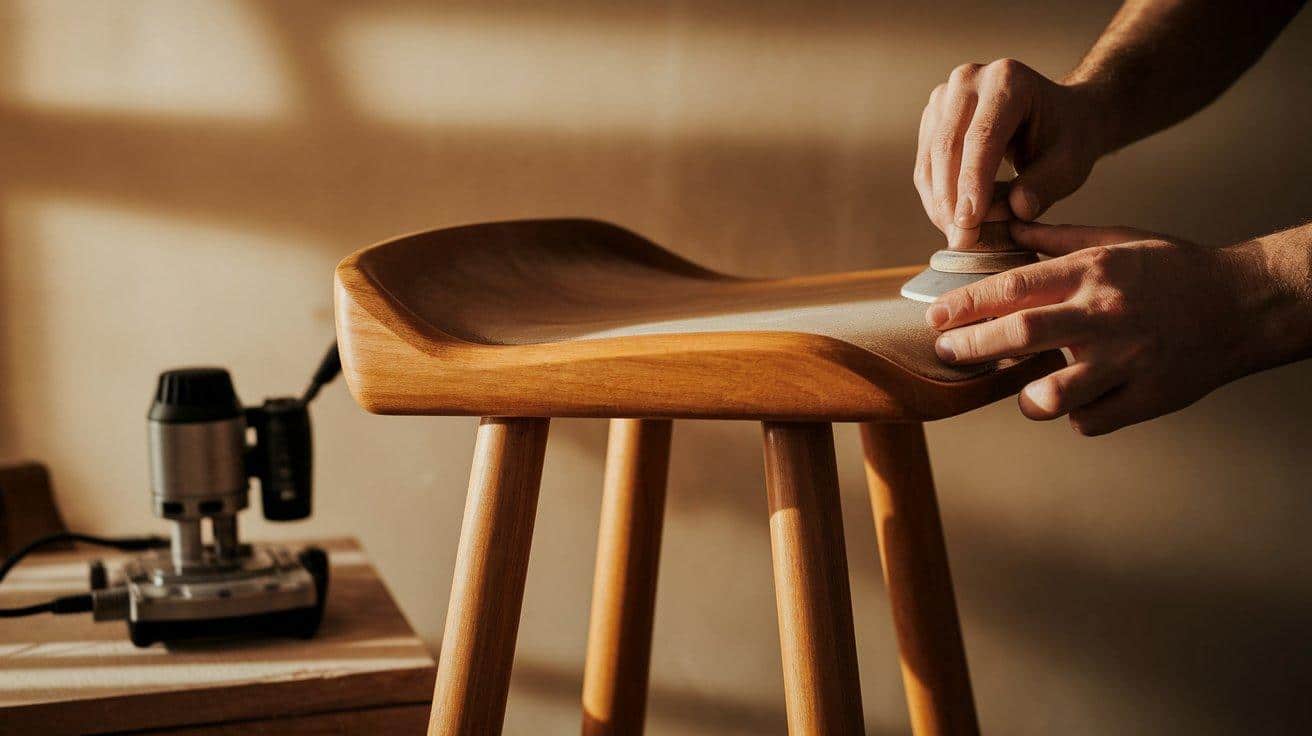
Route all high-contact areas like the seat and backrest to create rounded, comfortable edges. This step makes a huge difference in both the look and feel of your finished stools.
Routing tips:
- Use a finger-gun test to determine router direction
- Round over the seat edges and backrest
- Compare before and after – routing makes a huge difference
- Sand all surfaces before and after routing
Step 7: Filling Holes and Applying Plugs
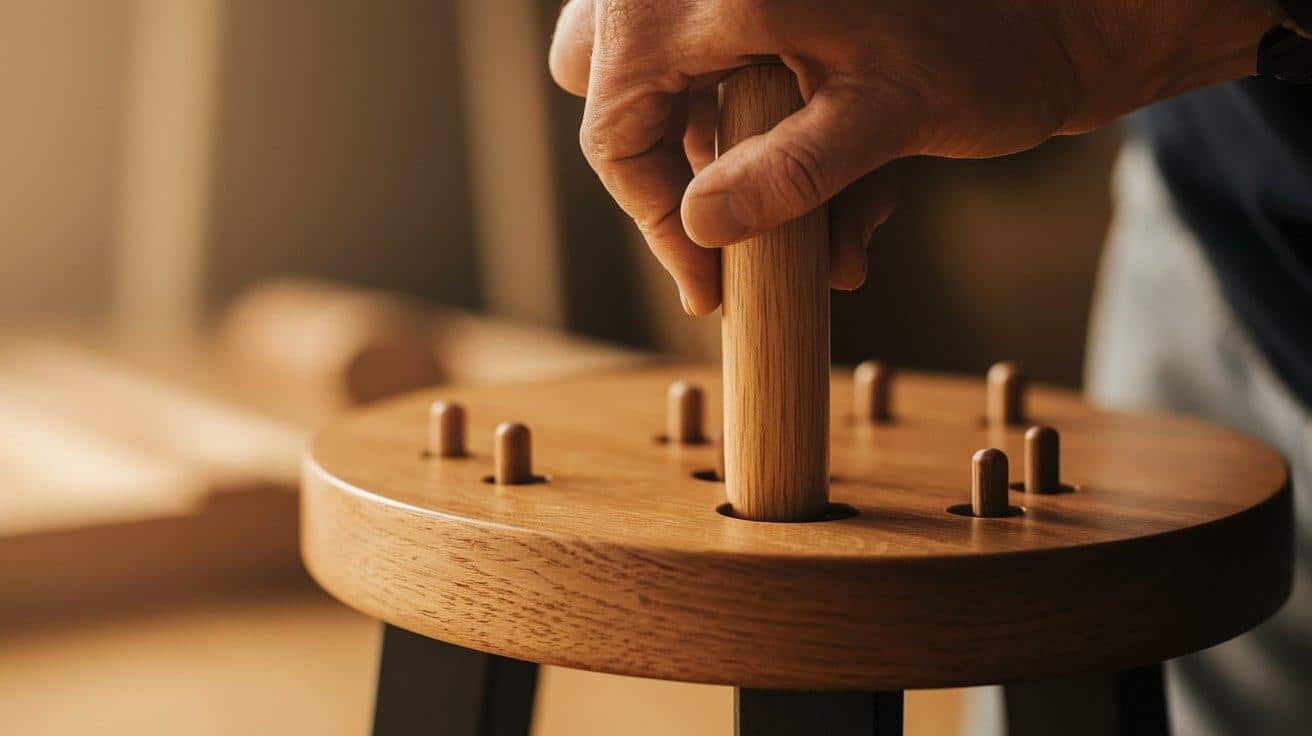
Use wooden plugs to cover visible screw holes for a more finished, professional look. For oak stools, use oak plugs to maintain a consistent appearance.
Plug installation:
- Use species-matched plugs (oak plugs for oak wood)
- Apply a small amount of glue in the holes
- Tap plugs in and let them dry
- Trim flush and sand smooth
- No need to plug holes that won’t be visible (under the seat)
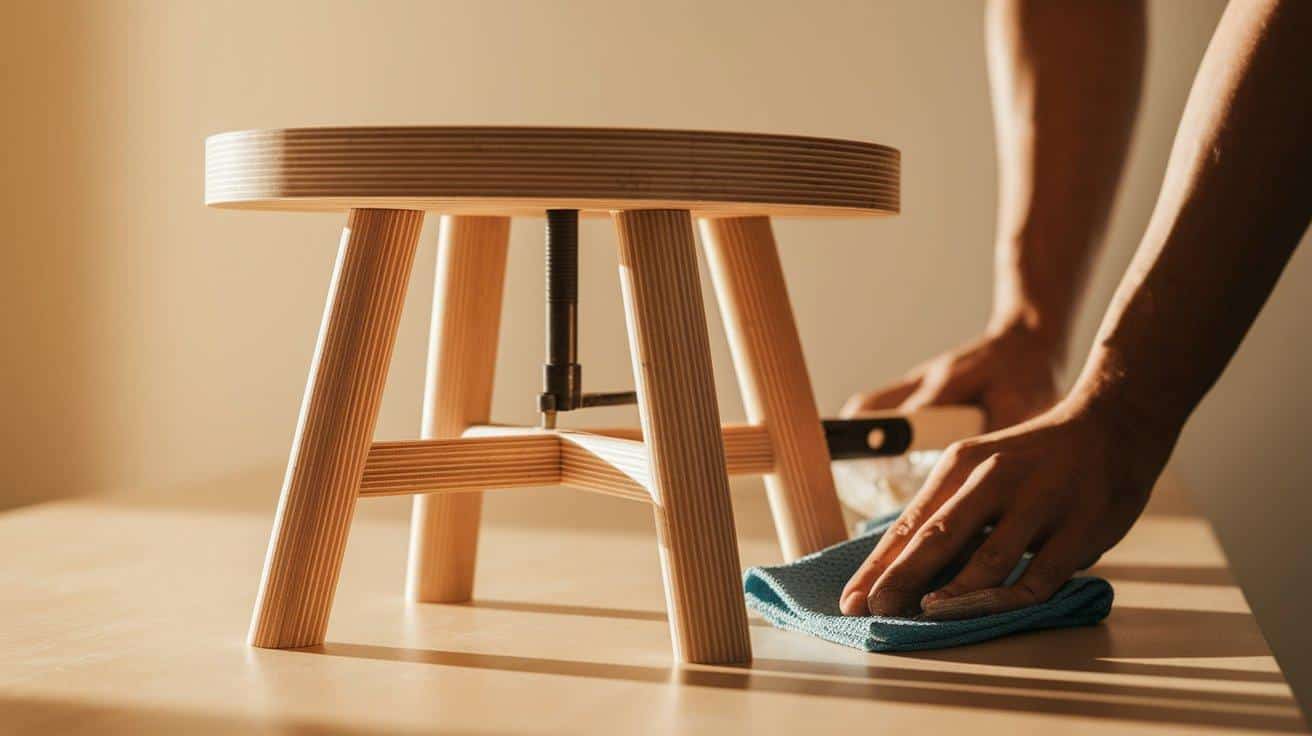
Step 8: Finishing the Stool
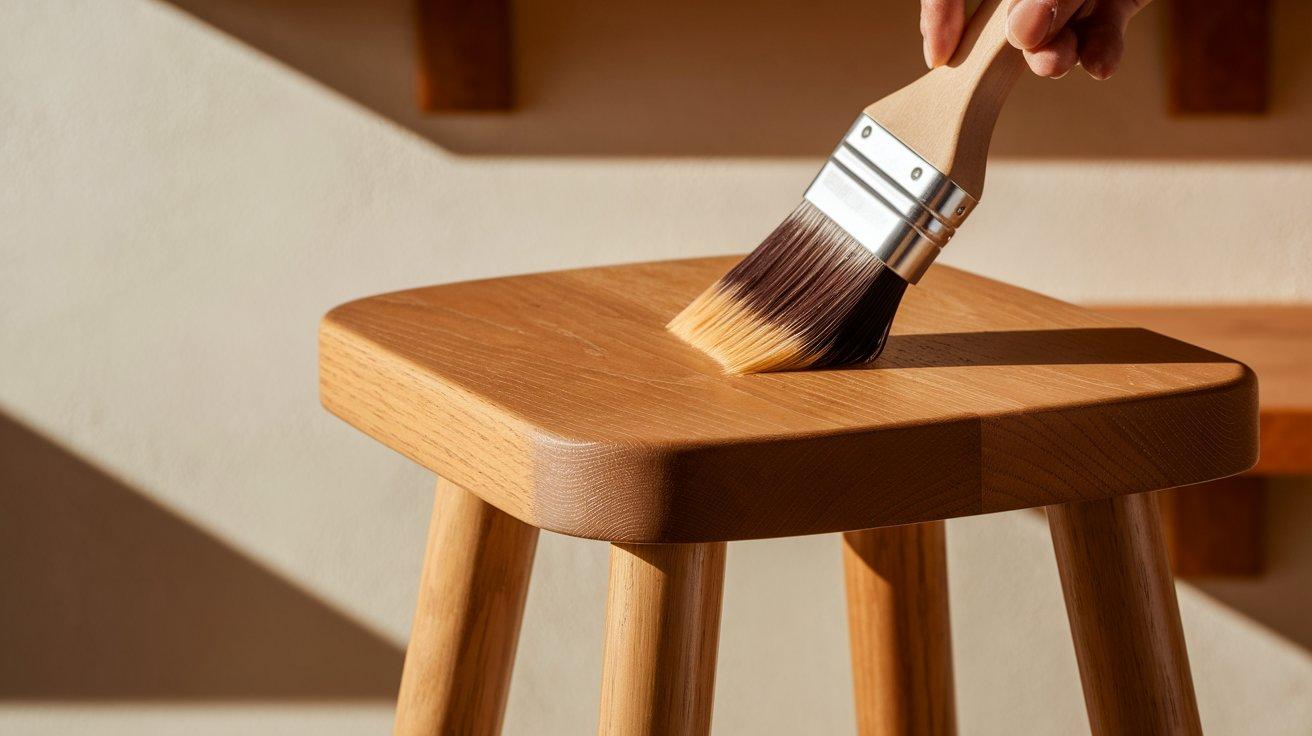
Apply polyurethane to protect the wood and enhance its natural grain. Semigloss provides a nice balance of shine and durability for kitchen furniture that will see regular use.
Finishing steps:
- Remove the seat and backrest before sanding and routing if needed
- Use semigloss polyurethane for kitchen furniture
- Apply 2-3 thin coats
- Sand lightly between coats
- Allow full cure time before use
Step 9: Final Assembly and Touch-ups
Reattach any pieces removed for finishing and make final adjustments. Take time to check all joints and connections to ensure your stools will last for years.
Final checks:
- Ensure all screws are tight
- Test stability on flat ground
- Apply a touch-up finish to any missed spots
- Check that all edges are smooth and comfortable
Video Tutorial
I’d like to give credit to Ben Grimsley Woodworking for their informative video, which served as a reference for this guide.
Tips for Maintaining the Stools
- Clean regularly with a soft cloth, slightly dampened if needed
- Avoid placing hot items directly on the wood surface
- Use coasters under glasses to prevent water rings
- Re-apply the finish yearly or when the surface begins to look dry
- Tighten any loose screws promptly to prevent wobbling
- Keep out of direct sunlight to prevent fading and drying
- Use felt pads under the legs to protect your floors
- Apply furniture wax every 6 months for added protection
Safety Precautions When Working with Wood and Tools
- Always wear safety glasses when using power tools
- Use hearing protection during loud operations
- Wear a dust mask when sanding or creating sawdust
- Keep your workspace clean and free of trip hazards
- Unplug tools when changing blades or bits
- Follow all manufacturer safety guidelines for your tools
- Keep a first aid kit nearby
- Never work with power tools when tired or impaired
- Use push sticks when working with the table saws
Conclusion
Building your own bar stools is a rewarding weekend project that anyone can tackle with some basic tools and patience.
These stools will likely cost less than half the price of store-bought options while giving you exactly what you want.
The steps we covered take you from basic lumber to finished furniture that will serve you for years. Remember that woodworking is a skill that improves with practice.
Your first stool might not be perfect, but each one will get better.
I’d love to see what you create! What wood type are you planning to use for your stools? Drop a comment below with your thoughts or photos of your finished project.
Frequently Asked Questions
How Long Does It Take to Build a Diy Bar Stool?
With all materials prepared, expect to spend 4-6 hours per stool. Allow additional time for glue drying and finish curing between steps.
Can I Build These Stools without A Pocket Hole Jig?
Yes, You can use dowels, biscuits, or even screws driven at angles. The pocket hole jig just makes the process faster and cleaner.
What’s the Cost Difference Between DIY and Store-Bought Bar Stools?
DIY stools typically cost $30-50 each in materials, while comparable store-bought wooden stools run $100-200+, saving you 50-75%.
