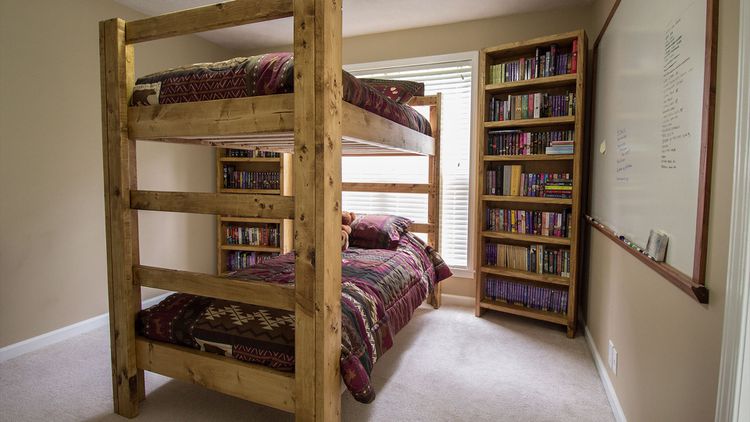
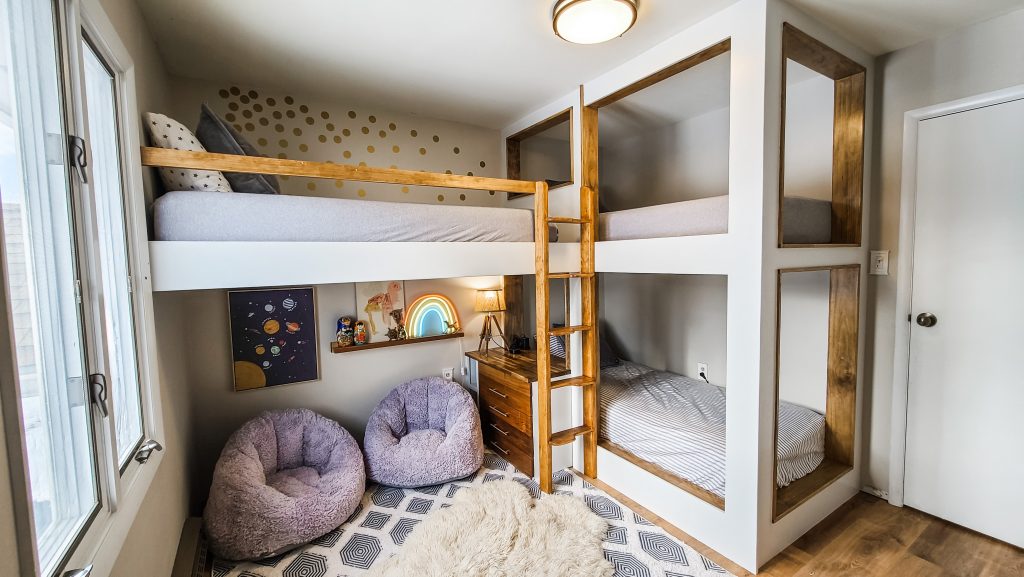
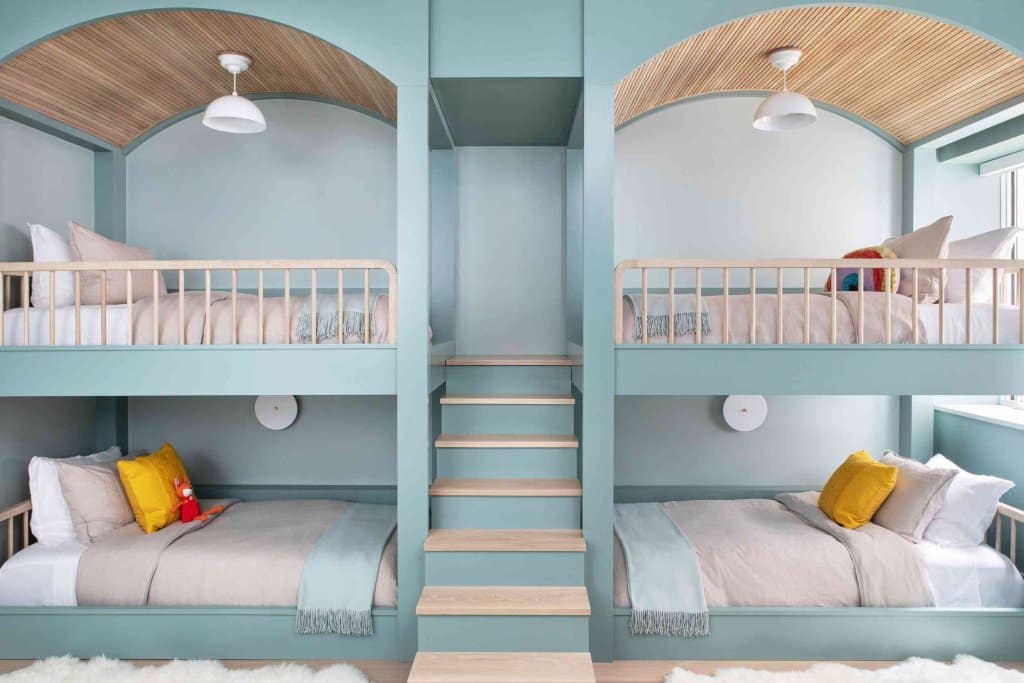
Are you looking to add more space to your home for your kids or guests? Are you thinking of creating a custom bunk bed that perfectly fits your needs and style? Bunk beds are not only a fantastic space-saving solution but are perfect for rooms shared by siblings or for accommodating overnight guests. Built-in bunk beds take the concept to the next level by seamlessly integrating them into the existing room design. While it may seem like a complex project, building a DIY built-in bunk bed is achievable with the right tools, materials, and a step-by-step approach.
Building a DIY bunk bed is easier than you think! It can save you tons of money and is a great way to explore the creative side of your mind. It will also keep your kids happy and give your guests a memorable experience. In this comprehensive guide, we will walk you through the process of building a DIY bunk bed step by step. From planning and measurements to assembly and finishing touches, we’ve got you covered.
So let’s dive in and start building!
Planning and Design
Now, before you start buying and gathering supplies, it’s important to have a clear plan and design in mind for your DIY bunk bed. Devise a plan considering factors such as the proportions of the room, the number of beds needed, and any specific features or functionalities you want to incorporate, like drawers or a nightstand. You can look up various designs available online and take inspiration from them. This will help you make the best choice as per your style and needs. Here are some key steps to follow during the planning phase-
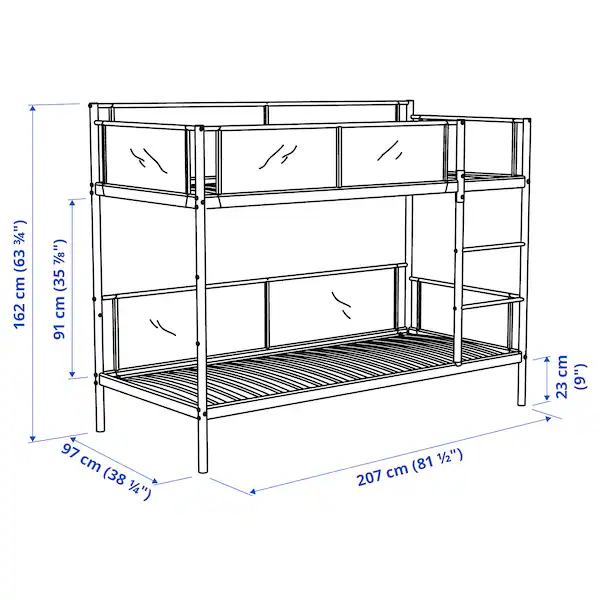
1. Determine the Size of the DIY Bunk Bed
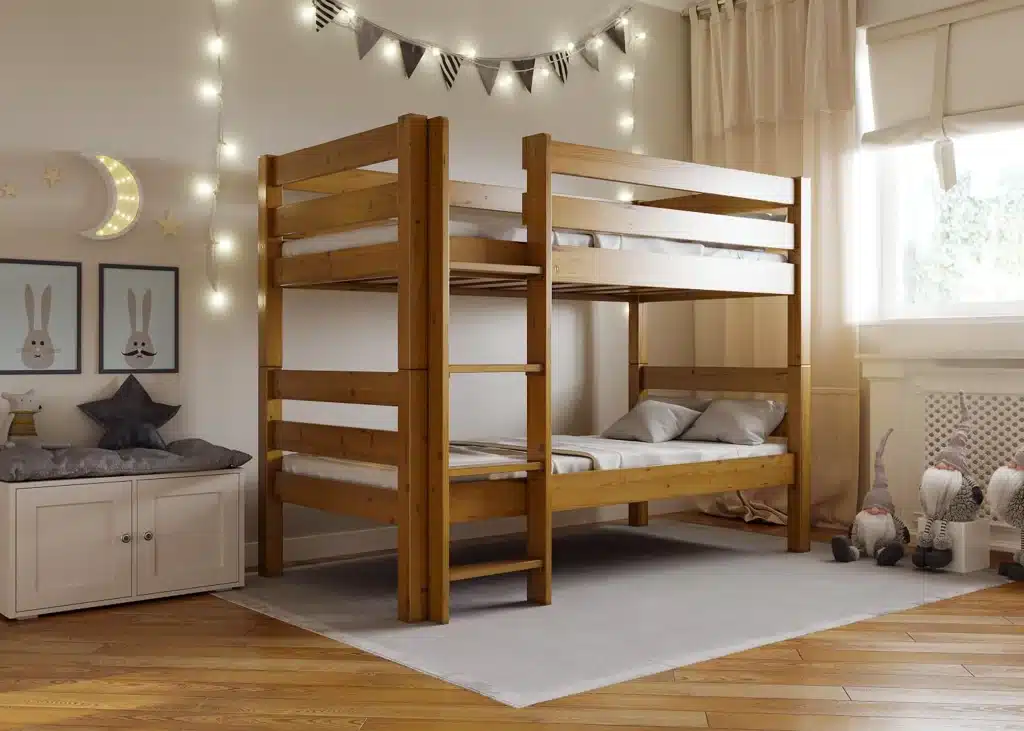
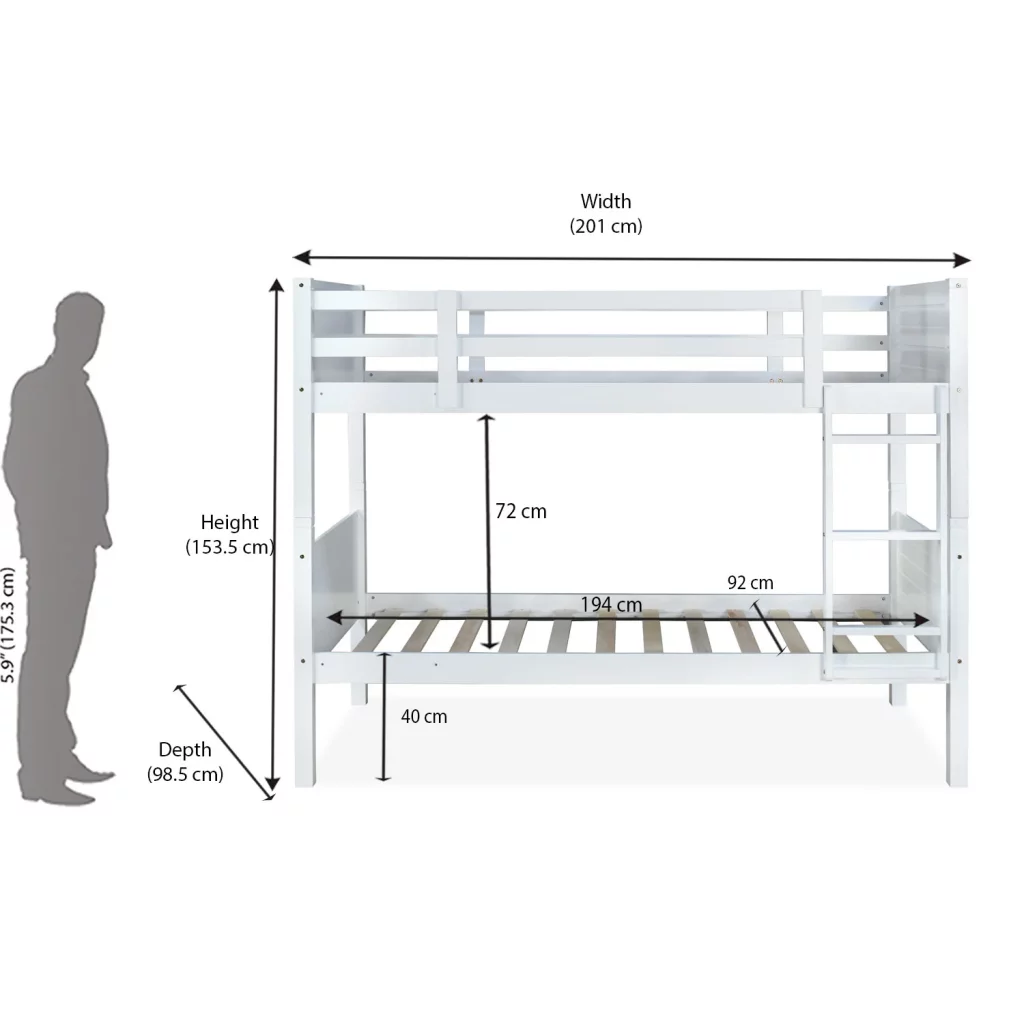
The first thing you must know is how big your bunk bed is going to be. Measure the dimensions of the room where you are building the bunk bed to get a thorough perspective. There are several generic bed sizes that include twin over twin, twin over full, and full over full. Look for these designs and pick. The one that best fits your needs.
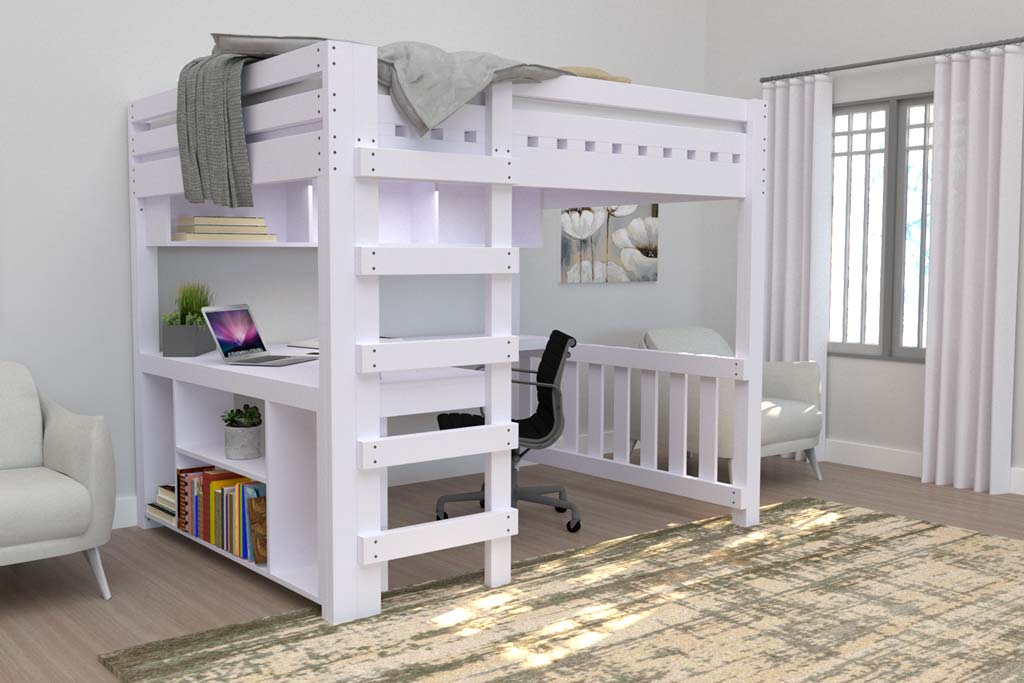
2. Determine the Type of Bunk Bed
You have to decide if you want a standard bunk bed or a little modified version like a loft bed. If you plan on adding storage drawers or anything else, make sure that you take that space into consideration as well. The type of bed will also depend on the user. If it’s an adult, the frame would need to be bigger and broader, while that’s not the case for children’s bunk beds. Also, safety needs to be much tighter in a children’s bunk bed than in an adult’s.
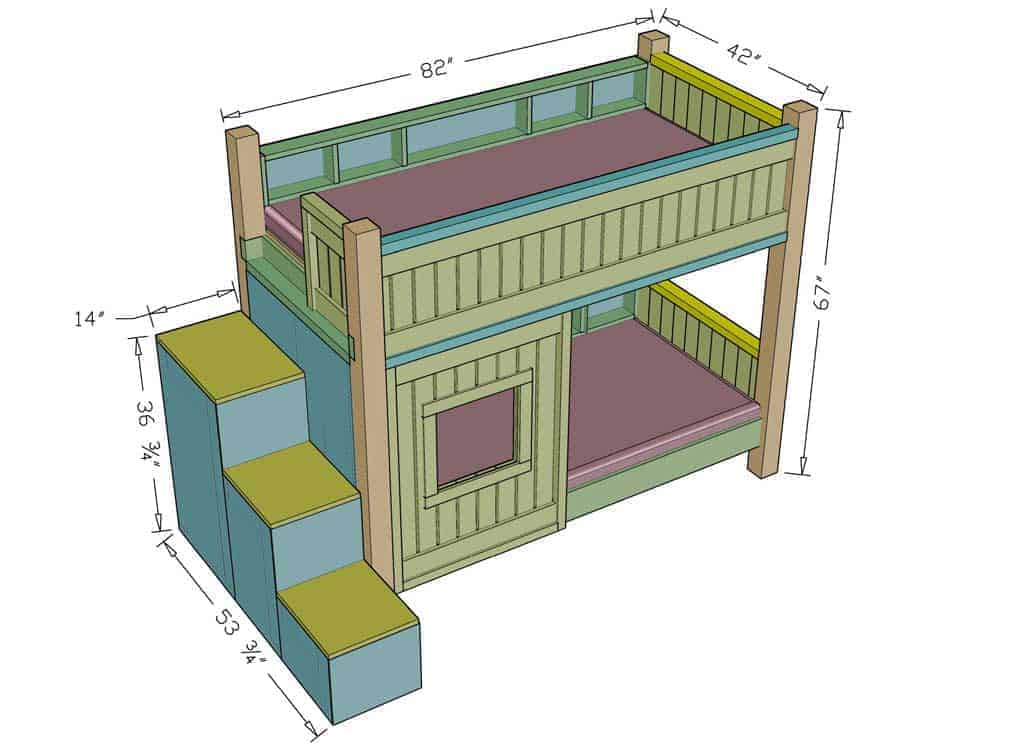
3. Sketch the Design and Take Measurements
Now that you have specified the dimensions and type of bunk bed, you need to sketch your design on paper. The sketch does not need to be fancy but a rough outline on paper to help you visualize the concept. This will give you an idea about the parts and placement of the bed. Use a measuring tape to get accurate measurements of the room and mark the points of placement of various parts of the bunk beds.
4. Create a Materials List
After you have finalized the design and taken measurements, write down a list of the things you need to buy and the things you already own. This is to make sure you have gathered everything before you start the building process. Because if you miss anything, it will only slow you down. Here are some common materials you will need for building a DIY bunk bed-
- Wood-determine the size and number of plywood depending on your designs.
- Screws, nails, and fasteners for securing different parts together
- Wood glue
- Sandpaper to soften the edges and surface.
- Paint or stain to decorate.
- Mattresses and bedding for the final touches.
These are some of the conventional items needed for a bunk bed, but if you have any other addition for your bed, like curtains, etc., make sure to add them to the list.
5. Safety Considerations
Safety must be your priority when building a bunk bed. It is your job to ensure that the bed withstands all the safety standards and the construction is sturdy and well-built. It should be able to handle weights and movements and must be built within the recommended weight limits and follow the guidelines for ladder design as well. All the materials used in the making, like wood glue, paints, etc., should be toxin-free and safe to inhale. All these considerations ensure the safety of the occupants, whether they be your kids or guests.
Building the Bunk Bed Frame
You have all the materials needed to build the bunk bed, and you have taken all the necessary safety precautions as well. Take the devised plan you made of the bed and recheck everything before starting to build the bed. This section will guide you through the process of constructing the basic structure of the bunk bed. Let’s get started!
6. Cut the Wood Pieces
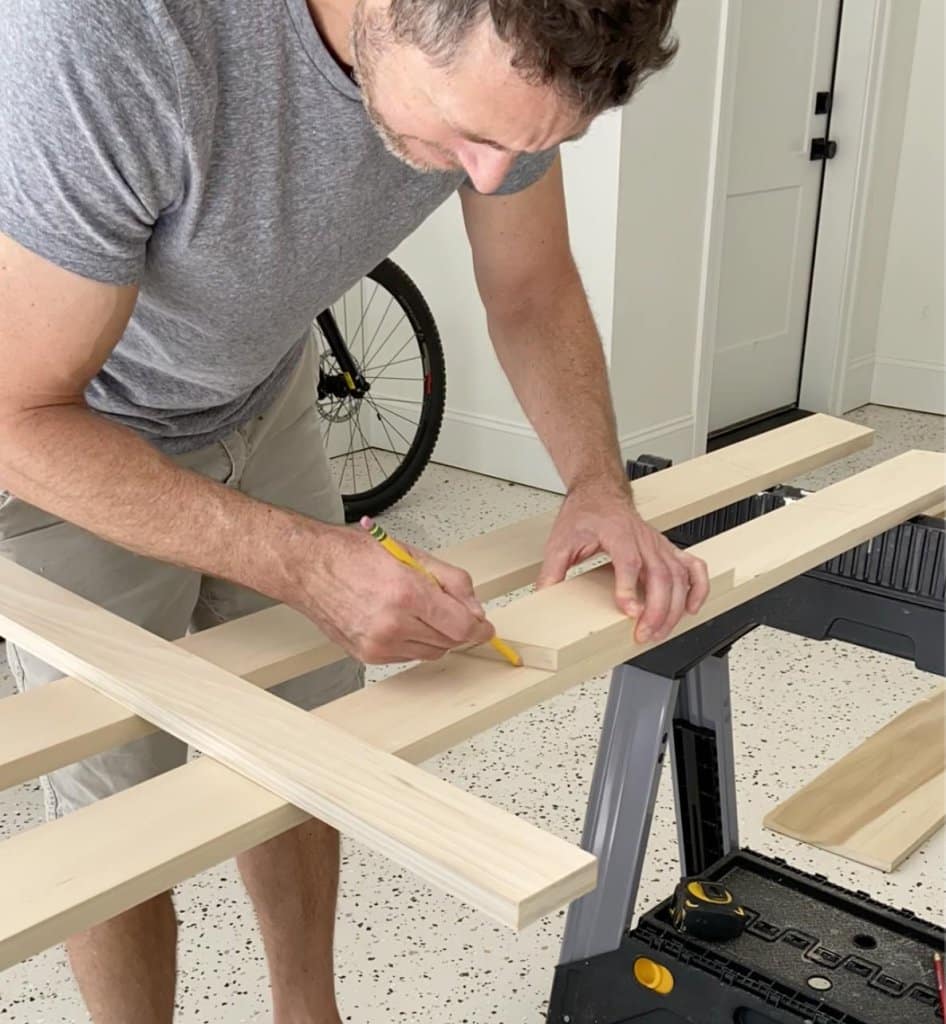
Take the plywood and mark the measurements on it. These measurements must be in reference to the plan and design of the bed as well as the size of the room. After considering everything, cut the wood pieces according to the markings made on the wood as per the required dimensions. You can use a jigsaw, circular saw, or miter saw to ensure accurate and precise cuts.
As soon as you cut the pieces, label them so there is no confusion when you start putting them together. Wear safety gear while cutting wood so you don’t injure yourself.
7. Assemble the Side Rails and Posts
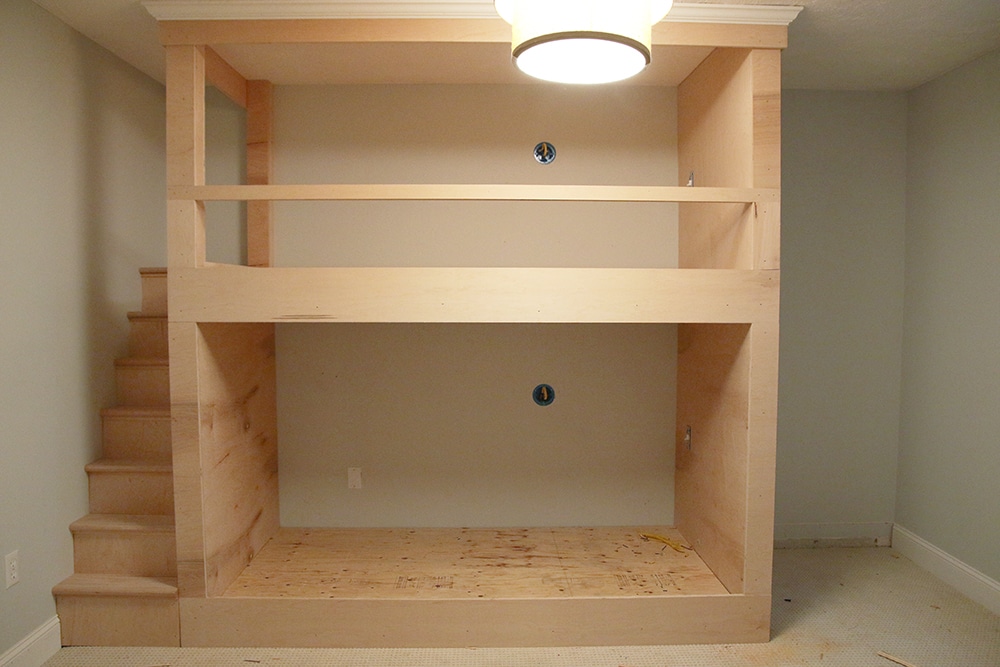
After you have cut everything, it’s time to start putting them together according to the design you made for a diy bunk bed. Always start by assembling the side rails and posts of the bunk bed. It will be easier to attach the other pieces to this outer structure, and there will be no chances of obstruction anymore.
Attach the vertical posts to the horizontal rails using the screws and wood glue. Use an electric drill to secure the screws in the wooden pieces tightly together. Assemble the wood the same way for both bunks to secure an outer frame.
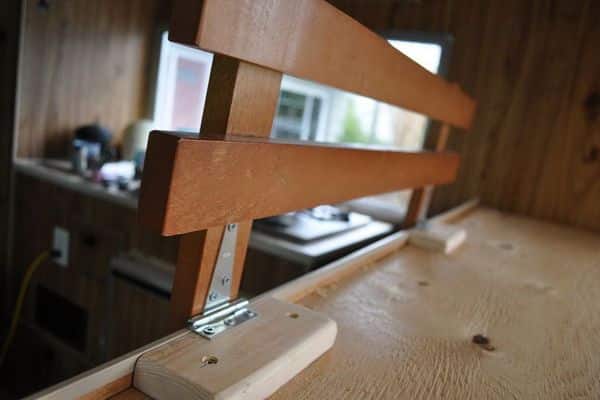
8. Install the Bed Slats and Support Boards
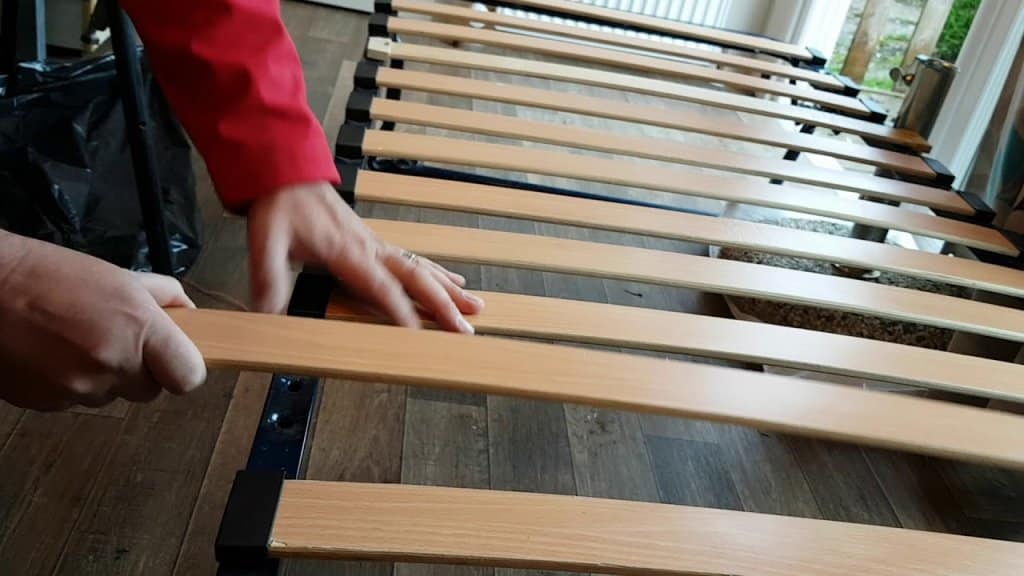
You have a secure outer frame now, and you can start adding the other pieces as well. Start installing the bed slats and support boards, and secure them with screws and glue. This is to build a sturdy base for the mattresses. It is important to fix the slats nicely because they will bear the weight while the occupant sleeps and sits on the bed. Any misalignment or uneven spaces can hamper the sturdiness of the diy bunk bed, so don’t let that happen. You can mark even spaces before nailing the slats to avoid misalignment.
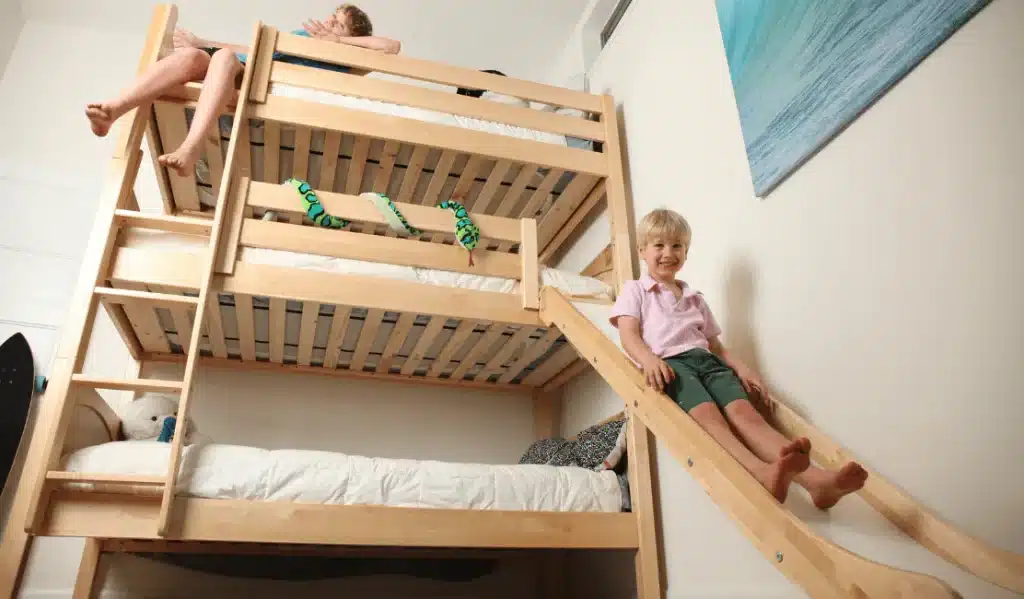
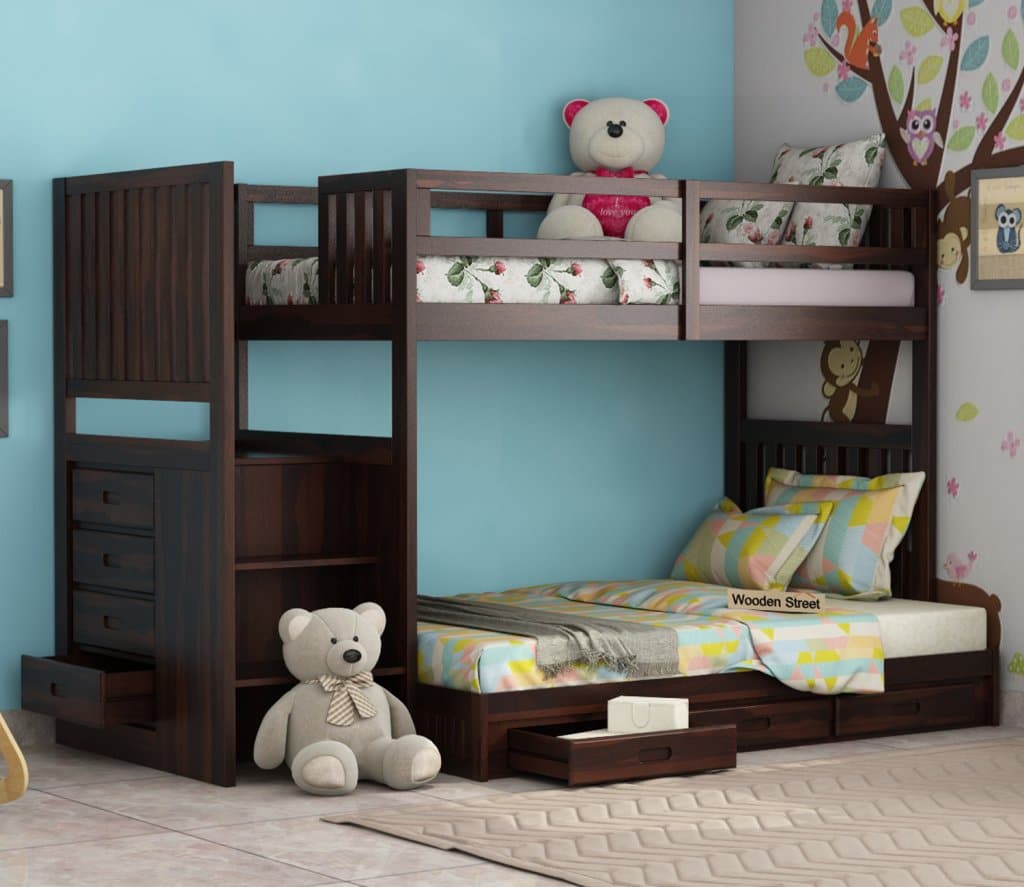
9. Build the Ladder or Stairs
For a diy bunk bed design that incorporates ladders and stairs, you should start building them now. It is easier to get an accurate measurement of the height and width of the ladder after the main bed is ready.
Cut the necessary pieces of wood as per your measurements and assemble them according to the design plan. After you attach the ladder or stairs to the main bed frame, make sure that they are well-secured and safe to climb on.
Adding Finishing Touches
Your main bed is now complete, and it’s time to add the final touches. You must start with the final steps after the main bed frame is completely made and secure. It will be difficult for you to alter it after you have done the final steps. Now is the time to make your bunk bed sleep ready!
10. Sand the Wood Surfaces
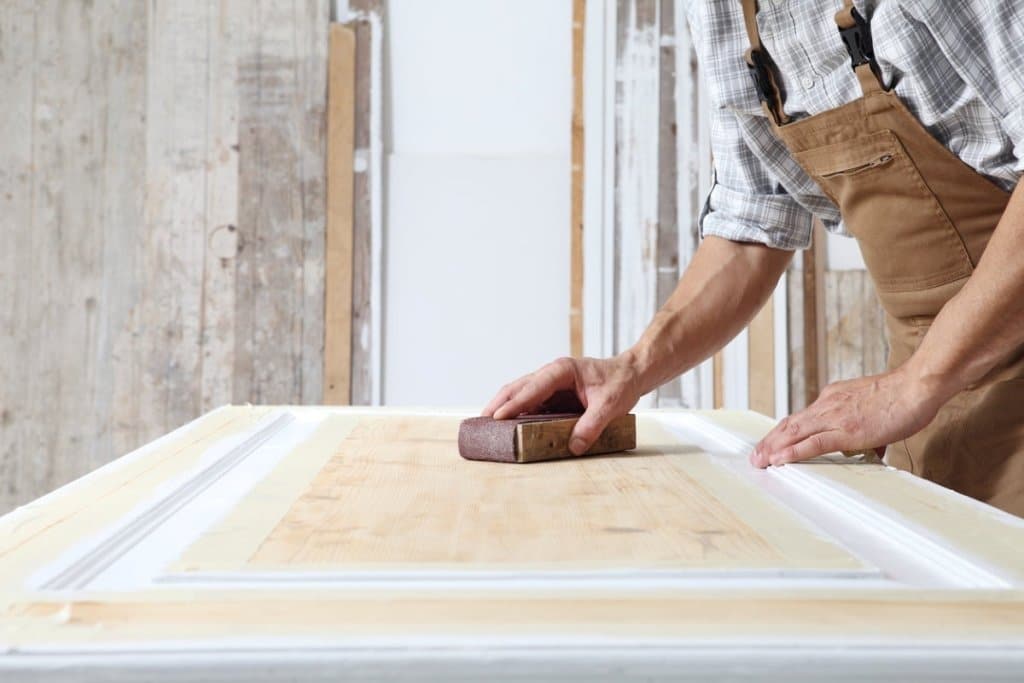
Wood planks have rough edges, which can cause injury/splinters during the use of the bed. Use sandpaper and smooth out the edges of the main frame and ladders. For your paint or polish to look smooth, the surface of the bed needs to be smooth as well. Smoothen out the surface using sandpaper as well.
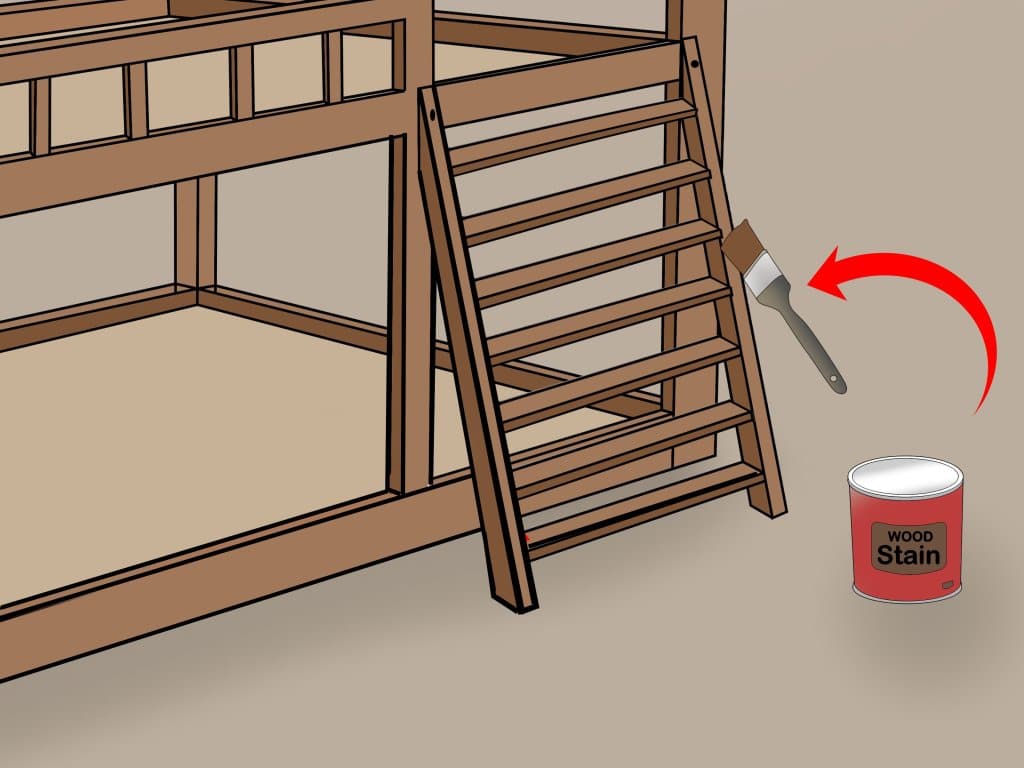
11. Paint or Stain the Bunk Bed
This is one more part where you can show off your creativity. You can choose a paint or stain color that complements your desired aesthetic and apply it to the bunk bed frame. You can either use a paintbrush, or you can go for a sprayer for an even more professional finish. Read and follow the instructions given for the application and drying of the paint or stain you are using on the bed. It needs to be completely dry before you start with anything else.
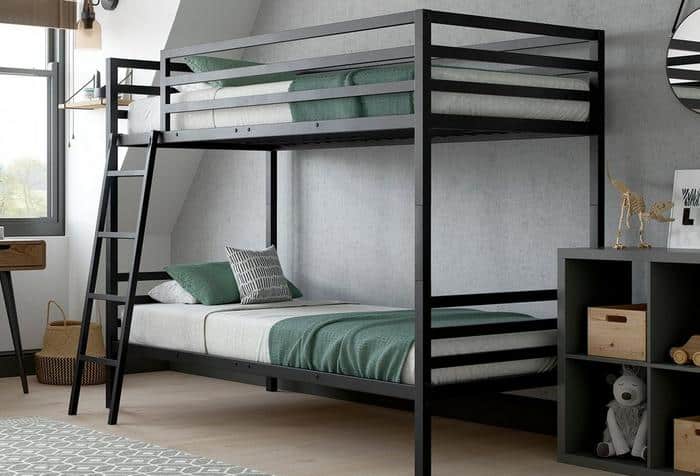
12. Add Safety Features
As mentioned earlier, safety is the most important part of building a DIY bunk bed. If you want to install any rails, posts, etc., you can add them at the end. The rails can be of steel or wooden, but they must also be secured firmly. It’s ideal for adding these extra supports on bunk beds for kids so they don’t fall while sleeping or playing in their beds.
13. Install Mattresses and Bedding
As the final step, it’s time to add your bedding to the bed. Choose a comfortable mattress that’s great for back support. The mattress should fit within the frame of the bunk bed. Decorate the bed with bed sheets, pillows, and cushions to create a cozy space that’s ideal for sleeping or relaxing.
How to maintain the Bunk Bed?
Now that your diy bunk bed is complete, you need to understand how to maintain its integrity and keep its users safe from any injury. Here are some maintenance and safety tips to keep in mind-
14. Don’t Forget to Keep a Check
Keep a regular check on the bunk bed for any signs of wear or damage. Replace or repair any broken or weakened parts immediately. Tighten screws and fasteners periodically to prevent loosening. If you see any infestation of pests, treat it immediately. If the infestation has taken over a big part, then you might need to replace the whole part as it will spread to the whole furniture and destroy it from within.
15. Educate the Users

Educate kids and guests about safe bunk bed practices, such as using the ladder/stairs properly, not jumping on the bed, and avoiding rough play. Although the bed is sturdy, precautions are always better. Keep enough spacing between the beds to prevent any injury. Guide the users regarding safe climbing and getting down techniques to avoid falls.
16. Ceiling and Lights
While deciding the location, make sure that the top bunk is not near the ceiling fan and that there is enough distance between the ceiling and the top bunk. You can also install lights near the ladder to maintain safety at night. Add motion sensors near the ladder for protection. Placement of the light switches should be easily accessible from the bed so the user can switch them on before getting up from the bed.
17. Follow the Guidelines
Specific instructions and guidelines are made to enhance the safety of the person, and they must be followed with vigilance. Keep the manufacturer guidelines for weight limits and recommended usage in mind while building the diy bunk bed. Keep the area around the bunk bed clear of clutter to avoid falls and potential injury. You can also anchor the bunk bed to the wall to add more stability and safety.
Why Choose to DIY When You Can Buy?
While most of the points are covered within the article, here are a few additional tips and tricks for you to check out-
- DIY bunk beds are not only cost-effective alternatives to store-bought options but also allow you to customize the design to your specific needs and style.
- By building a bunk bed, you can save space in a room and create additional sleeping arrangements for quests or siblings sharing a room.
- Make sure that you have the necessary tools and safety equipment before starting the project, including a drill, saw, measuring tape, and safety goggles.
- Consider adding personal touches to the bunk bed, such as storage drawers, built-in shelves, or a fun theme that reflects the user’s interests.
- Involve the users in the design and construction process, allowing them to contribute their ideas and preferences for a more personalized bunk bed experience.
Conclusion
Building a DIY built-in bunk bed is a rewarding and achievable project that can transform any room or space into a functional and stylish area. Using the 17 steps outlined in this guide, you can easily assemble a custom bunk bed tailored to your needs. We have covered everything from measuring and planning to framing, constructing bed slats, and adding safety rails and a ladder.
As you go ahead, each step brings you closer to a completed project. By keeping attention to detail, proper tools, and quality materials, you can ensure a sturdy and safe bunk bed that will provide years of comfort and enjoyment for those who use it.
So, gather your tools, unleash your creativity, and embark on the journey of building your own DIY built-in bunk bed.
