

Tired of staring at boring flat walls? I’ve been there. After renovating three homes and making countless texture mistakes along the way, I’ve found that the right drywall texture can alter an ordinary room into something special.
Whether you’re hiding imperfections (that DIY patch job gone wrong) or simply craving some personality for your space, texture adds dimension that paint alone can’t deliver.
In this guide, I’ll walk you through 13 fantastic texture options, from subtle Orange Peel to dramatic Crows Foot.
I’ll share what each really looks like, the vibe it creates, and honest pros and cons from someone who’s tried them all. Let’s turn those flat surfaces into conversation pieces!
Choosing a Texture Technique
Before dipping into texture options, let’s cover the basics:
Hand-applied textures use trowels, brushes, and plenty of elbow grease. They give you artistic control over every swoosh and swirl, creating truly custom results. They’re perfect for smaller areas and accent walls where precision matters, but demand patience and a steady hand.
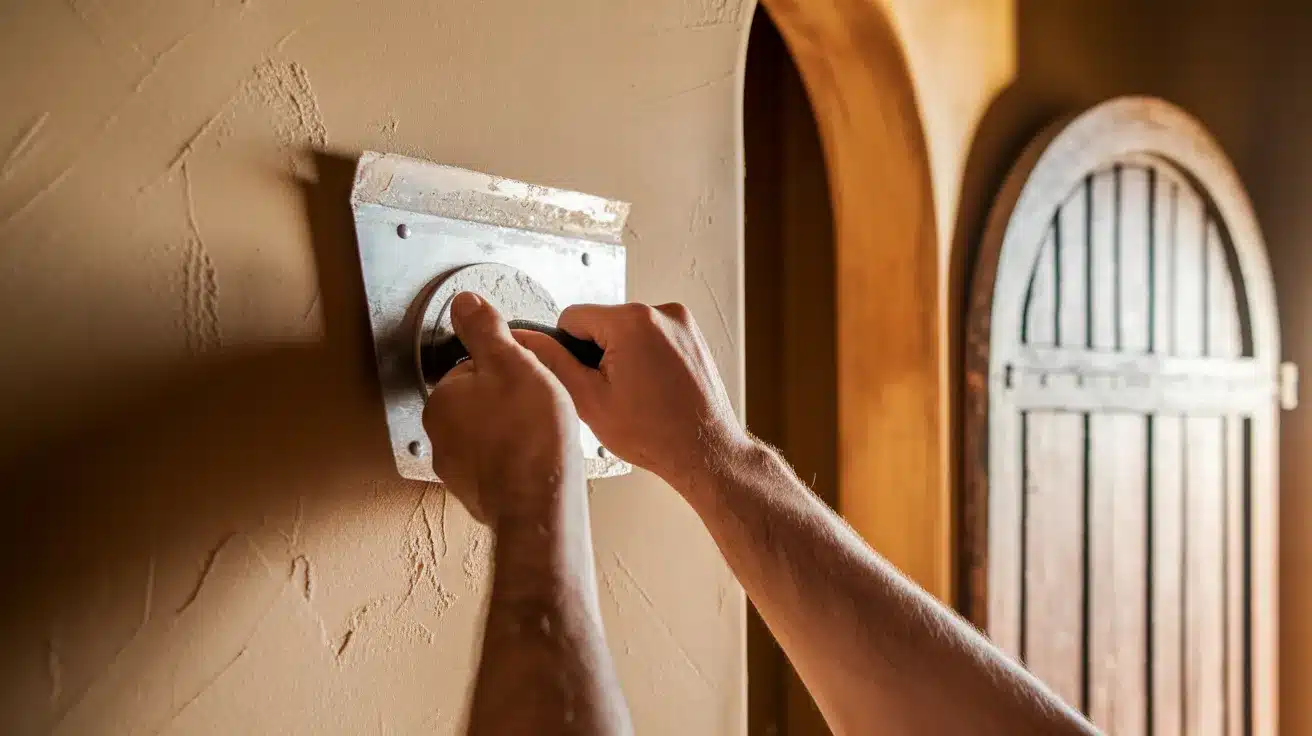
Spray textures involve hopper guns and compressors. They deliver faster, more consistent coverage for large areas, but come with a steeper learning curve and more extensive prep work. Most home improvement stores offer equipment rentals if you’re not ready to invest in your own.
The Magnificent 13: Textures Ranked by Style & Skill
1. Knockdown
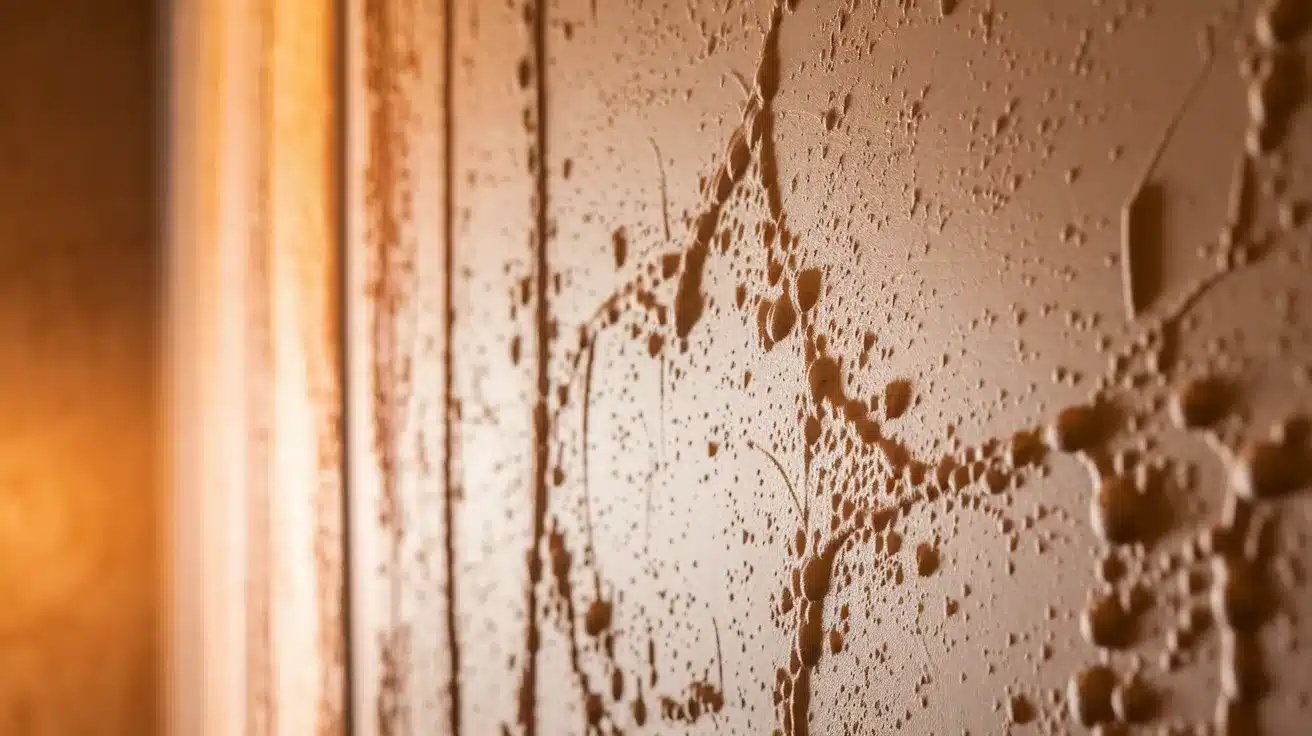
What it looks like: Random splatters of compound that are partially flattened, creating a mottled, dimensional surface with soft edges and natural variations.
Vibe: Refined yet casual, like your favorite broken-in leather jacket.
Pros: Hides wall imperfections beautifully; works in any room.
Cons: Timing is crucial—too wet or too dry will ruin your finish.
Tip: Wait 10-15 minutes before knocking down the peaks with a drywall knife. Clean your knife between swipes for best results.
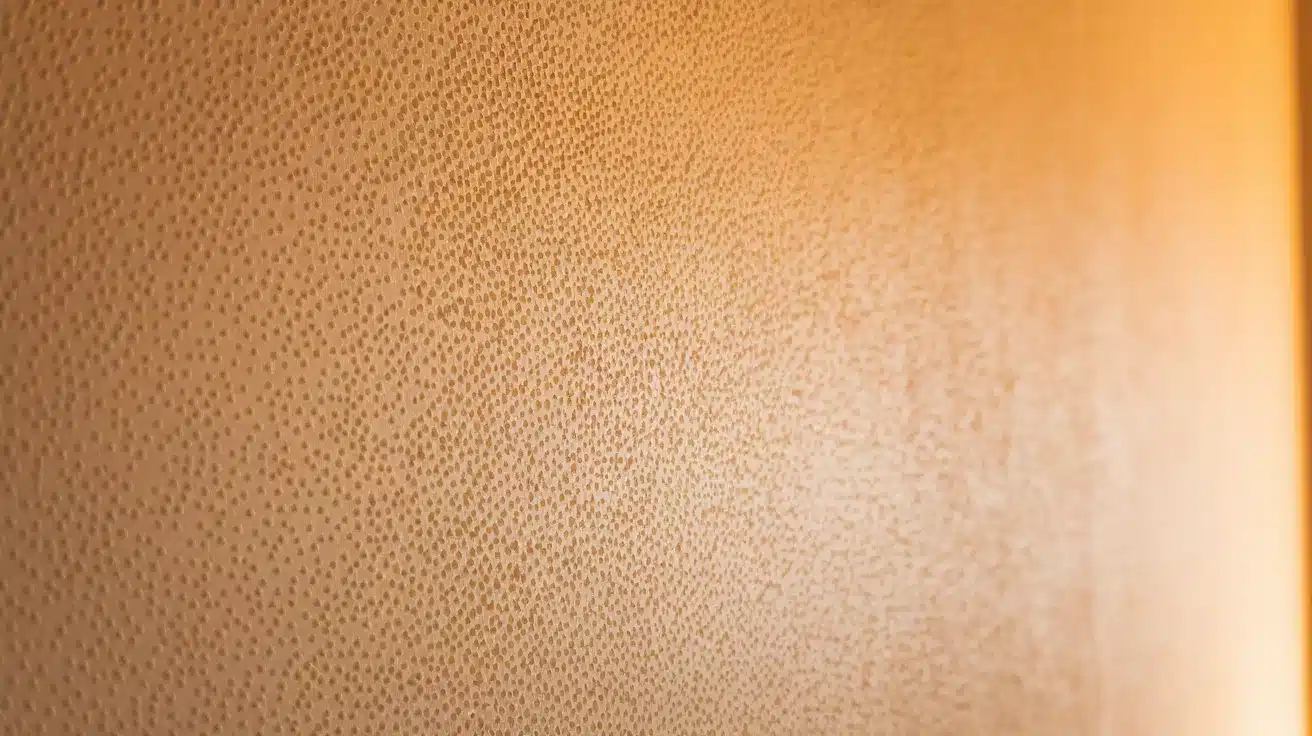
2. Orange Peel
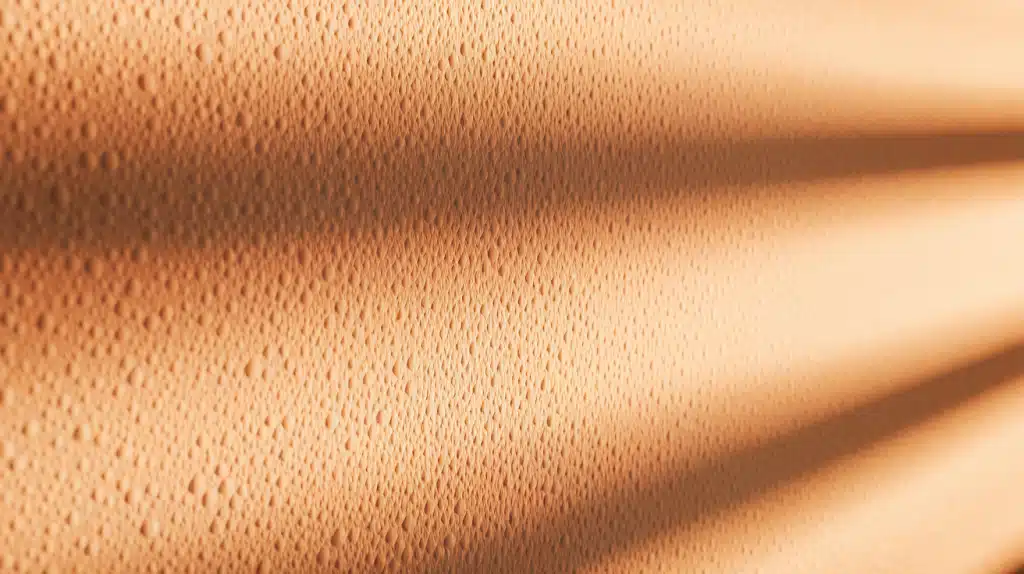
What it looks like: Fine, slightly bumpy surface resembling, you guessed it, the skin of an orange. Creates a soft, consistent texture that adds interest without drama.
Vibe: The subtle texture that’s everywhere for good reason.
Pros: Easy to paint, universally appealing, forgiving on walls.
Cons: Requires spray equipment for professional results.
Tip: Practice consistent distance and motion on cardboard first.
3. Popcorn
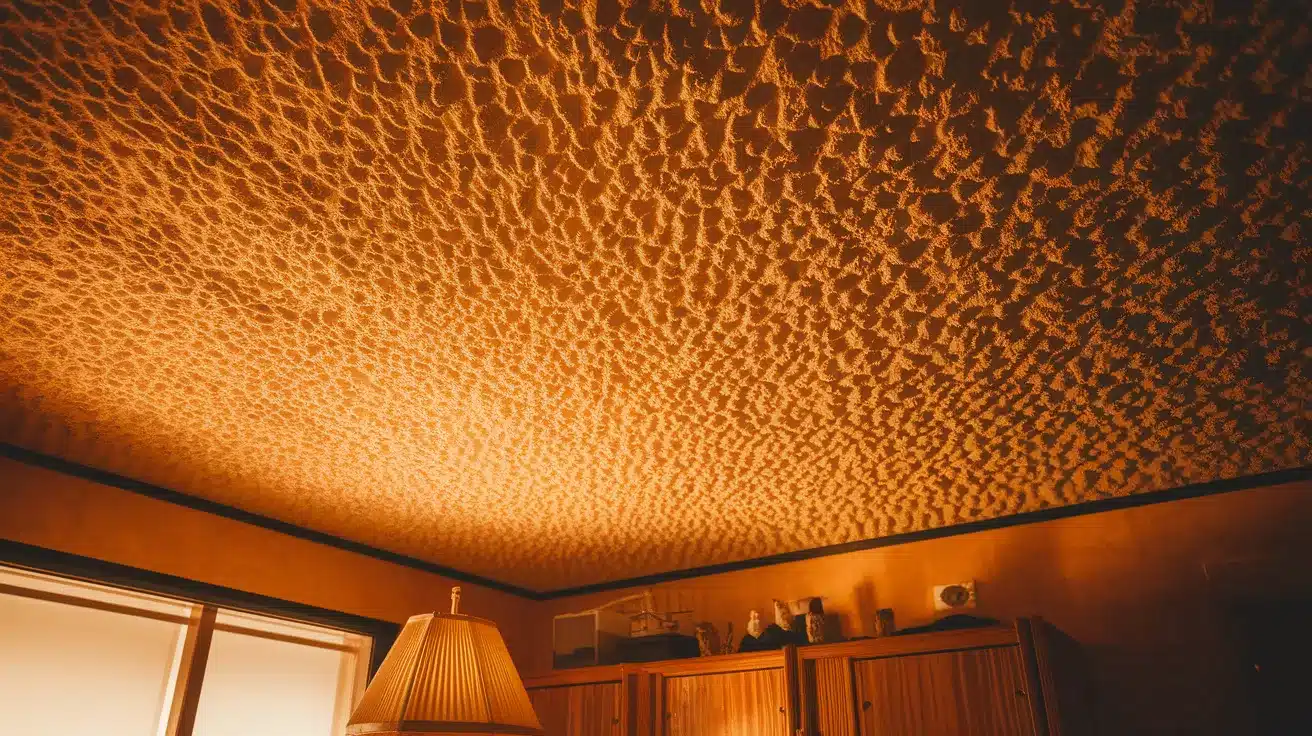
What it looks like: Lumpy, cottage-cheese appearance with pronounced peaks and valleys that create significant depth and texture, primarily used on ceilings.
Vibe: The ceiling texture that defined the 70s-80s.
Pros: Excellent sound dampening; hides absolutely everything.
Cons: Collects dust, impossible to clean, widely considered outdated.
Tip: Test for asbestos before removing in pre-1980s homes.
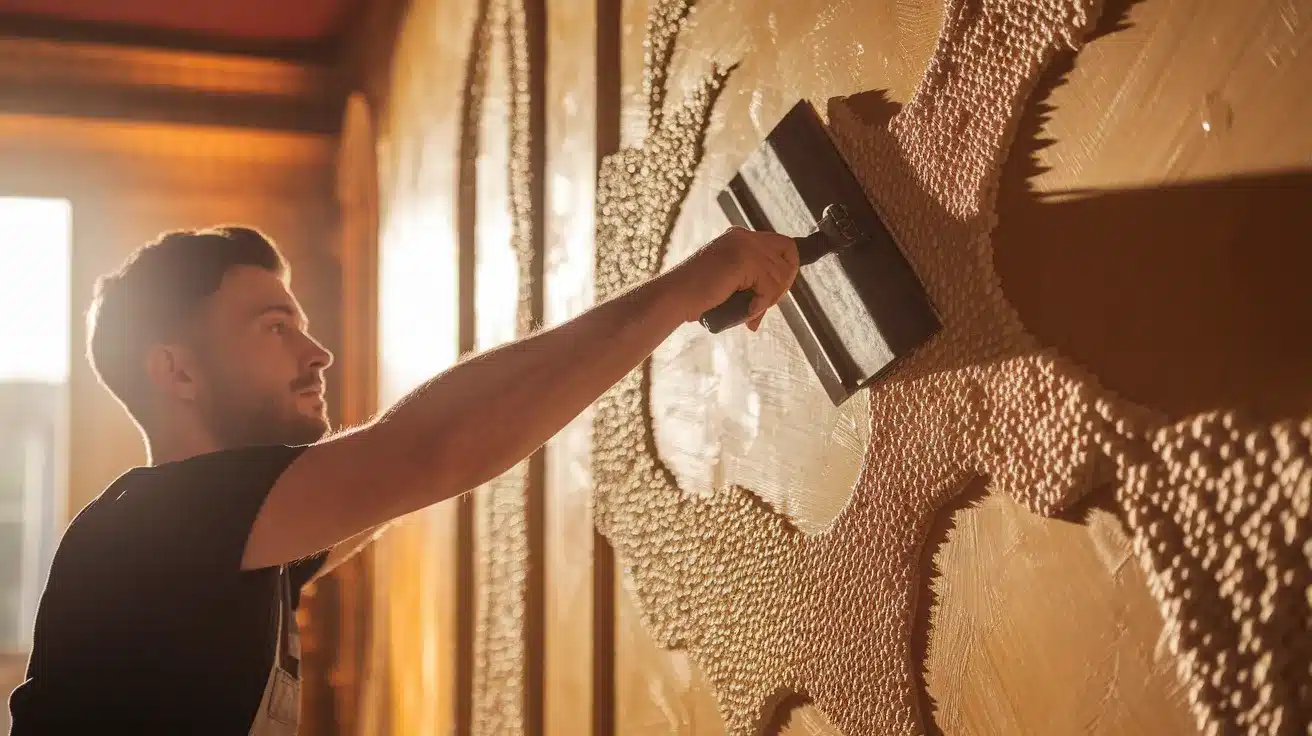
4. Slap Brush
What it looks like: Distinctive starburst patterns created by pressing and slightly twisting a brush into wet compound, creating random, organic impressions across the surface.
Vibe: Bold, nature-inspired patterns with attitude.
Pros: Creates distinctive texture; relatively DIY-friendly.
Cons: Not subtle in any way; can feel dated.
Tip: Work with a partner—one applies mud, one handles the brush technique.
5. Sand Swirl
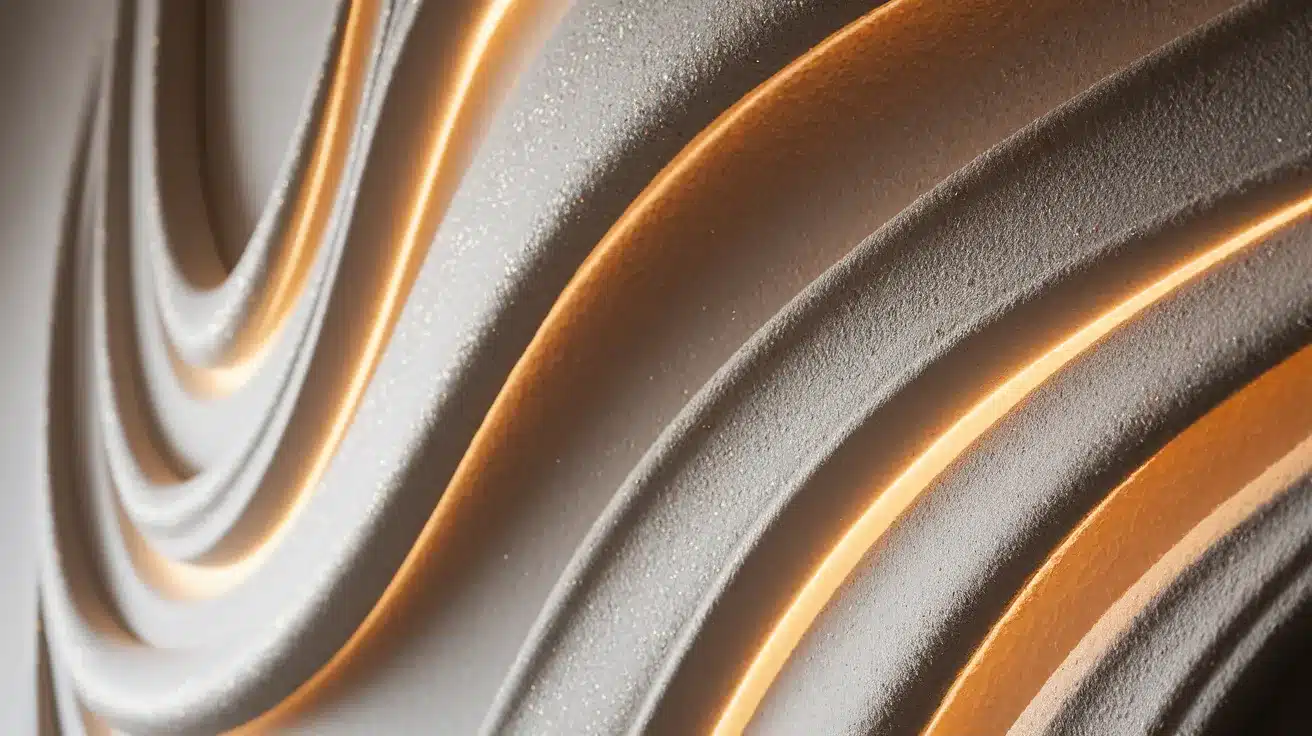
What it looks like: Sweeping, curved patterns that follow graceful arcs across the surface, with added sand providing subtle sparkle and dimension.
Vibe: Nimble, flowing patterns that catch light beautifully.
Pros: Artistic appeal without overwhelming the space.
Cons: Requires good technique and a steady hand.
Tip: Practice the swirling motion until it becomes muscle memory.
6. Skip Trowel
What it looks like: A naturally uneven surface with subtle depressions and high points, creating a time-worn, European plaster appearance that adds character without heavy texture.
Vibe: Mediterranean vacation on your walls.
Pros: Timeless texture that adds character without heaviness.
Cons: Takes practice to achieve consistent results.
Tip: Keep a light touch—you’re skimming, not plastering.
7. Hawk and Trowel
What it looks like: Variable surface with nuanced thickness and depth, creating a custom, hand-crafted appearance reminiscent of fine plasterwork in luxury homes.
Vibe: Artisanal craftsmanship that stands out.
Pros: Creates depth and character that feels custom-made.
Cons: Labor-intensive with a steep learning curve.
Tip: Vary angles and pressure to create natural dimension.
8. Santa Fe

What it looks like: Subtle, adobe-inspired finish with a slightly sandy appearance and gentle undulations that create a warm, earthy feel with minimal texture.
Vibe: Minimalist texture with Southwest charm.
Pros: Earthy visual that works in contemporary spaces.
Cons: Can look patchy if rushed.
Tip: Apply two coats—heavy base, lighter finish—for proper depth.
9. Comb Texture
What it looks like: Evenly spaced lines or curves created by dragging toothed tools through wet compound, producing geometric patterns like rainbows, fan shapes, or straight parallel lines.
Vibe: Precise patterns for those who love order.
Pros: Unique, eye-catching patterns that become a feature.
Cons: Mistakes are immediately obvious and hard to fix.
Tip: Draw guide lines first and use consistent pressure throughout.
10. Spray Sand
What it looks like: Fine, consistent speckled surface with added sand that creates subtle dimension and durability without prominent patterns or deep texture.
Vibe: Practical texture with just enough grit.
Pros: Durable and easy to repair; consistent coverage.
Cons: Requires proper equipment and masking.
Tip: Mix carefully—too much sand clogs sprayers, too little loses durability.
11. Lace Texture
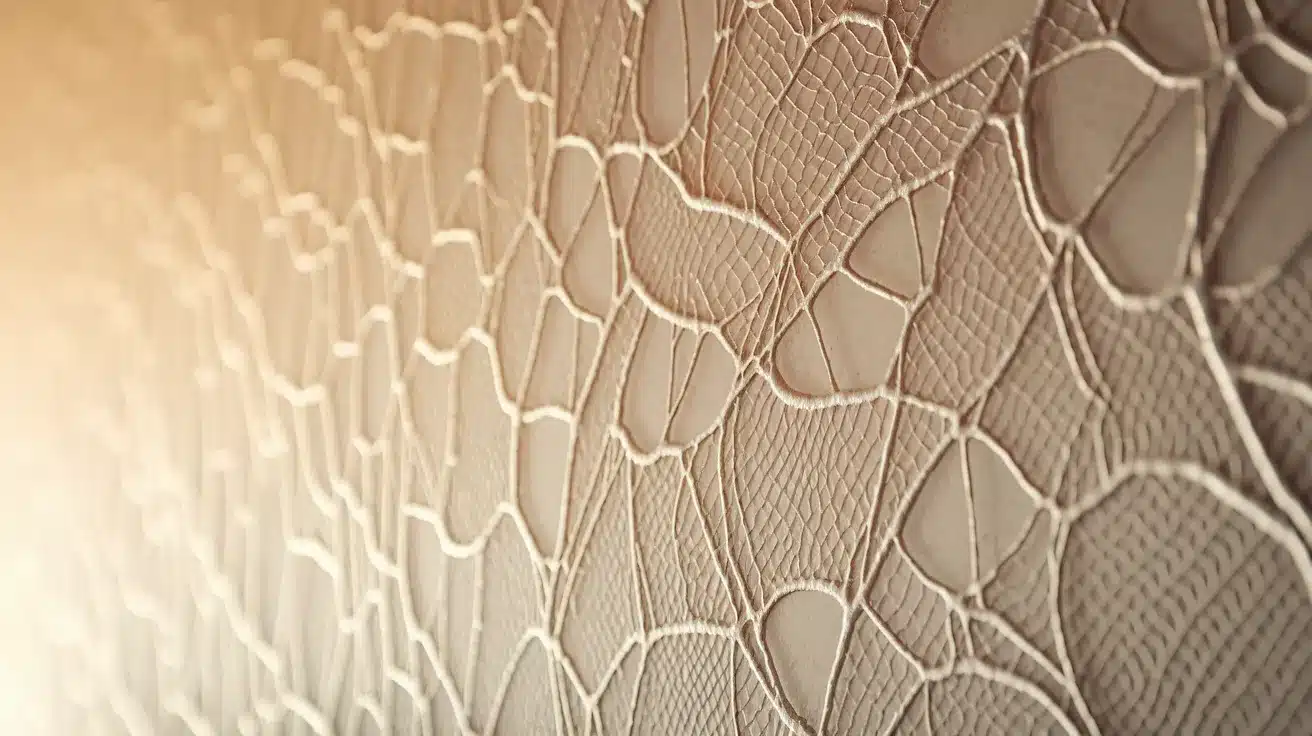
What it looks like: Intricate, web-like patterns with delicate peaks and valleys that create a refined, almost fabric-like appearance that changes with different lighting conditions.
Vibe: Refined grace with delicate patterns.
Pros: Creates refined, light-catching surfaces.
Cons: Multi-step process requiring excellent timing.
Tip: Layer techniques—base coat, pattern, then careful knockdown.
12. Rosebud
What it looks like: Repeating, flower-like impressions created by specialized brushes that form distinct circular patterns with slightly raised edges and depressed centers.
Vibe: Floral-inspired patterns with vintage appeal.
Pros: Visually striking; great conversation starter.
Cons: Too busy for minimalist tastes.
Tip: Use special round brushes and maintain even spacing.
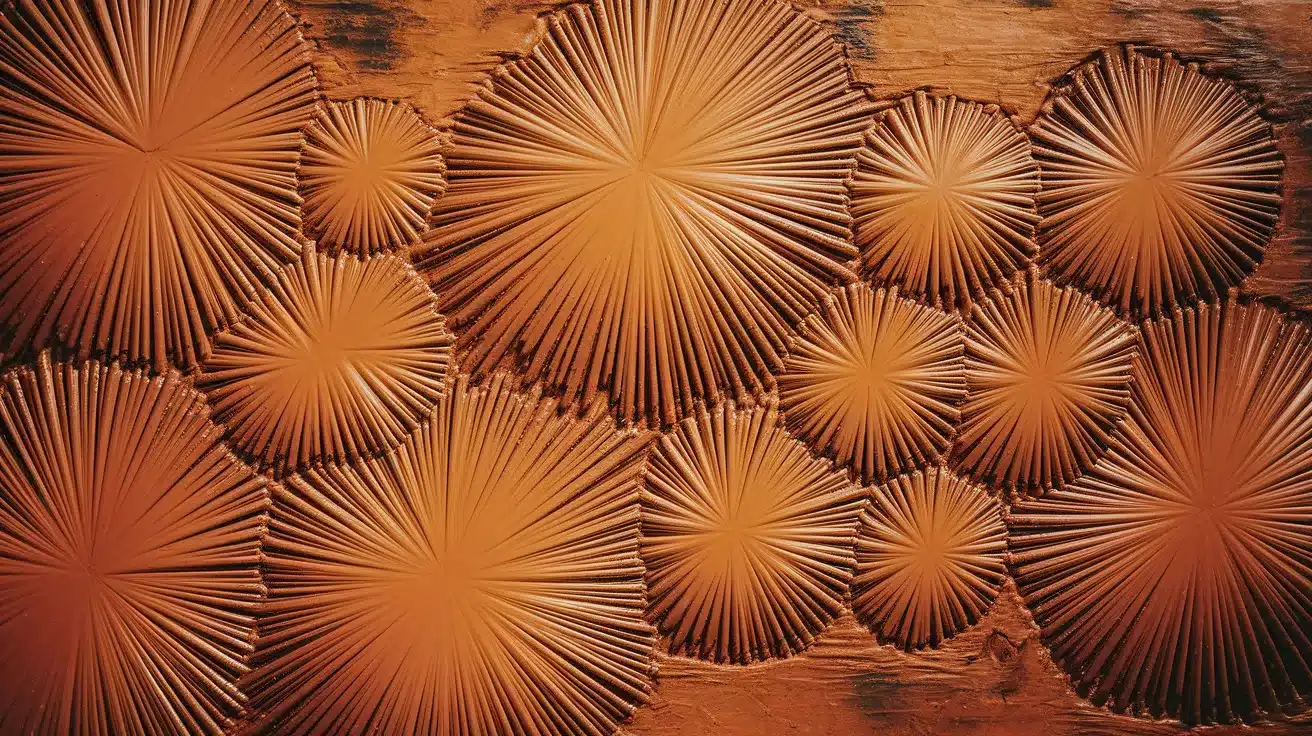
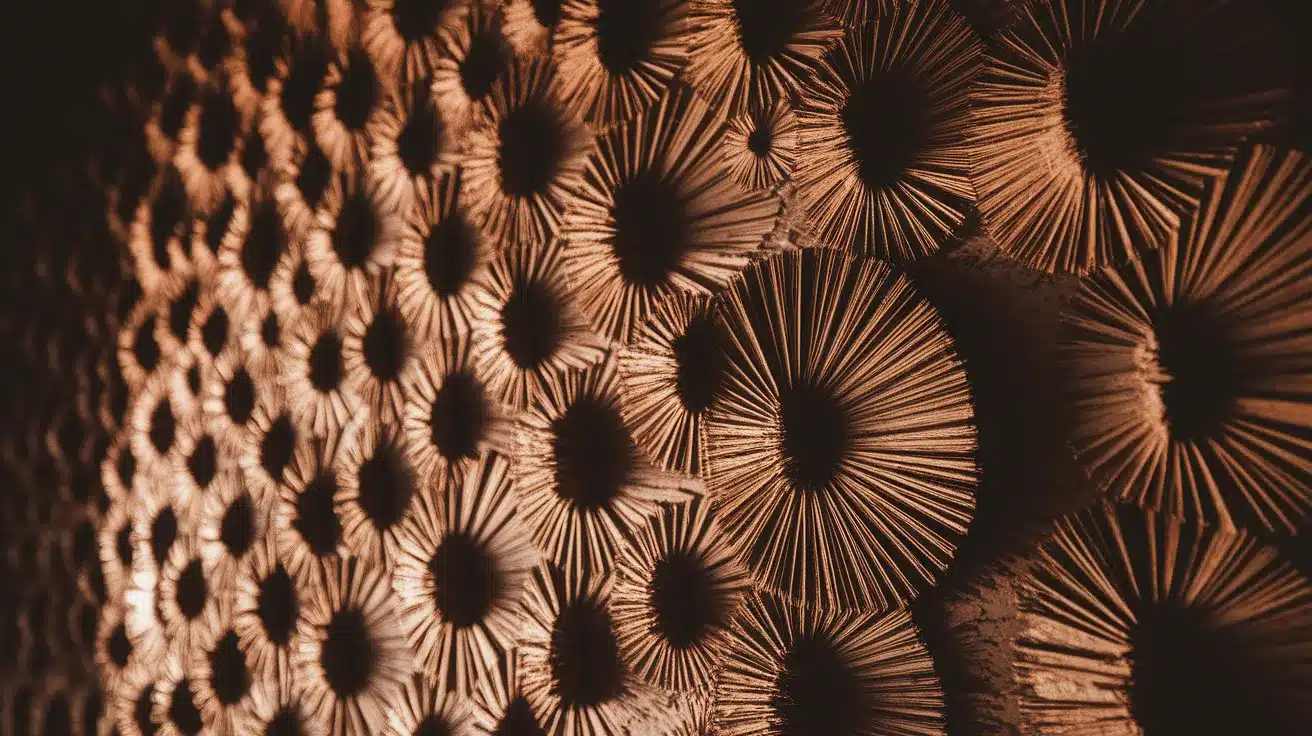
13. Crows Foot
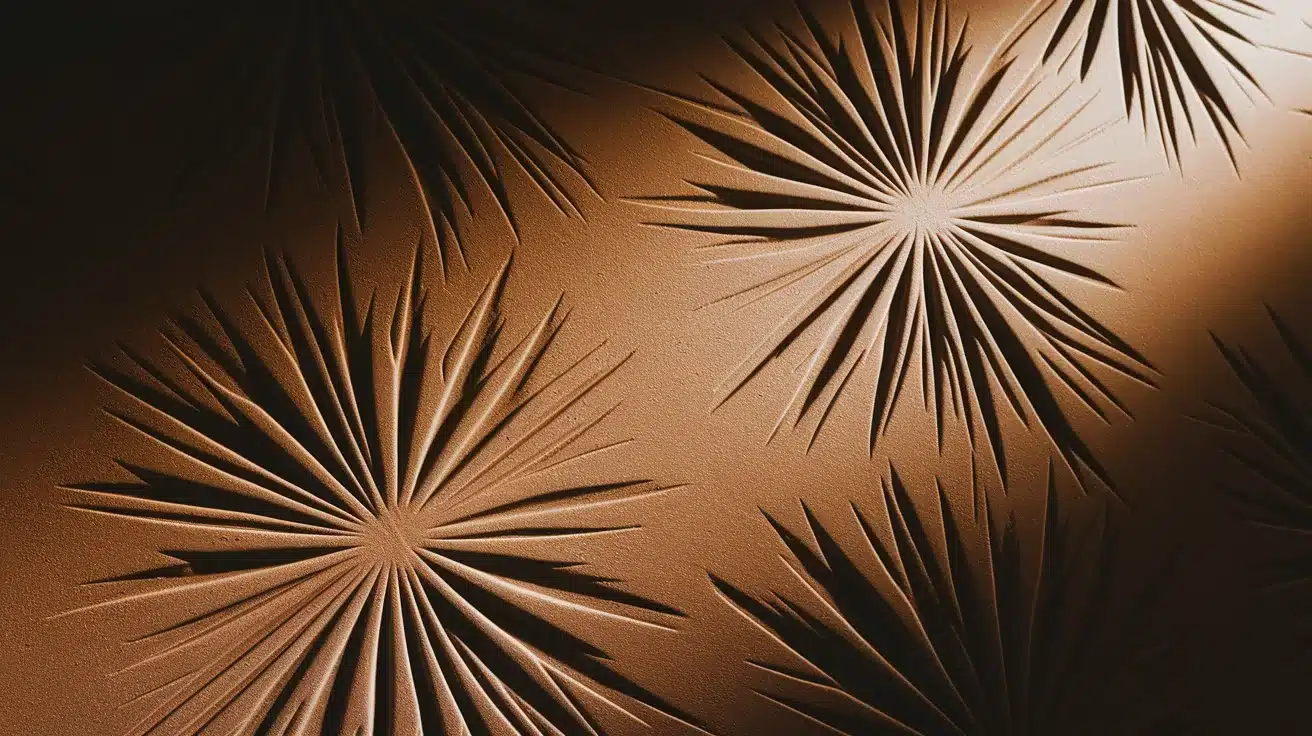
What it looks like: Dramatic, radiating patterns created by stomping specialized brushes into wet compound, creating pronounced star-shaped impressions that make a strong visual statement.
Vibe: Bold starburst patterns that command attention.
Pros: Creates drama; surprisingly DIY-friendly.
Cons: Difficult to repair; collects dust in texture points.
Tip: Work quickly in small sections—drying time is your enemy.
Which Texture Is Right For You?
Match your texture to your needs:
- For hiding wall flaws: Knockdown, Popcorn, or Orange Peel
- For dramatic impact: Slap Brush, Crows Foot, or Rosebud
- For subtle interest: Orange Peel or Santa Fe
- For timeless appeal: Skip Trowel or Hawk and Trowel
- For resale value: Orange Peel or light Knockdown
Consider your home’s architecture, lighting, and your long-term plans. Remember that textures look different throughout the day as light changes. What seems subtle at noon might cast dramatic shadows at sunset.
DIY vs. Hiring the Pros
Take the DIY route when:
- You’re working on low-visibility areas (closets, laundry rooms)
- You have more time than money
- You enjoy learning new skills
- You’re applying simpler textures like Orange Peel or Knockdown
Call professionals when:
- You’re tackling the main living areas
- You want complex textures like Skip Trowel or Lace
- You need consistent results across large spaces
- Your time is more valuable than potential savings
DIY Costs:
- Materials: $50-150 per room
- Basic tools: $75-200 (less if renting)
- Your weekend: Priceless
Professional Costs:
- $1-3 per square foot for basic textures
- $3-5+ for specialty finishes
- Peace of mind: Included
Conclusion
Drywall textures remain one of the most underappreciated design elements in home renovation. From the practical benefits of hiding imperfections to the visual value of adding dimension, texture converts ordinary spaces into personalized environments.
Whether you choose the timeless grace of Skip Trowel, the practical appeal of Orange Peel, or the bold statement of Crows Foot, the texture you select becomes the foundation of your room’s character.
Consider your space, lighting, lifestyle needs, and long-term plans carefully before committing. Remember that while professional application ensures consistency and save time, DIY approaches can be rewarding for smaller projects.
Ultimately, the right texture turns previously ignored surfaces into intentional design elements that sweeten your entire living experience, making your house distinctly yours.