Do you want furniture that fits your exact needs but hate the high store prices? Store-bought media consoles often come with bad sizes, poor quality, or costs that make you wince. The hunt for the right one can feel endless.
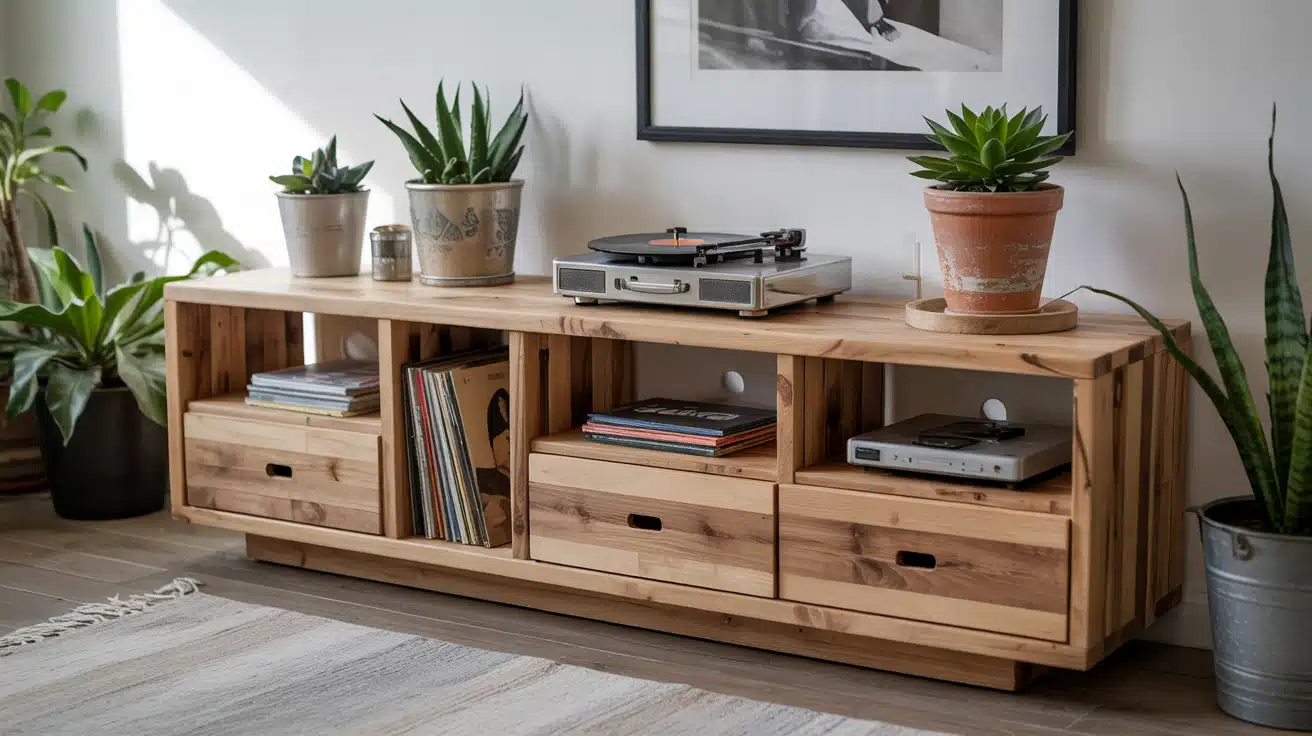
You can create your own media console that perfectly matches your space. This guide will show you how to make a custom piece that holds all your gear while looking great in your home – and it costs much less than buying new.
In this step-by-step guide, you’ll learn how to plan, build, and finish your own media console.
We’ll cover each stage of the process, from selecting the right wood to adding the final touches, as well as provide tips to help you avoid common mistakes along the way.
The Benefits of Building Your Own Media Console
When you create your media console, you gain full control over its appearance and functionality within your home. You pick the exact size, shape, and color that fits your space – no more settling for “close enough” store options. Home-built consoles cost much less than store-bought ones.
With basic tools and some wood, you can build something that would cost three times more in a furniture shop. The money you save can go toward better materials or other home needs. The act of creating something with your hands brings genuine joy.
Each time you watch TV or play games using your self-made console, you’ll feel good knowing you built it. This sense of success stays with you long after the project ends. Making your console teaches you useful skills. You’ll learn how to measure, cut, join, and finish wood – skills that help with many other home tasks.
Step-by-Step Guide to Creating Your Own Entertainment Center
Follow this simple step-by-step guide to build your custom entertainment center, perfect for organizing your media equipment and enhancing your living space.
Tools and Materials You Will Need:
| Tool/Material | Description/Usage |
|---|---|
| Wood Boards | Used for the frame, shelves, and top/bottom panels |
| Wood Screws | To assemble the frame and attach parts |
| Wood Glue | To bond the wood together securely |
| Measuring Tape | For accurate measurements |
| Drill and Drill Bits | To make pilot holes for screws |
| Saw (Circular or Jigsaw) | For cutting wood pieces to size |
| Sandpaper (Medium & Fine) | For smoothing wood surfaces |
| Paint/Stain | To finish the surface (optional) |
| Paintbrush or Rag | For applying paint or stain |
| Level | To ensure that the console is straight and aligned |
| Clamps | Optional, used for holding wood pieces together while drilling |
Step 1: Plan Your Media Console Design
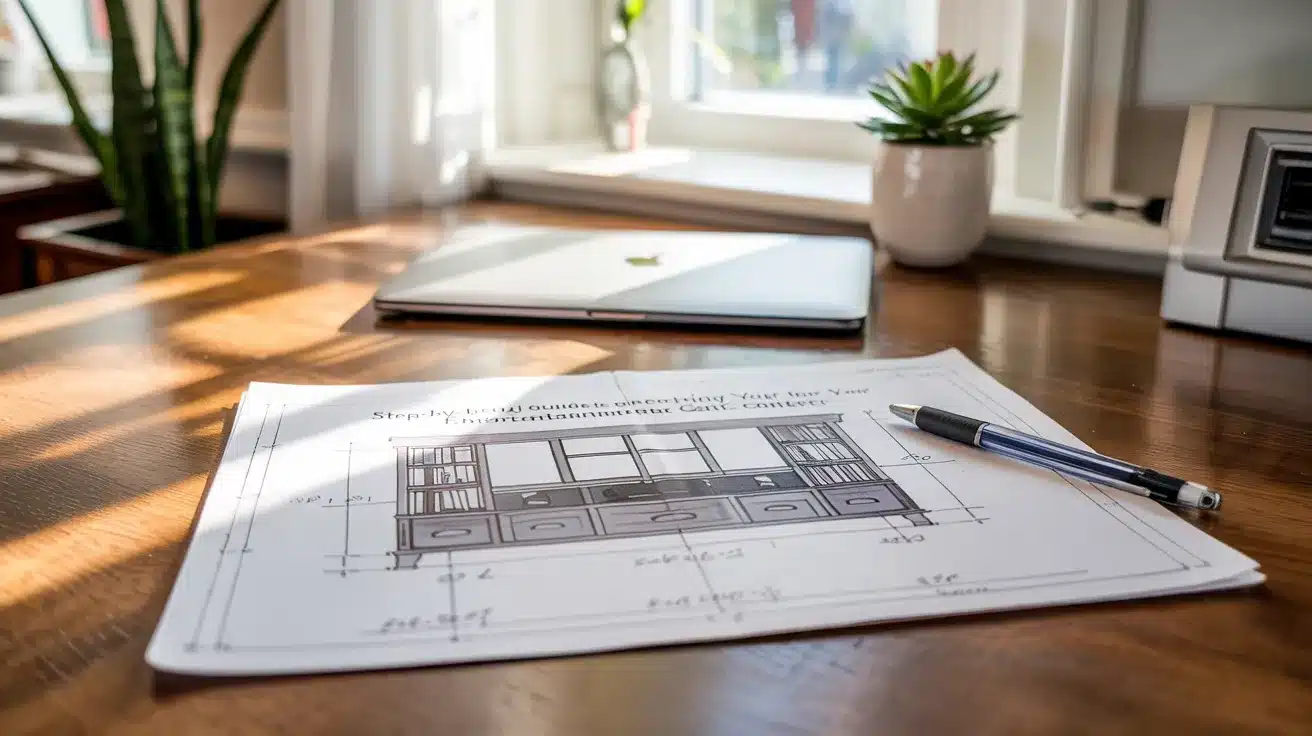
Check your space first. Take exact measurements of the area where the console will be placed. List all items you’ll store inside – TV, game units, and sound gear. Create a simple sketch that includes all the components you want, such as shelves or drawers.
Key Planning Points:
- Note down space measurements
- List all items to be stored
- Sketch the design with all the needed parts
Step 2: Gather Materials and Tools
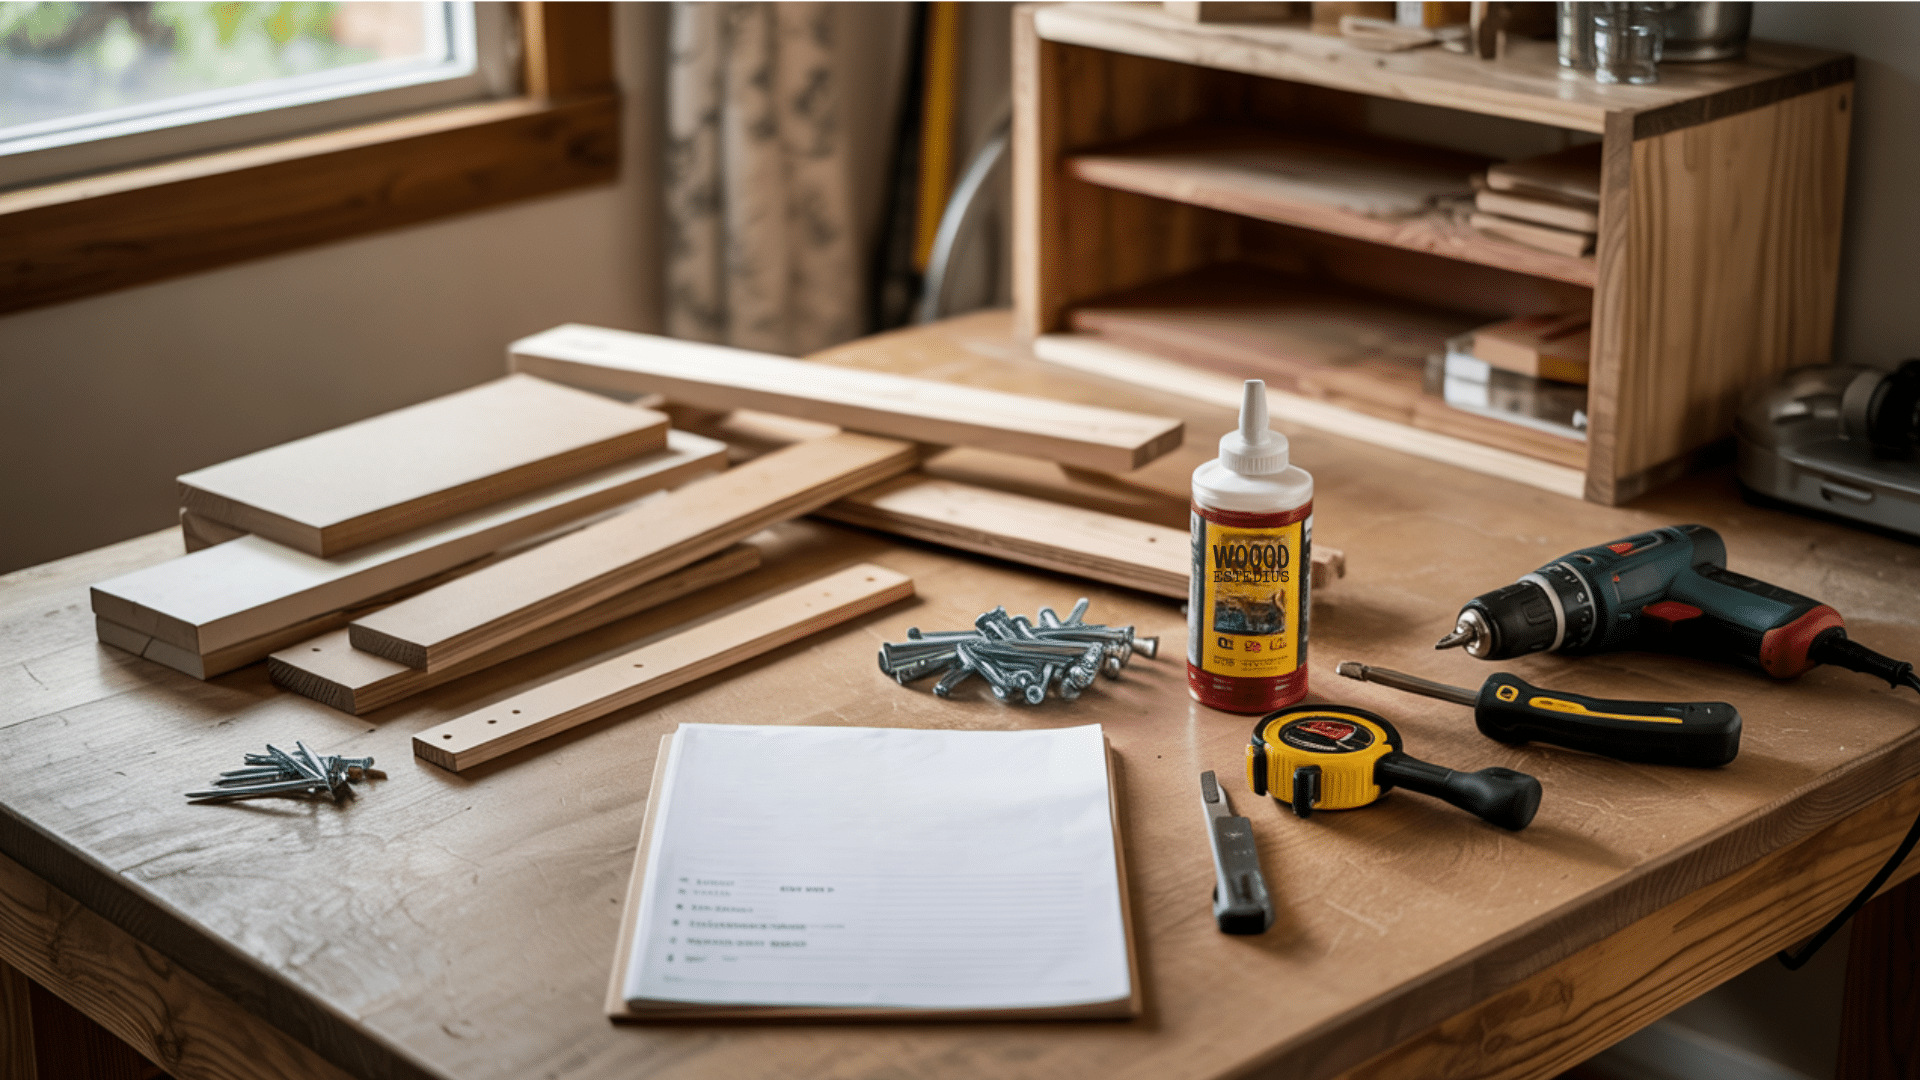
Get everything ready before you start. Your basic list should have wood boards, screws, glue, and tools like a drill and saw. Buy a bit extra wood in case of any mistakes. Check your list twice against your plan.
Materials Checklist:
- Wood boards for all panels
- Screws and wood glue
- Measuring tape and level
- Drill, saw, and sandpaper
Step 3: Cut and Prepare the Wood Pieces
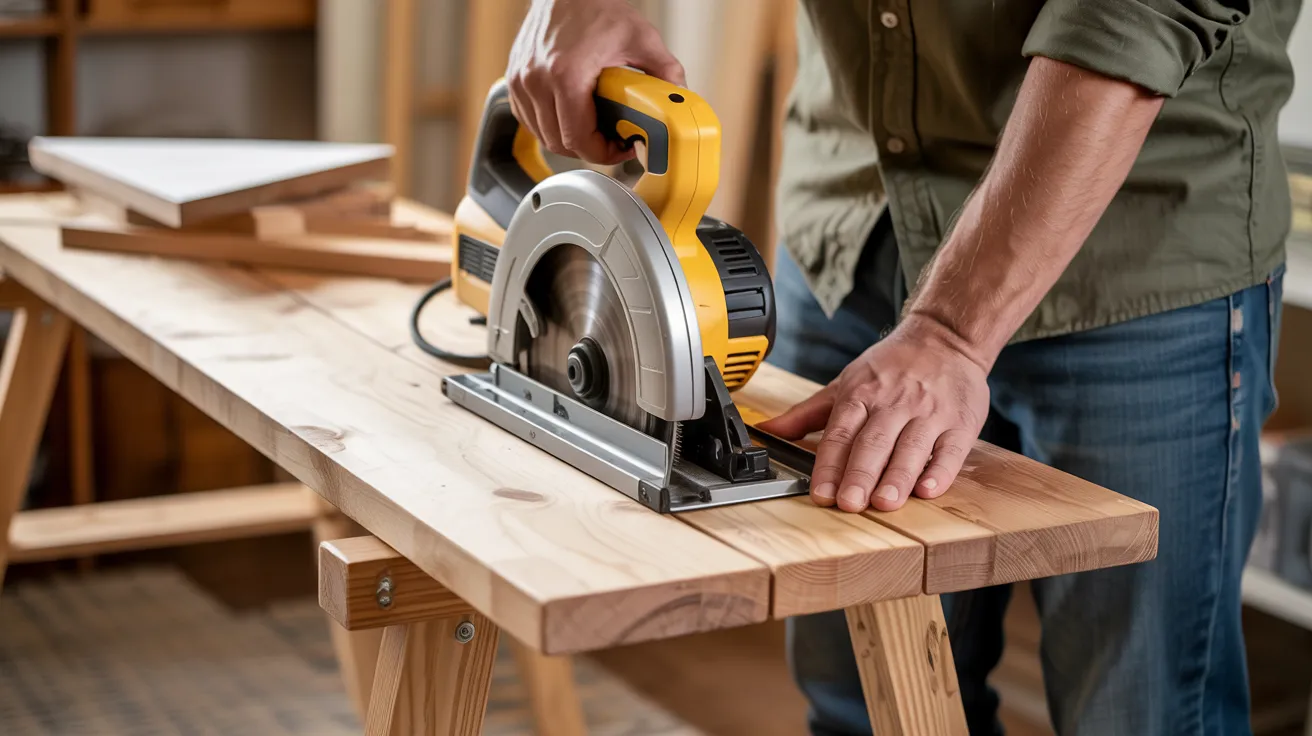
Make clean, exact cuts. Use your plan to mark each piece of wood before cutting. Work slowly with the saw for optimal results. After the cuts are done, smooth all edges with sandpaper to stop splinters.
Preparation Tips:
- Mark all wood before cutting
- Cut slowly for clean edges
- Use medium, then fine sandpaper
- Check each piece against your plan
Step 4: Assemble the Frame
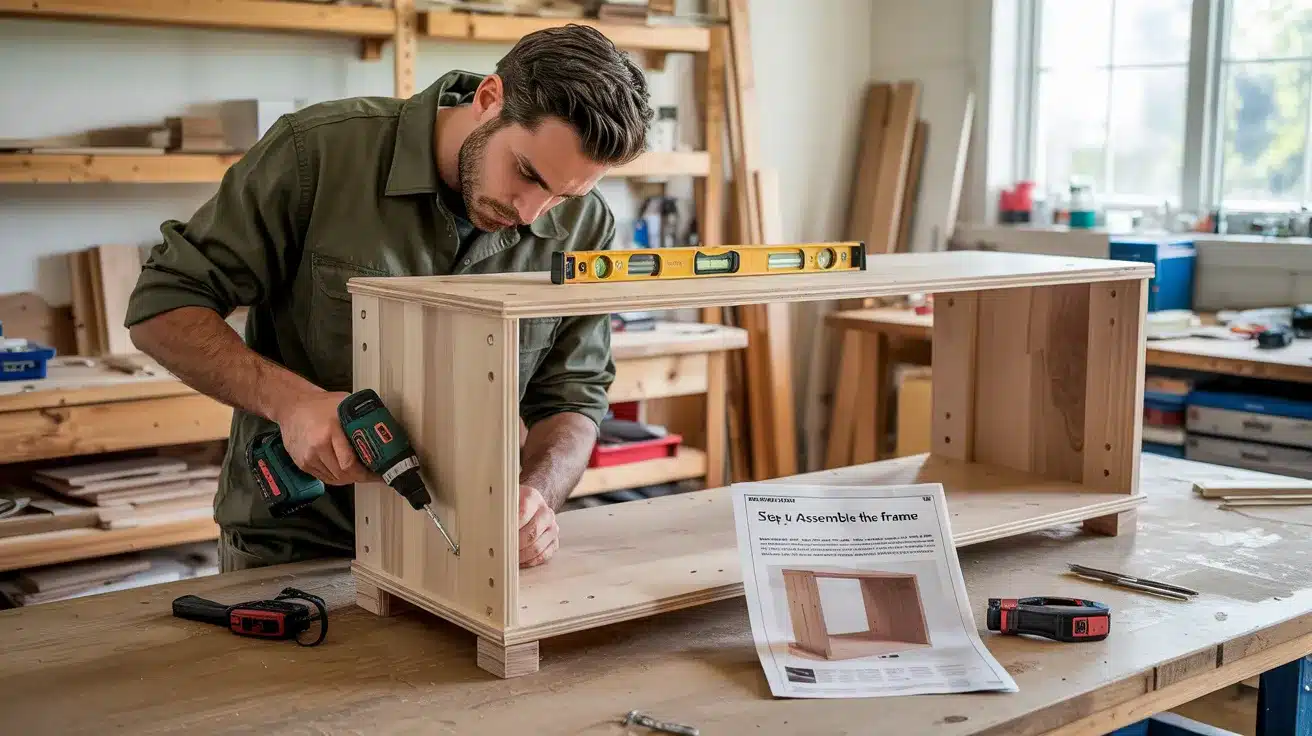
Build in the right order. Start by joining the sides to the bottom panel. Add the top next. Use both screws and glue at each joint for strength. Check your level often to ensure everything is level.
Assembly Sequence:
- Attach the sides to the bottom first
- Add the top panel next
- Use both screws and glue
- Check with level as you build
Step 5: Finish the Console
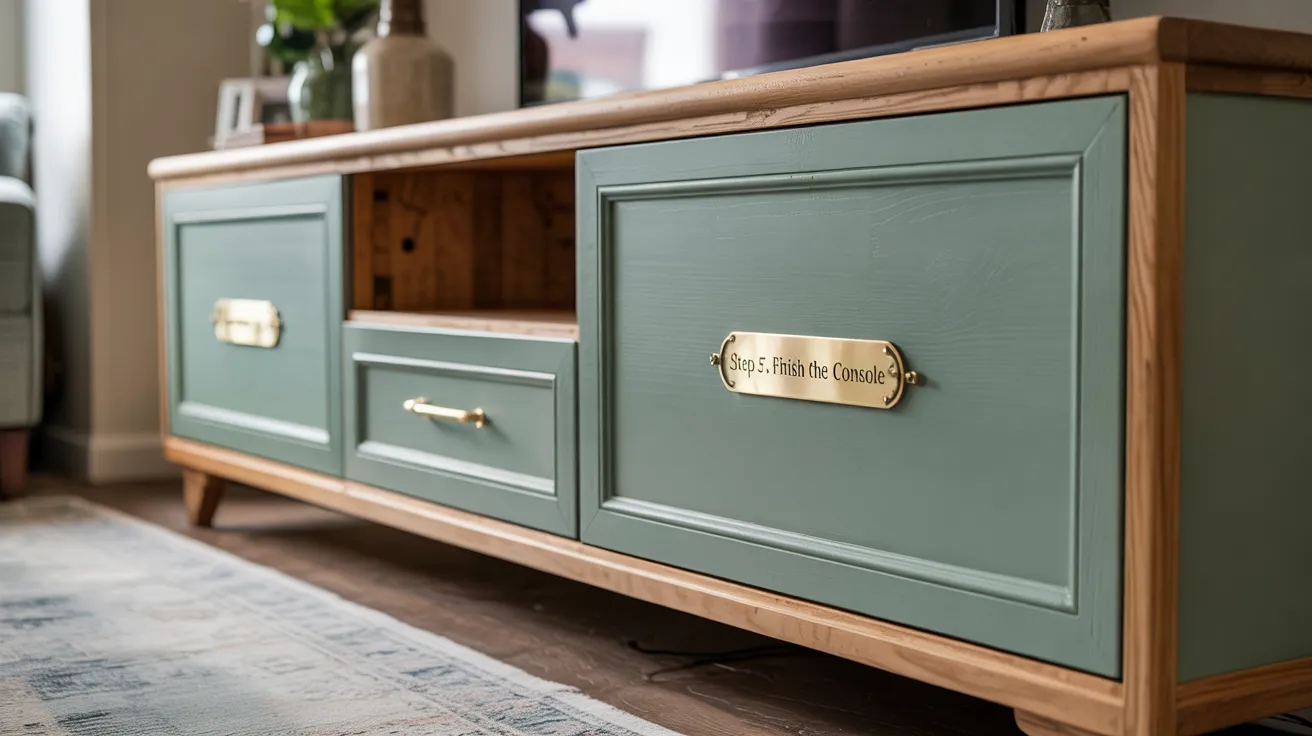
Make it look good and last a long time. Select a paint or stain that complements your room’s style. Apply at least two coats, with light sanding between each coat. Once dry, add any handles or other small parts to complete it.
Finishing Steps:
- Apply the first coat of paint/stain
- Sand lightly when dry
- Add a second coat for a better look
- Attach handles and hardware last
Choosing the Right Finish: Paint vs. Stain for Your Media Console
Paint: Bold, Vibrant, and Customizable
Paint gives your media console a fresh, clean look with total color control. You can pick any shade that fits your room style, from soft whites to bold blues. The smooth coat conceals wood flaws and marks while providing a strong shield against daily bumps and wear.
This makes it ideal for busy homes where the console may be exposed to spills or scratches. With paint, you can match other items in your room or create a standout piece that draws the eye. The finish can be flat for a soft look or glossy for more shine.
While paint may require touch-ups if it gets chipped, using a good primer and high-quality paint helps it last much longer. Just know that once painted, it’s challenging to return to seeing the wood grain.
Stain: Natural Beauty with Richness
Wood stain sinks into the surface, bringing out the natural patterns and lines in your wood. It adds depth and warmth while letting you still see what makes each piece of wood special. The look feels more refined and improves with age as the wood develops a rich tone over time.
Stains won’t peel off like paint might, and small scratches blend in more seamlessly with the wood’s natural look. You can choose from light honey tones to deep browns, although the range isn’t as wide as that of paint.
The process is often simpler: apply the stain, wipe off the excess, and add a clear coat for shine and safety. Just be sure to sand well first, as the stain will make any rough spots or marks more noticeable.
Errors to Avoid When Crafting Your DIY Media Console
| Mistake | Why You Should Avoid It |
|---|---|
| Not Measuring Accurately | Poor measurements can result in pieces not fitting properly. |
| Skipping Sanding | Rough edges can cause splinters and a poor finish. |
| Using Low-Quality Wood | Cheap wood can warp, break, or look unattractive over time. |
| Not Using a Level | An unlevel console will appear crooked and uneven. |
| Overloading Shelves | Excess weight can cause shelves to sag or break. |
Expert Tips for Building a Flawless DIY Media Console
- Safety comes first. Always wear eye, ear, and lung protection when working with tools and wood.
- Check your measures twice. One small mistake can derail your entire project.
- Keep your work area flat. A level surface helps build a straight console.
- Use clamps to hold pieces. They give you better control during gluing and screwing.
- Make small holes first. Drill pilot holes before putting in screws to stop wood splits.
- Keep corners at 90 degrees. Check often with a square tool during the build.
- Begin with basic designs. Learn the skills on simple projects before tackling more complex ones.
- Take your time finishing. The sanding and coating steps make the biggest impact on looks.
Conclusion
Building your media console puts you in control of your home furnishings. You now have all the steps necessary to create a piece that perfectly fits your space and needs. The process might take some time, but the result will be worth it.
Remember the main points: plan carefully, gather quality materials, take your time with cuts, build with care, and finish with patience. Each step matters in creating something that lasts.
When your project is done, you’ll have more than just a place to put your TV. You’ll have a custom piece made with your own hands that saves money and looks just how you want it. Additionally, you’ll have gained skills that can be applied to future projects.
What will you build next? Maybe matching side tables or a bookshelf? Your new woodworking skills open up many possibilities. Share photos of your finished console online to inspire others on their DIY path.
Frequently Asked Questions
How Long Does It Take to Build a Media Console for Beginners?
Most first-time participants complete the project in a weekend or two, spending approximately 10-15 hours in total on all steps.
What Type of Wood Works Best for a Media Console?
Plywood offers good value and strength, while oak, maple, or pine provide solid options depending on your budget and skill level.
How Do I Hide Cables and Wires in My Diy Media Console?
Drill small holes in the back panel or between shelves, and use cable clips or zip ties to keep wires tidy and out of sight.
Should I Seal My Media Console if I’m Using It in a High-Moisture Area?
Yes, apply polyurethane or water-resistant sealant for areas like basements or homes in humid climates to prevent warping.
