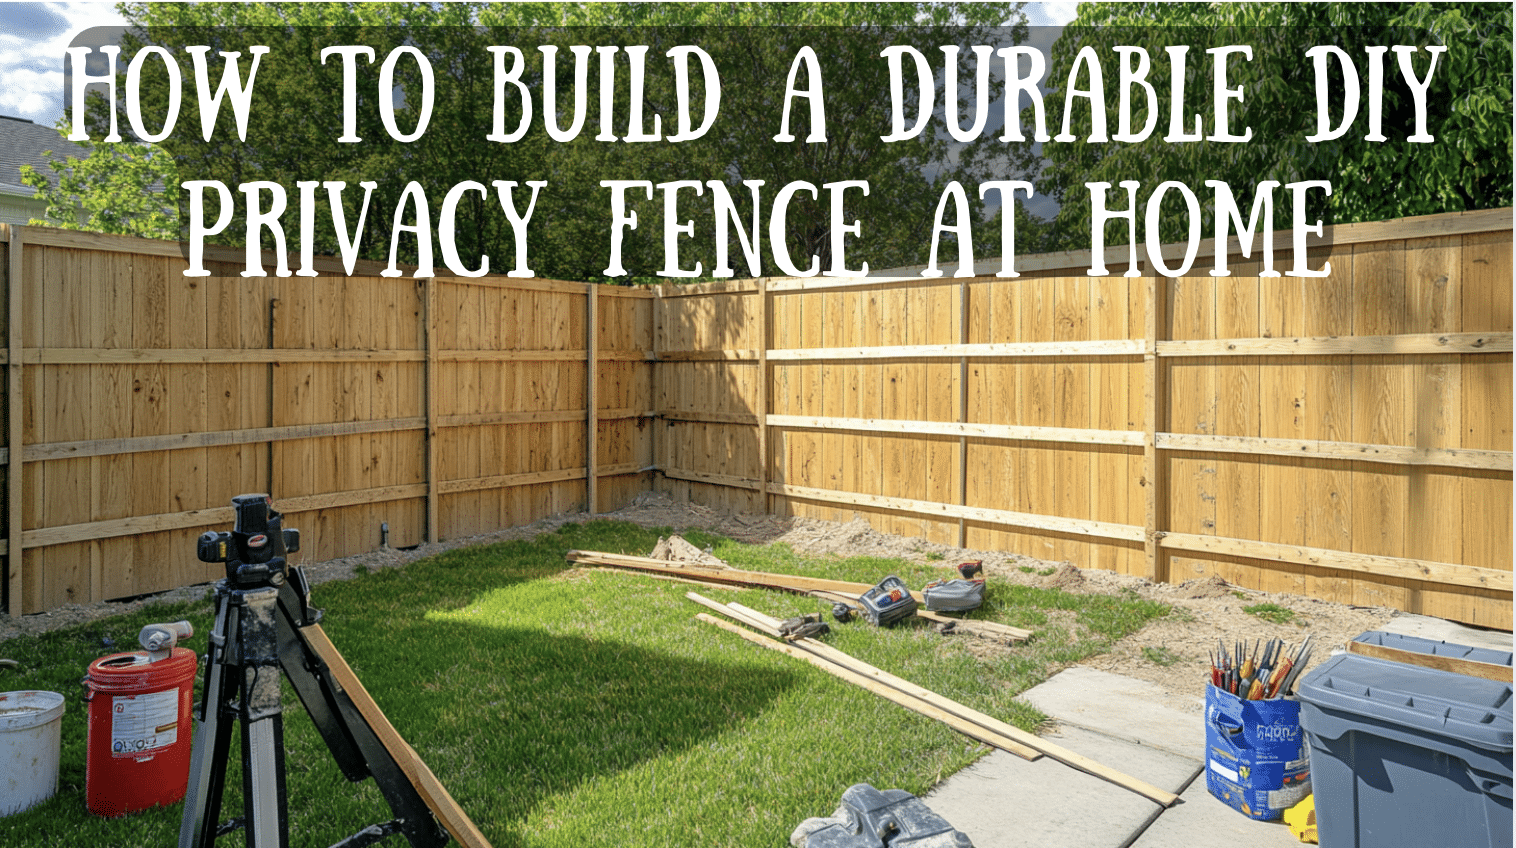
Have you ever looked at your backyard and felt exposed?
Let’s face it—nosy neighbors, street noise, and a lack of privacy can make your outdoor space a place you’d rather avoid.
Not to mention, professional fence installation costs can leave your wallet feeling pretty light these days.
But here’s the good news: You can build a solid, lasting privacy fence yourself without being a carpentry expert.
I’ve developed a straightforward system that allows you to work with uneven ground, doesn’t demand perfect measurements, and still creates a fence that will stand strong for decades.
Using basic tools and materials from your local home store, you’ll have a privacy fence that looks professional and saves you serious money.
Let me show you how.
Benefits Of A Durable Privacy Fence
1. Enhancing Privacy and Security
- Create a peaceful outdoor space: A 6-foot privacy fence keeps your activities private and gives you control over your yard.
- Perfect for kids and pets: Provides a safe area for play without worry.
- Noise reduction: A solid barrier helps block street noise, making your backyard more enjoyable.
2. Increasing Property Value
- Boosts home value: Buyers love properties with well-maintained fences.
- Durability matters: A quality fence with ground-contact-rated posts lasts longer and adds significant value.
- Easy maintenance: Proper installation and upkeep ensure it remains attractive.
3. Customization To Match Your Style
- Choose your design: Tight boards for full privacy or spaced boards for airflow.
- Add a personal touch: Use pressure-treated lumber for a natural or stained look.
- Double-sided appeal: Install boards on both sides for a neat appearance.
Tools and Materials You’ll Need
| Category | Items | Tips for Durability |
|---|---|---|
| Essential Tools | Saw (manual or electric) | Choose tools with sharp blades and reliable performance for precision cuts. |
| Power drill with multiple bits | Ensure the drill is powerful enough for wood and concrete drilling. | |
| Level and measuring tape | Opt for a high-quality level for accurate alignment and measurements. | |
| Post hole digger or auger | Use a sturdy tool to dig uniform holes for stability. | |
| Hammer | A claw hammer is versatile for nailing and adjustments. | |
| Safety gear (gloves, goggles, ear protection) | Invest in durable safety gear for prolonged comfort and protection. | |
| Materials | Pressure-treated wood or composite boards | Use weather-resistant materials to avoid rot and warping. |
| Ground-contact rated posts | These posts are treated for better resistance to moisture and decay. | |
| Concrete mix | Choose a high-strength mix for securely setting fence posts. | |
| Galvanized nails or screws | Use rust-resistant fasteners to ensure long-term strength. | |
| Weatherproof paint or sealant | Protects wood from harsh weather and prolongs its life. |
Planning Your DIY Privacy Fence
Assessing Your Yard Space
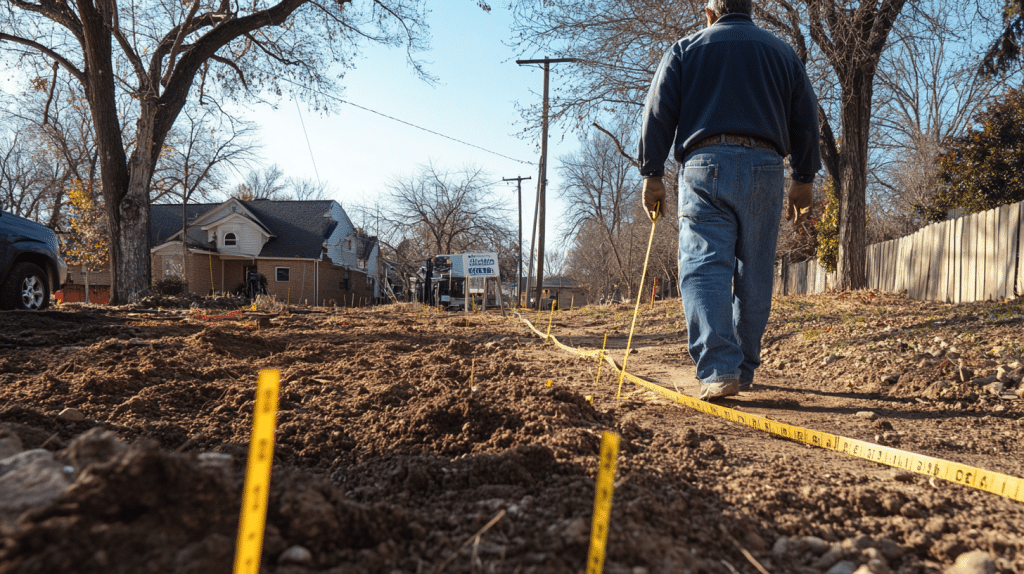
Before grabbing your tools, take a good look at your yard. You’ll need to:
- Walk your property line to spot any obstacles
- Check for slopes – these affect how you’ll build
- Look for utility lines (call 811 before digging)
- Note drainage patterns to avoid water issues
- Mark spots where posts will need to go
Pro Tip: Plan for proper drainage around posts in areas with clay soil (like the one in the video). Your holes should have some texture so the foam or concrete will grip well.
Measuring and Marking the Fence Layout
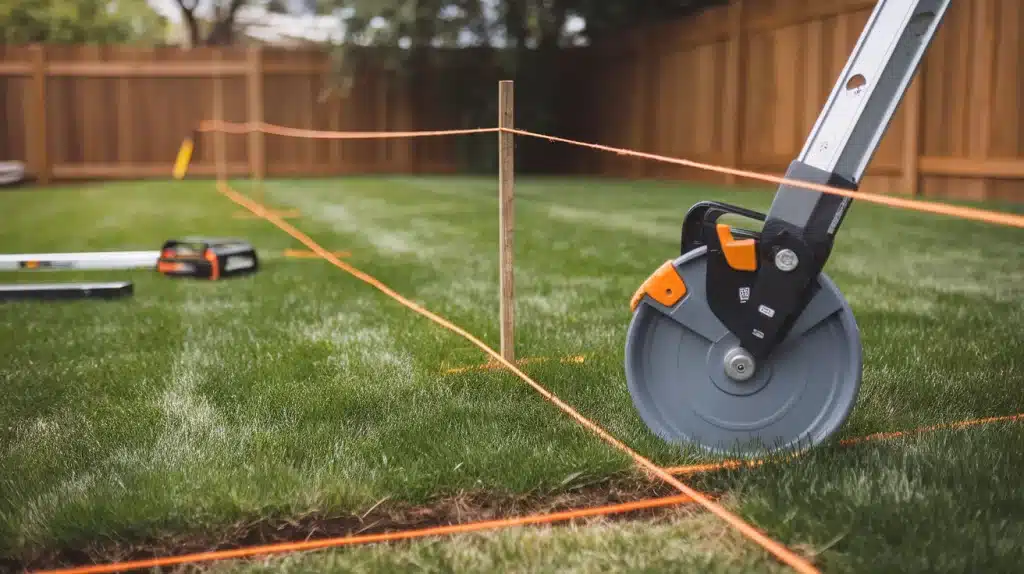
Let’s keep this simple and practical:
- String a line along your planned fence route
- Mark the line with paint where you’ll cut grass
- Plan posts roughly 8 feet apart
- Don’t stress about perfect measurements – our system gives you wiggle room
- Keep posts slightly forward in their holes for proper board alignment
Time-Saving Tip: Use an 18-inch sod cutter (rent from Home Depot) to remove grass along your marked line. This creates a clean path for stone later.
Checking Local Building Codes and Permits
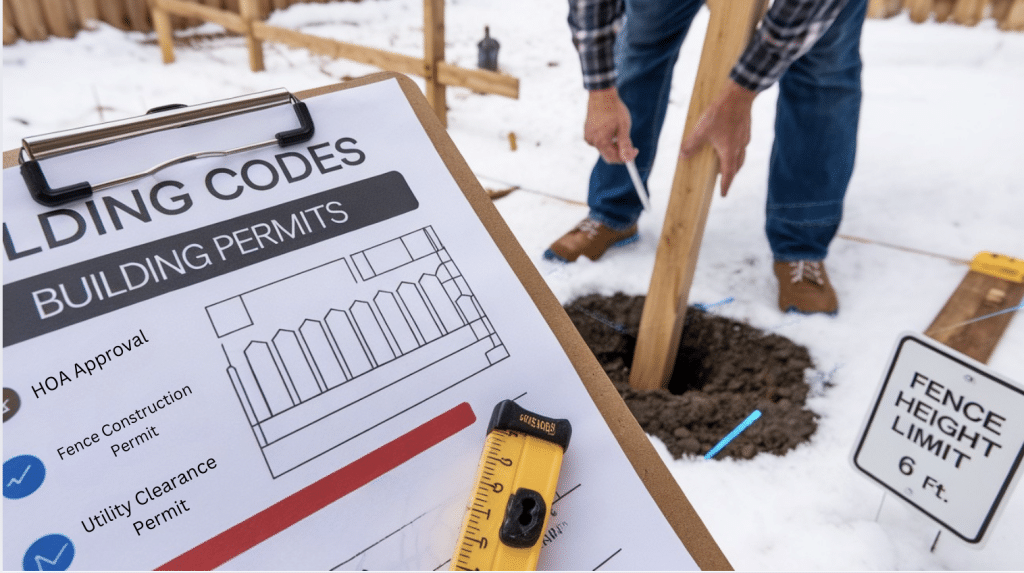
Here’s what you need to know:
- Check required post depths for your area
- Standard depths range from 2½ to 4 feet, depending on the frost line
- Most areas limit fence height to 6 feet for backyards
- Some neighborhoods have rules about fence style
- Corner lots might have special requirements
- Get permits before starting if required
Real-World Advice: In places with serious winters, like Ottawa (mentioned in the video), dig posts 3-4 feet deep at minimum. It’s better to go deeper than risk damaging your fence with frost heave.
Remember: This is a long-term project. Planning now will save you headaches later. Don’t skip these steps even if you’re excited to start building.
Step-by-Step Guide To Building Your Privacy Fence
Step 1: Site Preparation
Start by drawing a string line where your fence will go. Mark the line with paint to indicate where to cut the grass.
Using the rented sod cutter, remove an 18-inch strip of grass along your marked line. This cleared area will later be filled with clean stone, eliminating the need for grass trimming against your finished fence.
Mark spots for post holes every 8 feet along your line.
Step 2: Post Installation
Using the power auger, dig holes to the appropriate depth based on your location. In areas with frost, dig 3-4 feet deep at minimum—place posts in the holes, positioning them slightly forward from the center for proper alignment.
Use a post-level system and 2×4 braces to hold posts straight. Mix and pour the post-setting foam compound—one bag typically does two posts. The foam sets in about an hour, allowing you to continue building the same day.
Step 3: Installing Support Rails
Begin by installing the top rail approximately 68 inches from the ground. Position rails on the face of the posts, not between them – this provides better wind resistance as pressure pushes against the post rather than the fasteners.
Install rails along the entire fence line, keeping them level. Use a 2×6 for the bottom rail, installing it crown-up about 4-5 inches off the ground to prevent sagging over time.
Step 4: Installing Fence Boards
First, remove all stickers from your fence boards. When installing boards, follow the natural curve in the wood consistently to prevent a wavy appearance at the top.
If desired, use a spacer to maintain uniform gaps.
Check for level every 4-5 boards. You can use either screws or a pneumatic nail gun for attaching boards.
Fasteners should be placed about 6 inches from the board ends to prevent splitting.
Step 5: Finishing Work
Seal cut ends on your lumber with an appropriate sealer to prevent rot. This is crucial even for covered ends, as water can work its way down from the top.
Fill the cleared base area with clean stone for drainage and easy maintenance.
Wait about two months for the pressure-treated wood to dry out and bleach naturally before staining. Then, to protect it, apply two coats of a penetrating stain.
Watch this step-by-step video guide by Home RenoVision DIY to see the entire process!
Maintenance Tips
- Check posts and boards each spring for winter damage.
- Wait 2 months before the first stain for pressure-treated wood.
- Apply two coats of penetrating stain for protection.
- Use brown screws – they blend with aged wood.
- Fill the base with clean stone for good drainage.
- Seal all cut ends to prevent water damage.
- Spray weeds instead of pulling near the fence.
- Run mower wheels on a stone border for easy trimming.
- Use a leaf blower for quick cleaning.
- Fix loose boards promptly to prevent bigger issues.
Pro Tip: The screw installation method shown in the video makes repairs simple – if a post shifts, you can easily fix it without rebuilding whole sections.
Conclusion
Building your own privacy fence is a rewarding project that pays off in multiple ways.
This step-by-step approach, focusing on practical techniques and quality materials, helps create a fence that will serve you well for decades.
While fence building isn’t rocket science, attention to details like proper post depth, material selection, and installation methods make the difference between a fence that lasts 25 years and one that needs constant repairs.
Remember, a fence doesn’t need to be perfect to be strong.
What matters is using ground-contact-rated posts, maintaining the proper depth for your climate, and following basic building principles.
With these fundamentals in place, you’ll have a sturdy, long-lasting fence that enhances your property’s value while providing the privacy and security you seek.
Frequently Asked Questions
What Is The Cheapest Privacy Fence to Build?
A pressure-treated wood fence with basic materials – 4×4 posts, 2×4 rails, and standard fence boards. Save more by spacing posts 8 feet apart instead of 6 feet.
Is It Cheaper To Buy or Build a Privacy Fence?
Building yourself is much cheaper. You only pay for materials and daily equipment rental instead of professional labor costs. Plus, spacing posts at 8 feet cuts material costs.
What Is The Easiest DIY Fence to Install?
The video shows a face-mounted design that simplifies alignment. Rails are mounted on post faces (not between them). Post-setting foam eliminates concrete mixing, and exact measurements aren’t critical.
How Much Does It Cost to Build a Privacy Fence Yourself?
Building a privacy fence yourself costs $10–$30 per linear foot, depending on the materials. For a 150-foot wall, expect to spend around $1,500–$4,000, which is significantly cheaper than hiring a professional.
