Have you ever admired the beautiful bows on hair or home items? They cost so much in stores. But here’s a secret – you can make them at home!
Many folks think making fabric bows is hard. They try once, mess up, and quit. I know because I was that person too.
The good news? It’s actually quite simple. You need the right steps.
In this guide, I’ll show you exactly how to create fabric bows. No fancy tools needed. Just basic items you already have at home.
By the end, you’ll have the skills to make bows, hair clips, or home decor. These handmade touches make gifts feel extra special. Plus, you’ll gain a craft skill that saves money time after time.
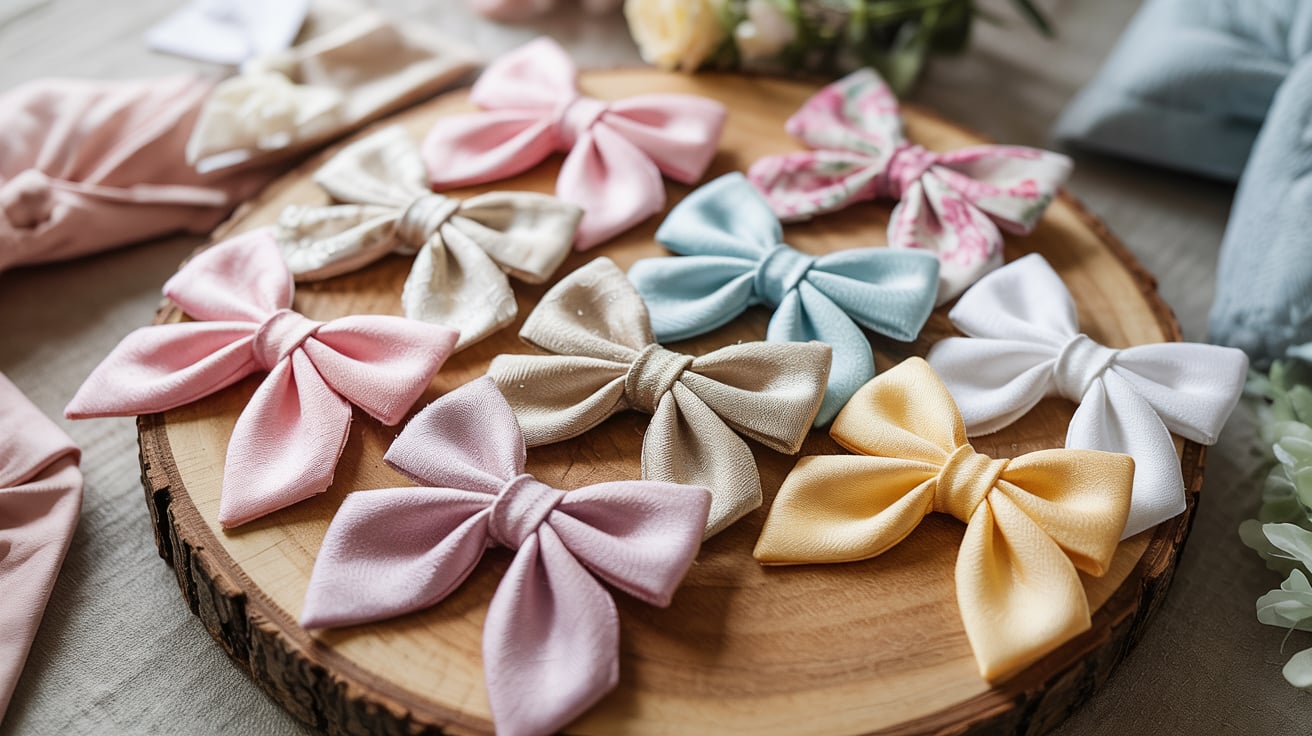
The fabric bow world is full of options. Small, large, simple, or fancy – the choice is yours. And the feeling when someone asks, “Where did you buy that?” and you say, “I made it”? Priceless.
Ready to save money and add a personal touch to your creations? Let’s get started!
How to Make a Bow Out of Fabric?
Creating your own fabric bows is easier than you might think, and it opens up countless options for personalized decorations, gifts, and accessories that show your creative flair.
Materials You’ll Need
Before we start making our fabric bow, let’s gather all the items we’ll need. Having everything ready makes the process much smoother.
| Essential Items | Why You Need It |
|---|---|
| Fabric | The main material for your bow. Cotton works well for beginners. |
| Thread | Choose a color that matches your fabric. |
| Scissors | Sharp fabric scissors give cleaner cuts. |
| Sewing machine or hand needle | For joining fabric pieces together. |
| Dull knitting needle | Helps turn fabric right side out after sewing. |
| Iron | For pressing seams and creating crisp edges. |
Optional Items:
| Item | Purpose |
|---|---|
| Bow template | Helps create uniform shapes and sizes. |
| Fabric pins | Keeps fabric in place while cutting and sewing. |
| Fabric glue | Alternative to sewing for quick projects. |
| Measuring tape | Ensures accurate dimensions. |
You can make a simple bow template at home using cardboard. Just draw your desired bow shape, cut it out, and trace it onto your fabric.
Most of these items are probably already in your home. If not, they’re easy to find at craft stores.
Step 1: Cut Your Fabric Using a Template
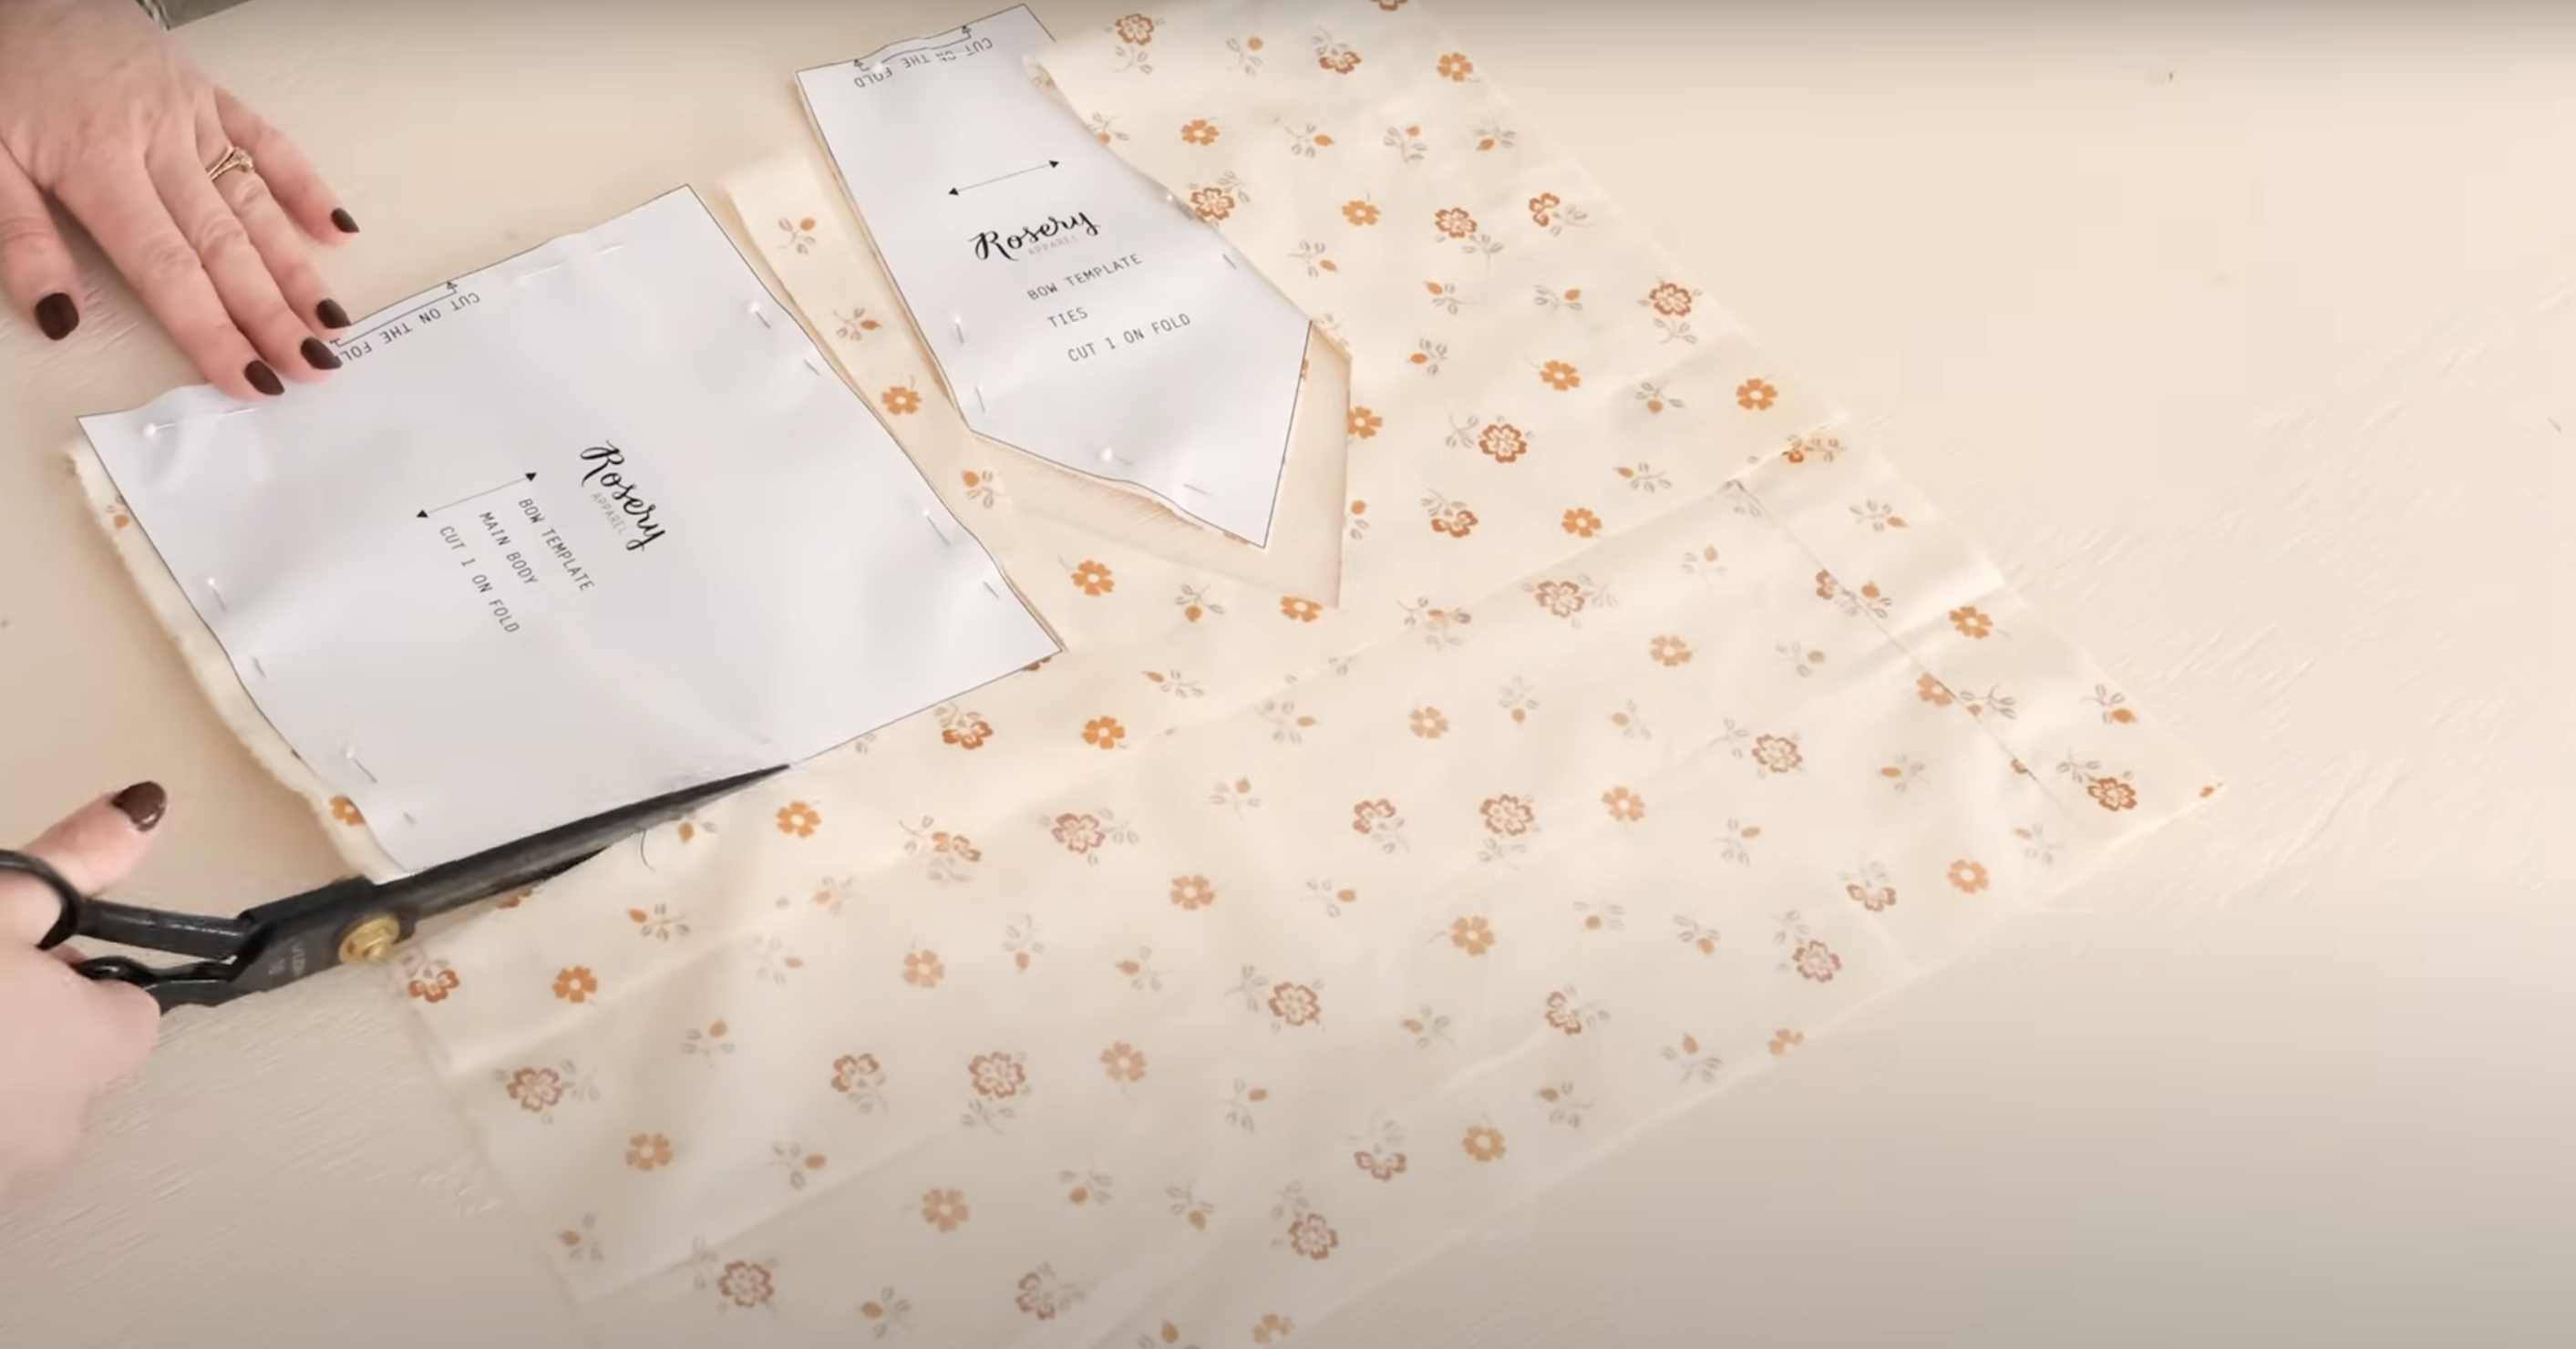
Start by placing your template on the fabric. You’ll need three pieces: a large rectangle for the main body, a smaller rectangle for the tie, and a thin strip for the center piece.
Trace around each shape with chalk or a fabric marker. Cut along the lines with sharp scissors. Make sure all edges are clean and straight.
Pro Tip: Cut fabric on a flat, hard surface rather than holding it in the air. This gives you more control and results in straighter lines.
Step 2: Sew the Tie and Main Body

Take each piece and fold it lengthwise, right sides together. Pin along the open edges to keep them aligned while sewing.
Sew along the long edge and one short edge of each piece. Leave a small opening in the tie piece for turning. Make sure to backstitch at the beginning and end.
Pro Tip: Use a smaller stitch length (around 2mm) for stronger seams that won’t come apart when you turn the fabric.
Step 3: Turn Right Side Out & Press
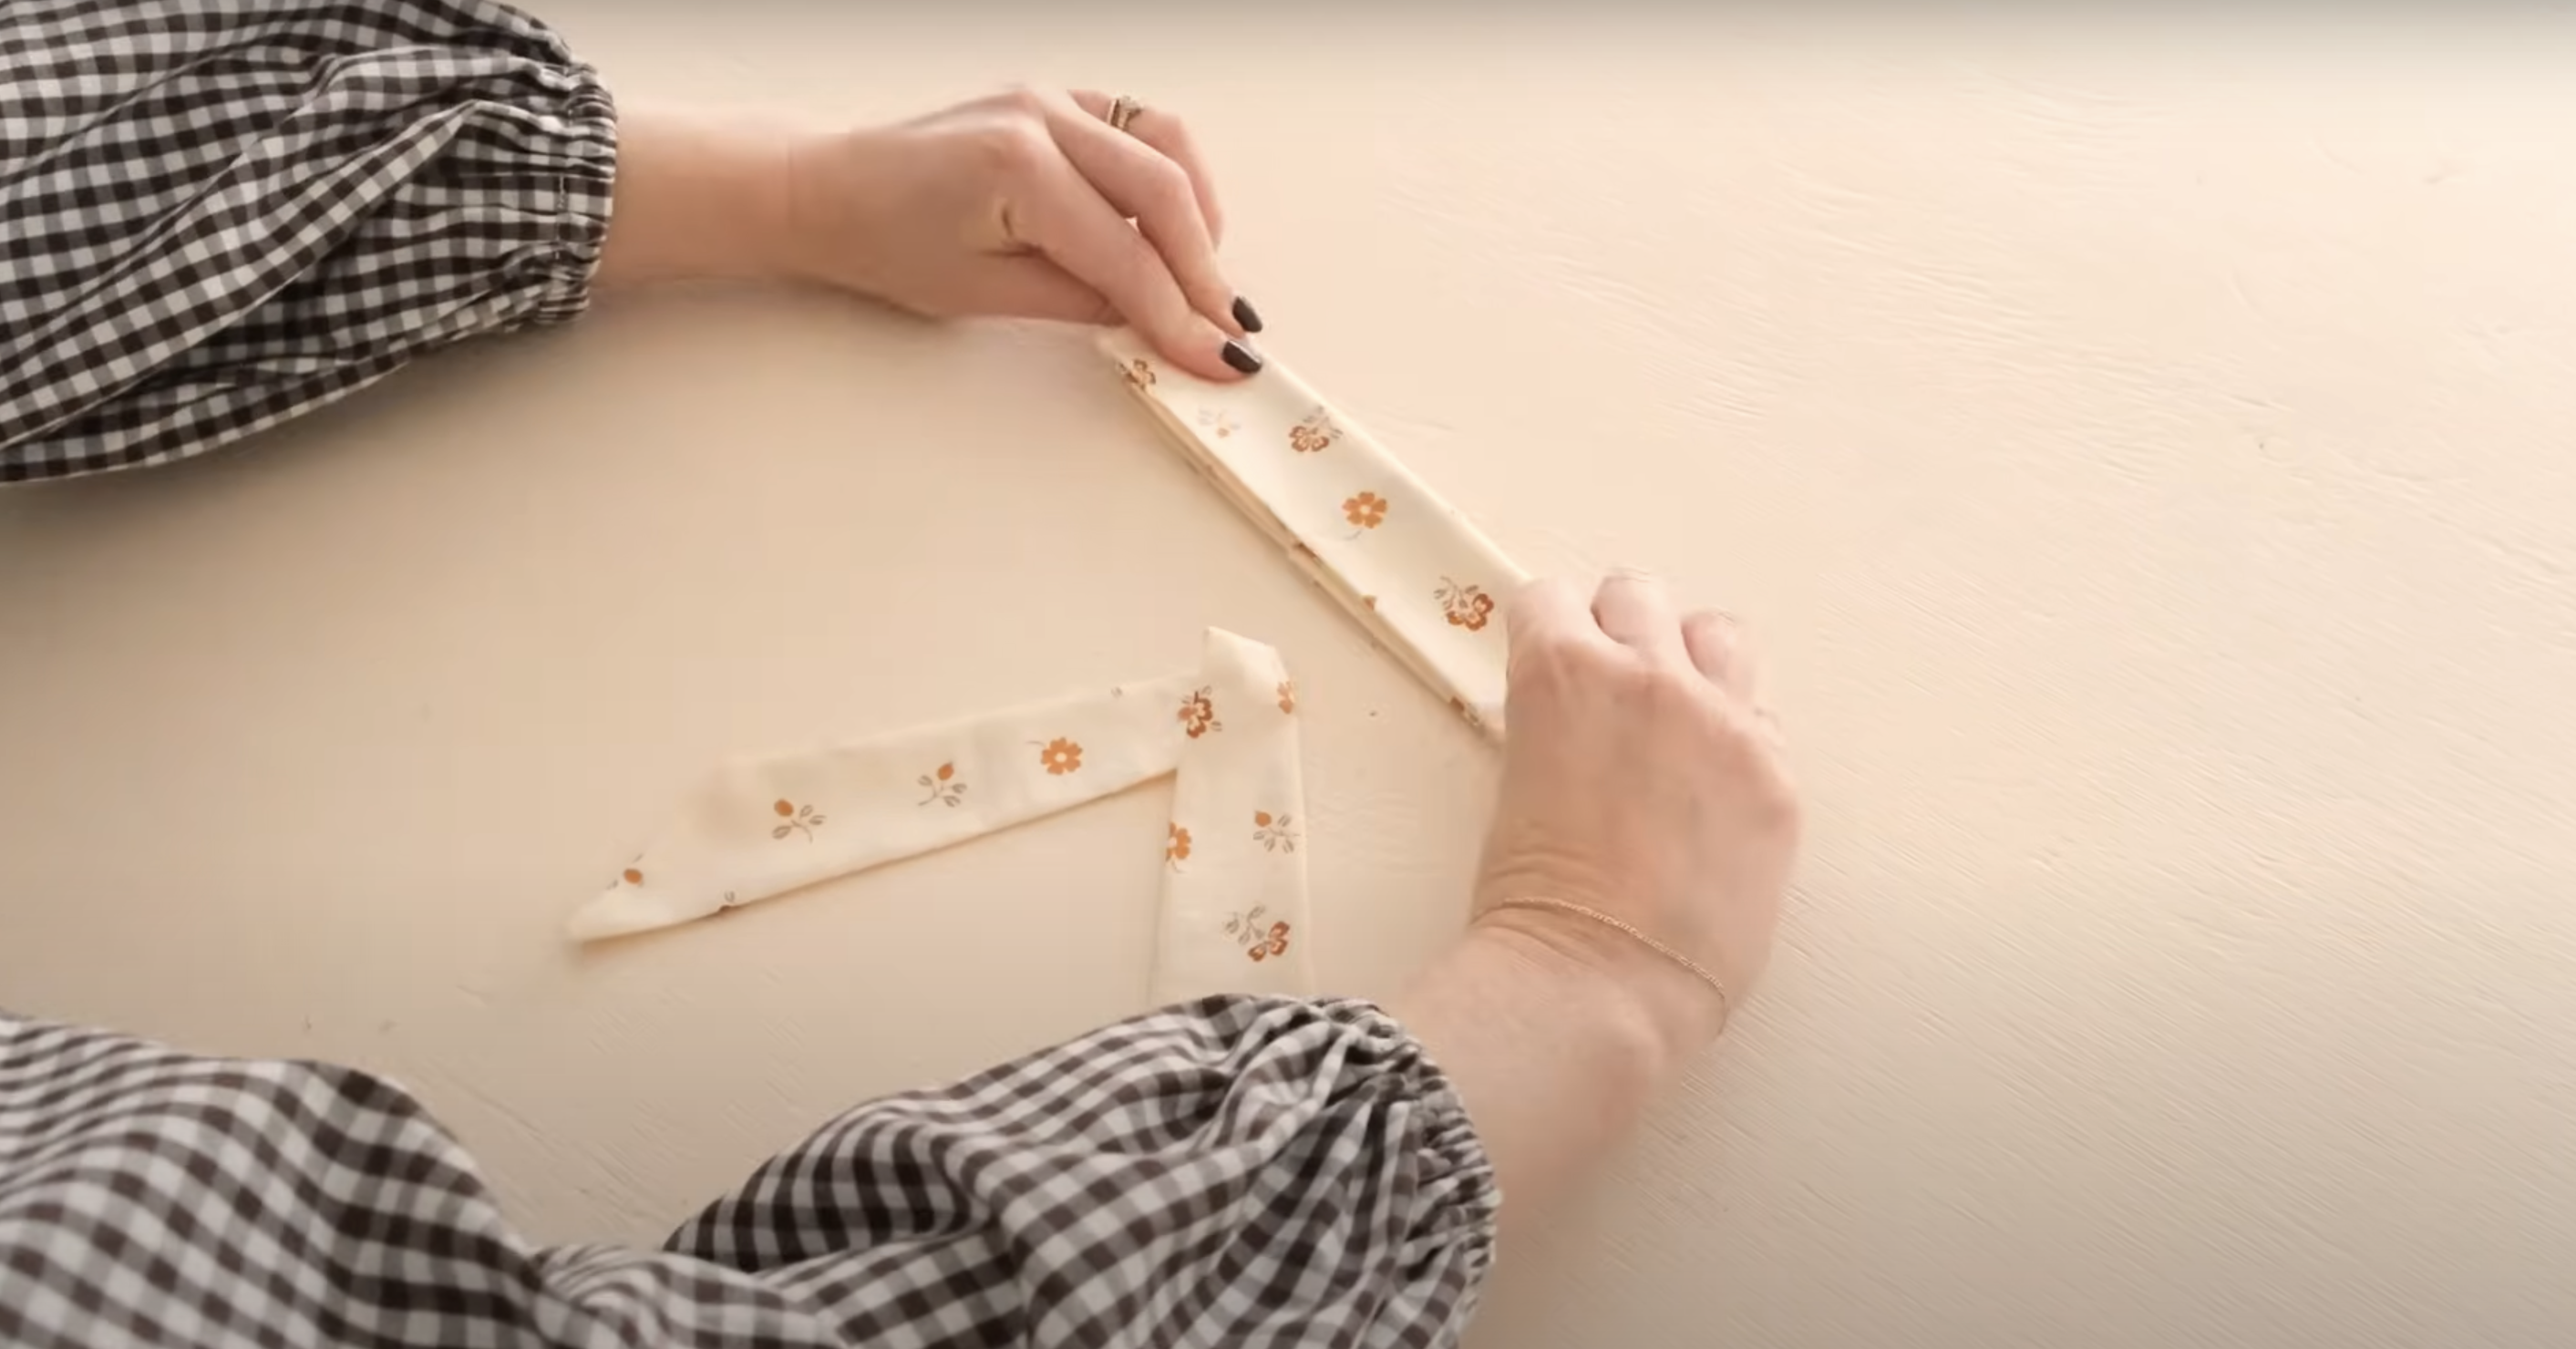
Push fabric through the opening using a dull knitting needle or chopstick. Start at the closed corner and work gently to avoid tearing the seams.
Once turned, press with an iron on the right setting for your fabric. Focus on getting crisp edges by pressing the seams flat and making sure they’re rolled to the edge.
Pro Tip: If your fabric has a pattern, make sure it’s facing the right way before you press. Once pressed, it’s hard to fix.
Step 4: Form the Bow Shape
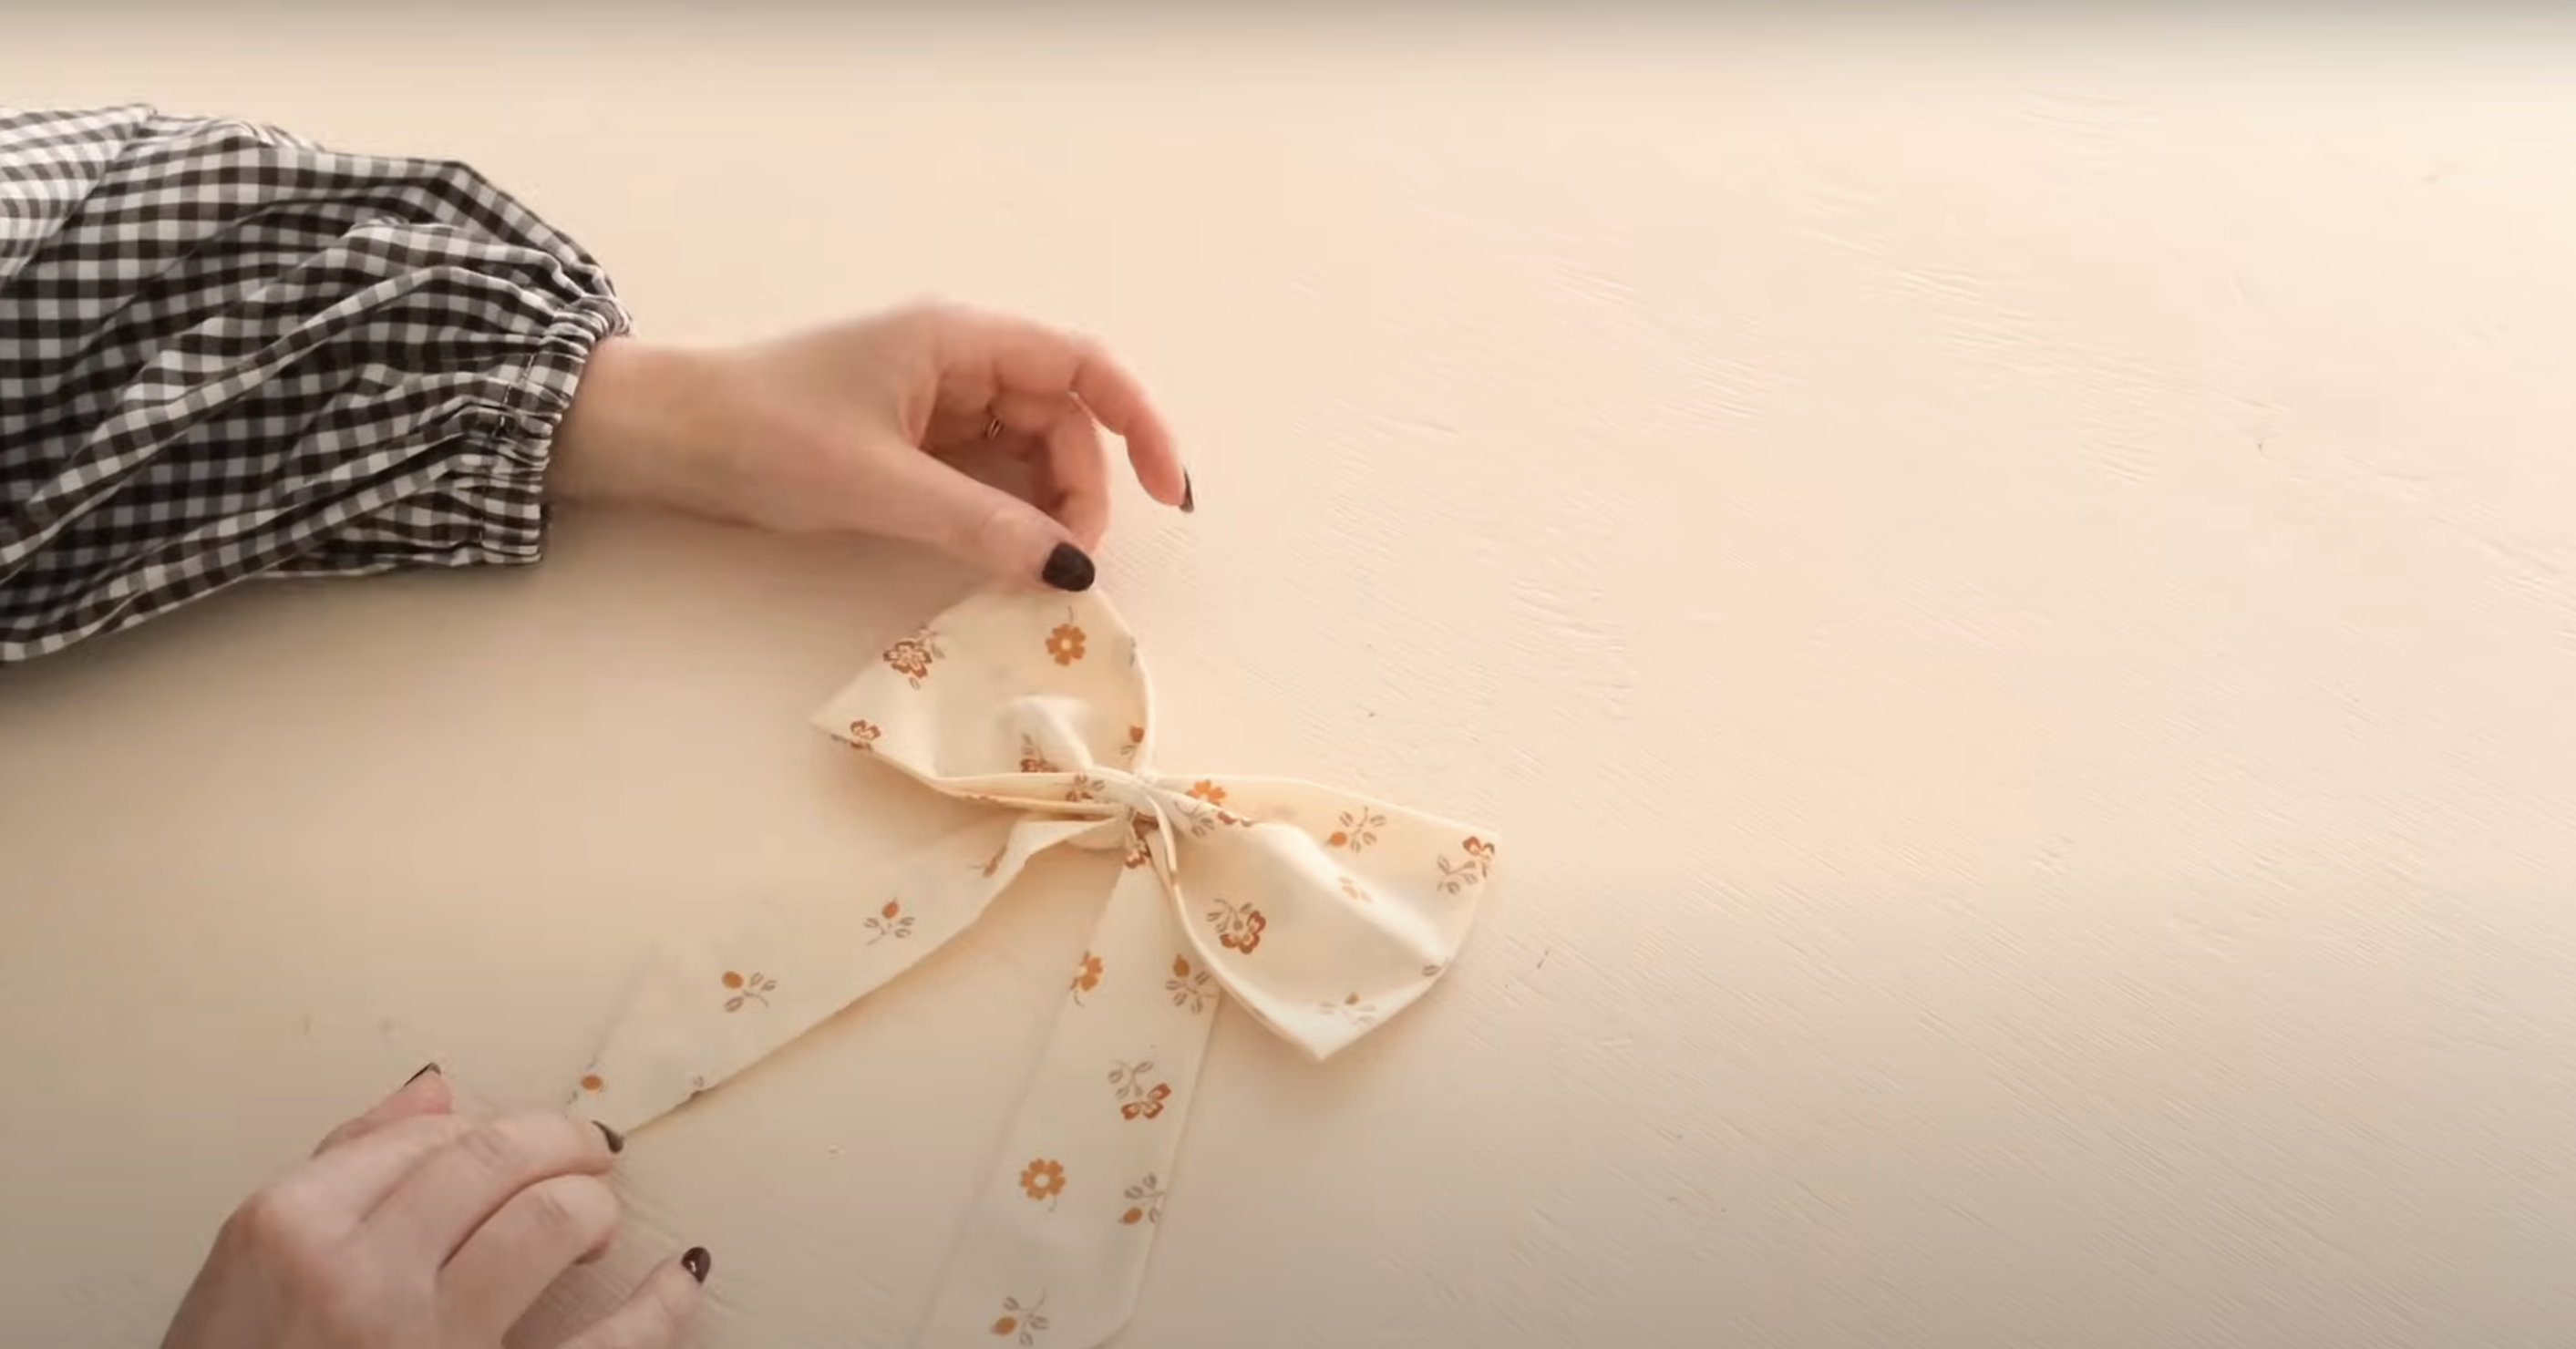
Sew the short ends of the main body together to form a loop. This creates the basic bow shape before styling.
Pinch the center of the loop to create the classic bow look. Hold it firmly in place while you prepare the tie piece.
Pro Tip: Try different pinch widths to change your bow style. A wider pinch makes a fuller bow, while a narrow pinch creates a more refined look.
Step 5: Attach Tie and Main Body
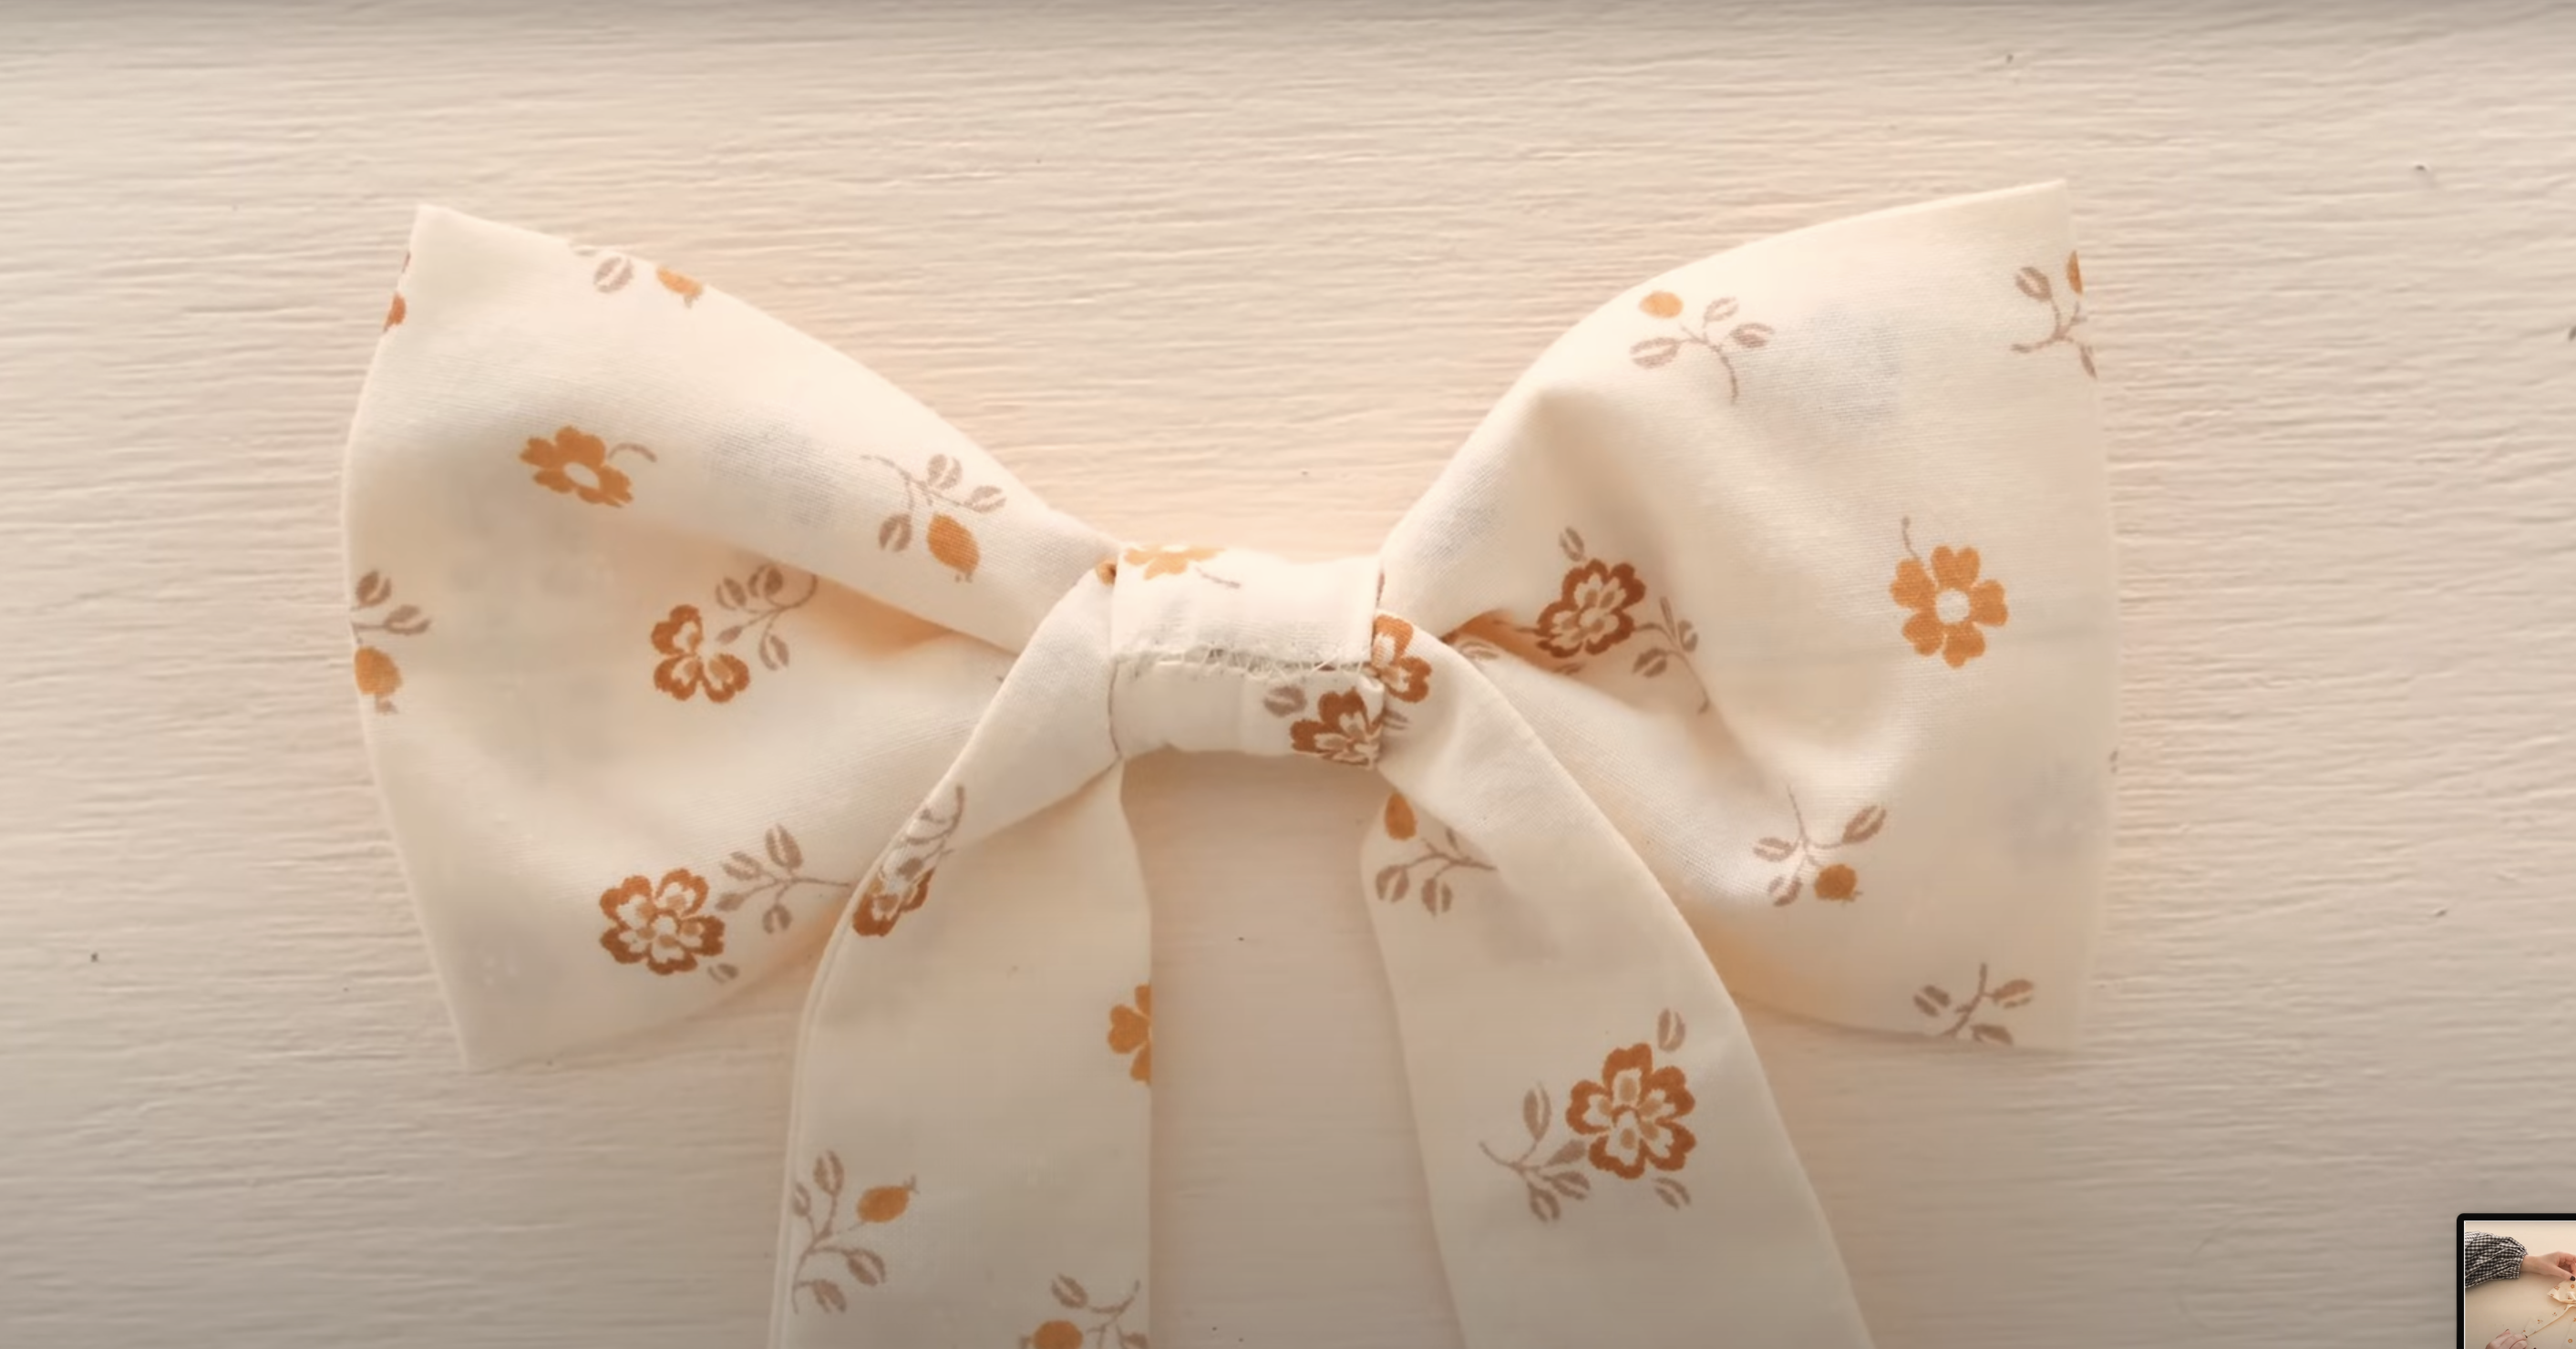
Wrap the tie piece around the pinched center of the bow. Pull it tight enough to hold the shape but not so tight that it distorts the bow.
Secure the tie by stitching it in place at the back of the bow. Keep stitches small and in a matching thread color to make them less visible.
Pro Tip: Double-wrap the thread around the center for extra strength. This helps the bow keep its shape even with frequent handling.
Step 6: Add Center Wrap
Fold in the raw edges of your center strip and stitch them down. Turn this piece right side out and press it flat.
Wrap this strip around the center of the bow, covering the tie piece. Stitch it in place at the back of the bow with small, hidden stitches.
Pro Tip: For a cleaner finish, slide the seam of your center wrap to the back of the bow before securing it. This keeps the front looking perfect.
Video Tutorial
For a detailed video check out, Rosery Apparelfor How to Sew a Bow 🎀 FREE PATTERN! (Easy & Beginner-Friendly Sewing Projects) | DIY Fabric Bow
Creative Variations & Customization Ideas
Now that you know the basics, let’s look at ways to make your fabric bows unique. These simple changes can create totally different looks.
1. Fabric Types and Their Effects
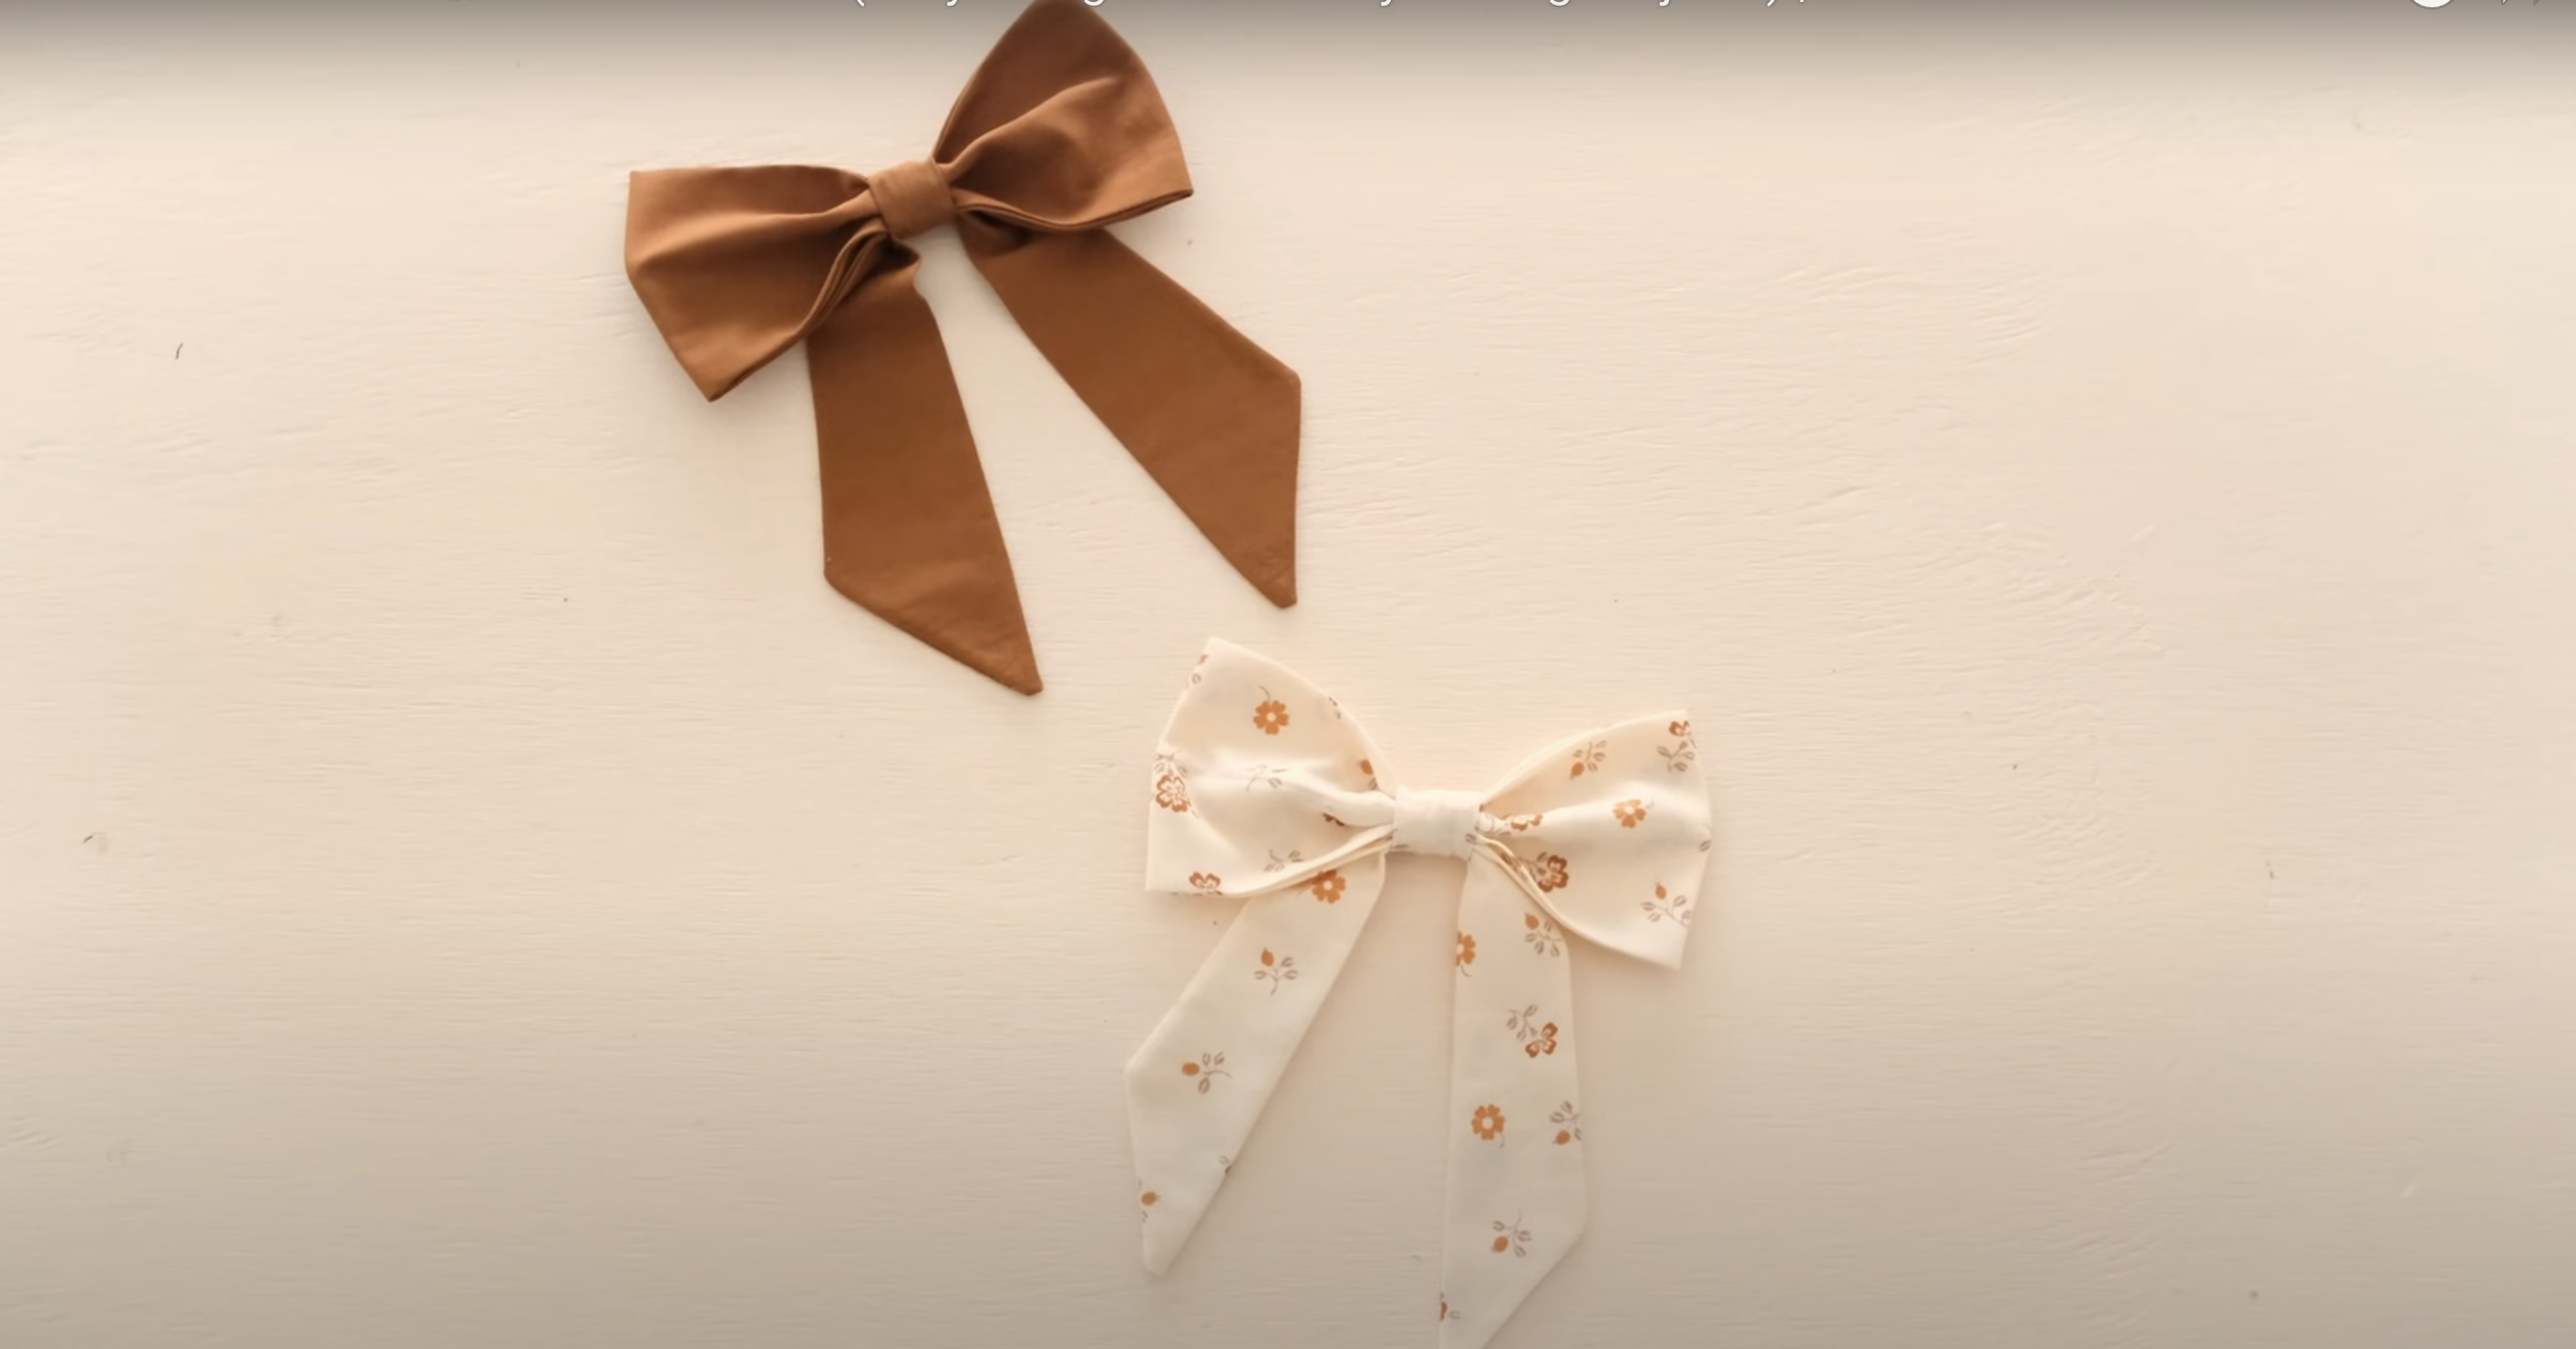
The type of fabric you choose greatly impacts how your bow looks and feels. Cotton creates sturdy, well-shaped bows that hold their form well. These bows work great for everyday items and can withstand regular use without losing shape.
Satin and silk fabrics give a shiny, formal look perfect for special events. These materials catch light and add a touch of class to any project. Just keep in mind that they can be slippery to work with, so take your time when cutting and sewing.
- Cotton creates sturdy, well-shaped bows for everyday use
- Satin gives a shiny, formal look perfect for special events
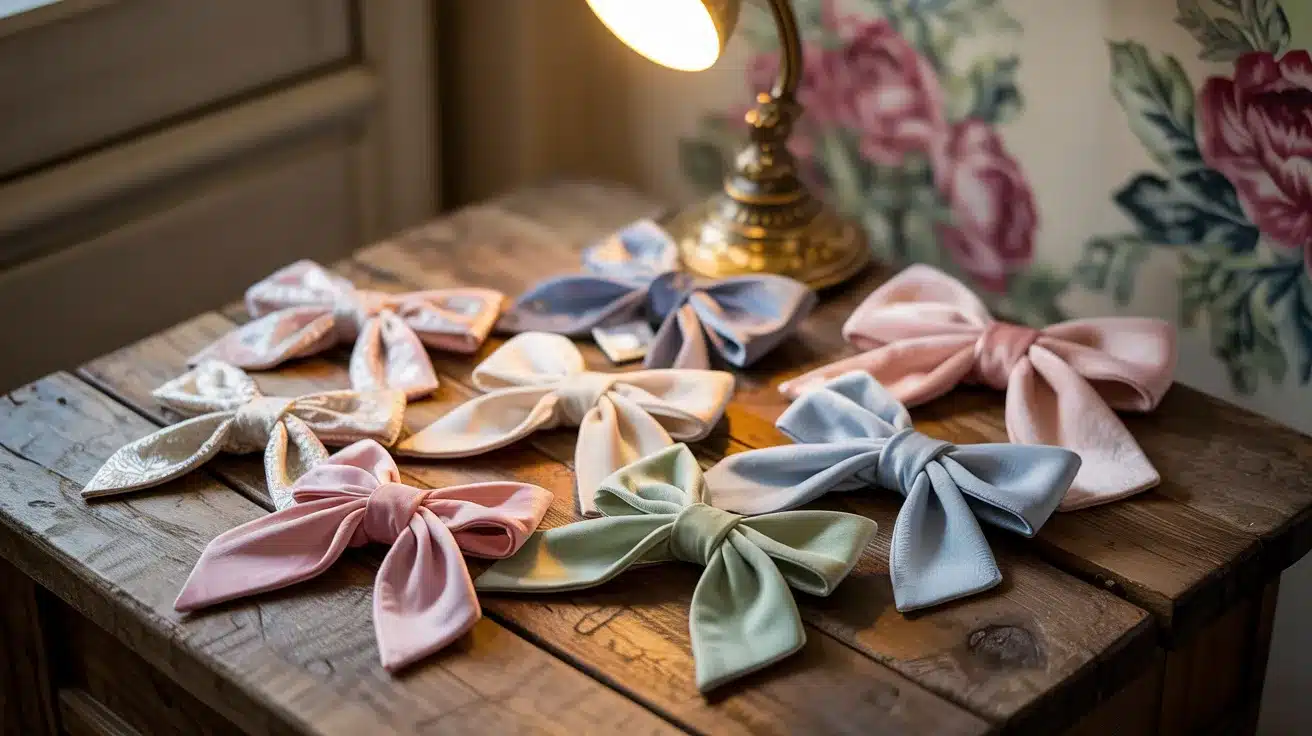
- Velvet bows bring warmth and texture to any project
- Denim makes bold, structured bows that maintain their shape
2. Different Sizes and Styles
Bow size dramatically changes the impact and use of your creation. Oversized bows make bold statements on wreaths, large gifts, or as wall decor. They draw attention and can become the focal point of any display. When making large bows, consider using stiffer fabric or adding interfacing to help maintain the shape.
Medium-sized bows are the most useful to master first. They work for most purposes from gift wrapping to home decor. This size strikes a good balance between being noticeable without overwhelming the item they adorn.
- Oversized statement bows for wreaths, large gifts, or wall decor
- Medium-sized bows for most general purposes
- Miniature bows for baby clips, pet collars, or card making
- Stacked bows with multiple layers for a fuller effect
3. Embellishment Tips
Adding extra details to your bows makes them truly one-of-a-kind. Beads and sequins bring sparkle to any bow design. You can sew them onto the center or along the edges after the bow is constructed. This works especially well for celebration or holiday bows.
Lace and trim create fancy borders that show when the bow is complete. Try attaching thin lace along the edges before folding and sewing your bow pieces. The result is a delicate, layered look that adds dimension to your creation.
- Beads and sequins for sparkle and visual interest
- Lace trim along edges for a fancy border
- Fabric paint for adding dots, stripes, or patterns
- Buttons or brooches at the center for a finished look
5 Common Mistakes to Avoid When Making Fabric Bows
When making fabric bows, even small errors can affect the final look. Here are common mistakes to watch out for:
1. Using dull scissors: Dull scissors create jagged, frayed edges on your fabric. This makes your bow look messy and unprofessional. Always use sharp fabric scissors for clean cuts.
2. Skipping the pressing step: Trying to save time by not ironing your seams leads to lumpy, uneven bows. Take the extra few minutes to press each piece properly. This creates crisp edges and makes the final bow look much better.
3. Making uneven measurements: When your measurements are off, your bow will look lopsided. Measure twice and cut once. Use a ruler or template to ensure all pieces are the exact size needed.
4. Using the wrong fabric for your project: Some fabrics won’t hold a bow shape well. Very floppy fabrics make droopy bows, while extremely stiff ones might not fold nicely. Choose your fabric based on how you want the final bow to look and function.
5. Rushing the sewing process: Quick, sloppy stitches often come loose. Take your time to sew straight, secure seams. This is especially important for the center pinch that gives the bow its shape.
Final Thoughts
Making fabric bows isn’t just about following steps. It’s about adding your personal touch to gifts and decor.
We’ve covered the basics: gathering materials, cutting fabric pieces, sewing them together, and forming the bow shape. We’ve also looked at different fabrics, sizes, and ways to make your bows stand out.
Remember, your first bow might not be perfect – and that’s okay! Each one gets better as you practice.
The best part about handmade bows? They’re much cheaper than store-bought ones, and they show you care enough to make something by hand.
So grab some fabric scraps and start creating! You might be surprised at how quickly you become the bow-making expert among your friends.
