
Ever stared at a woodworking project with brush marks that just won’t disappear? Spraying polyurethane might be the game-changer you’ve been looking for.
Getting that smooth, glass-like finish isn’t magic – it’s technique. And while spraying poly might seem tricky at first, it’s actually something anyone can learn with the right guidance.
This guide breaks down everything from choosing the right equipment to perfecting your spray pattern. You’ll learn how to avoid common mistakes that can turn a promising project into a sticky mess.
From family tables to kitchen cabinets, spraying polyurethane can give your work that professional look that makes people ask, “Who built this?”
Ready to upgrade your finishing skills? Let’s get that spray gun ready.
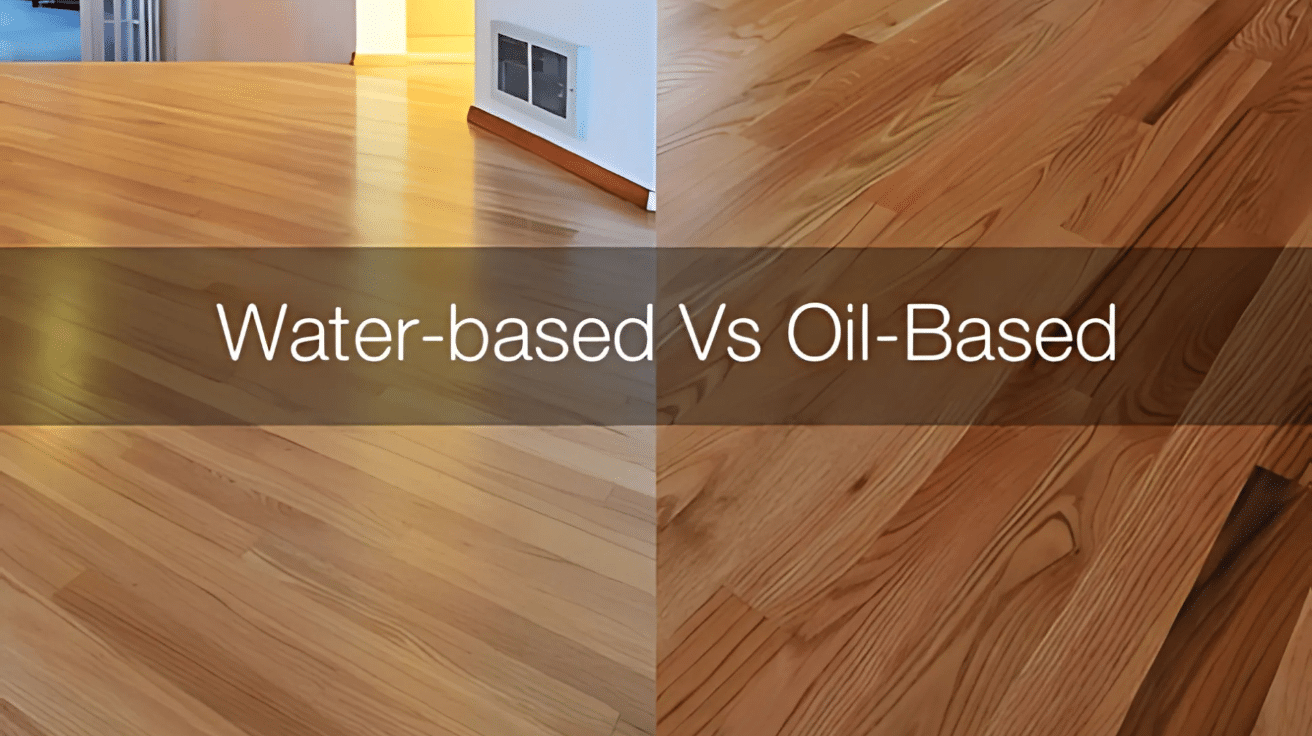
What is Polyurethane?
Polyurethane is a clear protective finish applied to wood and other materials. It creates a tough, moisture-resistant layer that shields surfaces from scratches, stains, and everyday wear. This makes it a widely used product in woodworking and furniture finishing.
There are two main types:
-
Water-based polyurethane dries quickly, has low odor, and keeps a clear appearance, which works well for lighter woods and indoor projects.
-
Oil-based polyurethane takes longer to dry, has a stronger smell, and gives the wood a warm, amber tone that becomes deeper over time.
It’s commonly used on hardwood floors, furniture, cabinets, and trim to give surfaces a smooth, lasting finish and help them stand up to regular use.
Can You Spray All Types of Polyurethane?
Yes, both oil-based and water-based polyurethane can be sprayed, but each type has its own requirements and handling techniques.
Spraying Oil-Based Polyurethane
Spraying oil-based polyurethane provides a smooth, durable finish but requires preparation. It’s thicker than water-based poly, so it must be thinned with mineral spirits (typically 10-20%).
Oil-based poly takes longer to dry, which can lead to runs and drips, so apply thin, even coats and allow enough drying time between layers. To avoid this, apply thin, even coats and allow sufficient drying time between layers.
The strong odor can be overwhelming, so always work in a well-ventilated area. Since it’s flammable, wear protective gear like a respirator mask, gloves, and goggles.
Spraying Water-Based Polyurethane
Spraying water-based polyurethane is easier and safer, as it’s thinner and typically doesn’t need thinning. It has a lower odor, making it ideal for indoor use, especially in poorly ventilated spaces.
It dries faster than oil-based poly, allowing multiple coats in one day. However, it may raise the wood grain, especially on softwoods like pine, so sanding between coats is necessary.
Water-based poly also doesn’t yellow over time, keeping light woods bright. While not as durable as oil-based poly in high-traffic areas, it’s great for furniture and low-impact surfaces.
In short, all types of polyurethane can be sprayed—just be sure to match the method and tools to the type you’re using and the scale of your project.
Materials Required:
| Item | Description |
|---|---|
| Water-based polyurethane | Easy to use, dries faster, no yellowing. |
| Paint sprayer (e.g., Wagner Flexio 3500) | Preferred for smooth, even application. |
| Stir stick | To stir the polyurethane thoroughly. |
| Paint strainer | To filter out debris from the polyurethane. |
| Sandpaper (220 or 320 grit) | For sanding between coats. |
| Tack cloth | To remove dust before spraying. |
| Soap and water | For cleaning the sprayer after use. |
Step-by-Step Guide to Spraying Polyurethane for a Flawless Finish
This practical guide takes you through the essential steps of spraying polyurethane—starting with surface prep and equipment setup, all the way to applying smooth, even coats and proper drying techniques.
Follow each step closely to achieve a durable, professional-looking finish that amplifies the beauty and protection of your wood projects.
Step 1: Prepare Your Top Coat and Sprayer
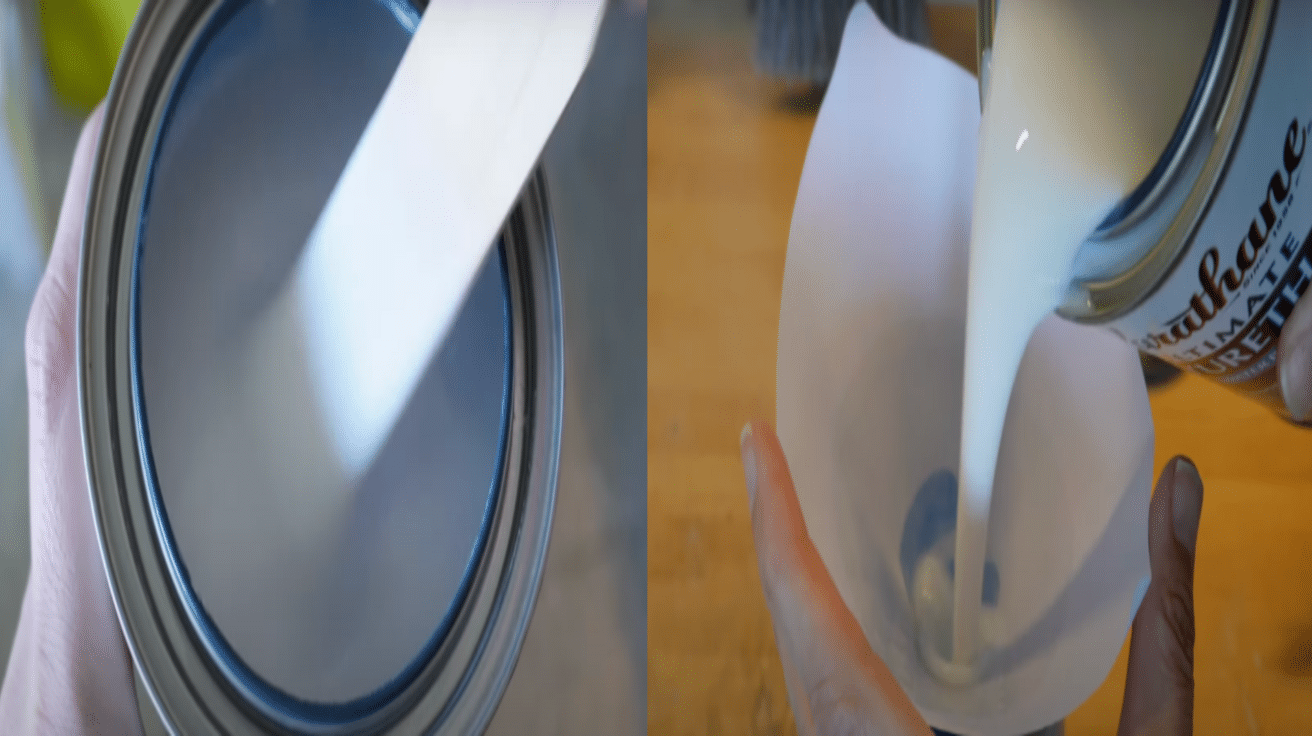
- First, fully stir your water-based polyurethane to mix the flattening agent evenly throughout.
- Run the polyurethane through a strainer to avoid any dried bits or debris from clogging the sprayer.
- Adjust your sprayer’s settings for the best flow and air pressure according to the product.
Pro Tip: Always stir the top coat well and never shake it to avoid air bubbles.
Step 2: Test Your Sprayer on a Practice Surface
- Before spraying the furniture, practice on a piece of scrap wood or cardboard.
- Adjust the sprayer’s settings until you get the feel for the weight and flow of the material.
- Use a test piece to fine-tune air flow and material flow, making sure the sprayer is working properly.
Pro Tip: Testing on a practice surface helps you gain confidence and avoid mistakes on your actual project.
Step 3: Sand and Clean the Furniture Before Spraying
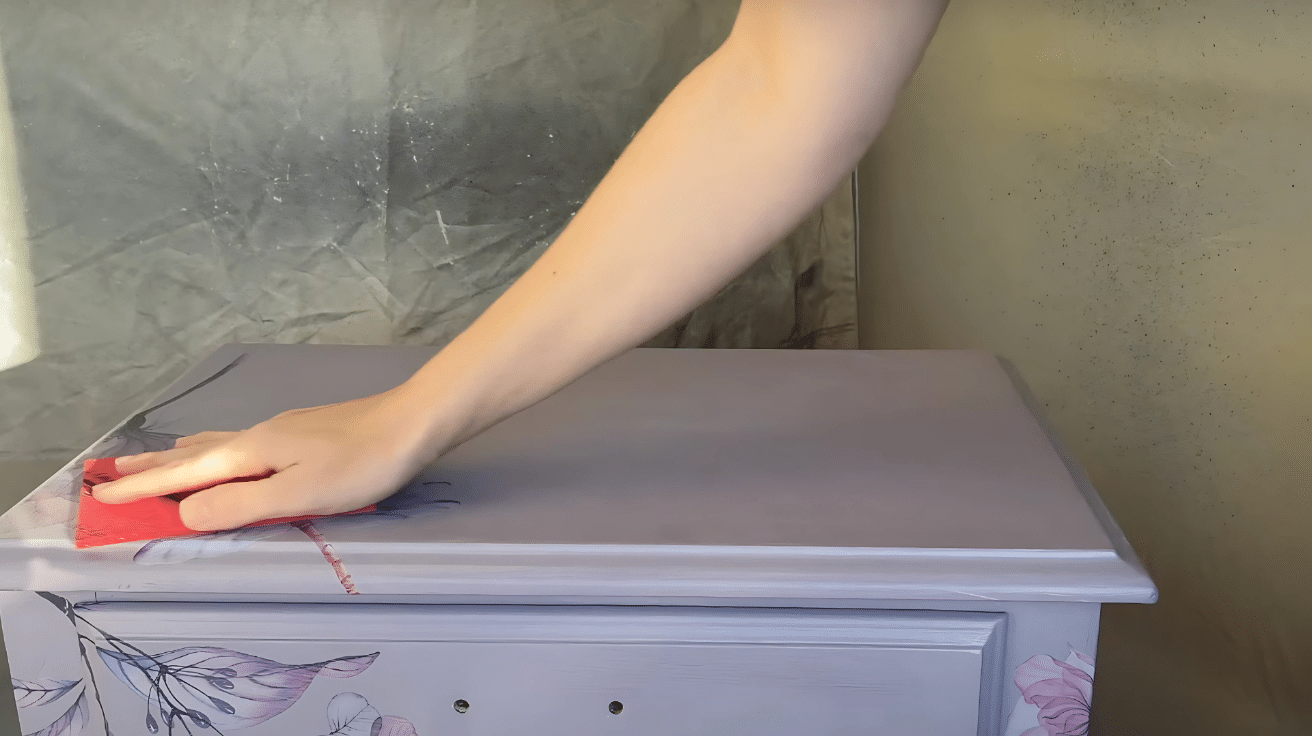
- Lightly sand the painted furniture with 220-grit sandpaper to smooth any rough patches.
- Wipe off all dust with a tack cloth to ensure a clean surface for spraying.
- Apply a thin coat of polyurethane, overlapping by 30-50% for an even finish.
Pro Tip: Sanding helps the top coat adhere better and gives a smoother finish.
Step 4: Apply and Finish the Top Coat
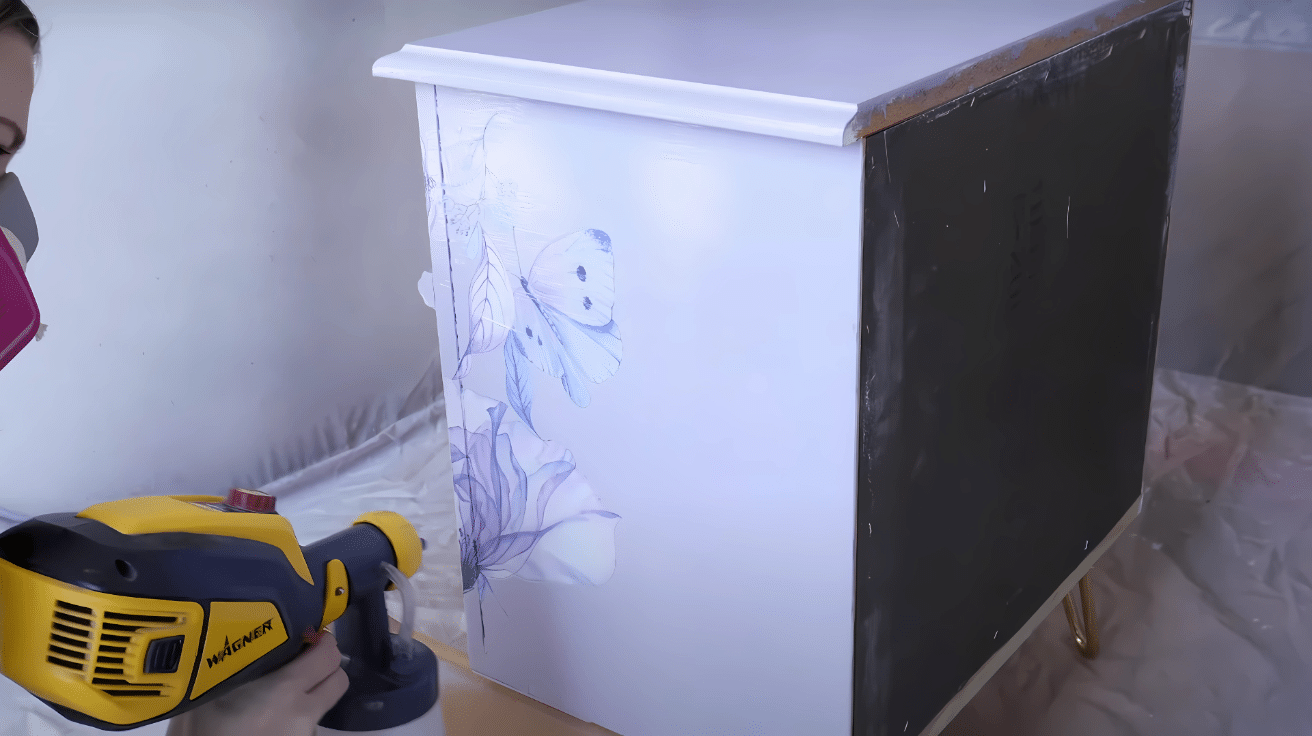
- Hold the sprayer 6-8 inches away from the surface, maintaining a consistent speed.
- Apply the top coat in even, overlapping passes to prevent pooling and drips.
- If needed, apply additional coats after lightly sanding between each for a flawless finish.
Pro Tip: Let each coat dry before applying another to avoid smudging or a sticky finish.
Watch How It’s Done: Spraying Polyurethane Video Tutorial
Check out the video below by @ChristinaMuscari for a step-by-step guide on spraying polyurethane
Tips for Spraying Polyurethane Like a Pro
Spraying polyurethane can give you a smooth, professional-looking finish when done right. Here are some essential tips to help you avoid common mistakes and achieve a flawless coat every time:
- Prepare the surface thoroughly by sanding with 220-grit sandpaper and removing all dust using a vacuum and tack cloth. A clean, smooth base ensures a better bond.
- Use a high-quality HVLP sprayer and strain the polyurethane to prevent clogs and maintain a consistent, fine mist throughout the job.
- Test your spray pattern first on cardboard or scrap wood to dial in the right air pressure, fan width, and material flow before spraying the actual piece.
- Apply thin, even coats by moving the sprayer steadily and overlapping each pass by about 30%. Avoid thick layers that lead to runs or drips.
- Start moving before pulling the trigger and release the trigger after the pass to avoid heavy spray buildup at the start or end of a stroke.
- Allow proper drying time between coats—typically 2 to 4 hours—then lightly sand with 320-grit sandpaper for maximum adhesion.
- Avoid bad conditions like humidity, which can cause hazing, bubbles, or rough texture in the finish.
- Clean your sprayer immediately after use to prevent dried poly from clogging internal parts and to keep your equipment in top shape for next time.
It’s a Wrap!
There’s something truly satisfying about stepping back and seeing that perfect, glass-like finish on your woodwork. That’s the reward for mastering spray polyurethane.
The learning curve might feel steep at first, but each project builds your confidence and skill. Soon, you’ll be adjusting spray patterns and handling corners like a pro without even thinking about it.
Remember that patience pays off. Those extra minutes spent on prep work and those careful, overlapping passes make all the difference in the final result.
Keep your workspace clean, your equipment well-maintained, and your techniques consistent. These habits will serve you well on every project going forward.
With the knowledge from this guide and some hands-on practice, you’ve added a valuable skill to your woodworking toolkit—one that will make every project you touch look professionally finished for years to come.
