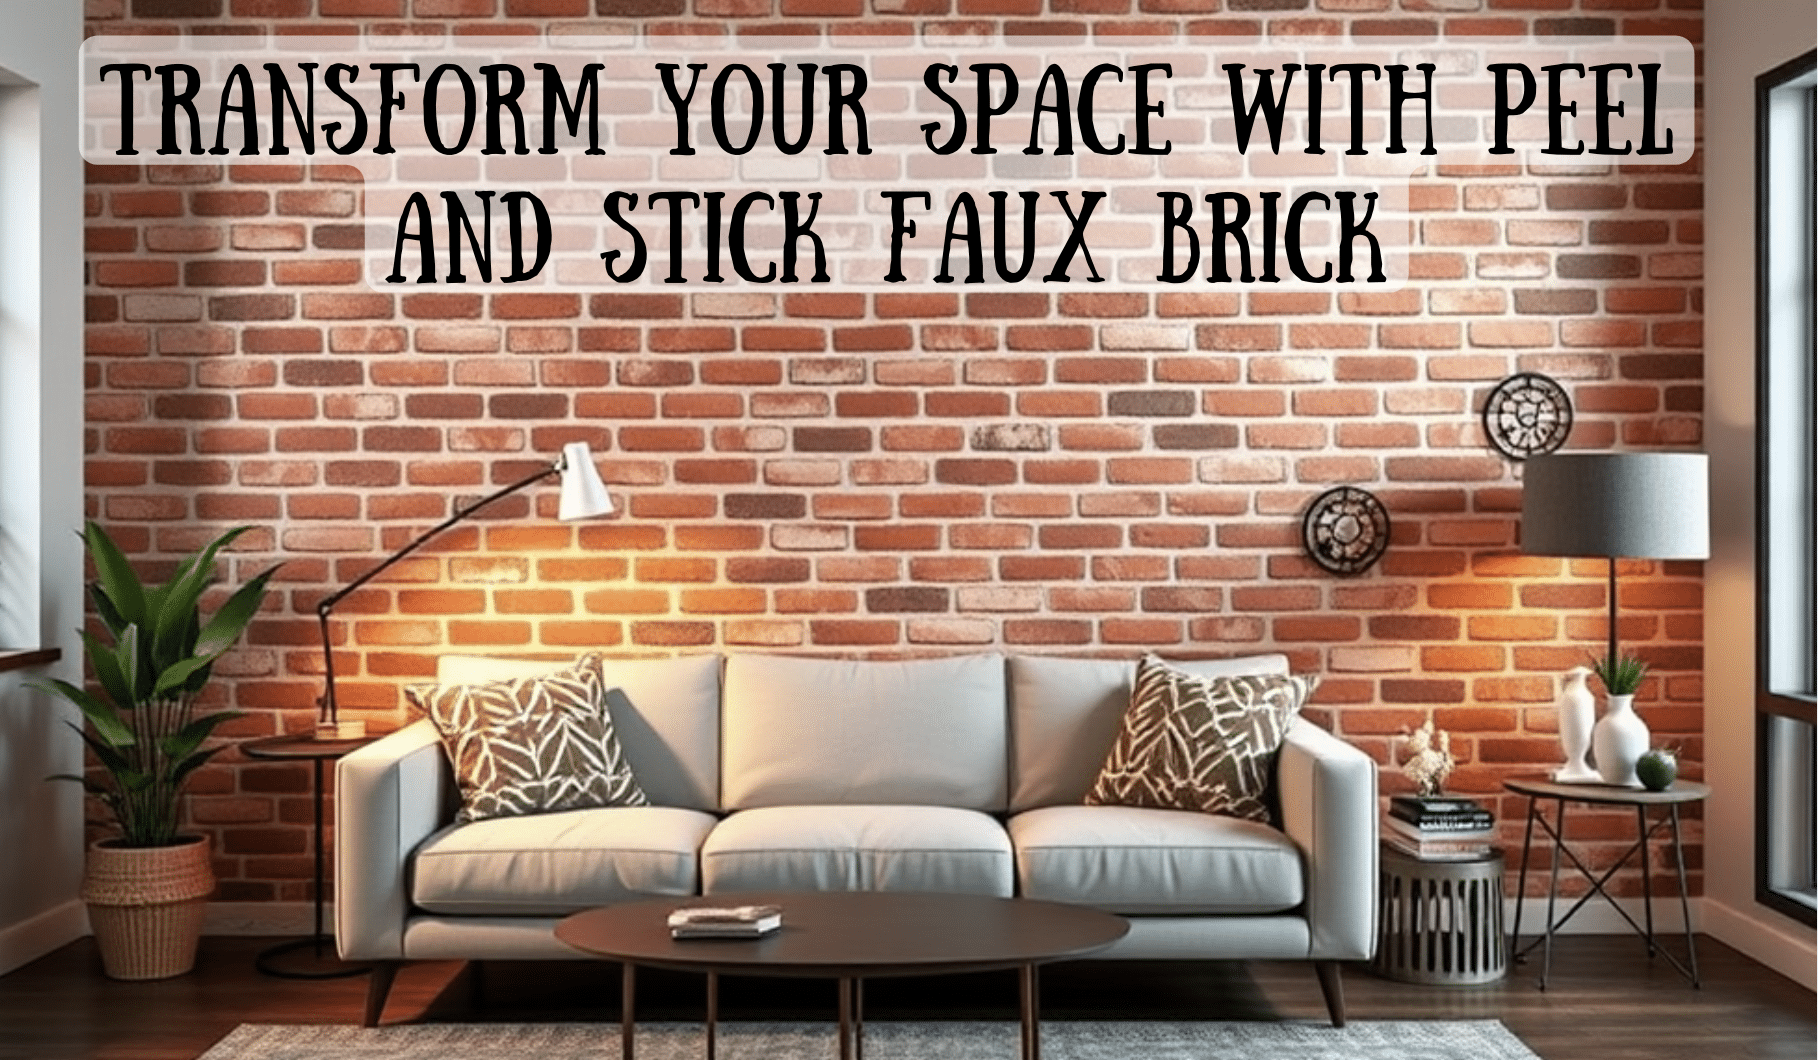
Would a brick wall make your room look better?
Getting real brick installed costs thousands of dollars and makes a huge mess.
Most people give up on the idea because it seems too hard and expensive.
Here’s some good news: peel-and-stick faux brick panels can give you the exact same rustic charm for a fraction of the cost.
You can put them up yourself in just a few hours with basic tools.
What Is Peel-And-Stick Faux Brick?
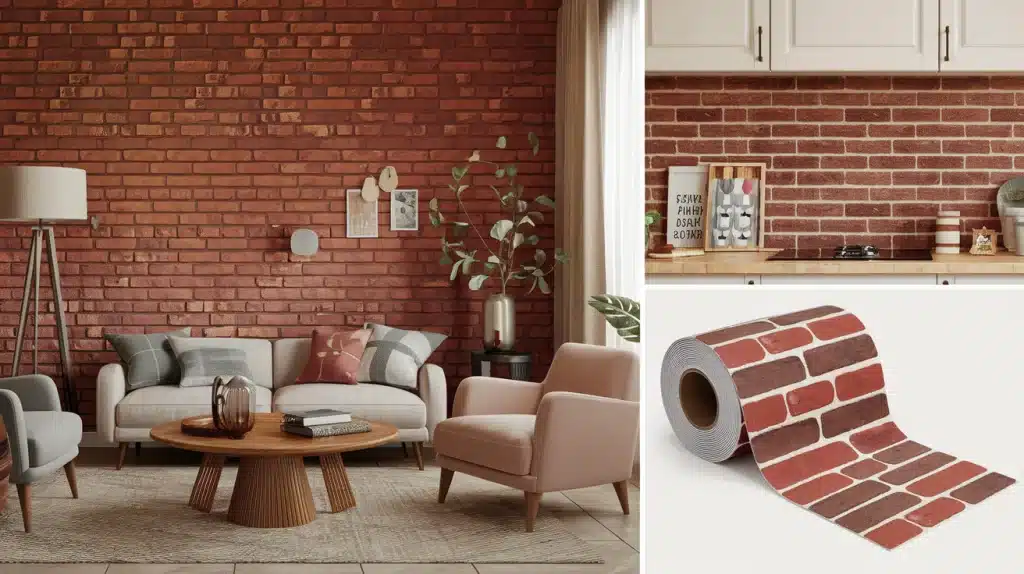
Peel-and-stick faux brick panels are made from PVC and have textures that look like real bricks.
Each panel shows lifelike grout lines and color shifts that catch light, just like brick walls.
These panels stick to the cleanest, flattest surfaces and weigh very little. They can be put up using basic household tools.
They’re also water-resistant and simple to clean. You can cut them with scissors or a utility knife to fit any space.
The panels cost far less than real brick and do not require workers. You can install them yourself, and they work in any room.
They also come in various brick colors and patterns. If you want to try something new later, you can take it down without damaging the walls.
Benefits of Peel and Stick Faux Brick
1. Budget-Friendly
- Save hundreds compared to real brick walls.
- Traditional brick requires costly materials and skilled labor; faux panels fit any budget.
2. Quick and Easy Installation
- Install in hours, not days.
- No special tools, mortar, or mess are needed—just peel and stick.
3. Customizable Style
- Available in shades like classic red or modern white.
- Perfect for statement walls or warm accents in kitchens and living rooms.
- Mix colors to match your decor.
4. Reusable and Non-Damaging
- Panels are removed easily without marks.
- Relocate, rearrange, or try new colors anytime.
How to Install Peel and Stick Faux Brick (Step-by-Step)
Step 1- Measure Your Space
Start by measuring your wall’s height and length. Multiply these numbers to get the total square feet. For a full wall project, buy 10% more material than you need.
This extra helps with pattern matching and fixes any cutting mistakes. Not all outlets and vents—you’ll need to cut around them.
Step 2- Prepare Your Wall
To create a workspace, pull furniture away from the wall and wipe the surface with a duster or clean cloth. The wall must be clean, dry, and smooth for the panels to stick well.
If possible, remove the baseboards. This will help the panels sit better. Also, remove the outlet covers and vent plates.
Step 3- Plan Your Layout
Begin on the left side of the wall. With your measuring tape, mark 20.5 inches from the corner. This is how wide each panel is.
Get your level and draw a straight line up the wall. This line will help you put up your first panel straight.
Step 4- Install the First Panel
Take your first panel and cut it to match the height of your wall. Scissors work better than knives for clean cuts. Pull off about a foot of the backing paper.
Start at the top, aligning it with your ceiling and corner. Press the panel on the wall as you pull off more backing. Use your hands to smooth out any air pockets.
Step 5- Continue the Pattern
Look at the brick pattern and match it as you add each new panel. Pull the backing off bit by bit while you stick each panel.
When you hit outlets or vents, carefully cut the panel to fit around them. Fill any small gaps with pieces cut from extra panels. Then, keep checking that your panels line up straight.
Step 6- Tips for Success
Your first panel sets the tone for the whole wall, so take extra time with it. To keep the surface smooth, push out air bubbles as you go.
Watch the brick pattern lines between panels to keep them matched. Never pull or stretch the panels. Work slowly, section by section.
Basic tools work best: scissors, a level, and measuring tape.
Do you need a visual guide? Check out this video by Coral Aubrey on YouTube to see how easy it is to install peel-and-stick faux bricks!
Creative Uses for Peel and Stick Faux Brick
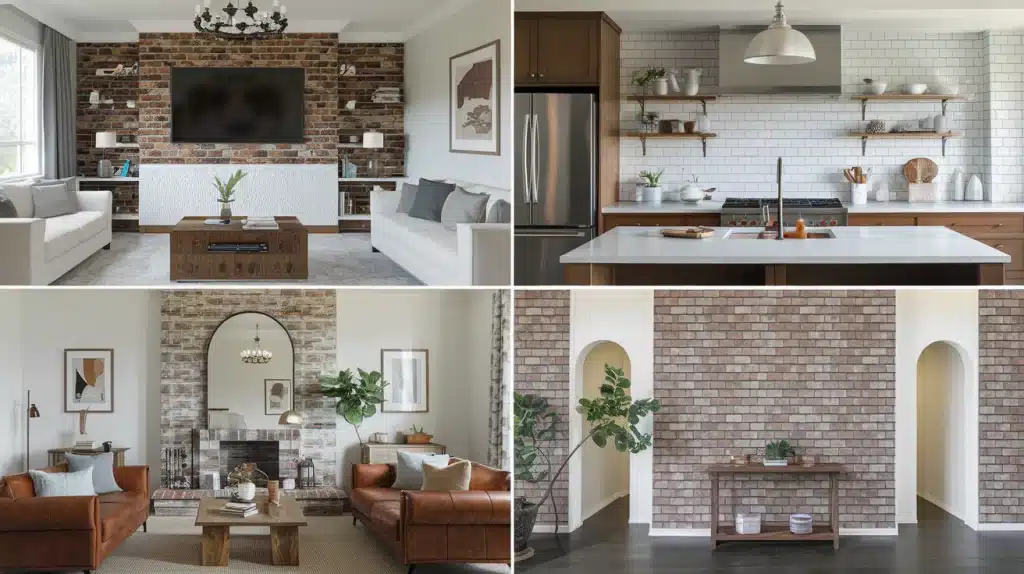
Accent Walls
- Add panels behind your TV or sofa for a standout living room wall.
- Create a focal point in bedrooms by placing panels behind your headboard.
- Upgrade your home office with a professional background for video calls.
Kitchen Backsplashes
- Perfect for the space between counters and cabinets.
- Resists water splashes and cleans easily with basic supplies.
- Choose white panels for brightness or red for a classic look.
Fireplaces and Mantels
- Refresh your fireplace with panels around the mantel.
- Adds depth and a built-in feel to flat walls.
- Complements wood or stone features beautifully.
Entryways and Hallways
- Line one wall to create guidance through your home.
- Add a welcoming brick-look wall at your front entrance.
- Durable enough to handle daily traffic and light bumps.
Simple Maintenance for Long-Lasting Faux Brick
Cleaning Tips
Simple cleaning steps can keep your faux brick walls fresh. Wipe away dust with a soft cloth or duster once a week.
For deeper cleaning, mix mild soap with warm water. Wipe gently with a damp cloth—never soak the panels.
Pat dry with a clean cloth to avoid water marks.
Preventing Damage
To prevent fading, shield your walls from direct sunlight. Also, avoid placing the furniture too close to the panels—this helps airflow and prevents scuff marks.
Fix any loose corners immediately with wall-safe glue. Keep the room temperature steady, as big heat changes can affect the adhesive.
Do you have small marks? Use a pencil eraser to remove them. Do you have sticky spots? A bit of rubbing alcohol on a cloth works well.
Check edges every few months and press down any that start to lift. These small steps help your faux brick stay put and look good longer.
When moving furniture, lift instead of drag to protect the bottom panels. Simple care will keep your walls fresh for years.
Where to Buy and What to Look For
Top Brands
- NuWallpaper: Perfect for first-time users with easy application and natural-looking designs.
- RoomMates: Reliable panels that stick well and are ideal for DIY projects.
- Art3d: Known for textured designs with great detail.
Buying Tips
Pick panels that match your room’s light. Lighter colors work well in south-facing rooms, while darker shades suit north-facing spaces.
Feel the panel surface—better ones have clear brick lines and depth. Check that patterns line up between sample pieces. Get panels from the same batch to ensure color matching.
Where to Shop
In-Store:
-
- Home Depot: See and touch panels before purchasing. Staff can provide helpful advice.
- Lowe’s: Great selection with easy return policies for in-person shopping.
Online:
Conclusion
Faux brick panels bring warmth and style to any room without the cost of real brick. This simple wall covering gives you a look you want while staying within your budget.
To change the feel of your space, you need only a clean installation, basic tools, and a few hours.
The texture and depth of these panels create interest in once-plain areas. The options fit many styles, from living rooms to hallways.
Regular dusting and gentle cleaning keep the surface looking fresh. With proper care, your faux brick walls can stay beautiful for many seasons.
Remember, home updates don’t need complex plans or big spending.
Sometimes, the best changes come from simple solutions that make your space feel more like home.
