Have you ever felt rushed through a craft project, more focused on finishing than enjoying the process? That’s where slow stitching comes in.
It’s becoming a favorite in crafting and wellness circles, offering a refreshing break from our hurried, production-focused world.
What if you could enjoy every single stitch? Slow stitching invites you to do exactly that; to savor the moment, connect with your materials, and create with intention rather than racing to the finish line.
The gentle back-and-forth of needle and thread creates a little island of calm in our busy lives. Isn’t that something we could all use more of?
Don’t worry if you’ve never held a needle before! Slow stitching welcomes everyone, from complete beginners to seasoned textile artists. There are no strict rules or “right ways” here, just the joy of creating at your own pace.
What is Slow Stitching?
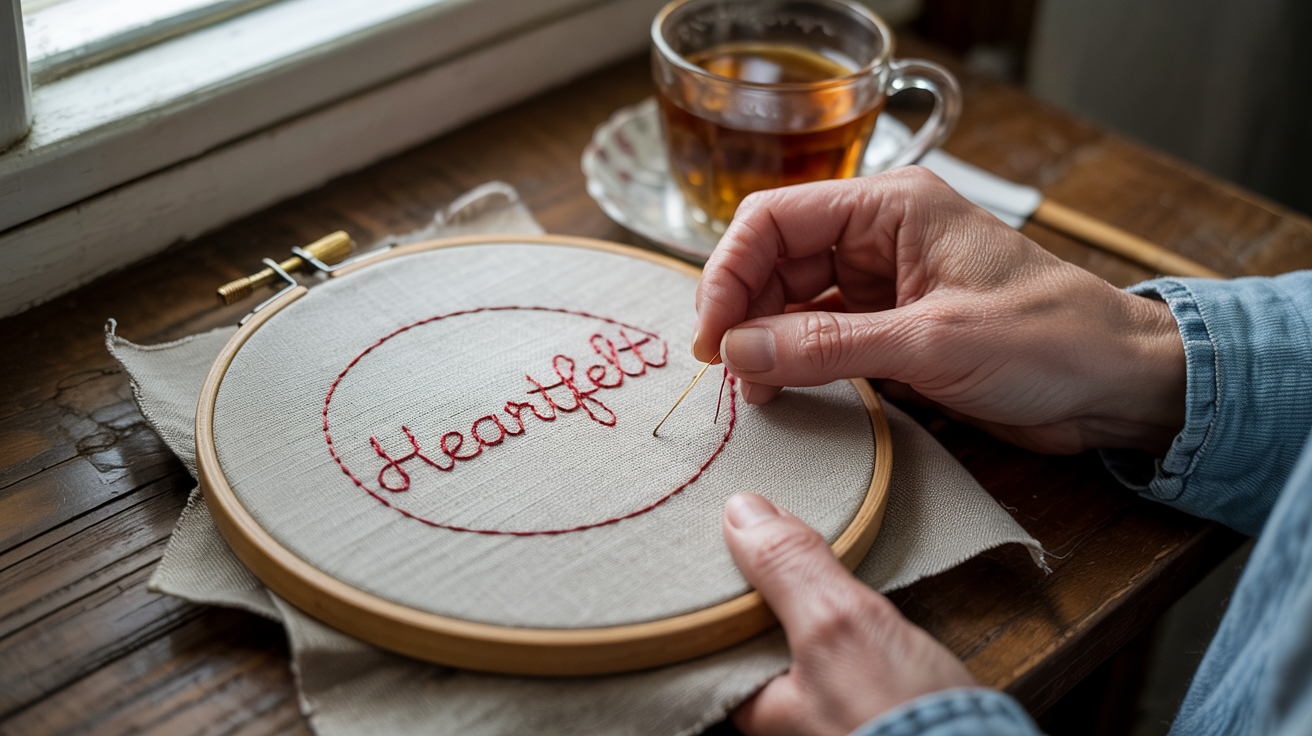
Slow stitching is a mindful approach to textile art that emphasizes the process over the end product. Unlike traditional embroidery with its precise patterns and rules, slow stitching embraces imperfection and spontaneity.
Each stitch becomes a moment of presence and creativity. This practice draws inspiration from the broader Slow Movement, which advocates for a more considered pace in various aspects of life.
Similar to slow food or slow fashion, slow stitching encourages us to step back from mass production and reclaim the value of handmade items created with care and attention.
The Benefits of Slow Stitching
The practice of slow stitching offers a wealth of advantages for mental wellbeing, personal expression, and environmental responsibility that can positively impact many aspects of life.
• Mental Health Benefits: Encourages mindfulness and reduces stress through the calming, repetitive motion of stitching.
• Creative Freedom: Allows for unrestricted self-expression, as there are no rules or required patterns to follow.
• Sustainability: Promotes eco-consciousness by repurposing fabric scraps, worn textiles, and secondhand materials.
• Skill Development: Enhances fine motor skills, color coordination, and textile knowledge over time through hands-on practice.
• Digital Detox: Provides a screen-free, tactile activity that helps rest the mind and reduce digital fatigue.
Embracing slow stitching means welcoming these numerous benefits into daily life.
Finding moments of calm, expressing creativity without judgment, making environmentally responsible choices, and connecting with both self and community through the simple act of needle and thread.
Materials You Need to Start Slow Stitching
| Category | Items | Suggested Quantity |
|---|---|---|
| Basic Tools | • Various needles • Assorted threads (cotton, wool, silk) • Sharp scissors • Embroidery hoop |
• 1 set of mixed sizes • 5–10 spools or skeins • 1 pair • 1 hoop (optional) |
| Fabric Options | • Fabric scraps • Old clothing items • Vintage linens or handkerchiefs • Naturally dyed fabrics • Cotton, linen, wool, or silk pieces |
• 10–15 small pieces • 2–3 garments • 2–4 pieces • 3–5 pieces • Mixed handful |
| Optional Additions | • Buttons and beads • Scraps of lace or ribbon • Pressed flowers or leaves • Plant-dyed threads • Small found objects |
• Small pouch or jar • 3–5 lengths • A few, pressed and dry • 2–3 skeins • Handful or as collected |
How to Start Slow Stitching: A Step-by-Step Guide
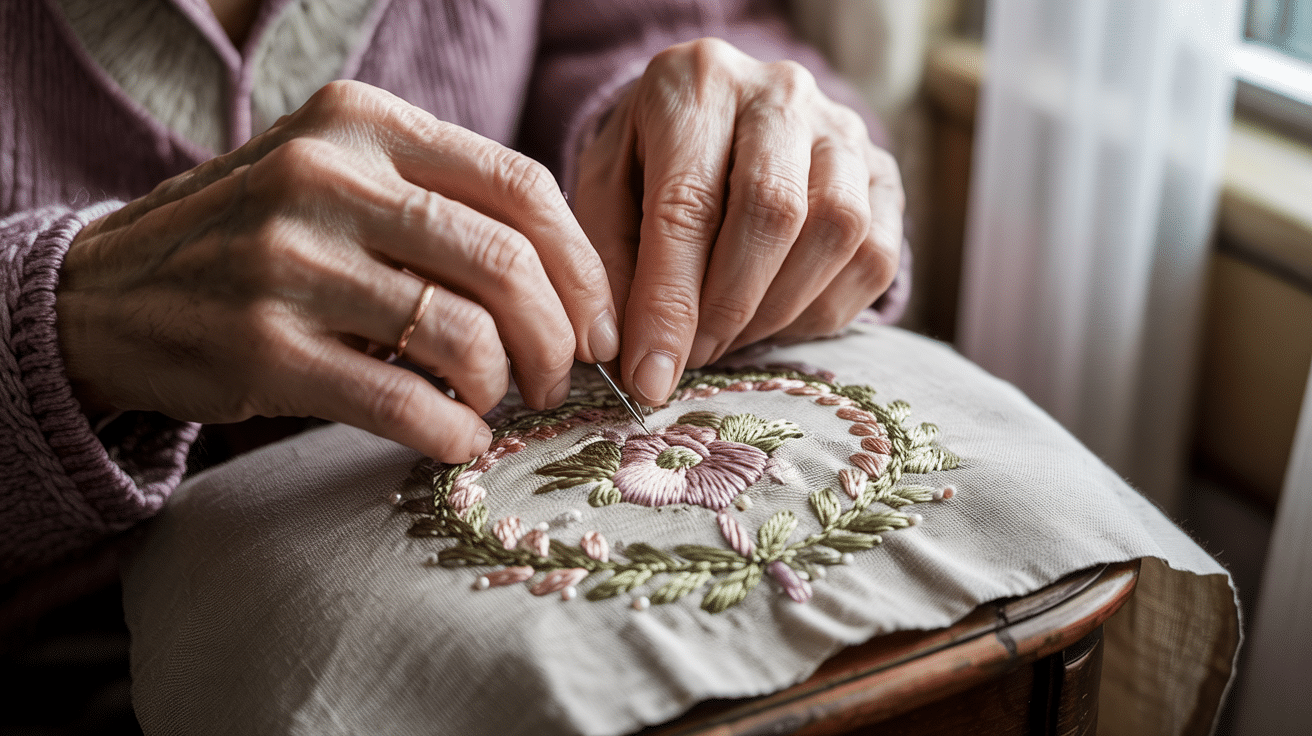
Beginning your slow stitching practice is surprisingly simple—the approach welcomes spontaneity and personal expression while requiring just a few basic steps to get started.
Step 1: Choosing Your Fabric and Theme
Begin by selecting a base fabric that speaks to you. This could be anything from an old shirt to a special piece of cloth you’ve been saving.
Consider what theme or feeling you’d like to express—perhaps seasonal changes, a specific color palette, or a memory you cherish.
Step 2: Creating Your First Stitches
There’s no wrong way to begin. Simple running stitches or cross stitches work well for beginners. Try various stitch lengths and spacing to see what appeals to you. Allow yourself to make marks without judgment or critique.
Step 3: Building Layers and Texture
As you continue, add layers by overlapping stitches, introducing new colors, or incorporating different materials.
Texture develops naturally through this process, creating rich, tactile surfaces that invite touch and closer inspection.
Step 4: Letting the Design Evolve
Rather than planning every element, allow your work to guide you. Respond to what emerges, making choices as you go. This conversation between maker and materials is at the heart of slow stitching practice.
Slow Stitching Project Ideas for Beginners
The beauty of slow stitching lies in its versatility. Here are several approachable projects to inspire your creative practice, each offering a different way to engage with this mindful craft.
1. Fabric Journal or Stitched Diary
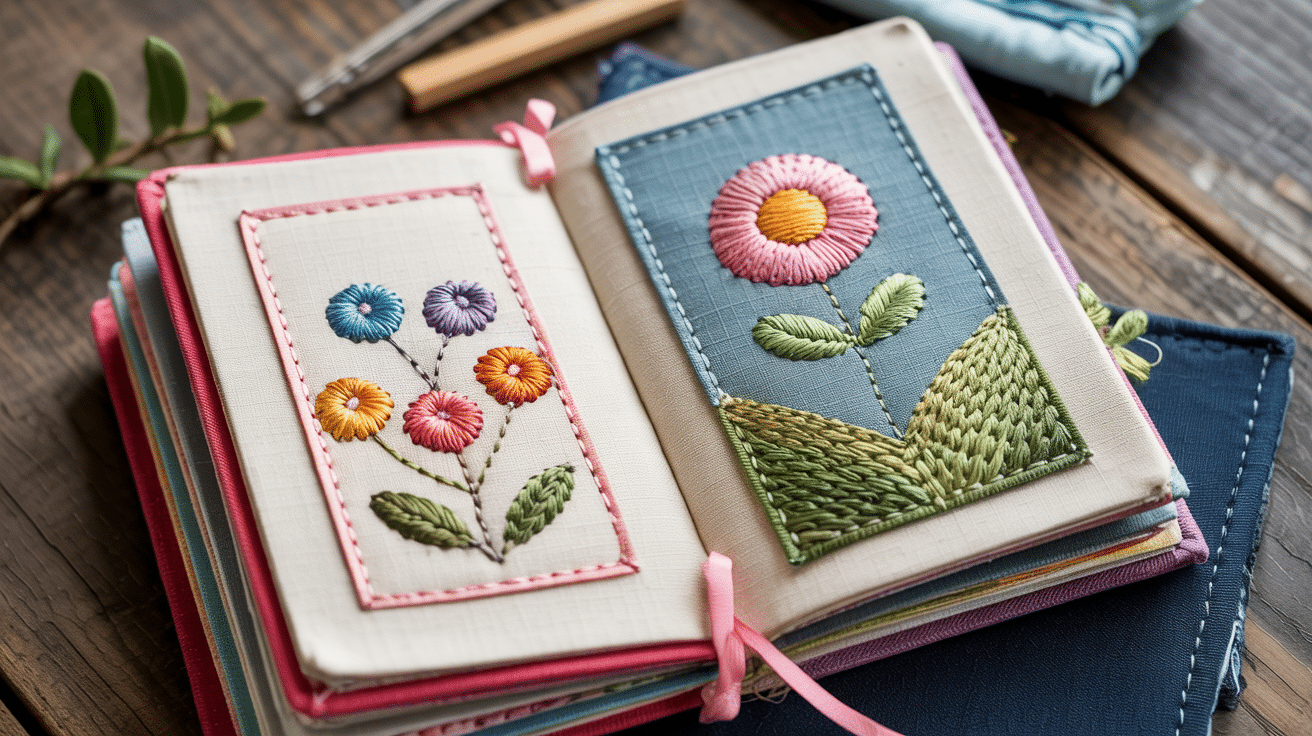
Create a textile journal by stitching onto fabric pages. Each page can represent a day, a mood, or a season. Over time, these pages can be bound together into a personal textile document of your experiences.
Best Technique: Use hand-dyed or eco-friendly fabric for a unique, textured look that enhances your journal’s appeal.
Pro Tip: To bind your pages, try using a Japanese stab binding technique for a beautiful and functional finish.
2. Wall Art or Hoop Display
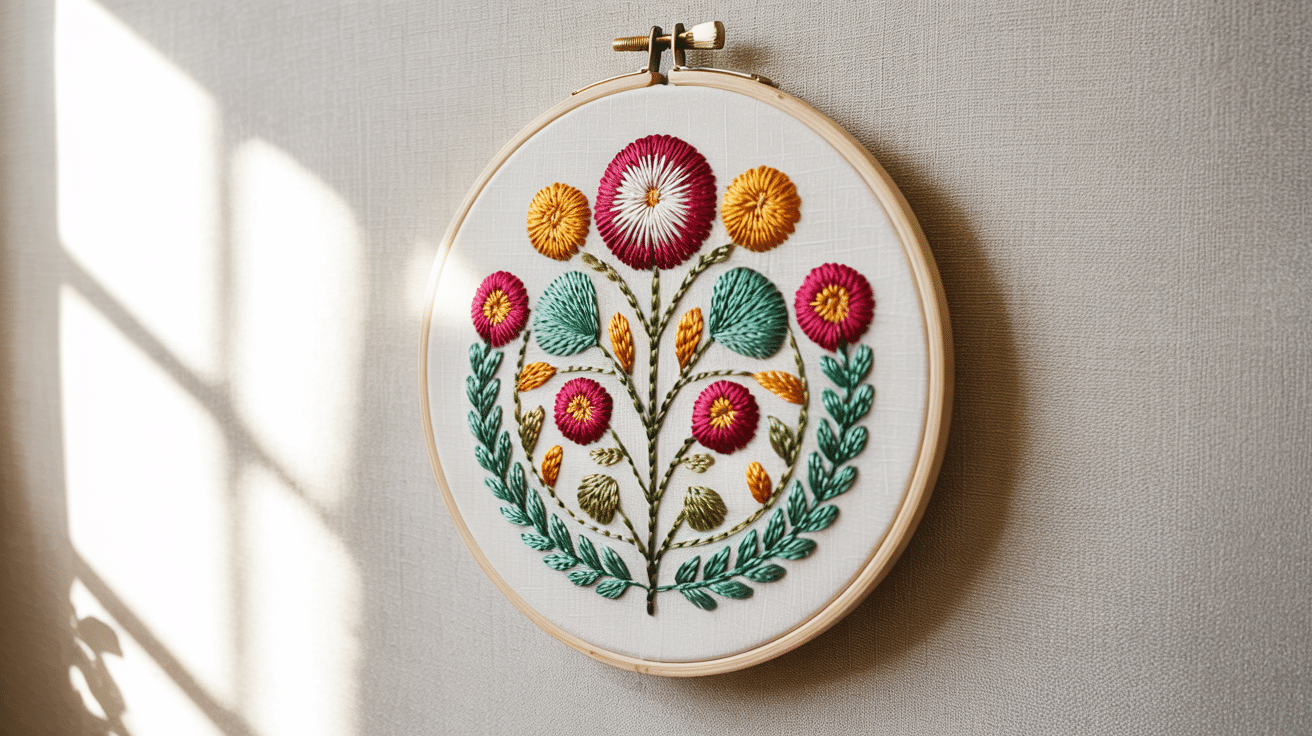
Turn your stitching into wall art by framing it in an embroidery hoop or mounting it on canvas. These pieces make meaningful decorations for your home or thoughtful gifts for others.
Best Technique: Choose a simple design with bold colors for high visual impact. Using a hoop can create a clean, polished edge.
Pro Tip: Before framing, wash and iron your fabric to ensure it’s wrinkle-free for a professional finish.
3. Repurposed Clothing Art
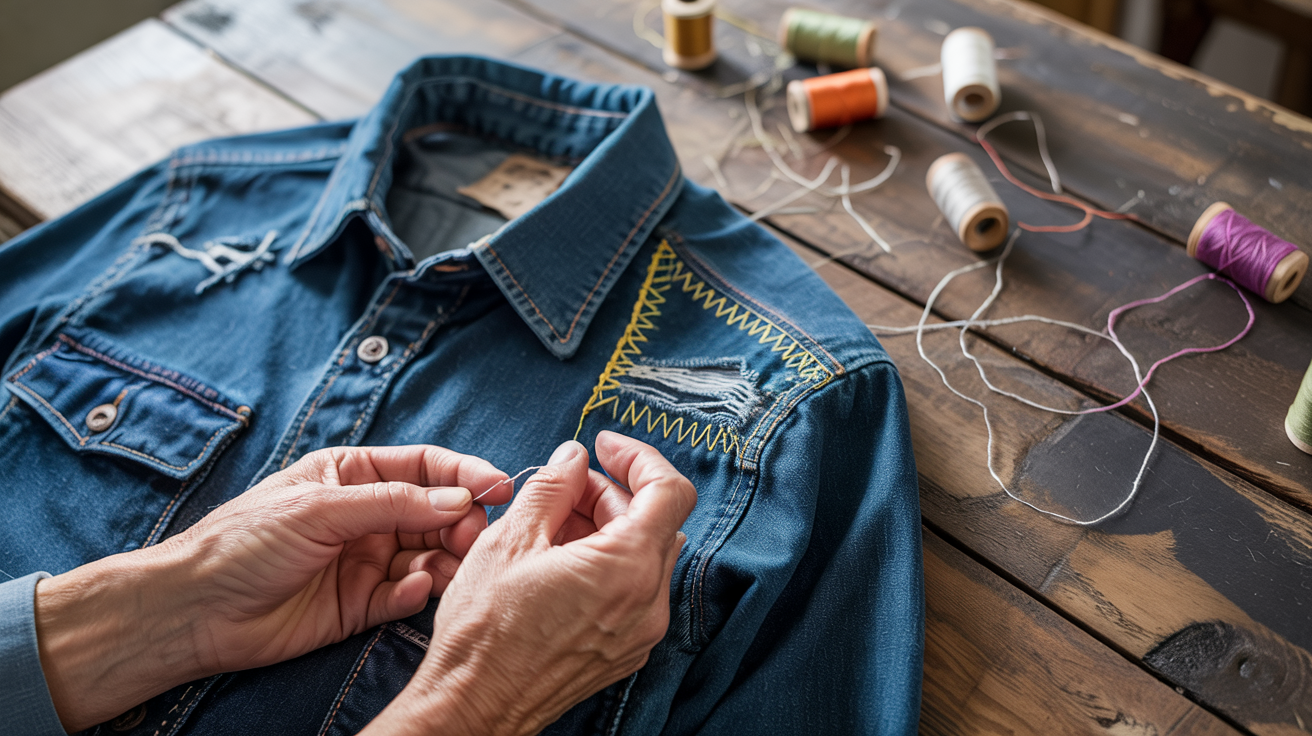
Breathe new life into worn clothing by adding slow stitch details. A well-loved but damaged shirt can become a canvas for creative expression, extending its usefulness while creating something unique.
Best Technique: Use visible mending techniques like sashiko or running stitch to add beauty to the damaged areas.
Pro Tip: Choose threads that contrast with the fabric to make the repairs stand out as part of the design.
4. Memory Patch Collection
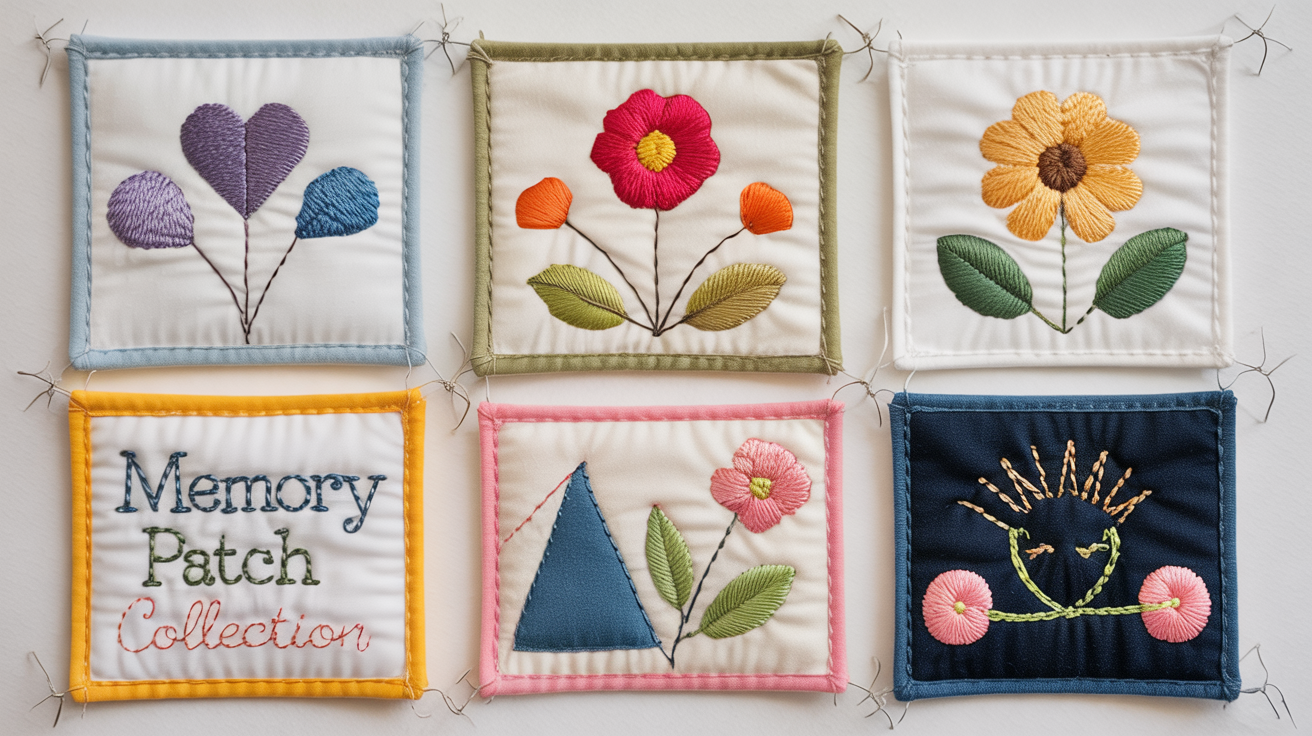
Stitch together fabric remnants from significant events or clothing items to create a tactile memory collection. These patches can be displayed individually or combined into a larger quilt or wall hanging.
Best Technique: Use a quilt-as-you-go method to create a seamless patchwork effect with each fabric piece.
Pro Tip: Label each patch with a small embroidery date or phrase that marks the memory it represents.
5. Visible Mending Project
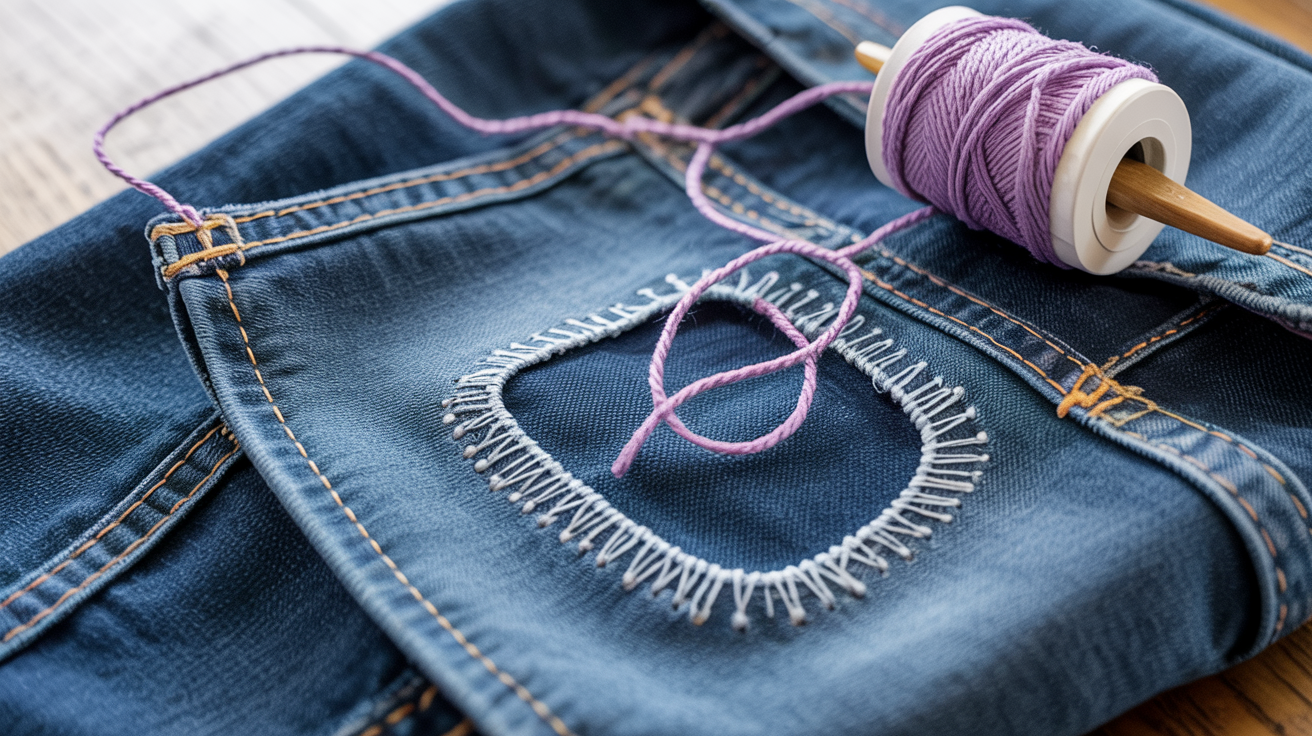
Apply decorative stitching to repair holes or tears in clothing, turning damage into a design feature. This practical approach celebrates imperfection while extending the life of favorite garments.
Best Technique: Try using running stitch or whip stitch with contrasting thread to add a pop of color to the repair.
Pro Tip: For added durability, use a heavy-duty fabric like denim or wool to mend clothes that experience a lot of wear.
6. Seasonal Mini Sampler
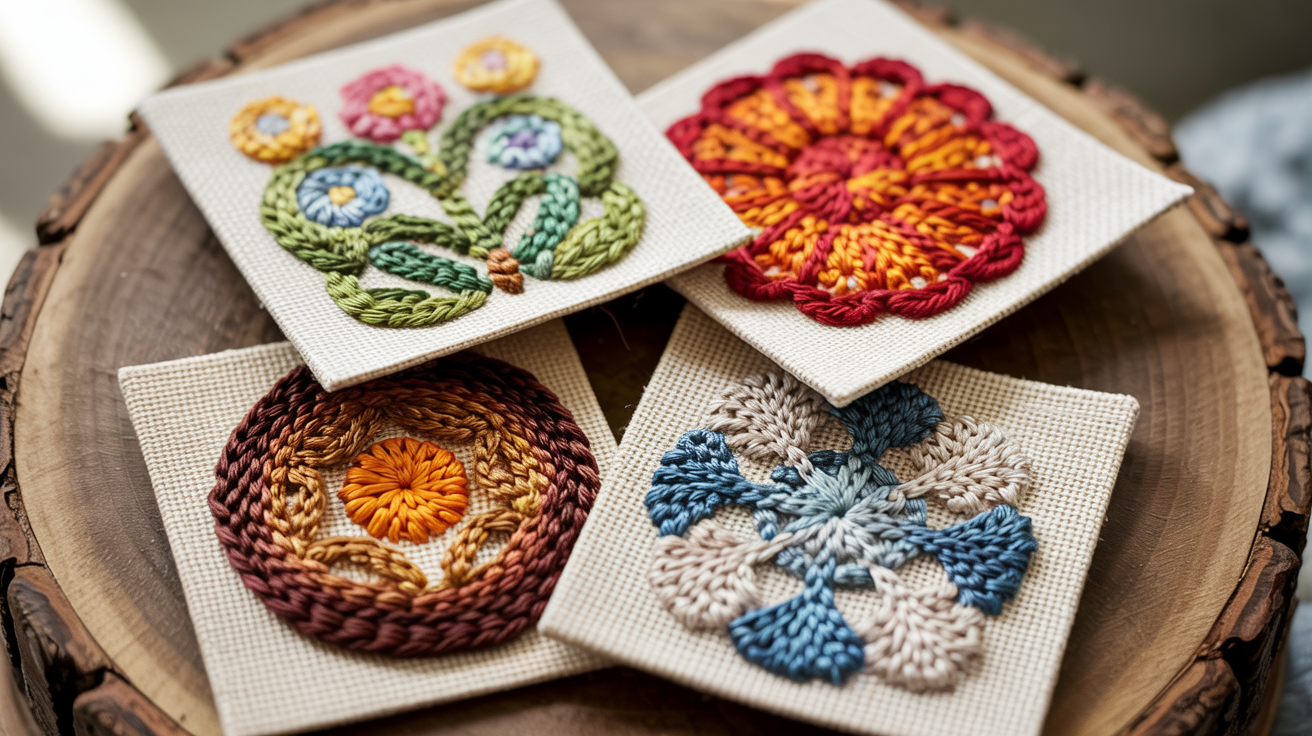
Create a small 4×4 inch piece that captures the colors and feelings of each season. These compact works allow for experimentation with different techniques while building a cohesive collection.
Best Technique: Use variegated threads to represent different tones and colors within each season.
Pro Tip: Try stitching in the round or creating a mini mandala design to represent the cyclical nature of the seasons.
7. Storytelling Cloth
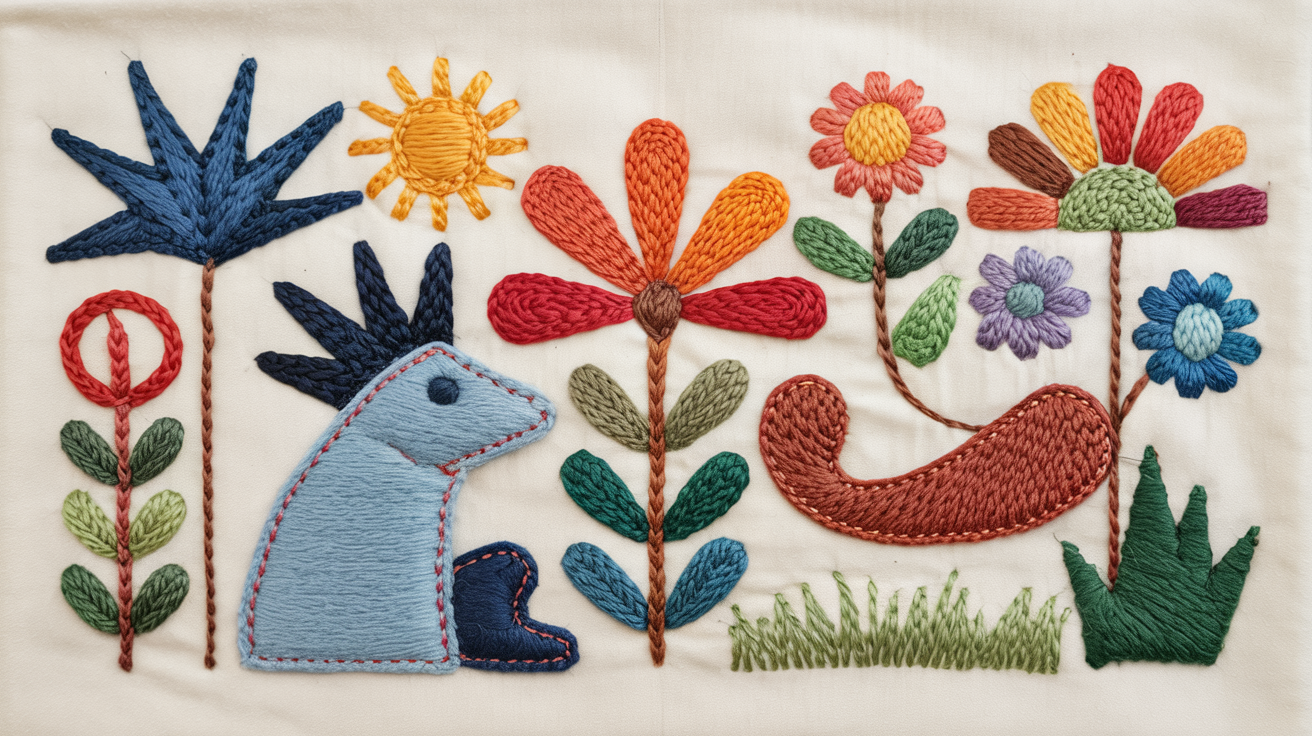
Stitch simple symbols and motifs that represent elements of a personal story or family tale. This narrative approach connects textile traditions with personal mythology in meaningful ways.
Best Technique: Use appliqué to add fabric symbols and then stitch them down with a simple running stitch to create texture.
Pro Tip: Layer different fabric types (e.g., wool for softness, silk for sheen) to give each motif depth and visual interest.
8. Meditative Mandala Piece
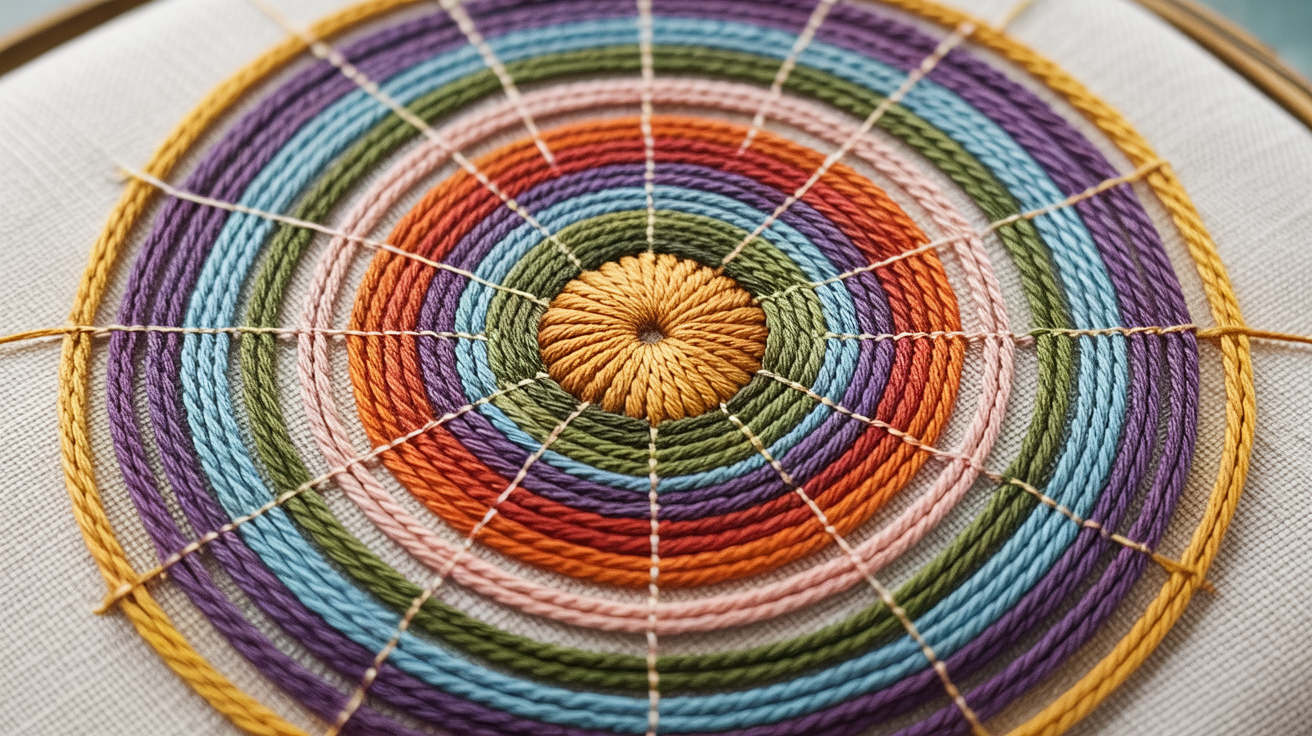
Work in concentric circles, adding stitches that radiate outward with varying colors and textures. This rhythmic practice can be particularly calming and mindfulness-enhancing.
Best Technique: Work with embroidery floss or wool to add texture and dimension to the circles.
Pro Tip: Take your time with each stitch and embrace the meditative process of stitching—don’t rush through the design.
9. Functional Textile Bookmark

Stitch onto felt or sturdy fabric to create a functional, personalized bookmark. These small projects offer immediate satisfaction while creating a useful item for daily life.
Best Technique: Try using satin stitch or French knots for added texture and dimension.
Pro Tip: Use a double layer of fabric for added durability, especially if it will be used frequently in books.
10. Decorative Patch Pocket
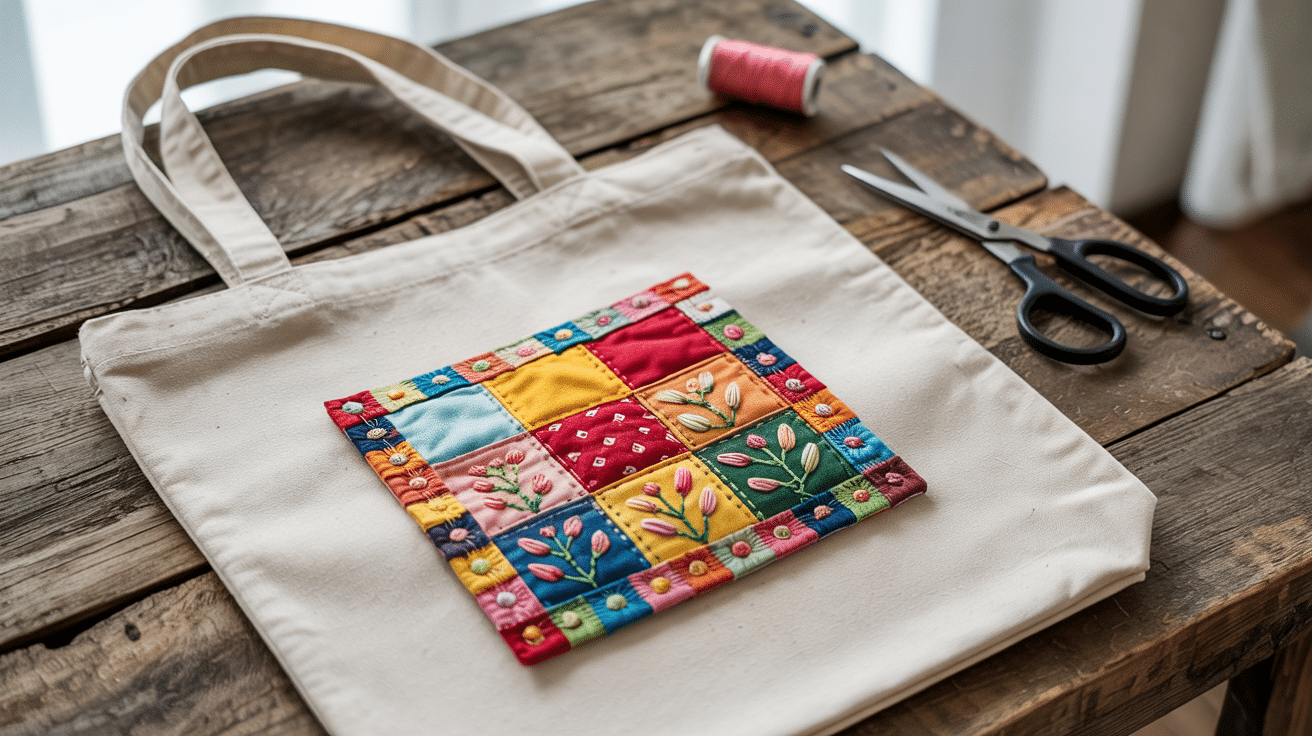
Add a decoratively stitched pocket to a plain tote bag or jacket for both function and beauty. This project combines practicality with artistic expression in an accessible format.
Best Technique: Use patchwork techniques to add small fabric pieces to create a colorful, unique pocket.
Pro Tip: Reinforce the edges of the pocket with a zigzag stitch to prevent fraying over time.
11. Thread Painting Study
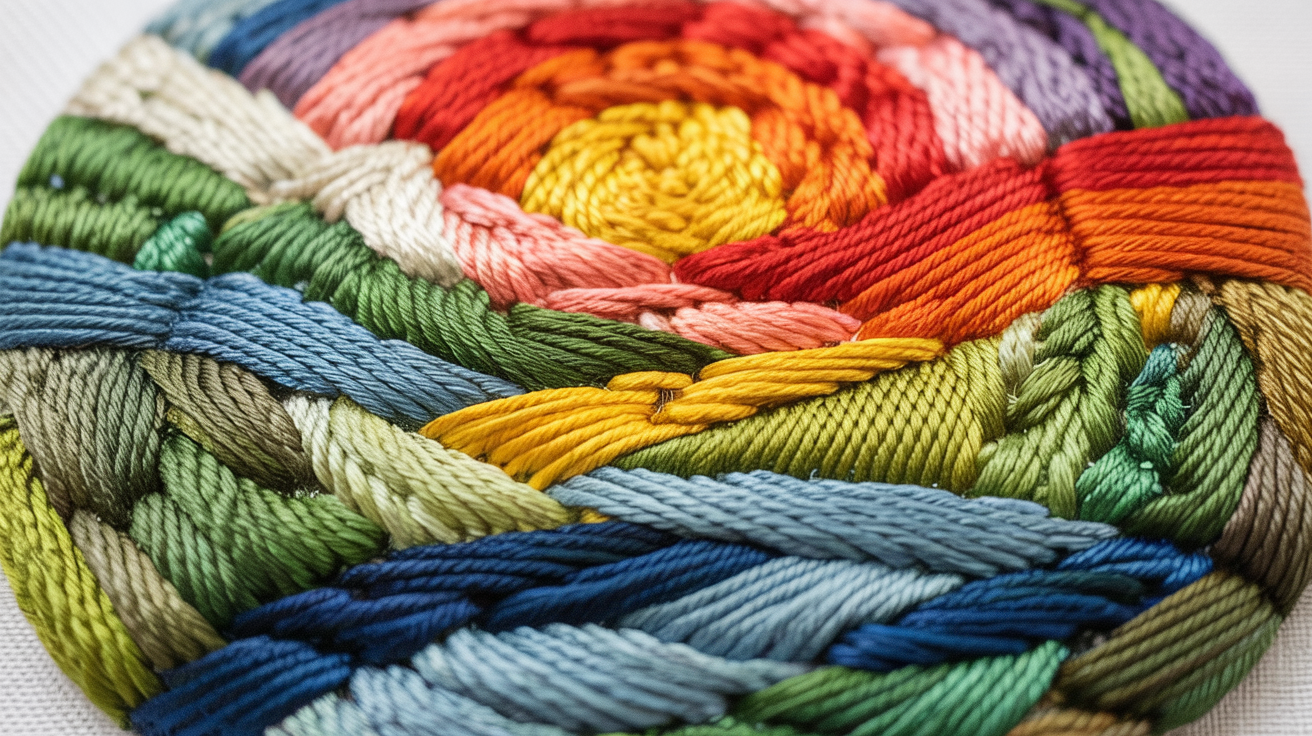
Use varied stitches in multiple thread colors to create an abstract landscape or pattern. This approach allows for exploration of color relationships and stitch variation.
Best Technique: Use long and short stitch techniques to blend colors together seamlessly.
Pro Tip: Consider using embroidery needles with larger eyes to accommodate multiple strands of thread for bold, vibrant lines.
12. Inspirational Quote Sampler
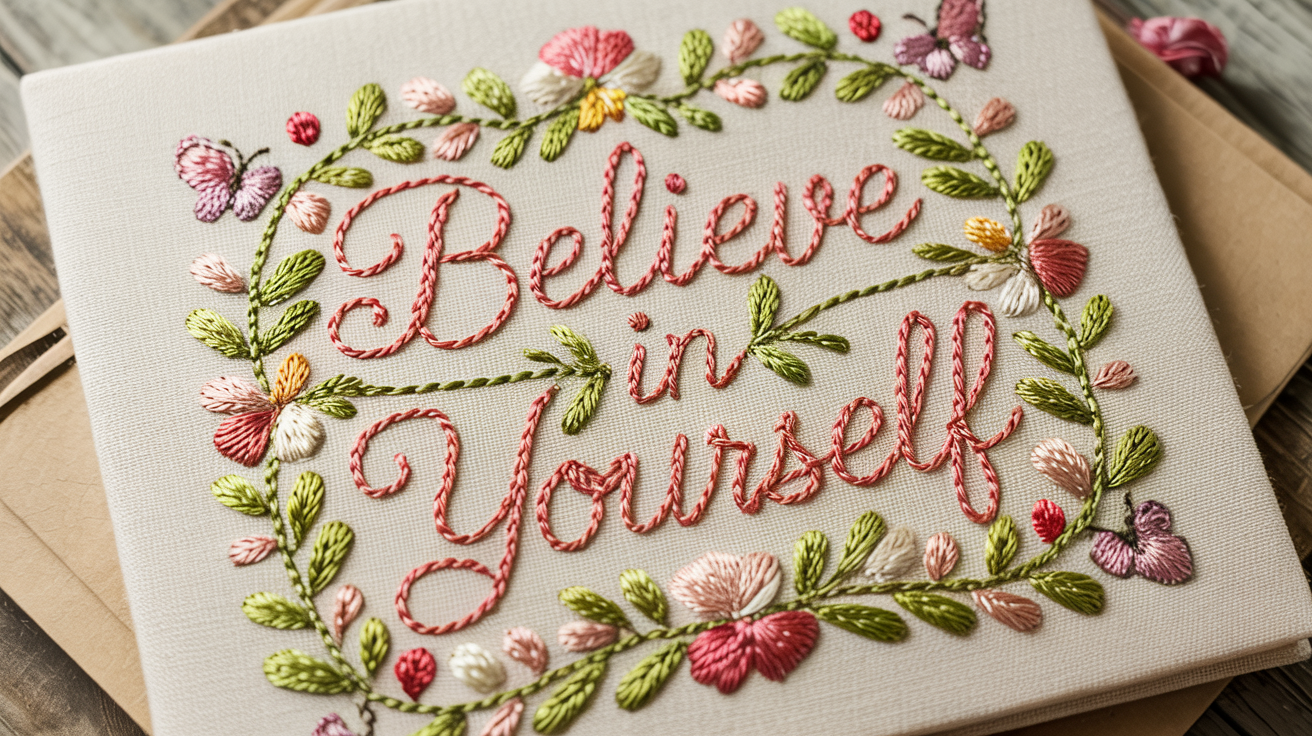
Stitch a meaningful word or short phrase surrounded by decorative elements. This traditional form takes on new relevance when personalized with contemporary phrasing and design.
Best Technique: Use a combination of satin stitches for solid lettering and delicate running stitches for the decorative elements around the quote.
Pro Tip: Keep the stitching tight for a clean look, and choose a font style that complements your design.
13. Personal Place Map
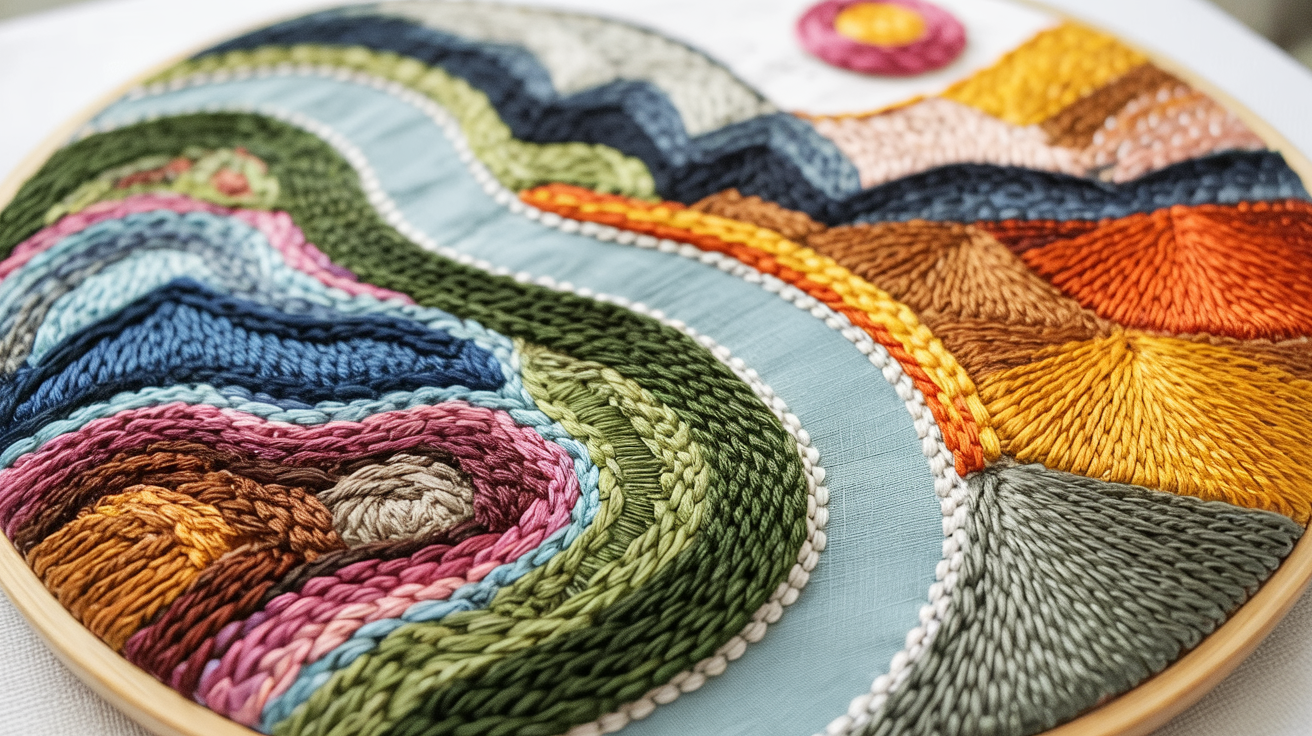
Create an abstract representation of a meaningful place using varied stitches to represent different features. This project combines memory, geography, and personal symbolism.
Best Technique: Use layered stitching techniques to represent different geographic features like rivers, mountains, and cities.
Pro Tip: Choose a color palette that reflects the place’s natural tones, such as earthy browns and greens or cool blues.
14. Textured Button Garden
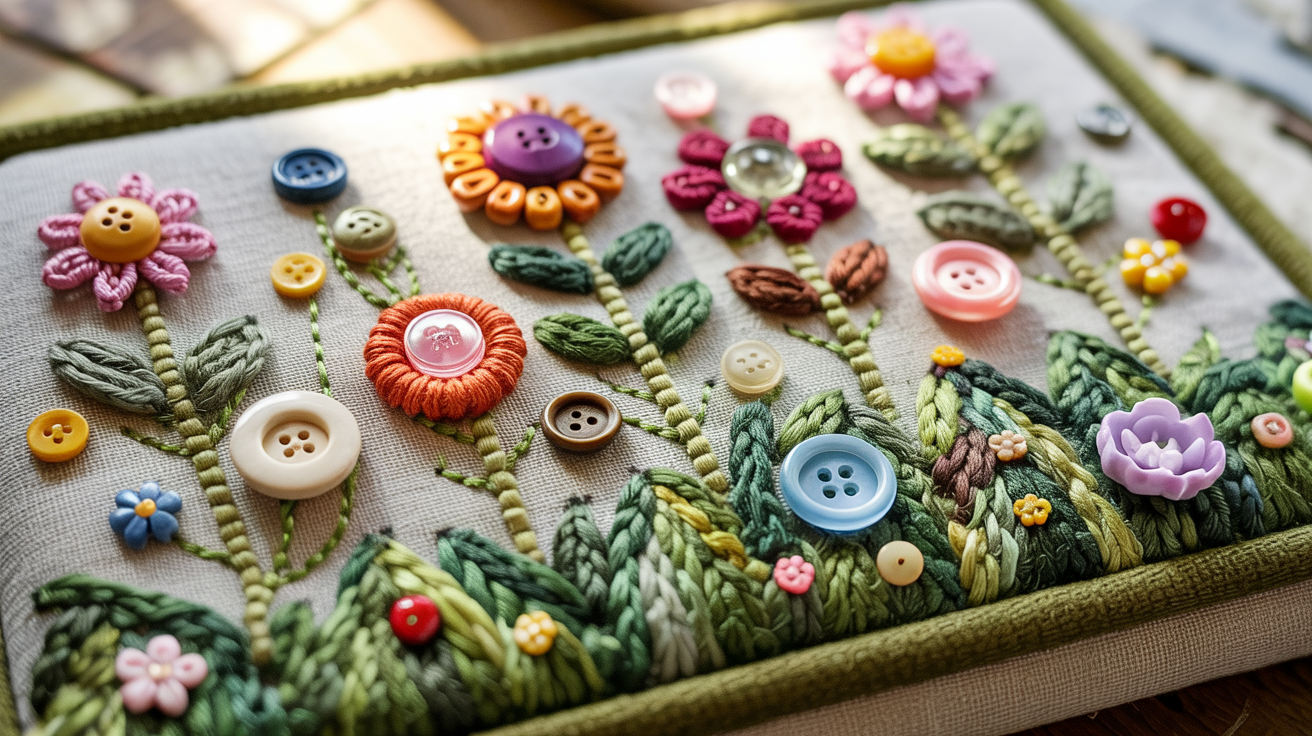
Combine buttons of different sizes and colors with decorative stitches to create a textured garden scene. This mixed-media approach adds dimensional interest to flat fabric surfaces.
Best Technique: Mix different types of buttons (wooden, glass, metal) for a variety of textures.
Pro Tip: Try adding beads or small fabric flowers around the buttons to enhance the garden effect.
15. Photo Transfer Project
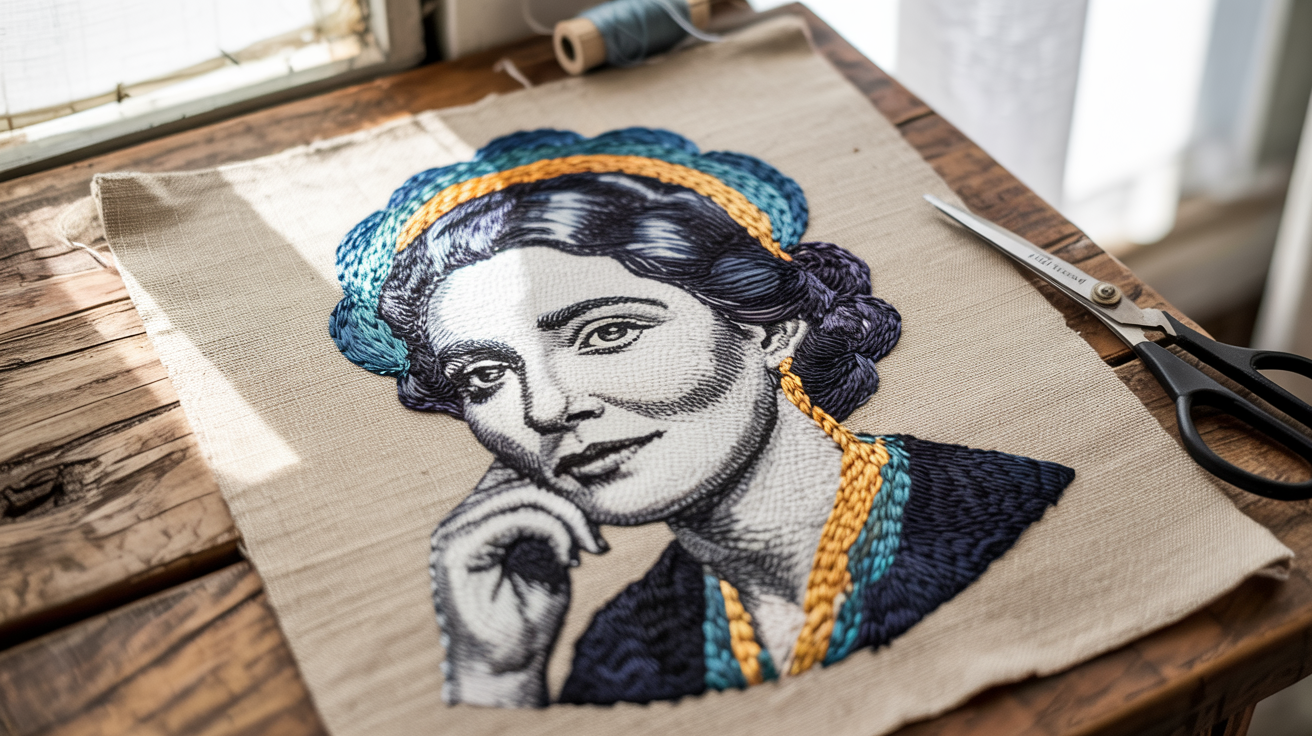
Transfer a photo to fabric and enhance certain elements with strategic stitching. This technique bridges photography and textile art in an innovative way.
Best Technique: Use fabric transfer paper for clear, high-quality photo printing. Enhance the image with freehand embroidery.
Pro Tip: When stitching over the photo, choose colors that highlight the photo’s key features or contrast the image for a more artistic effect.
16. Upcycled Tea Bag Canvas
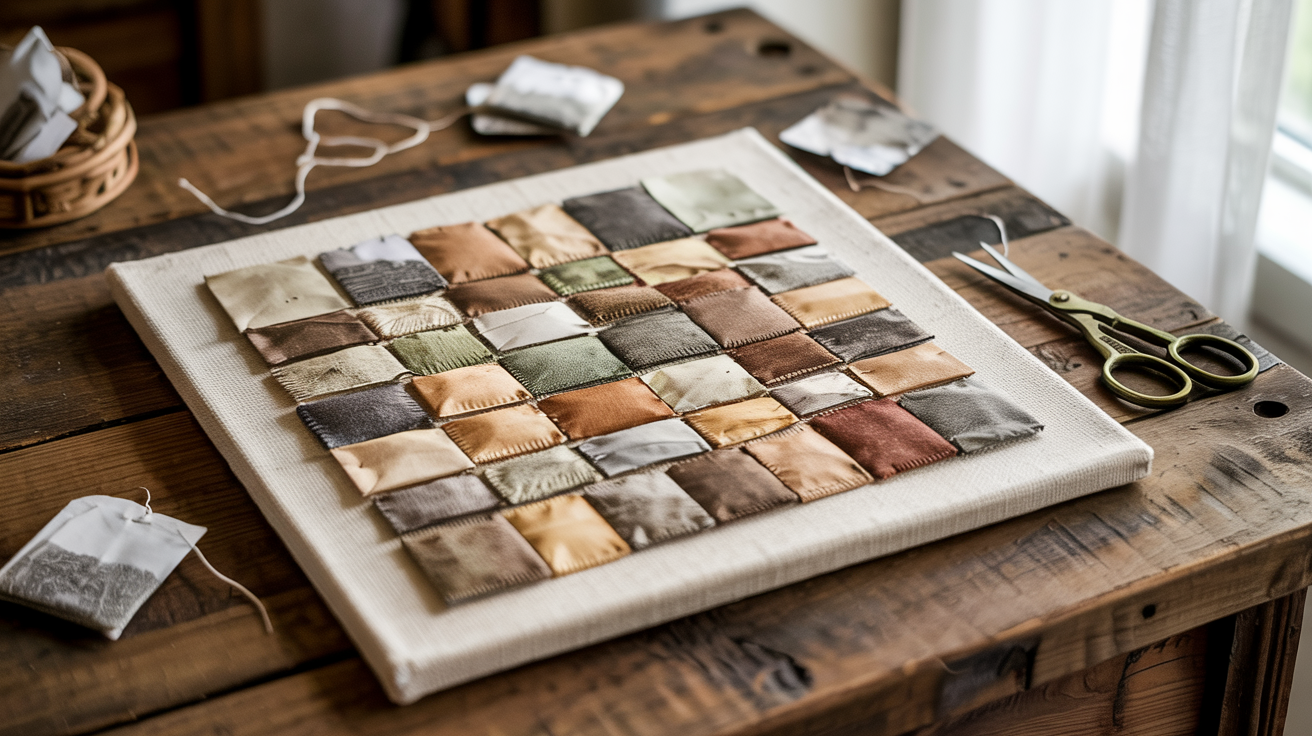
Dry used tea bags, open and empty them, then stitch onto the stained paper for an eco-friendly project with subtle color variations. This unexpected material offers unique texture and tonal qualities.
Best Technique: Try layering several tea bags to create a more robust surface before stitching.
Pro Tip: Tea bags naturally add a bit of staining and texture—use this to your advantage by creating a worn or vintage look.
Closing Thoughts
Slow stitching offers more than just a creative outlet. It provides a pathway to mindfulness, sustainability, and personal expression.
In our fast-paced world, the deliberate slowness of this practice serves as a gentle reminder of the value in taking time for creativity and presence.
Consider starting a small slow stitching project today. The beauty lies not in perfection but in the process itself. As your needle moves through fabric, you join a community of makers who value slowness, intention, and creativity.
Ready to share your work? Many slow stitching communities welcome new members on social media platforms where you can post photos of your projects and connect with fellow enthusiasts.

