
Have you ever seen wooden floors that look flat, while others show rich, deep colors? That wooden glow might come from a simple step many people skip.
Water popping makes wood take stain better. When wood gets wet, the grain opens up. This helps the stain sink deeper into the wood fibers.
I notice many DIY fans miss this step. But pros know, it makes all the difference in wood finishing.
In this blog, I’ll show you how to water pop like an expert. You’ll learn the right tools, steps, and tricks to fix common issues.
Let’s make your next wood project stand out with stunning color!
What Is Water Popping?
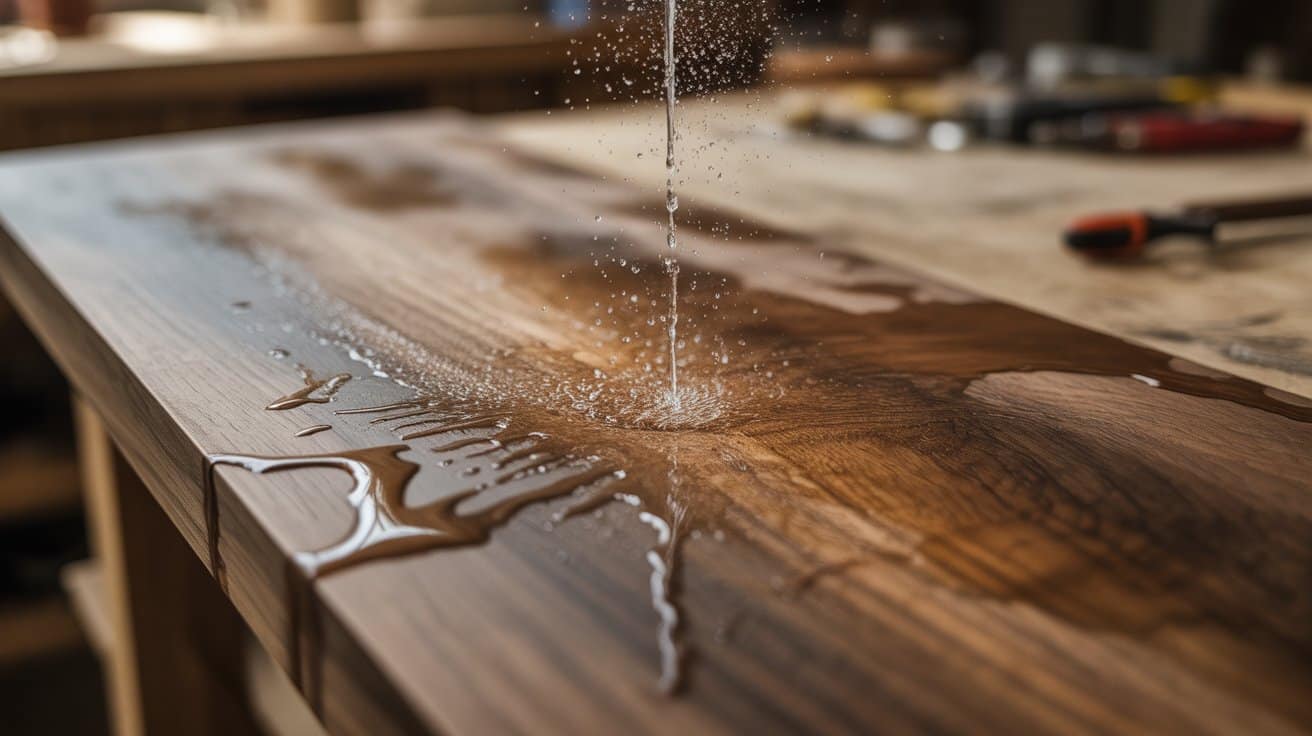
Water popping is a method of applying water to wood before staining. The water makes the wood fibers swell and stand up. When the wood dries, these raised fibers accept stain more fully.
This process dates back many years in woodworking. Before modern finishes, craftspeople used it to improve the color of their work. Today, both pros and hobbyists use it.
Water popping is also called “grain raising” or “fiber raising” in some places. The goal is simple: make wood take stain better for a richer, more even look.
Why Water Popping Matters and How It Affects Wood?
Water popping helps stains go on more evenly. Without it, dense wood areas might look patchy when stained.
The process opens wood pores so stain sinks deeper, creating richer colors that last longer. For dark stains, this method is essential and saves you from applying multiple coats.
Water popping lifts the tiny wood fibers on the surface, making the wood feel rough at first. This roughness shows the process is working properly.
When stained after water popping, the grain patterns become more visible as the stain flows into the open fibers. The final result is smoother, with more even color and better-looking natural features in the wood.
Types of Woods Ideal for Water Popping
Oak: It responds very well to water popping. Its open grain structure allows for good water absorption and striking results when stained.
Pine: It can also greatly benefit. While naturally soft, water popping helps pine take stain more evenly without the blotchy look it often gets.
Woods to use with care:
- Maple (tends to be stubborn with stain even after water popping)
- Cherry (may need less water due to its density)
- Walnut (already has rich color but can still benefit)
Exotic hardwoods vary in how they respond. Test on a scrap piece first before working on your main project.
Step-By-Step Guide to Stunning Water Popping Wood
Follow these five key steps to get professional-quality results with water popping. Each step builds on the previous one, so don’t rush the process.
Essential Tools and Materials You’ll Need:
Before starting your water popping project, gather these key tools and materials:
| Tool/Material | Why You Need It |
|---|---|
| Clean spray bottle | Allows even water application across wood surfaces. |
| Lint-free cloths | Prevents leaving fibers on wood that could ruin your finish. |
| Plastic gloves | Keeps oils from your hands from affecting the wood surface. |
| Distilled water | Free from minerals that might affect how the wood takes stain. |
| Fine sandpaper (220-320 grit) | Used for light sanding after water popping to smooth raised fibers. |
| Dust mask | Protects your lungs from fine wood dust during sanding steps. |
| Tack cloth | Removes the last bits of dust from wood before applying finishes. |
| Moisture meter (optional) | Helps check when wood is truly dry after water popping. |
| Soft-bristled brush | Useful for cleaning dust from wood grain before and after sanding. |
| Good lighting | Helps spot uneven areas in your water application and finish. |
Step 1: Preparing Your Wood Surface
Good prep work is the foundation of a quality finish. Sand the wood thoroughly, starting with coarse grit (80-100) and working up to fine grit (180-220).
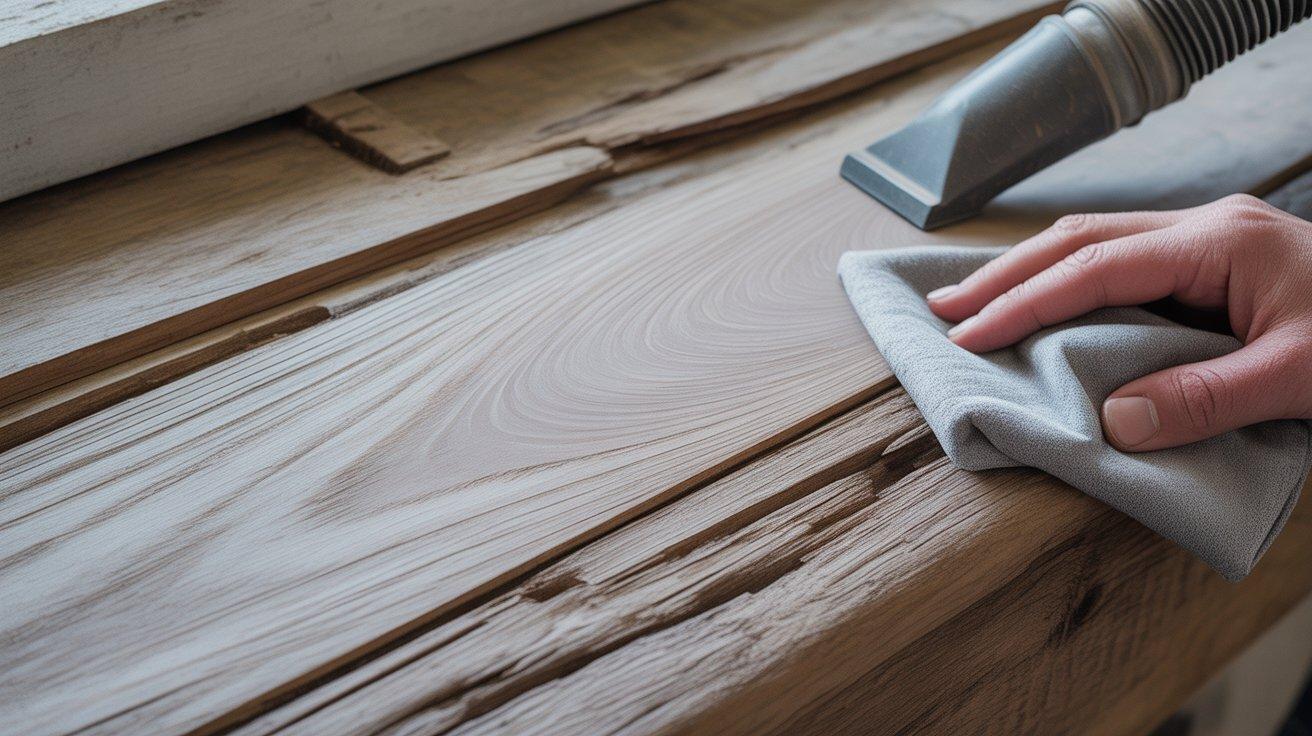
After sanding, clean the surface completely. Use a vacuum first, then follow with a tack cloth to remove any fine dust particles that could affect your finish.
The wood should feel smooth when you run your hand across it. Any rough spots will need more attention before moving forward.
Step 2: Applying Water to The Wood
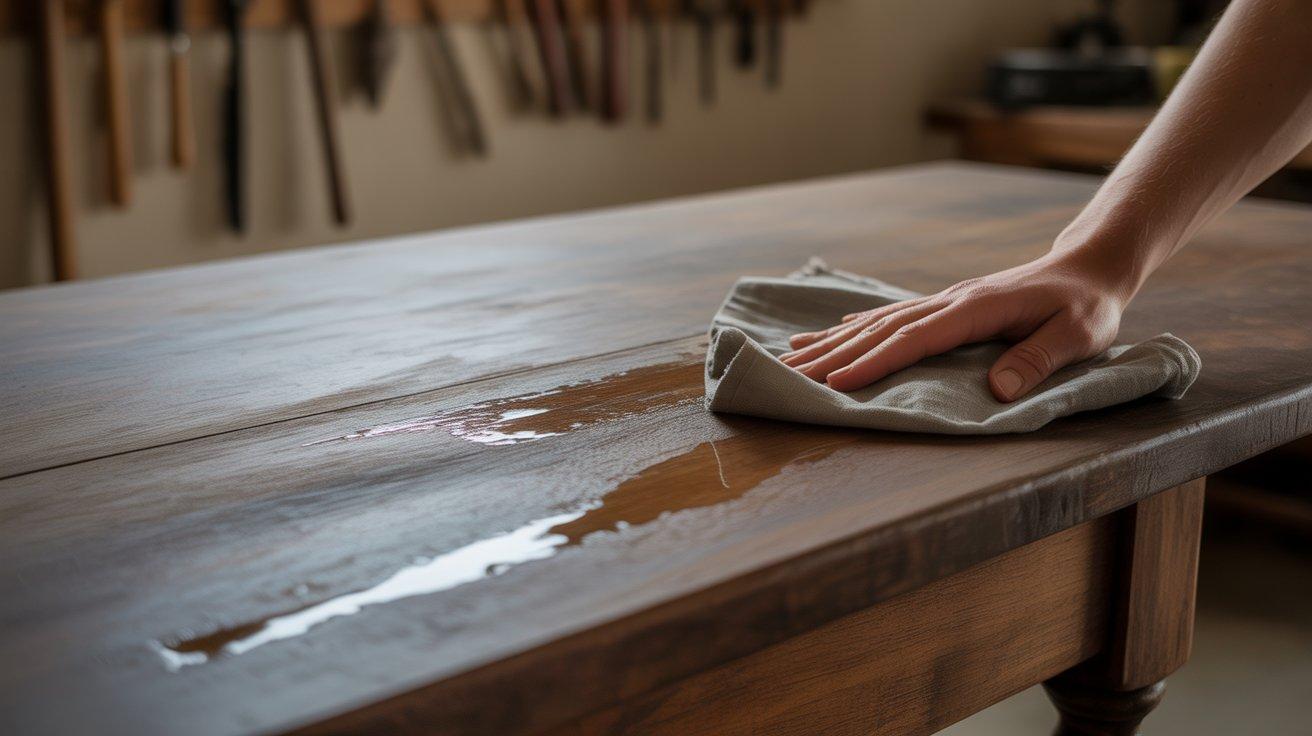
You can apply water using either a spray bottle or a damp cloth. The cloth method gives more control, while spraying works well for larger areas.
When using a cloth:
- Dampen a clean, lint-free cloth (not dripping wet)
- Wipe with the grain using even, long strokes
- Ensure consistent coverage across the entire surface
The wood should look evenly damp but not soaked. Blot any puddles immediately with a dry cloth.
Step 3: Drying the Wood Properly
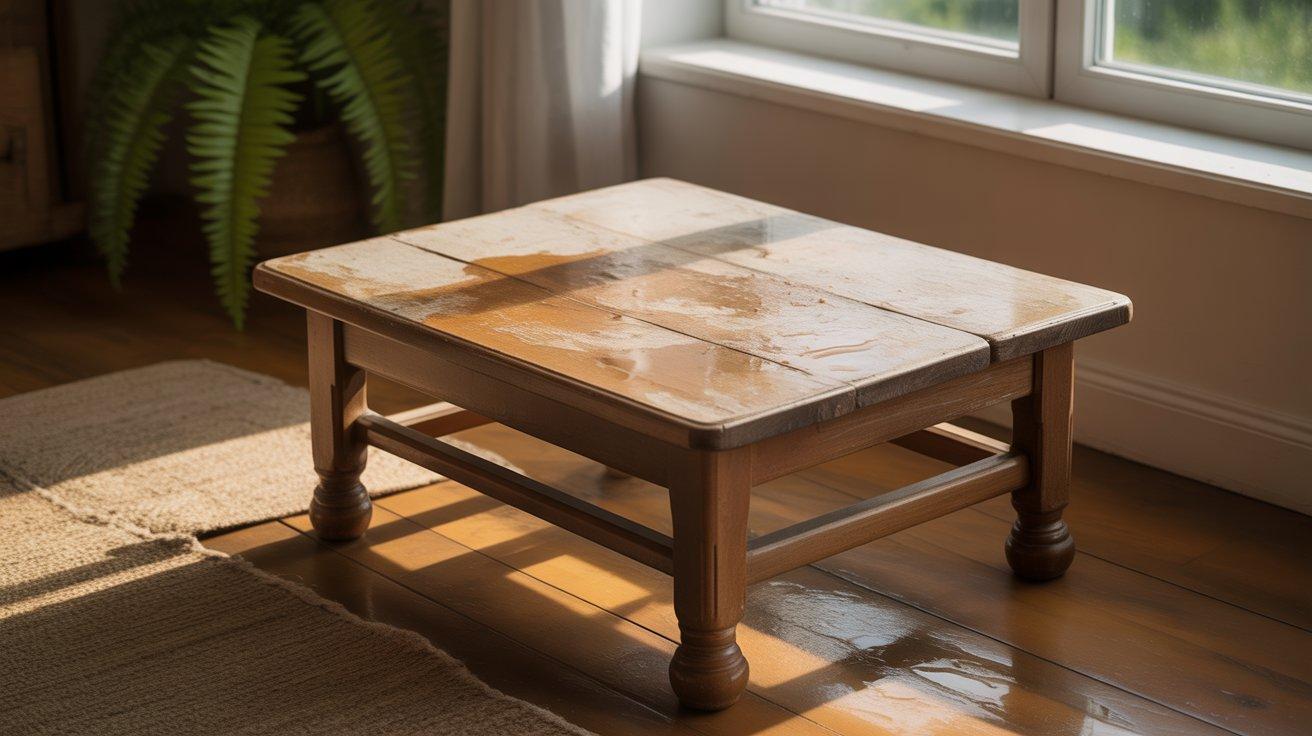
Let the wood dry naturally in a room between 65-75°F with moderate air flow. Avoid using fans or heaters as they can cause uneven drying.
Drying times vary by wood type:
- Softwoods: 1-2 hours
- Hardwoods: 2-4 hours
- Thicker pieces: May need 4+ hours
Test for dryness by touching the wood with the back of your hand. If it feels cool, moisture is still present.
Step 4: Sanding After Water Popping
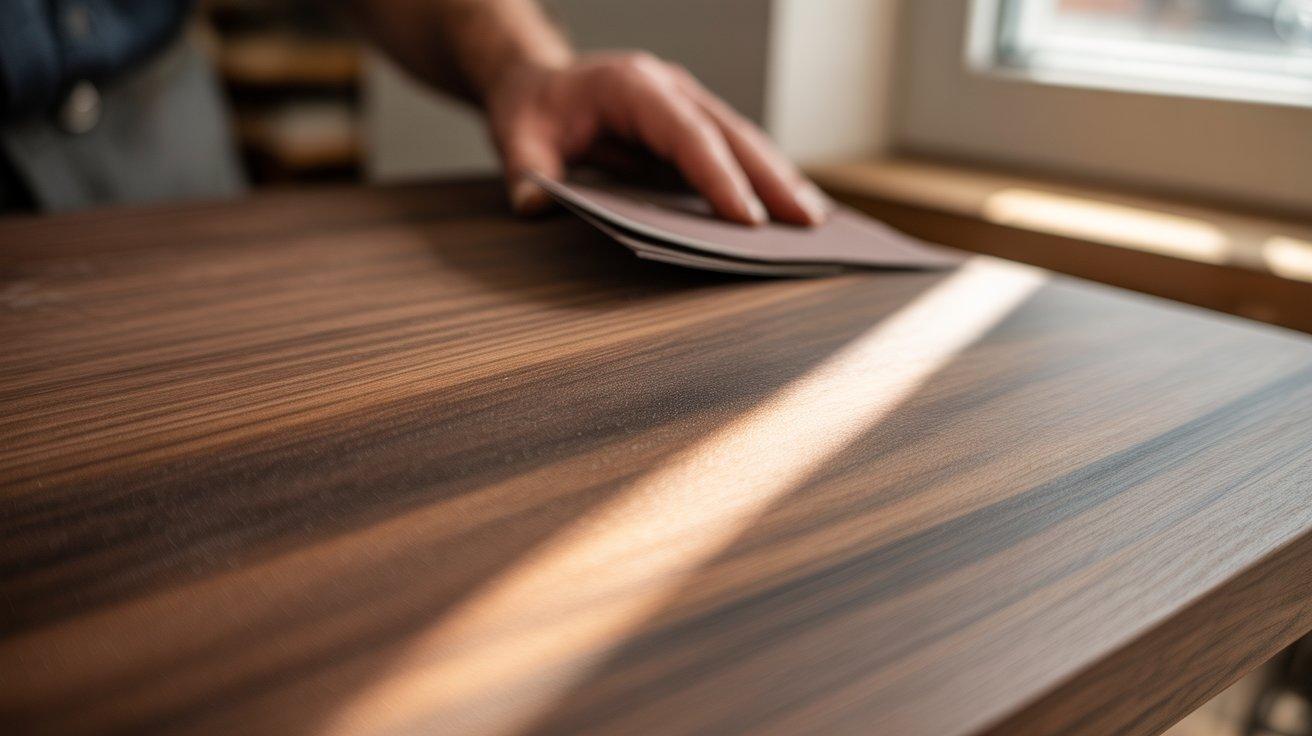
Once dry, the wood will feel rough to the touch. This is normal and shows the grain has been properly raised.
Sand very lightly by hand with fine sandpaper (220-320 grit). The goal is to smooth the surface without removing the raised grain that will accept your stain.
Step 5: Applying Your Finish
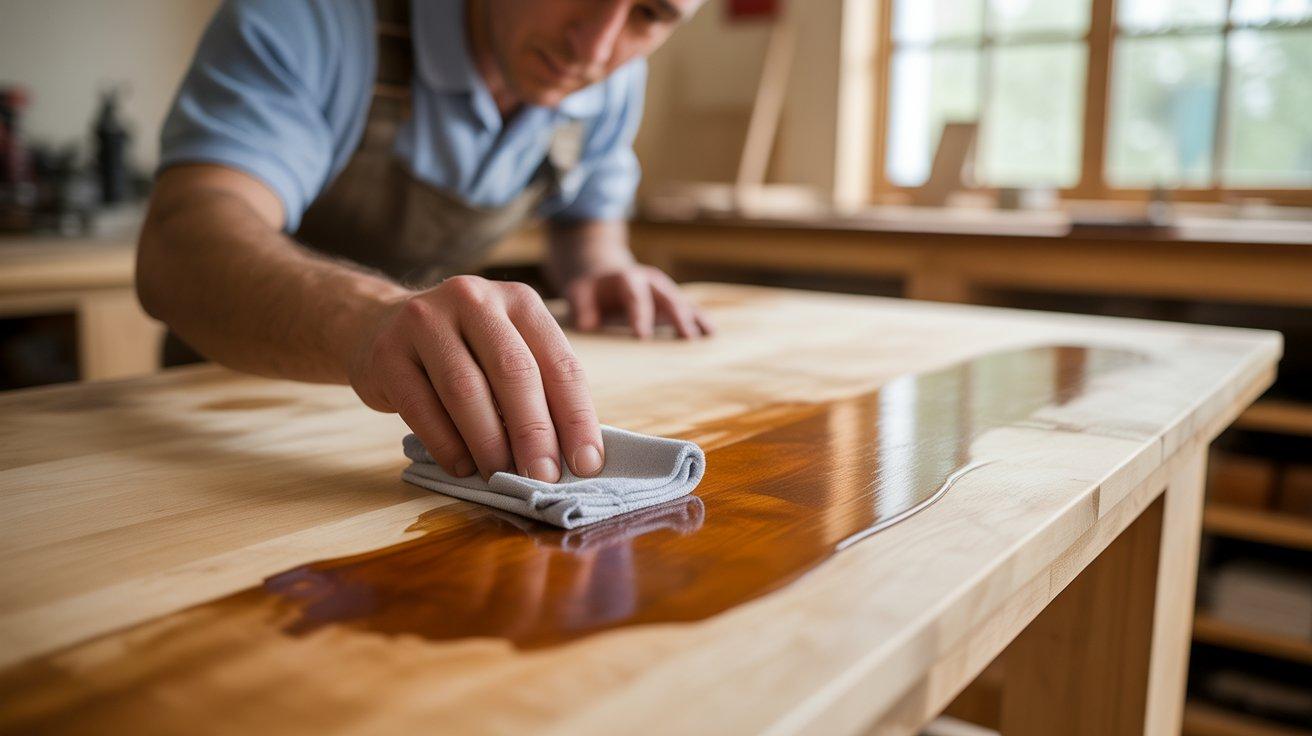
Apply your chosen stain within 24 hours of water popping for best results. Use a clean cloth or brush and work in small sections, going with the grain.
Remove excess stain after the recommended time on the product instructions. Let the stain dry completely before applying any top coats.
Keep the area dust-free during this process to ensure a smooth, professional-looking finish.
Choosing the Best Finish for Water Popping
The right finish can make all the difference after water pops your wood. Each type offers different benefits and works better with certain wood species. Here’s a quick guide to help you choose:
| Finish Type | Works Best With | Benefits | Considerations |
|---|---|---|---|
| Oil-based stains | Oak, walnut, mahogany | Deep color penetration, rich tones, highlights grain well | Longer dry time, stronger odor |
| Water-based stains | Maple, birch, pine | Fast drying, low odor, easy cleanup | May raise grain again slightly, needs light sanding between coats |
| Dye stains | Cherry, maple, birch | Vibrant colors, clear tone, excellent for showing wood figure | Can fade in direct sunlight, may need a sealer coat |
| Gel stains | Any wood type | Less grain raising, good for blotch-prone woods | Sits more on the surface, doesn’t fully utilize the water popping benefits |
| Penetrating oils | Oak, ash, walnut | Natural look, easy to apply, brings out the grain | Less protection, needs regular maintenance |
| Shellac | Most hardwoods | Fast drying, warm tone, seals wood well | Less water resistance, not for high-use surfaces |
| Polyurethane | All water-popped woods | Durable protection, various sheen levels | Make sure the stain is fully dry before applying |
For best results, test your chosen finish on a scrap piece of the same wood type. This helps you see exactly how the final product will look.
Common Mistakes to Avoid when Water Popping
Watch out for these common pitfalls that can ruin your water popping results:
- Uneven water application: Your stain will look patchy where water wasn’t applied evenly. Use consistent strokes and check for missed spots.
- Waiting too long after popping: The raised wood grain will slowly return to normal if left too long. Apply stain within 24 hours of water popping.
- Sanding too aggressively: Heavy sanding removes the beneficial raised fibers. Use only light pressure with fine sandpaper.
- Using dirty water: Contaminants in tap water can affect your finish. Use distilled water for the cleanest results.
- Rushing the drying time: Staining before the wood is fully dry leads to poor color uptake. Be patient and test with the back of your hand.
Tips and Tricks for Perfecting Your Wood Finishes
- Try a test patch first on scrap wood or in a hidden spot. This helps you check your process before doing the whole project.
- For extra dark colors, you can water pop twice. Let the wood dry fully between applications.
- If you’re working on a large floor, work in sections. This helps keep the timing consistent across the whole area.
- Keep notes on what works for different woods. Each type responds a bit differently to water popping.
- For the best results, keep the room at a steady temperature and humidity level. Changing conditions can affect how the wood takes stain.
Conclusion
Water popping is a simple method that makes a big difference in wood finishing. The process opens wood fibers so they take stain more fully and evenly.
With proper preparation and patience, your wood projects will showcase depth and character that simply can’t be achieved through regular staining methods alone.
The small investment in learning this technique pays dividends in the quality of your finished products. Wood reveals its hidden beauty when treated with this method.
For your next project, try this method on a test piece first. With practice, you’ll get wood finishes that look professional and last for years.
Have you tried water popping before? I’d love to hear about your experiences in the comments below!
Frequently Asked Questions
Can I Use Water Popping on Already Finished or Stained Wood?
No, water popping only works on bare wood. You’ll need to sand off any existing finish completely before trying this technique.
Will Water Popping Raise the Wood Grain Permanently?
No, the raised grain is temporary. If you wait too long (over 48 hours) before staining, the wood fibers will settle back down.
Is Water Popping Necessary for All Wood Projects?
Not always. It’s most helpful for dark stains, blotch-prone woods, and when you want to highlight grain patterns in your finished piece.